Birdseye lentil pasta review

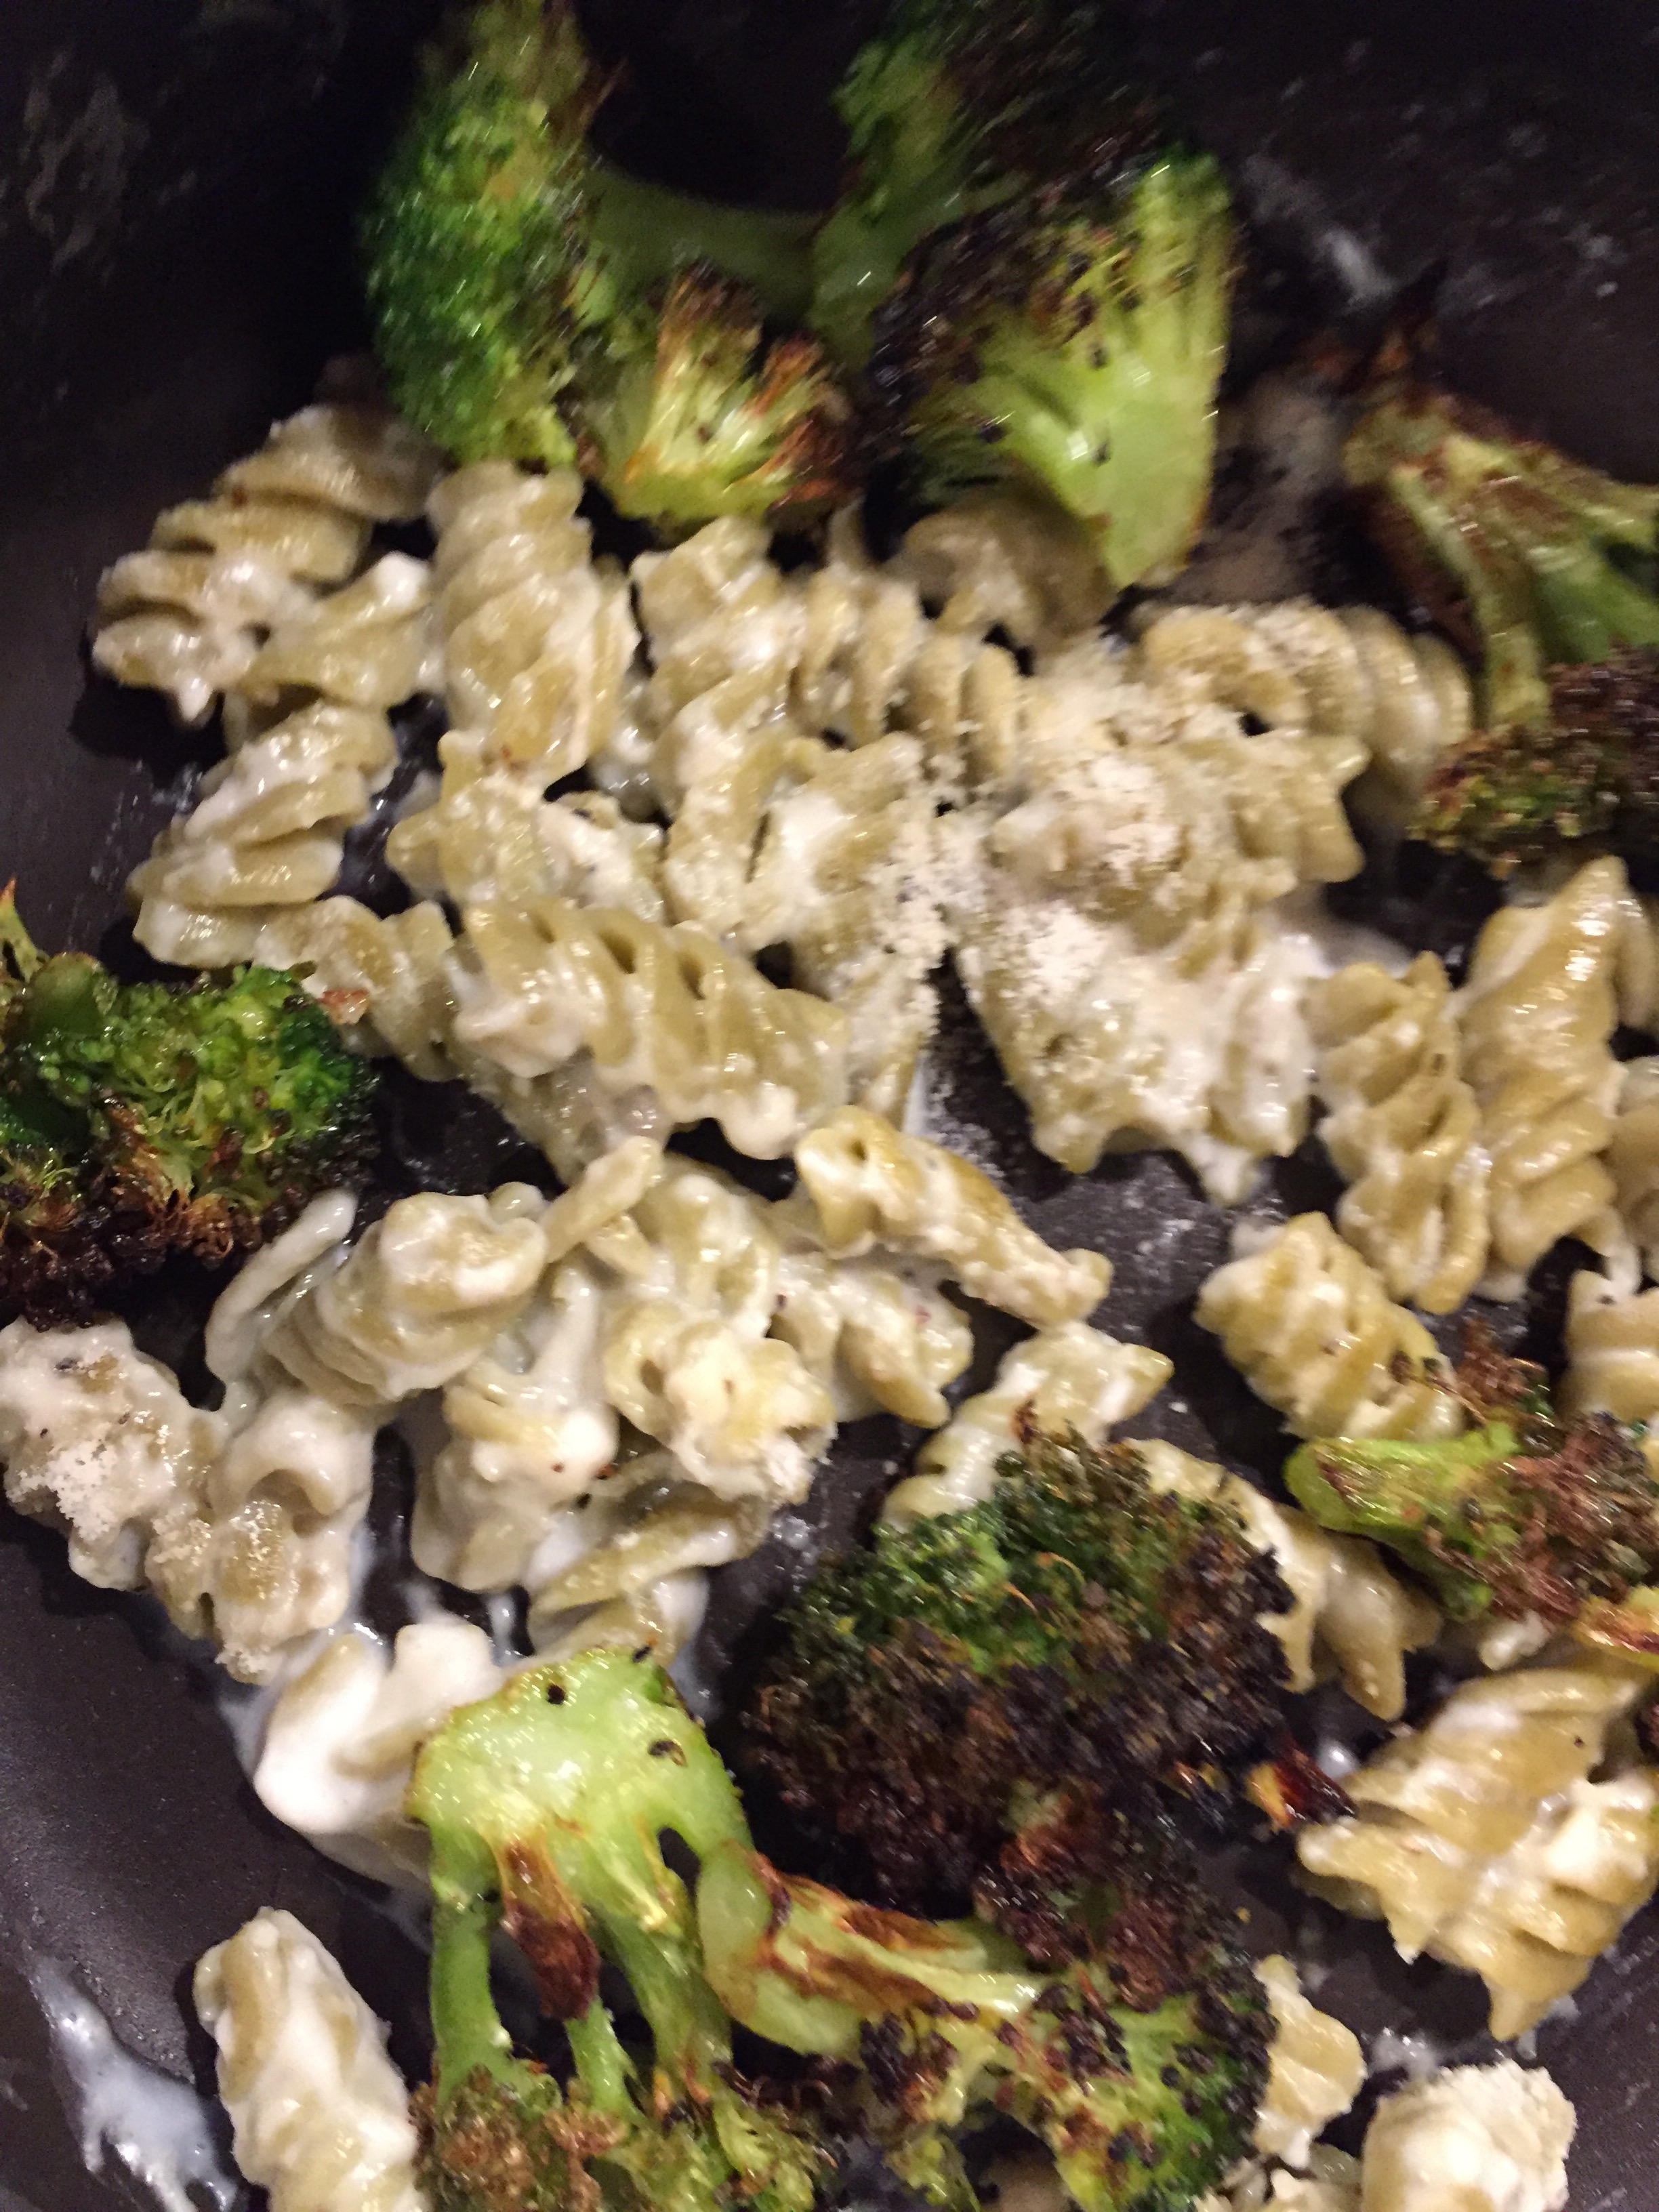
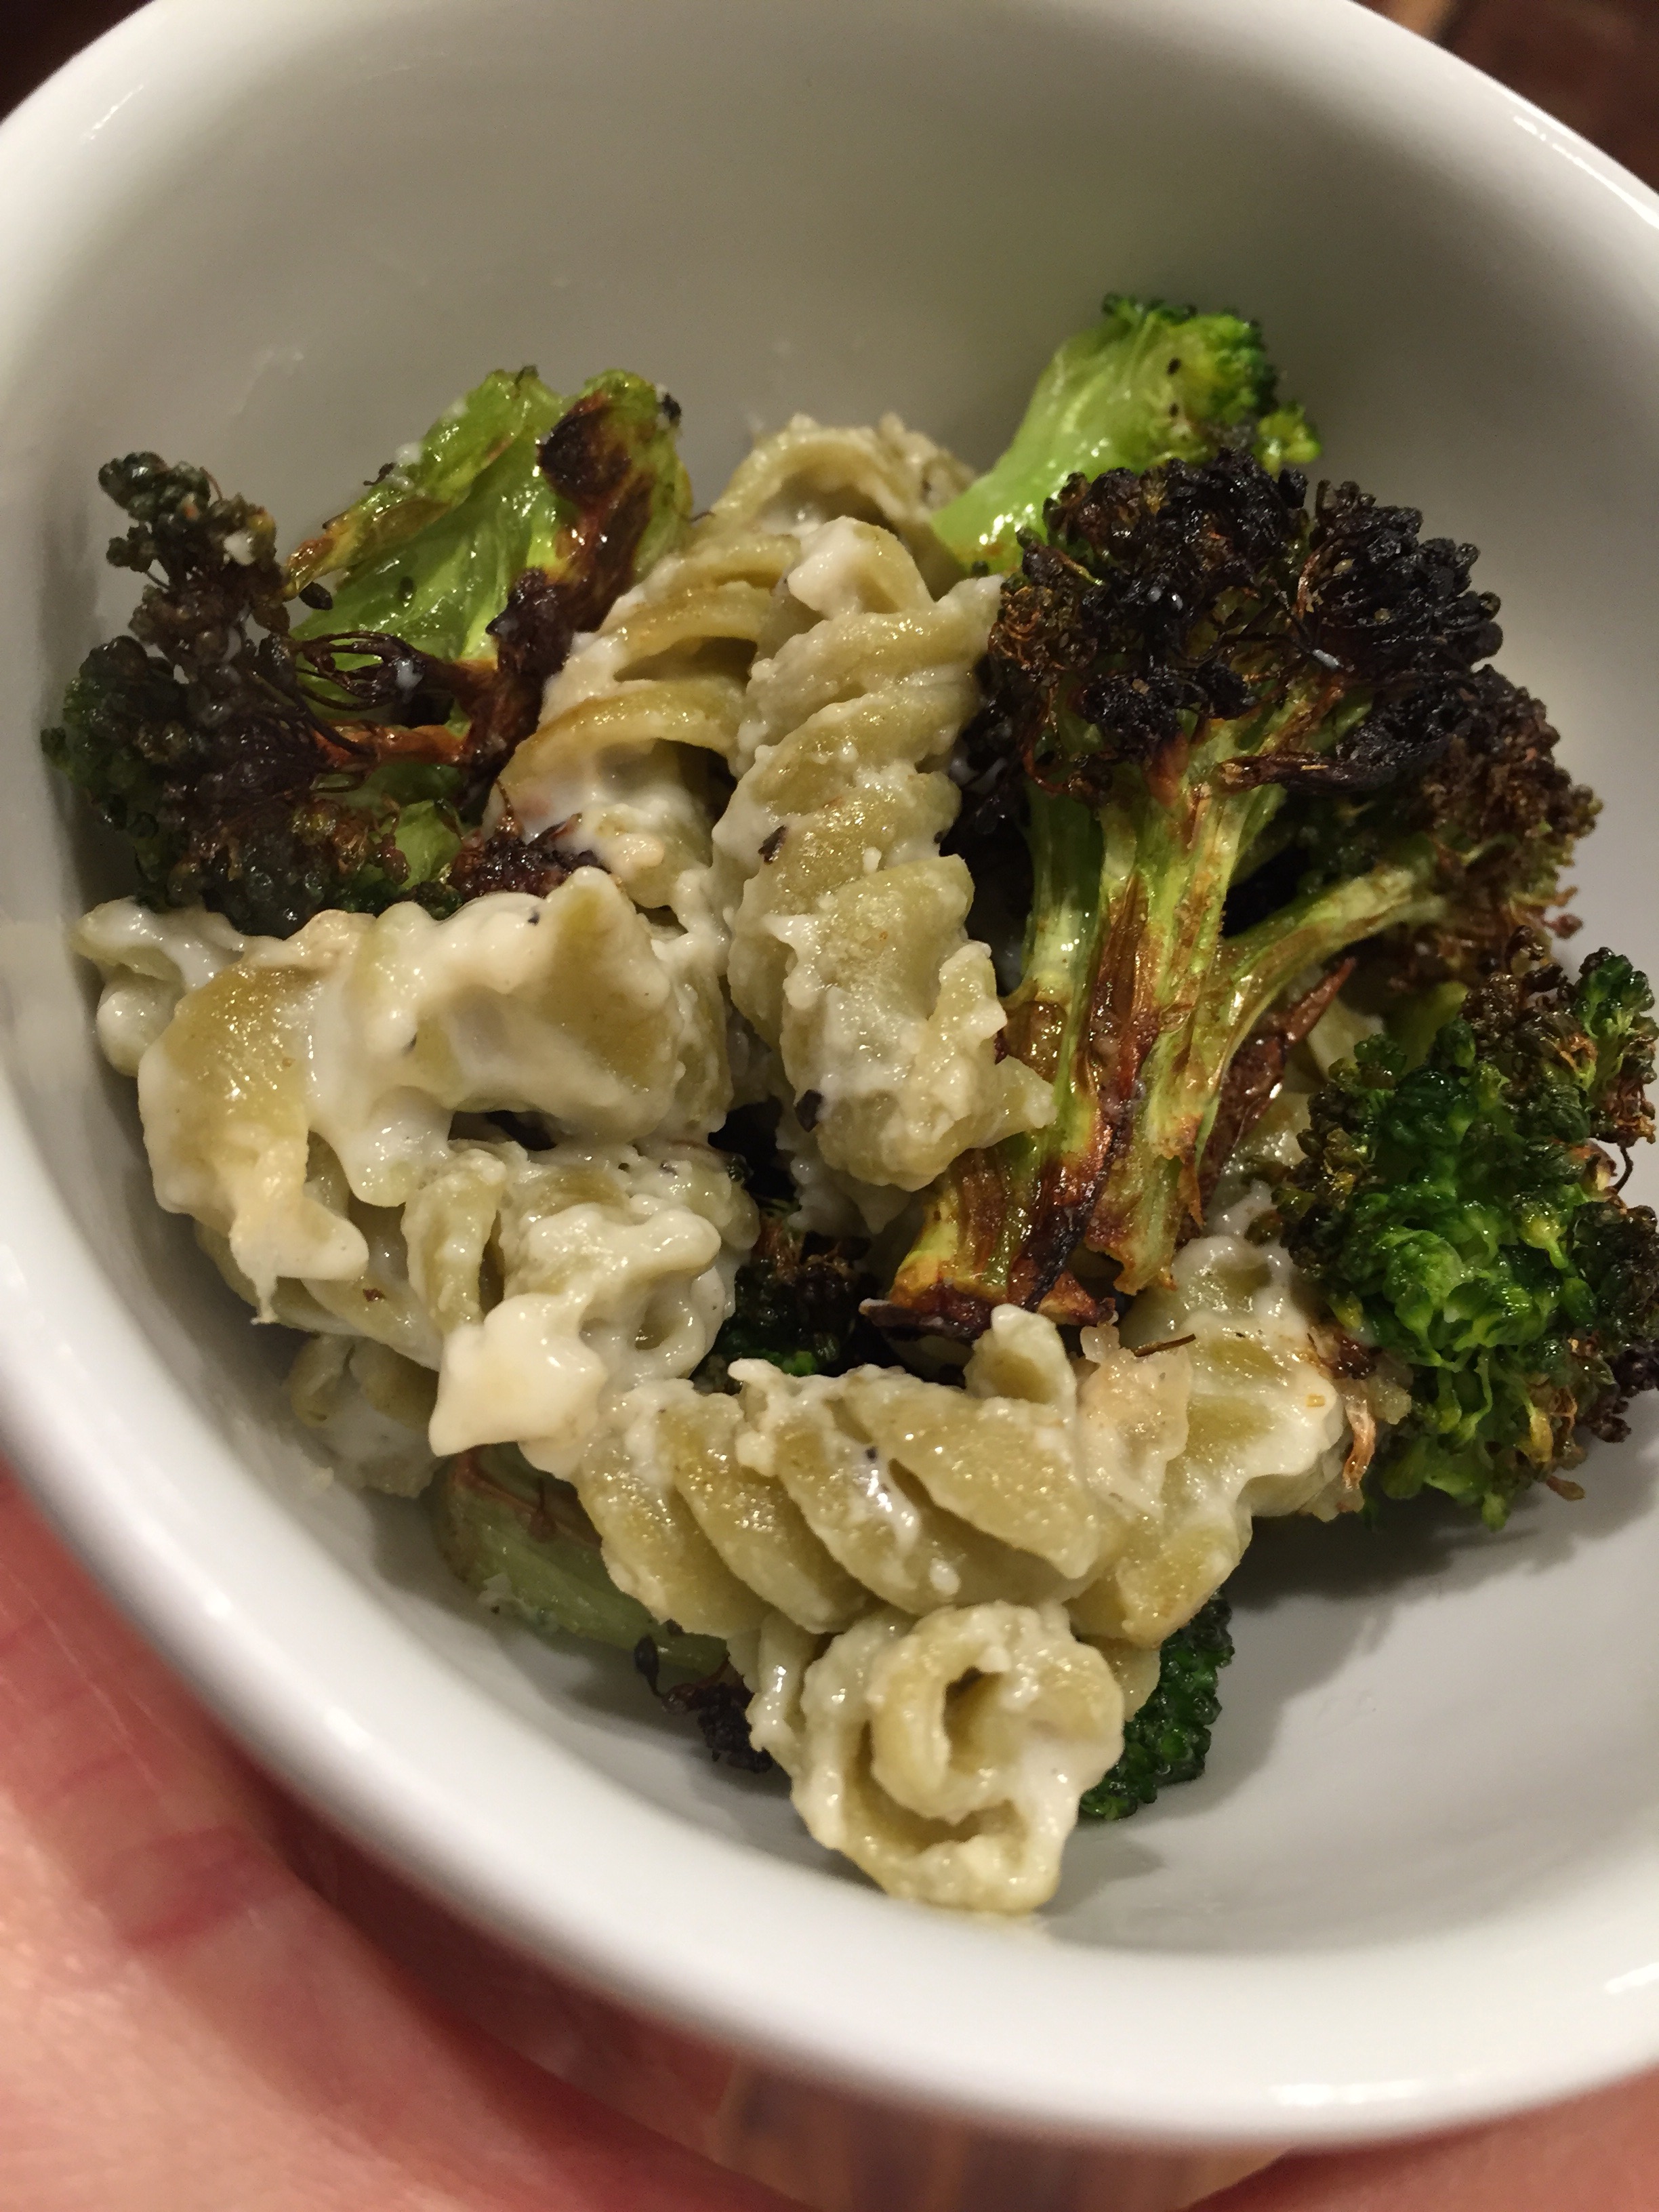
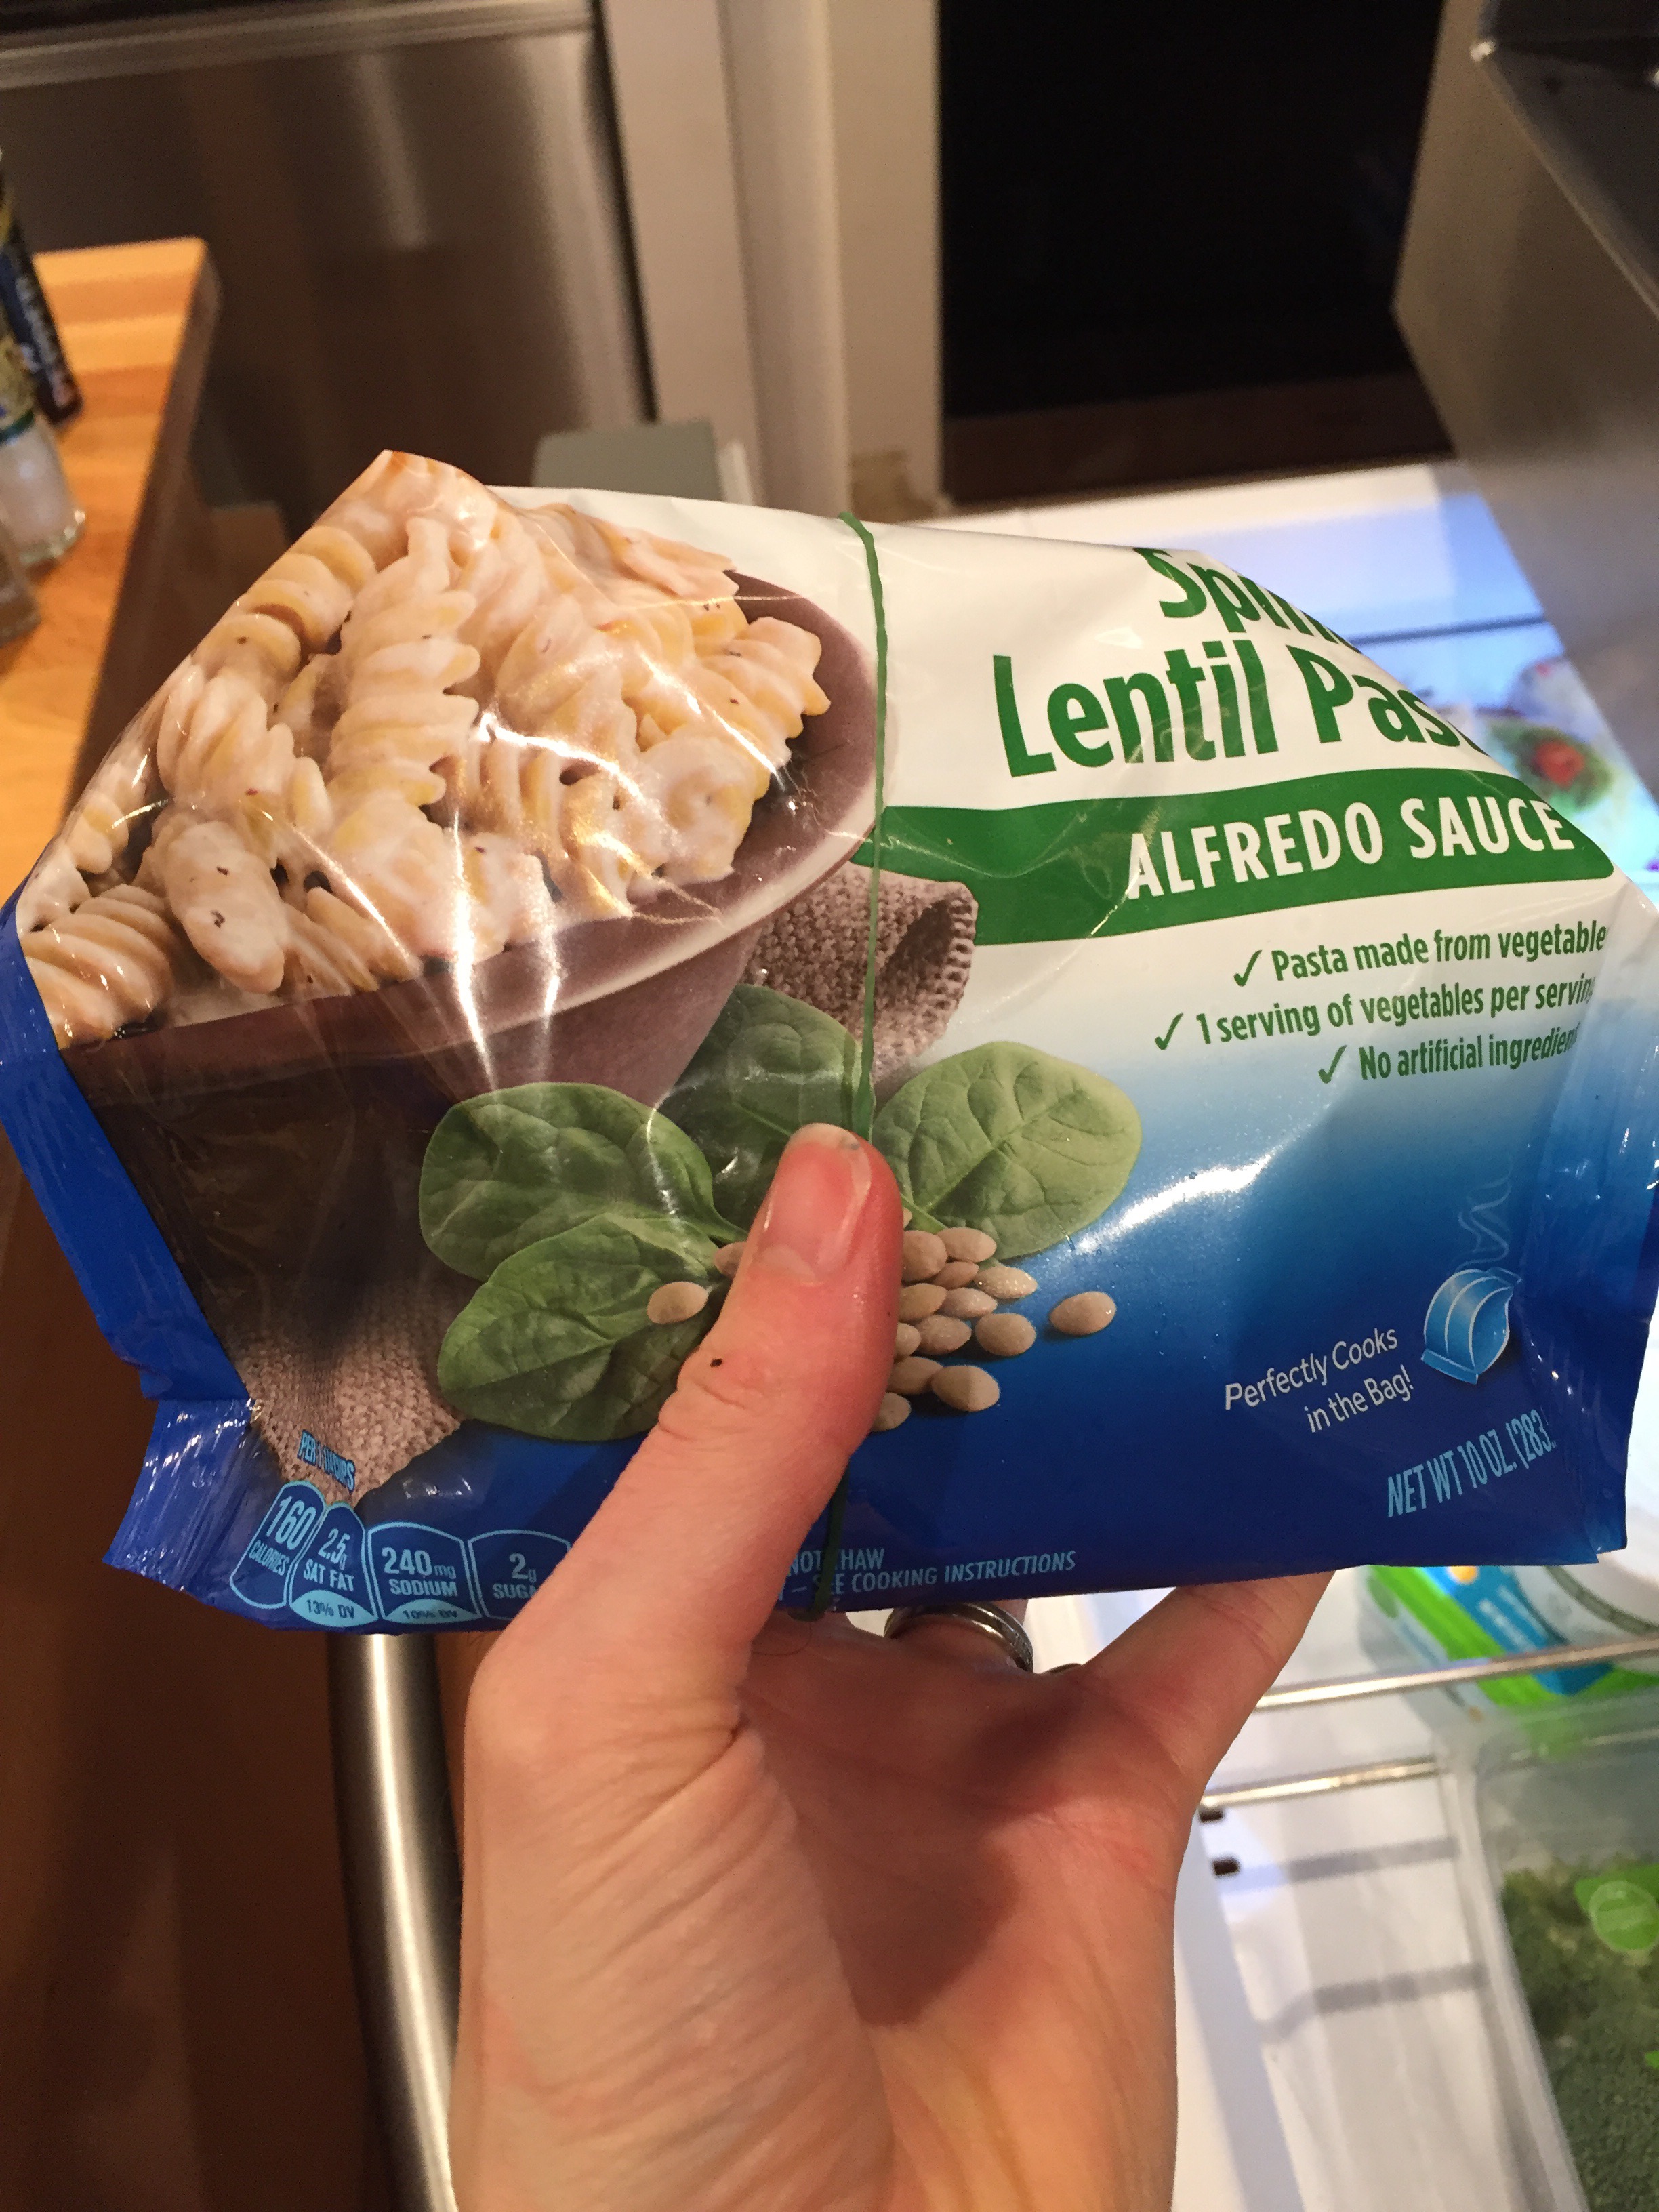
For convenience meals this is quite healthy, with pasta made out of lentils instead of grains. It can be found in the frozen section, and can be either cooked in the microwave or on the stove (I cooked on the stove). The sauce comes in small frozen blocks inside the package so you can use half the amount or none at all if you prefer. I tried the spiral noodles with Alfredo sauce, and I have also seen penne noodles with cheddar cheese sauce and plain noodles as well. I followed my usual advice, and made the meal healthier by adding half vegetables, in this case roasted broccoli.

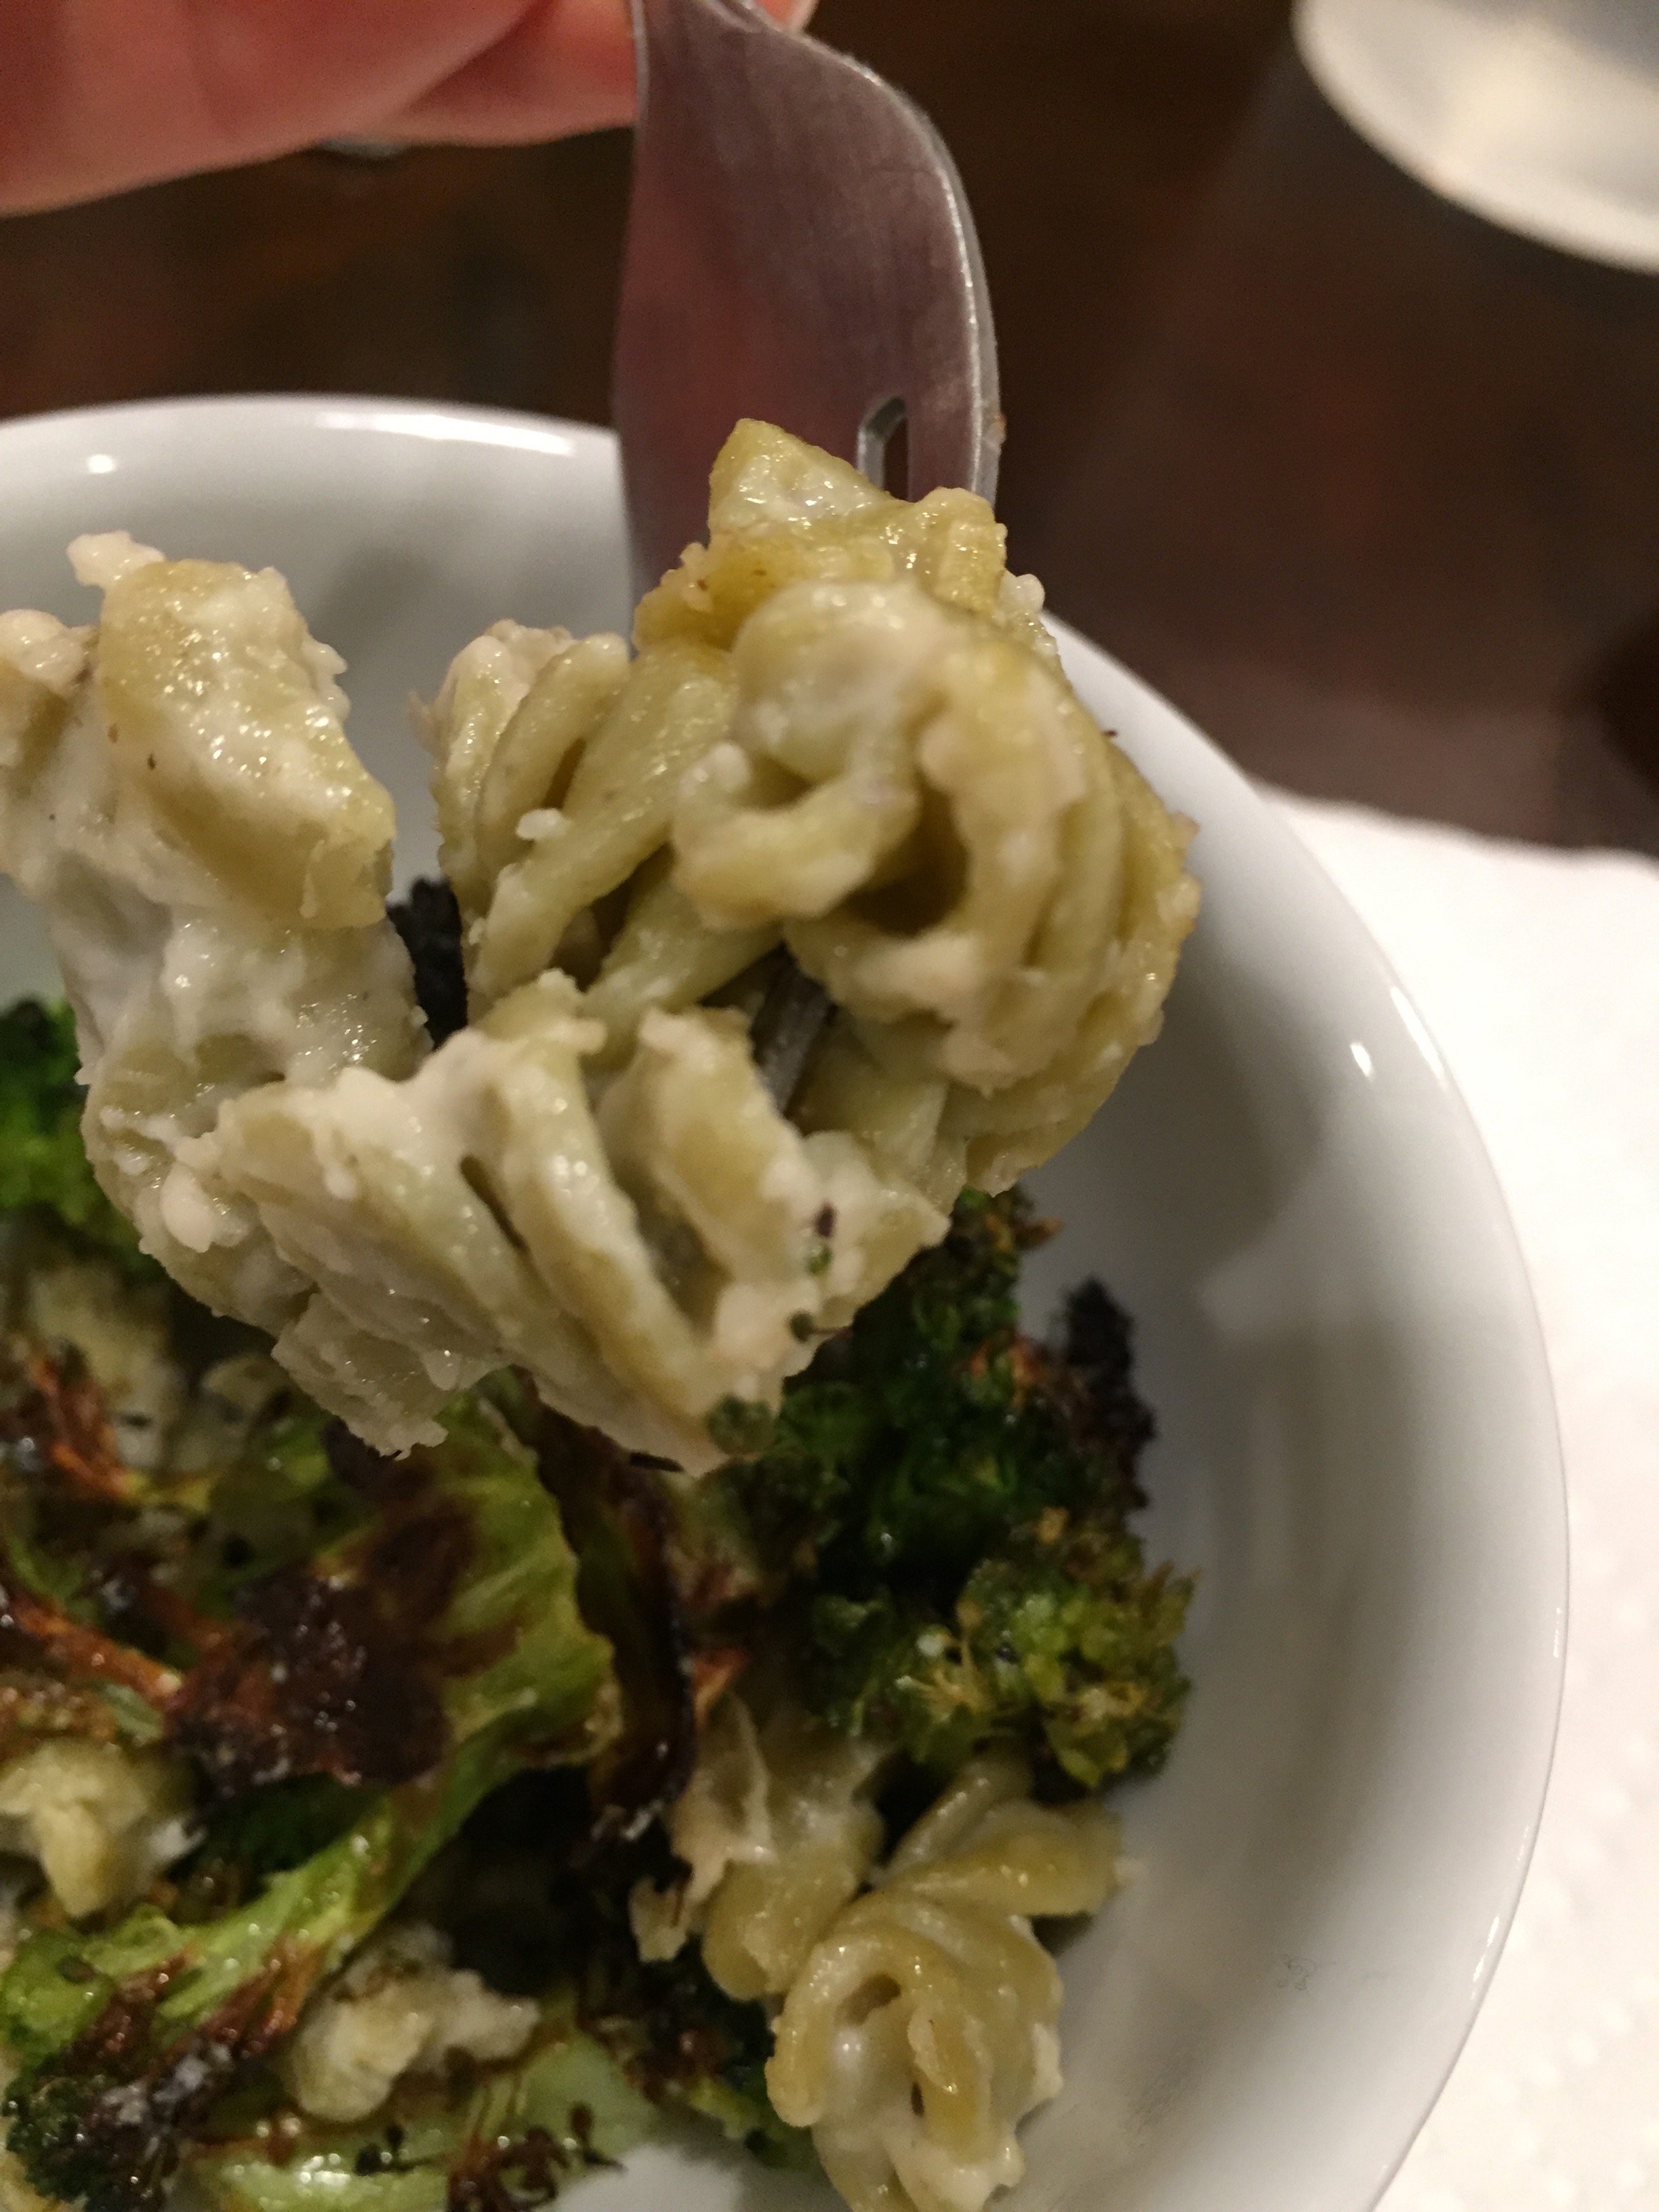
The taste was very good. I have tried several bean-based and lentil-based pastas, all dry, and this was the best by far. The taste was a little doughier then regular dried wheat pasta, but I enjoyed that since it tasted more like homemade pasta.


The nutrition is good, about 240 calories for half the package (a small serving size) + 1/2 head of broccoli roasted in olive oil. I also had a side dish of cauliflower roasted in olive oil, topped with cumin seeds, roasted garlic and fresh ginger.

Birdseye lentil pasta review

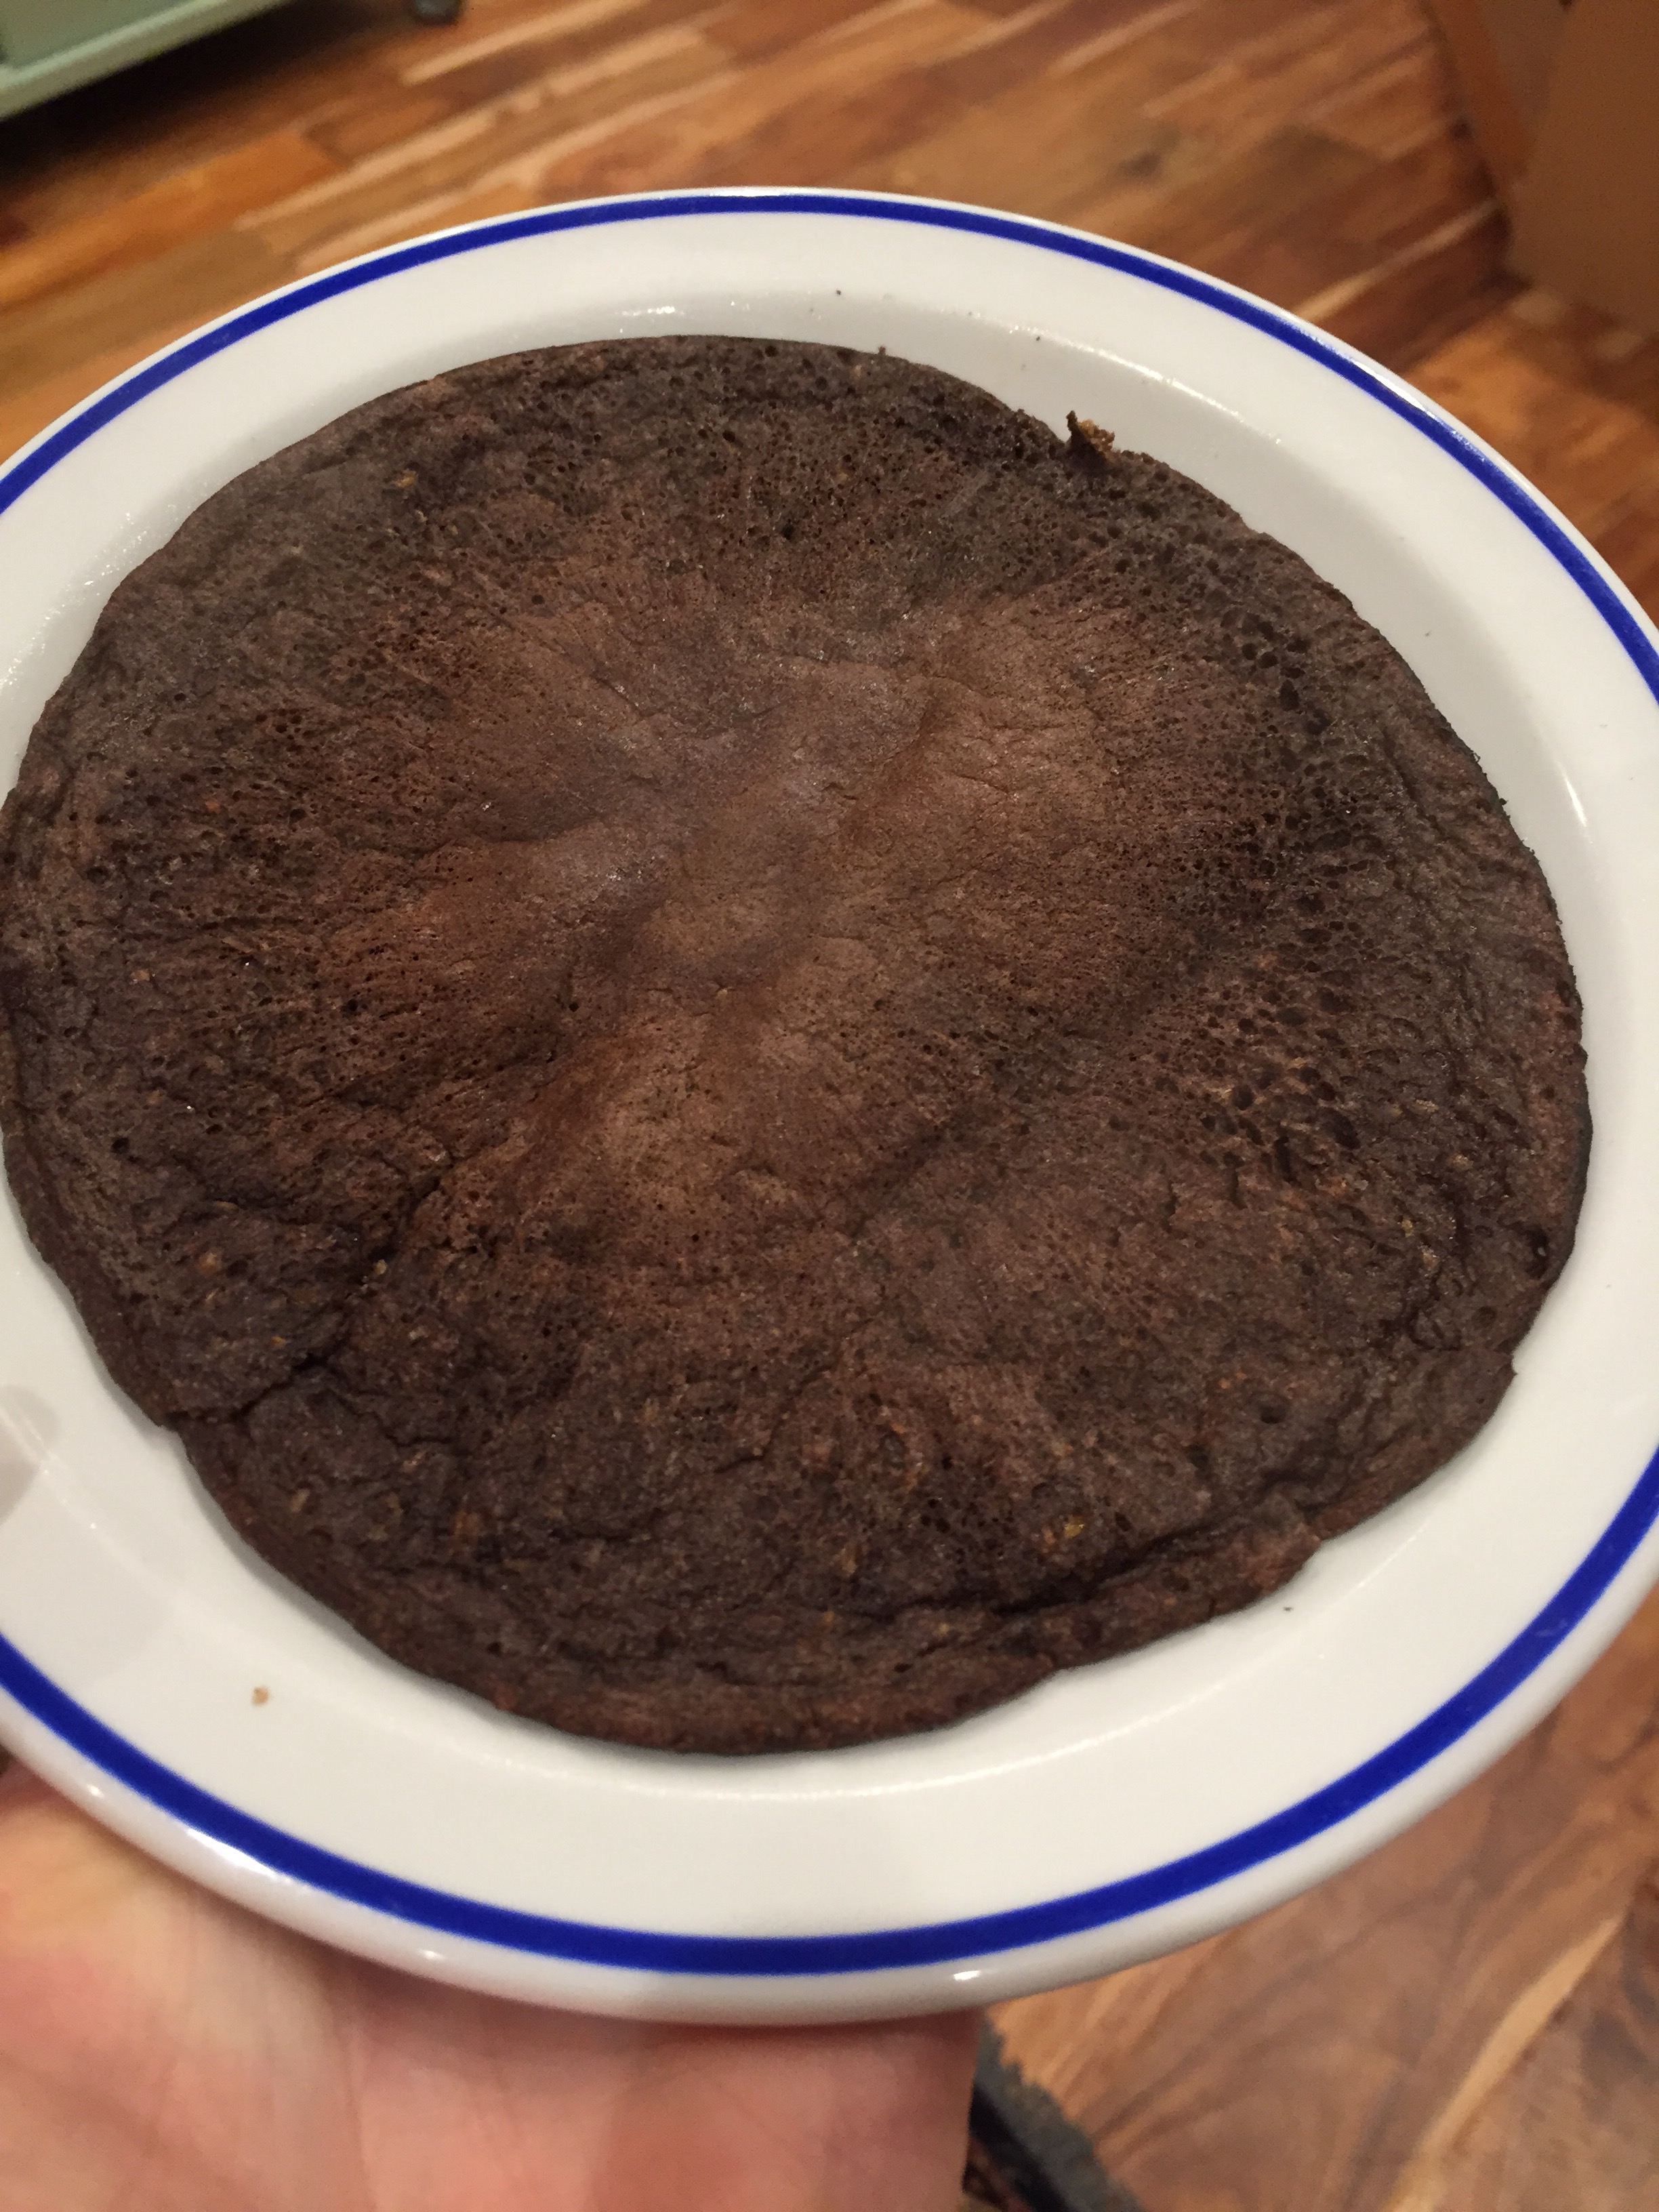
Quick low carb Paleo pancakss

Ingredients:

1/4 c almond milk

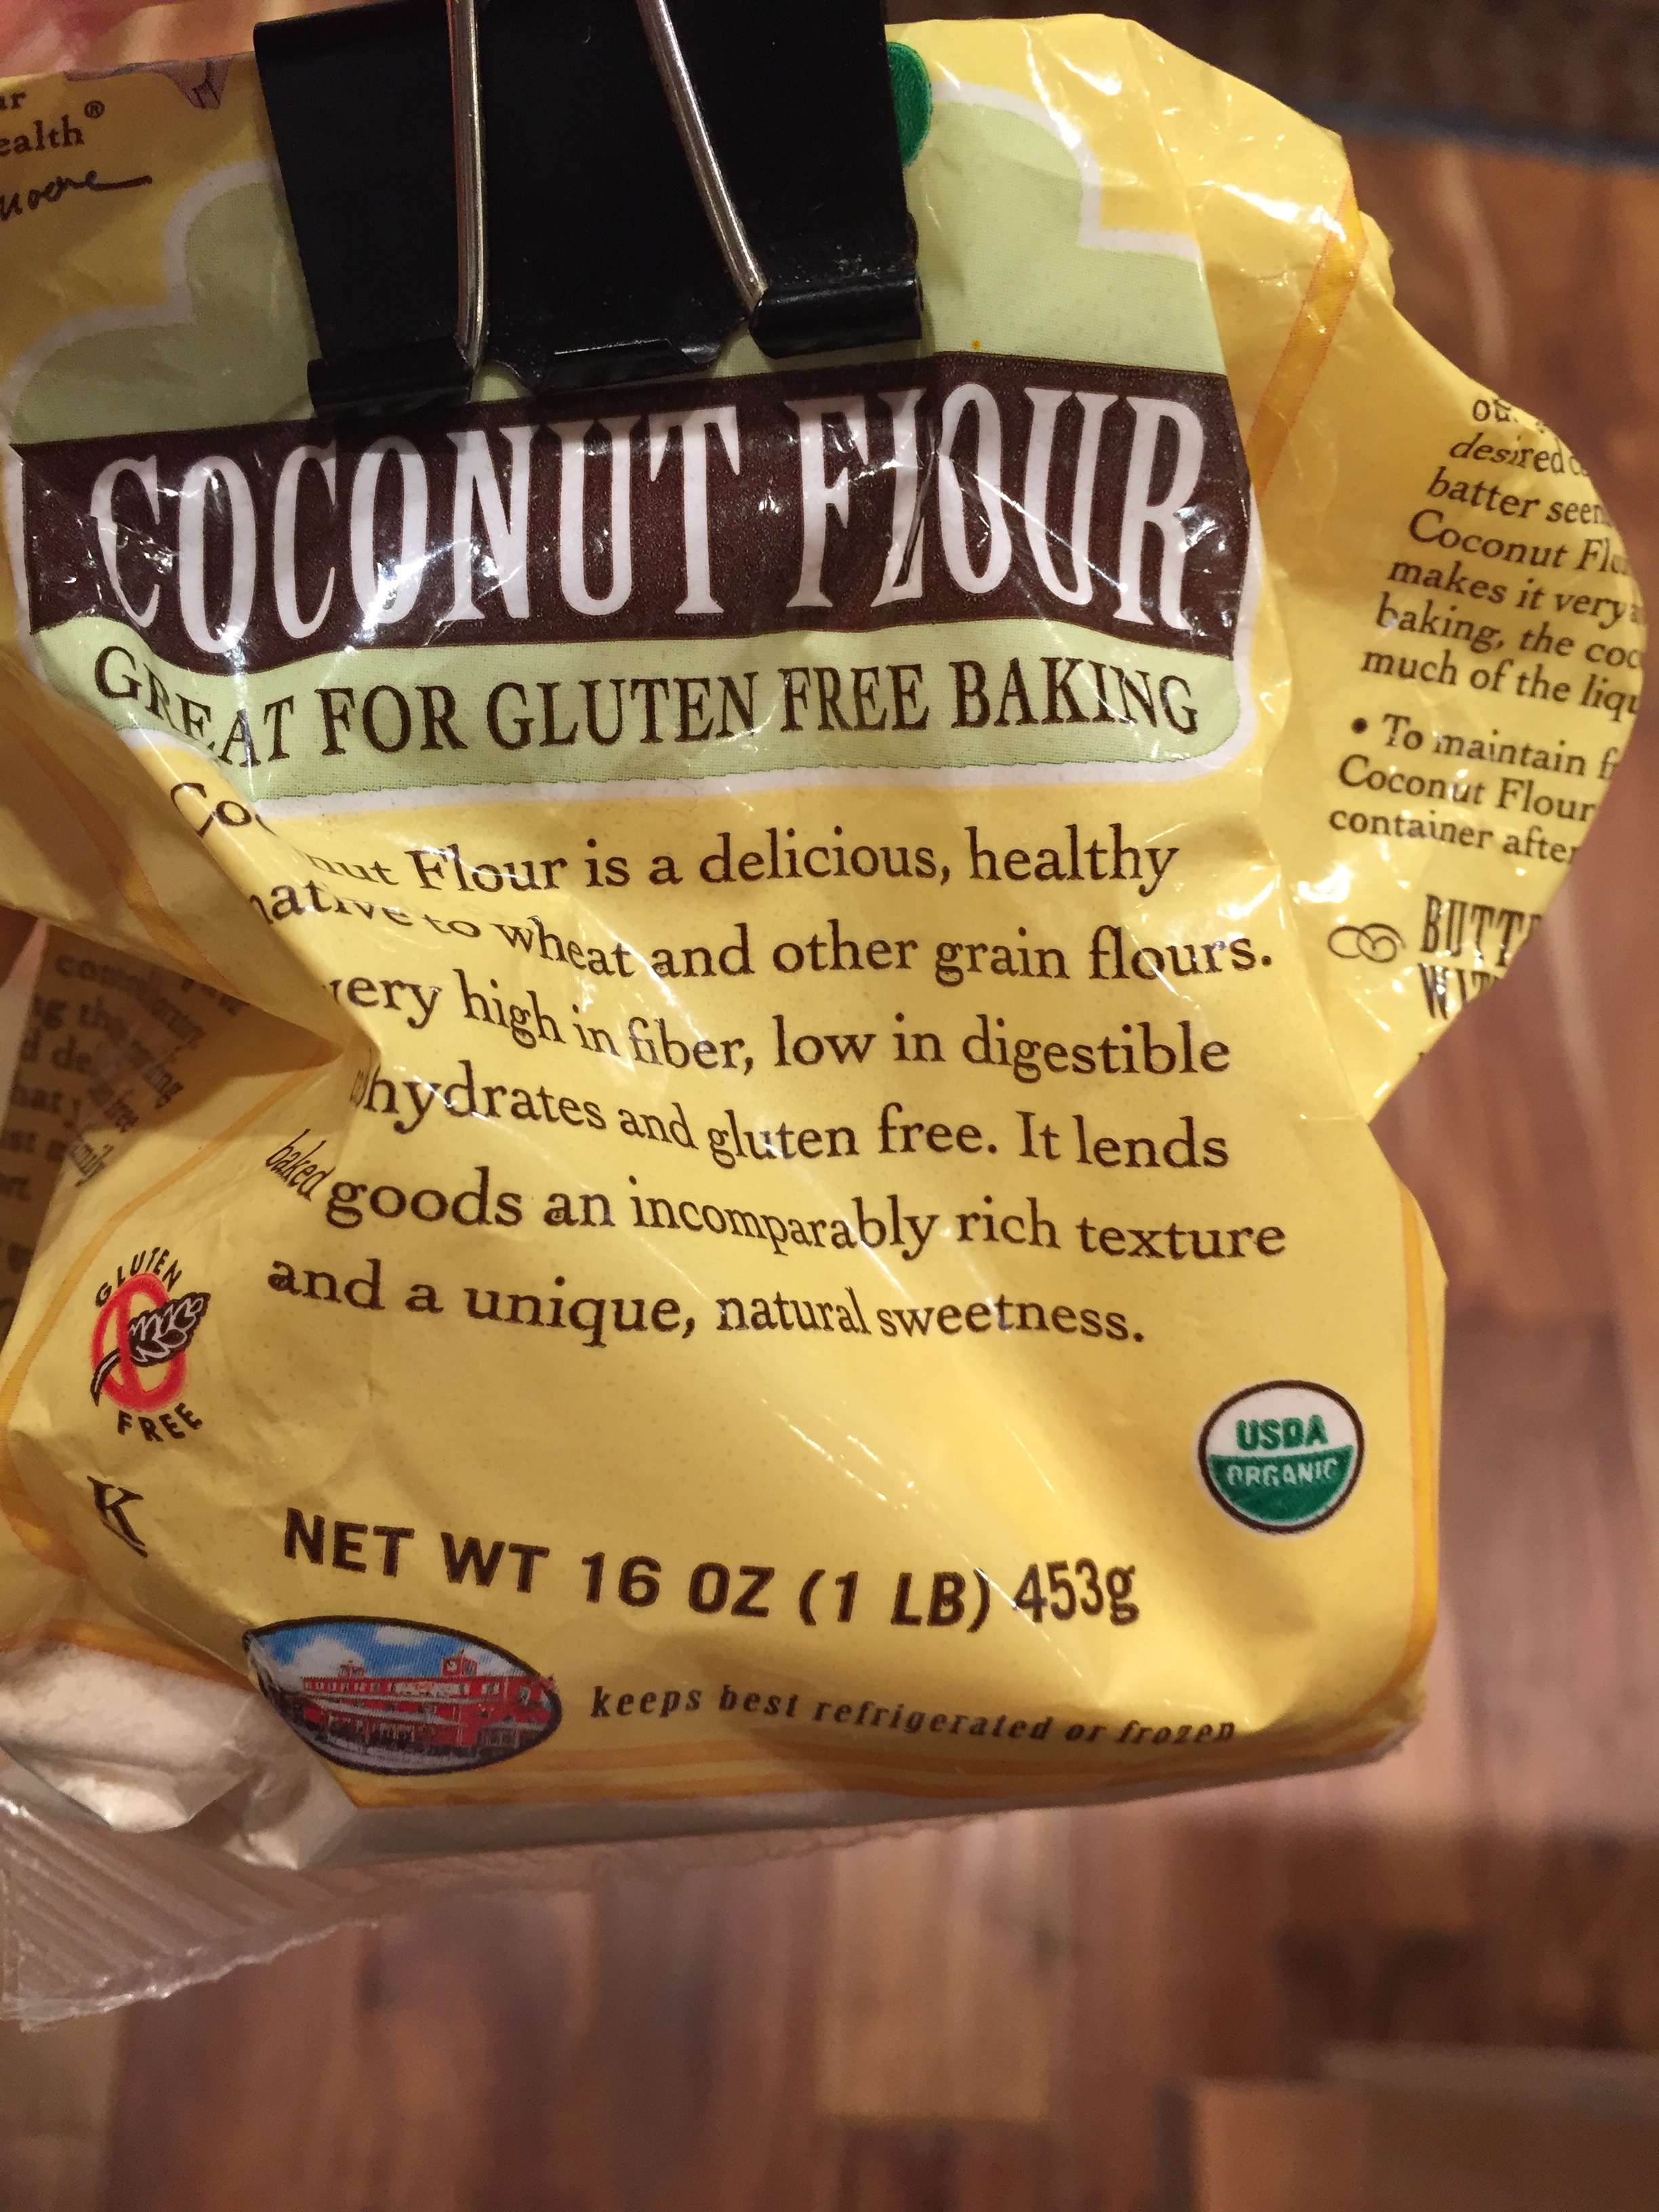
2 Tbs coconut flour

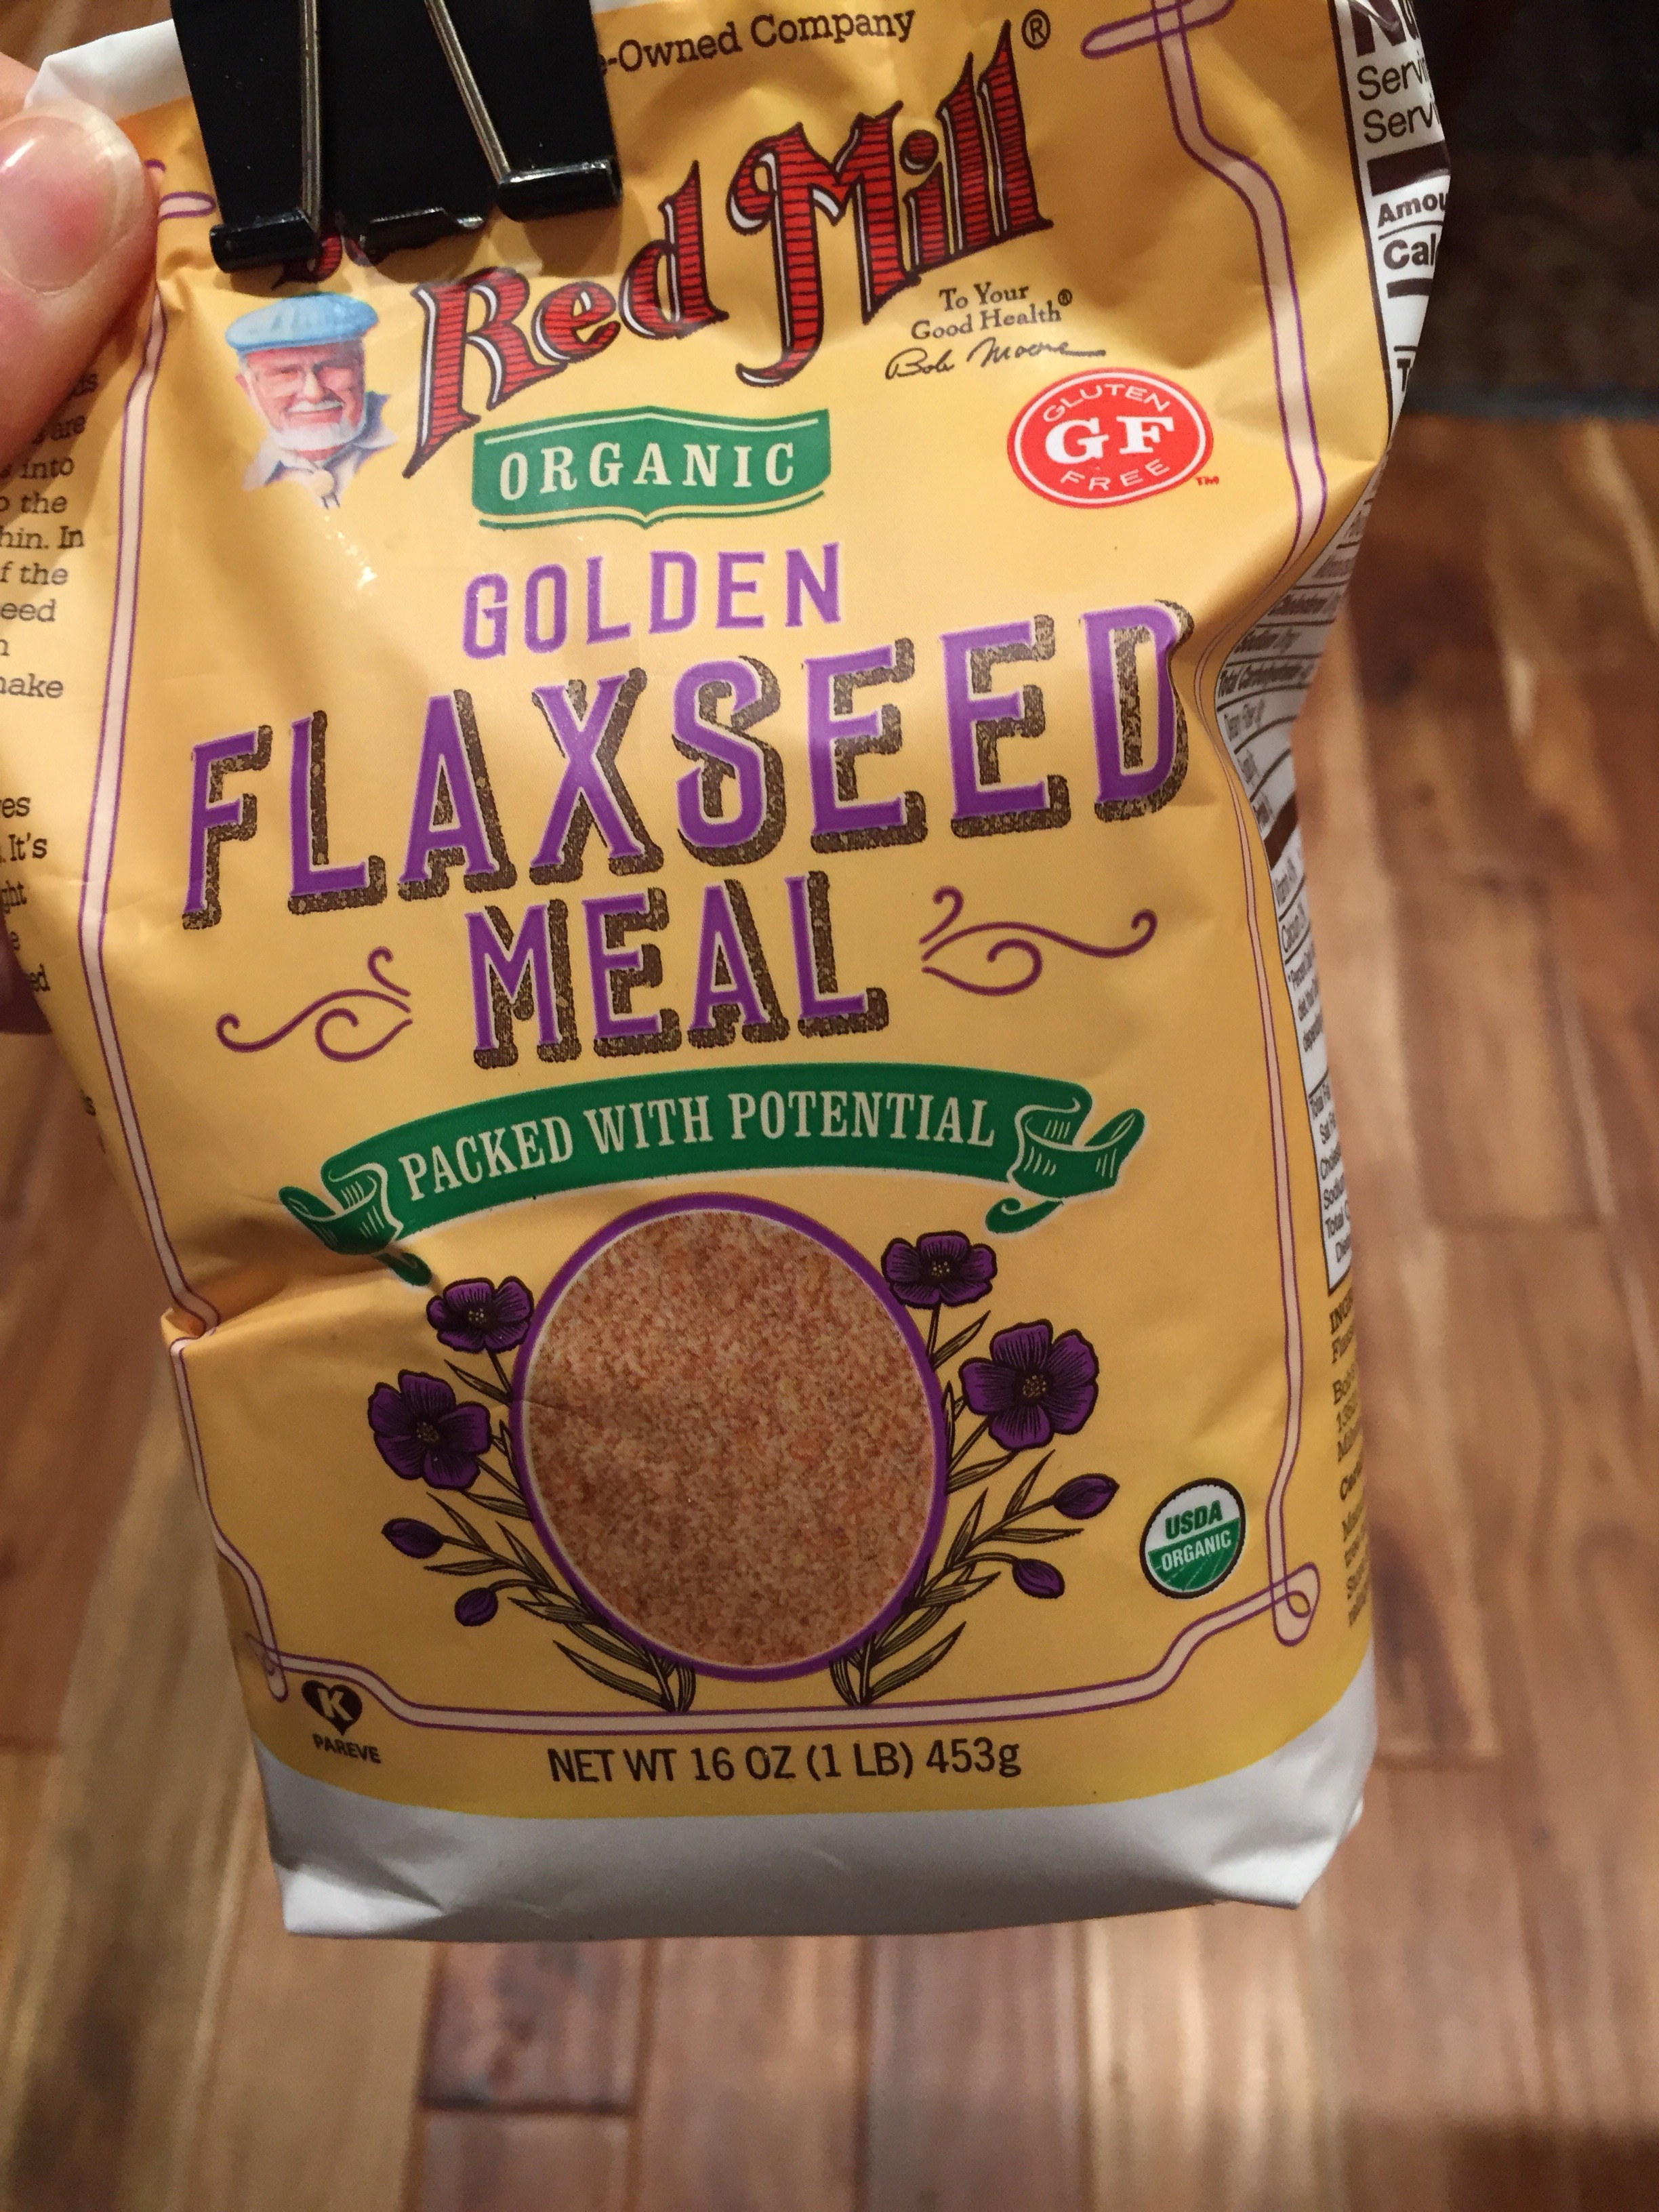
2 Tbs flaxseed meal

Mix together well

Add 1/4 cup warm water

Let rest for 5-10 minutes to hydrate

Add 1/4-1/3 cup egg replacer or 1-2 beaten eggs

Sprinkle of salt and 1 stevia packet if desired.

Optional variations: add in 1 or more of the following-  1 Tbs unsweetened cocoa powder, 1 tsp crushed ginger and cinnamon, 1 Tbs unsweetened coconut flakes, 1 Tbs crushed berries.


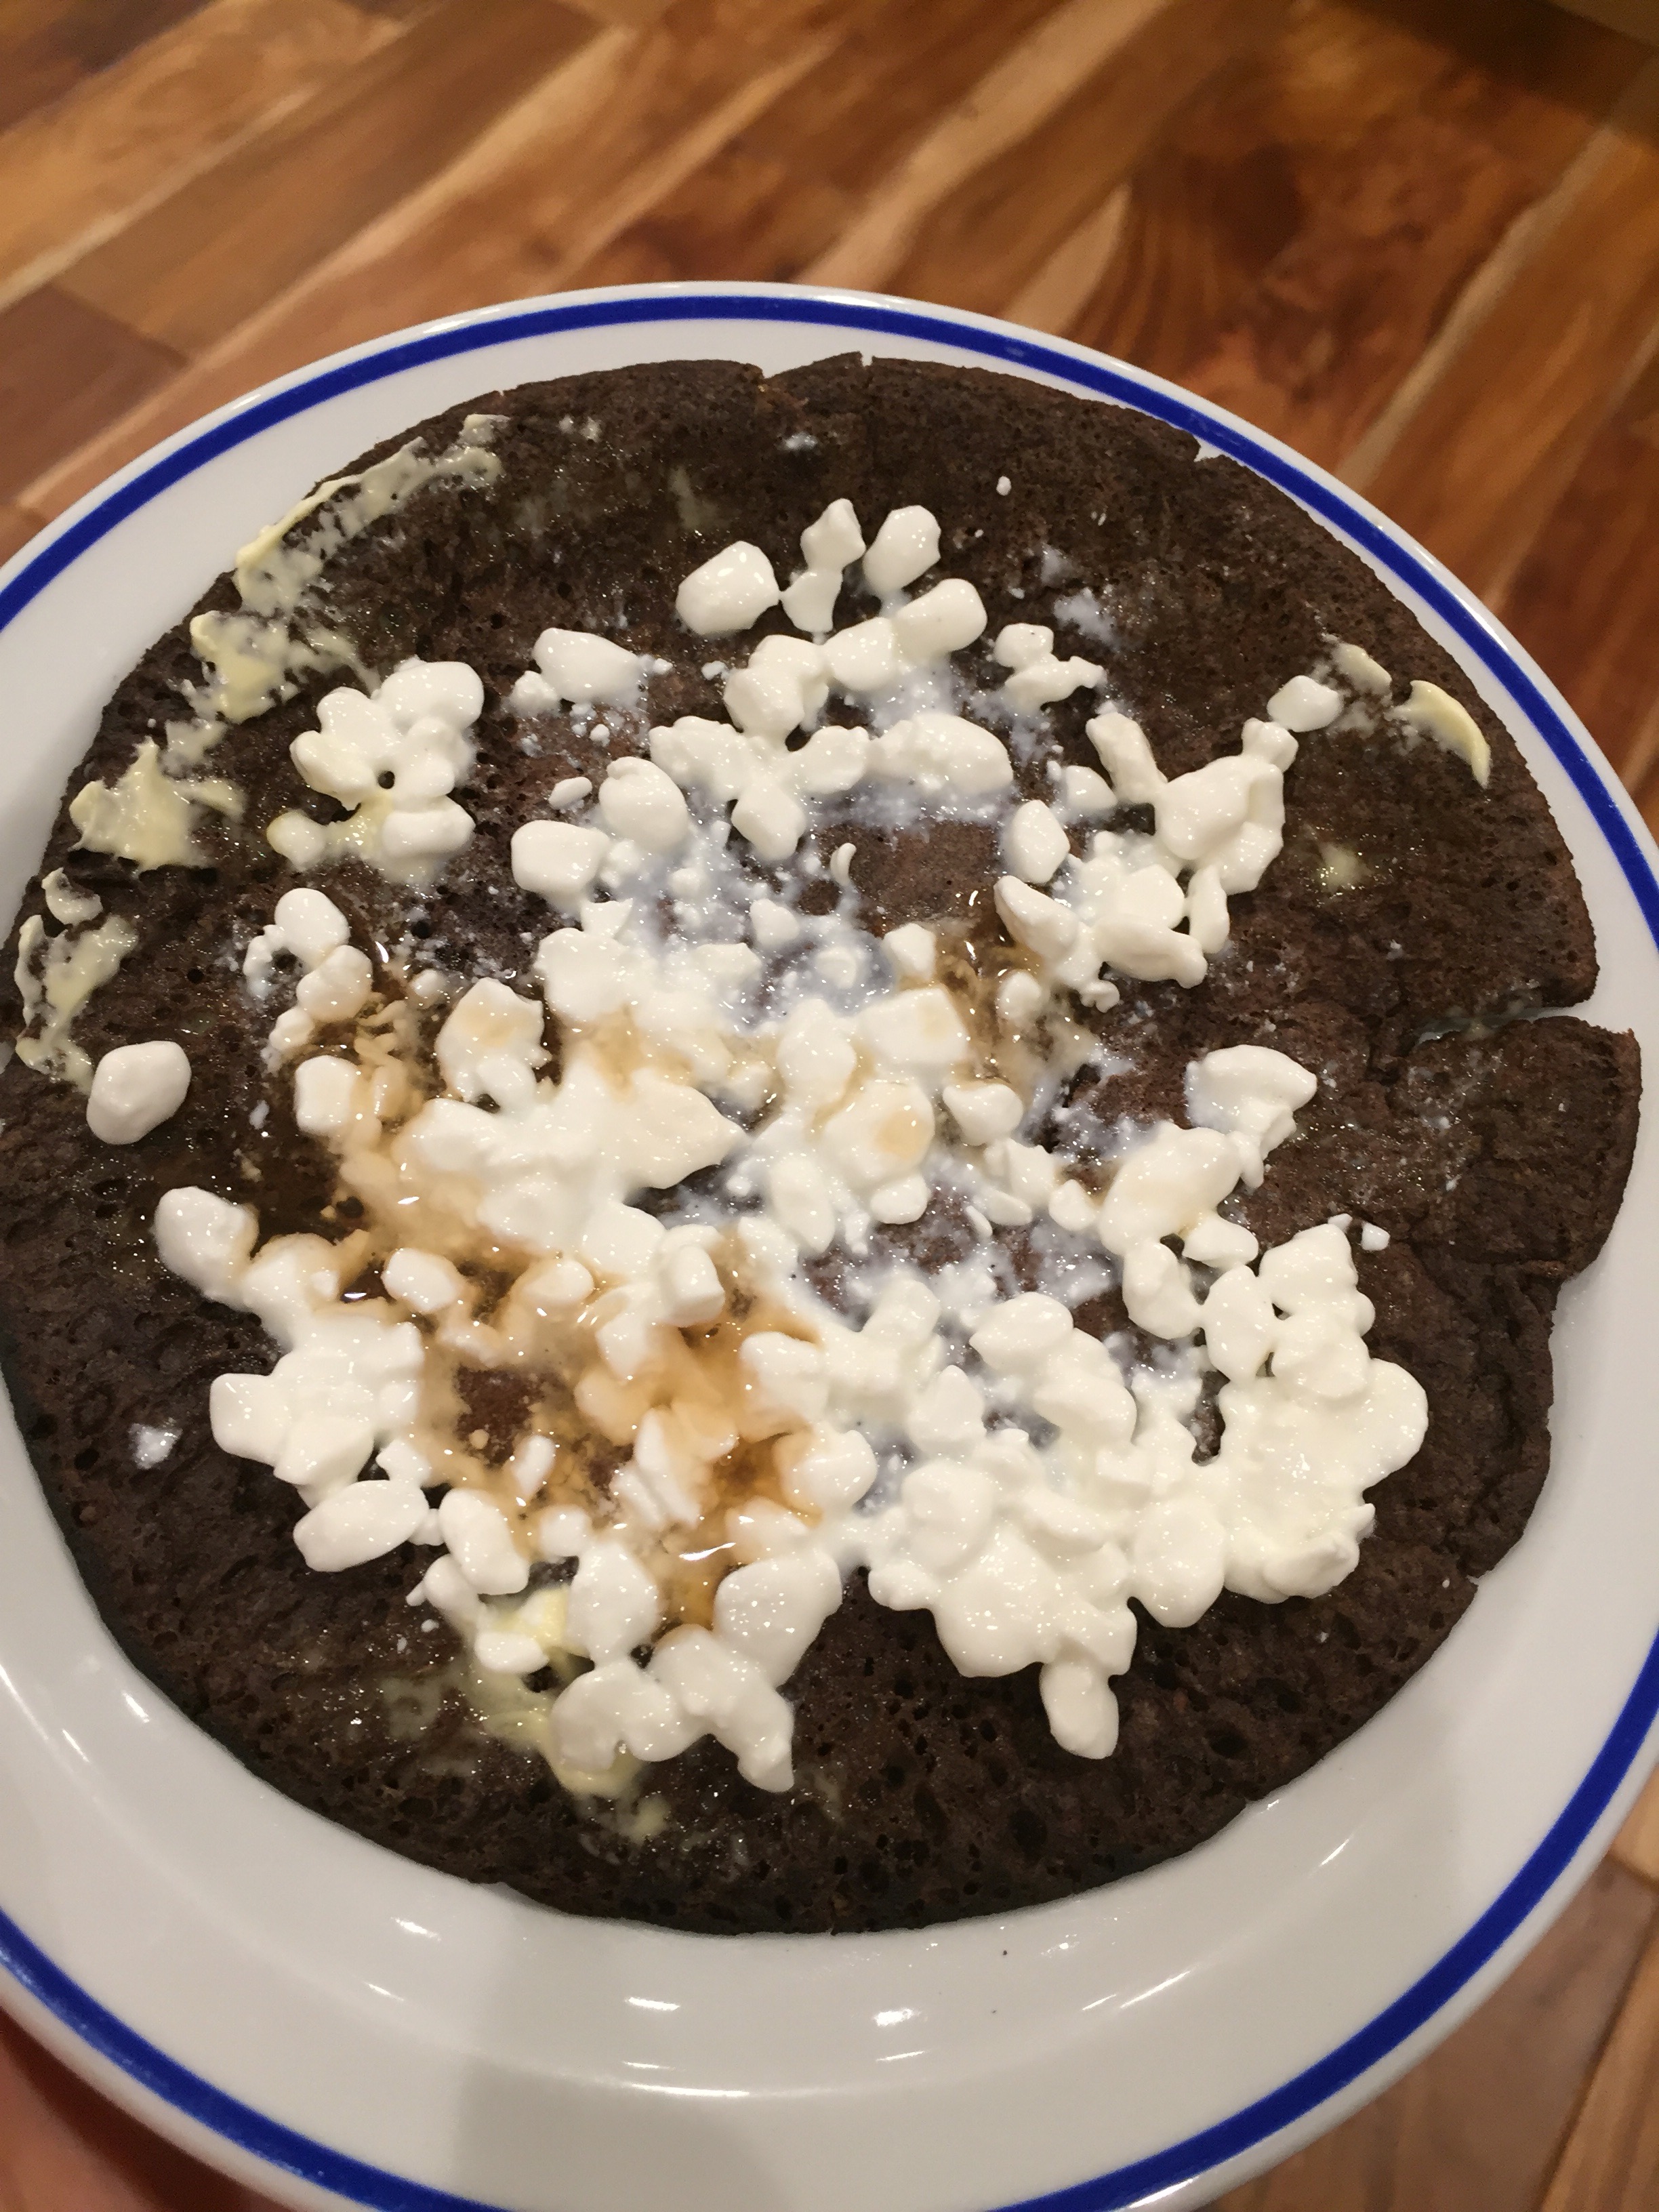
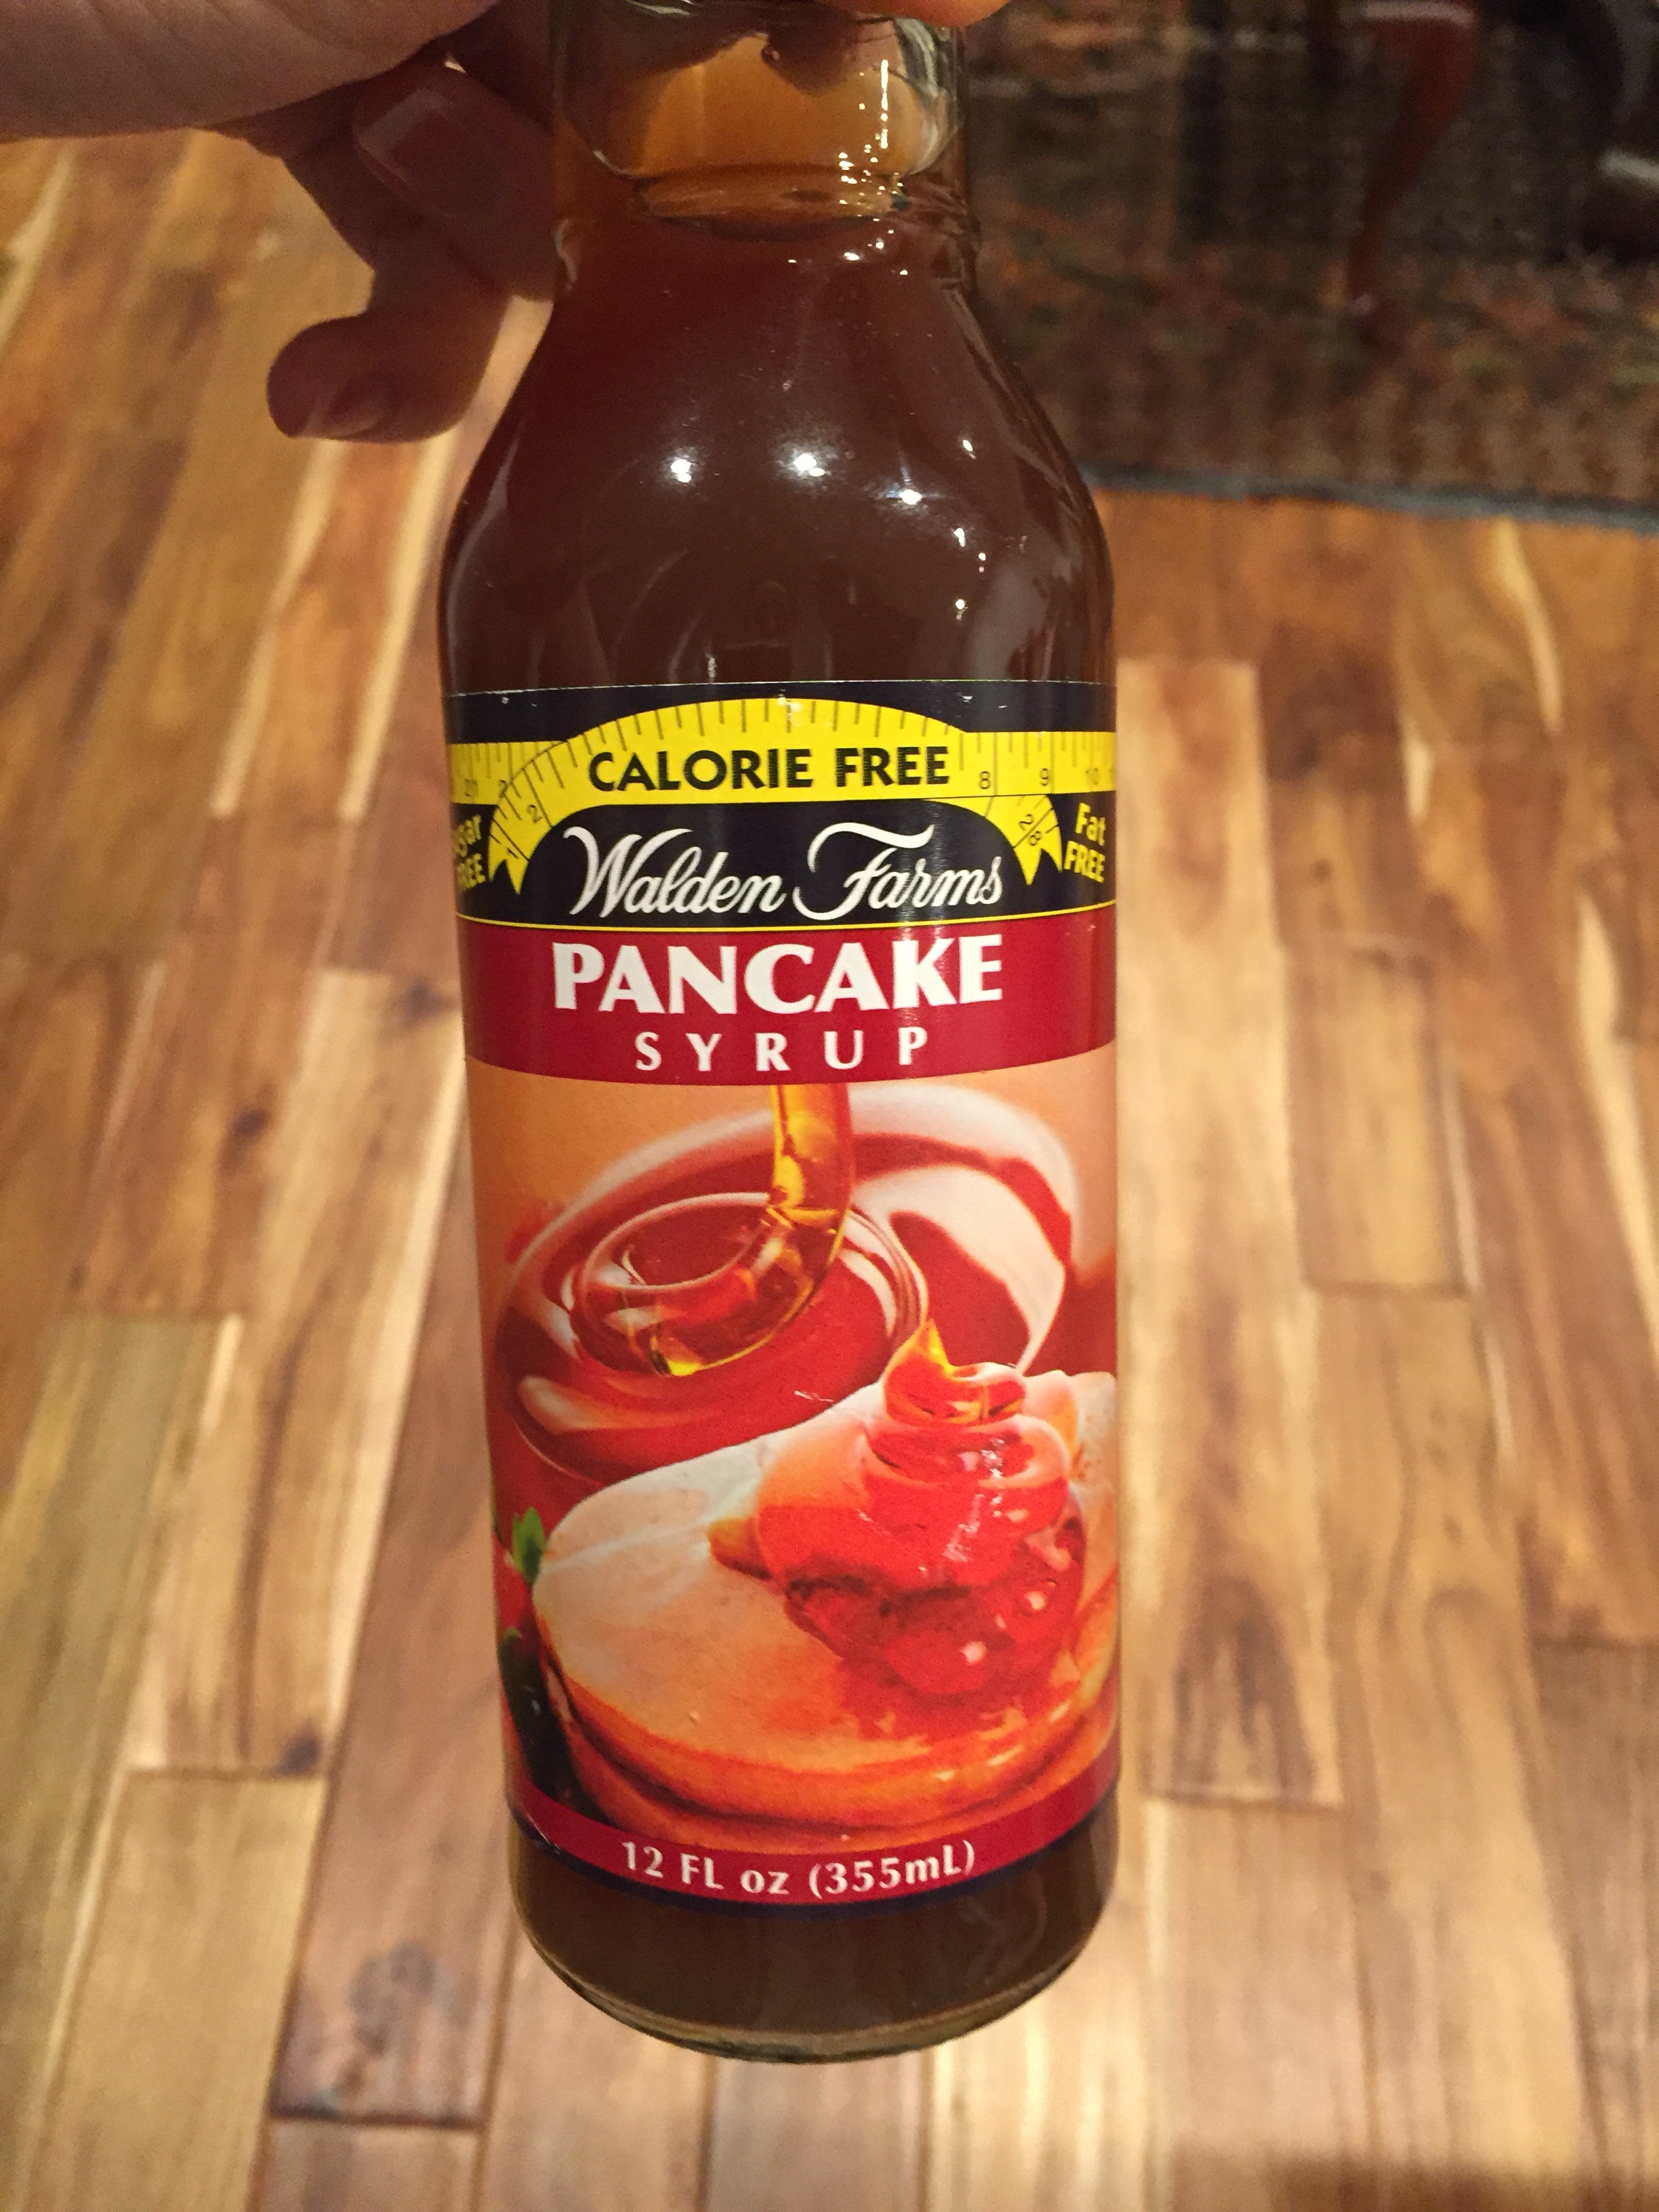
I topped with 2% cottage cheese for extra protein and Walden farms no sugar pancake syrup.


Quick low carb Paleo pancakss

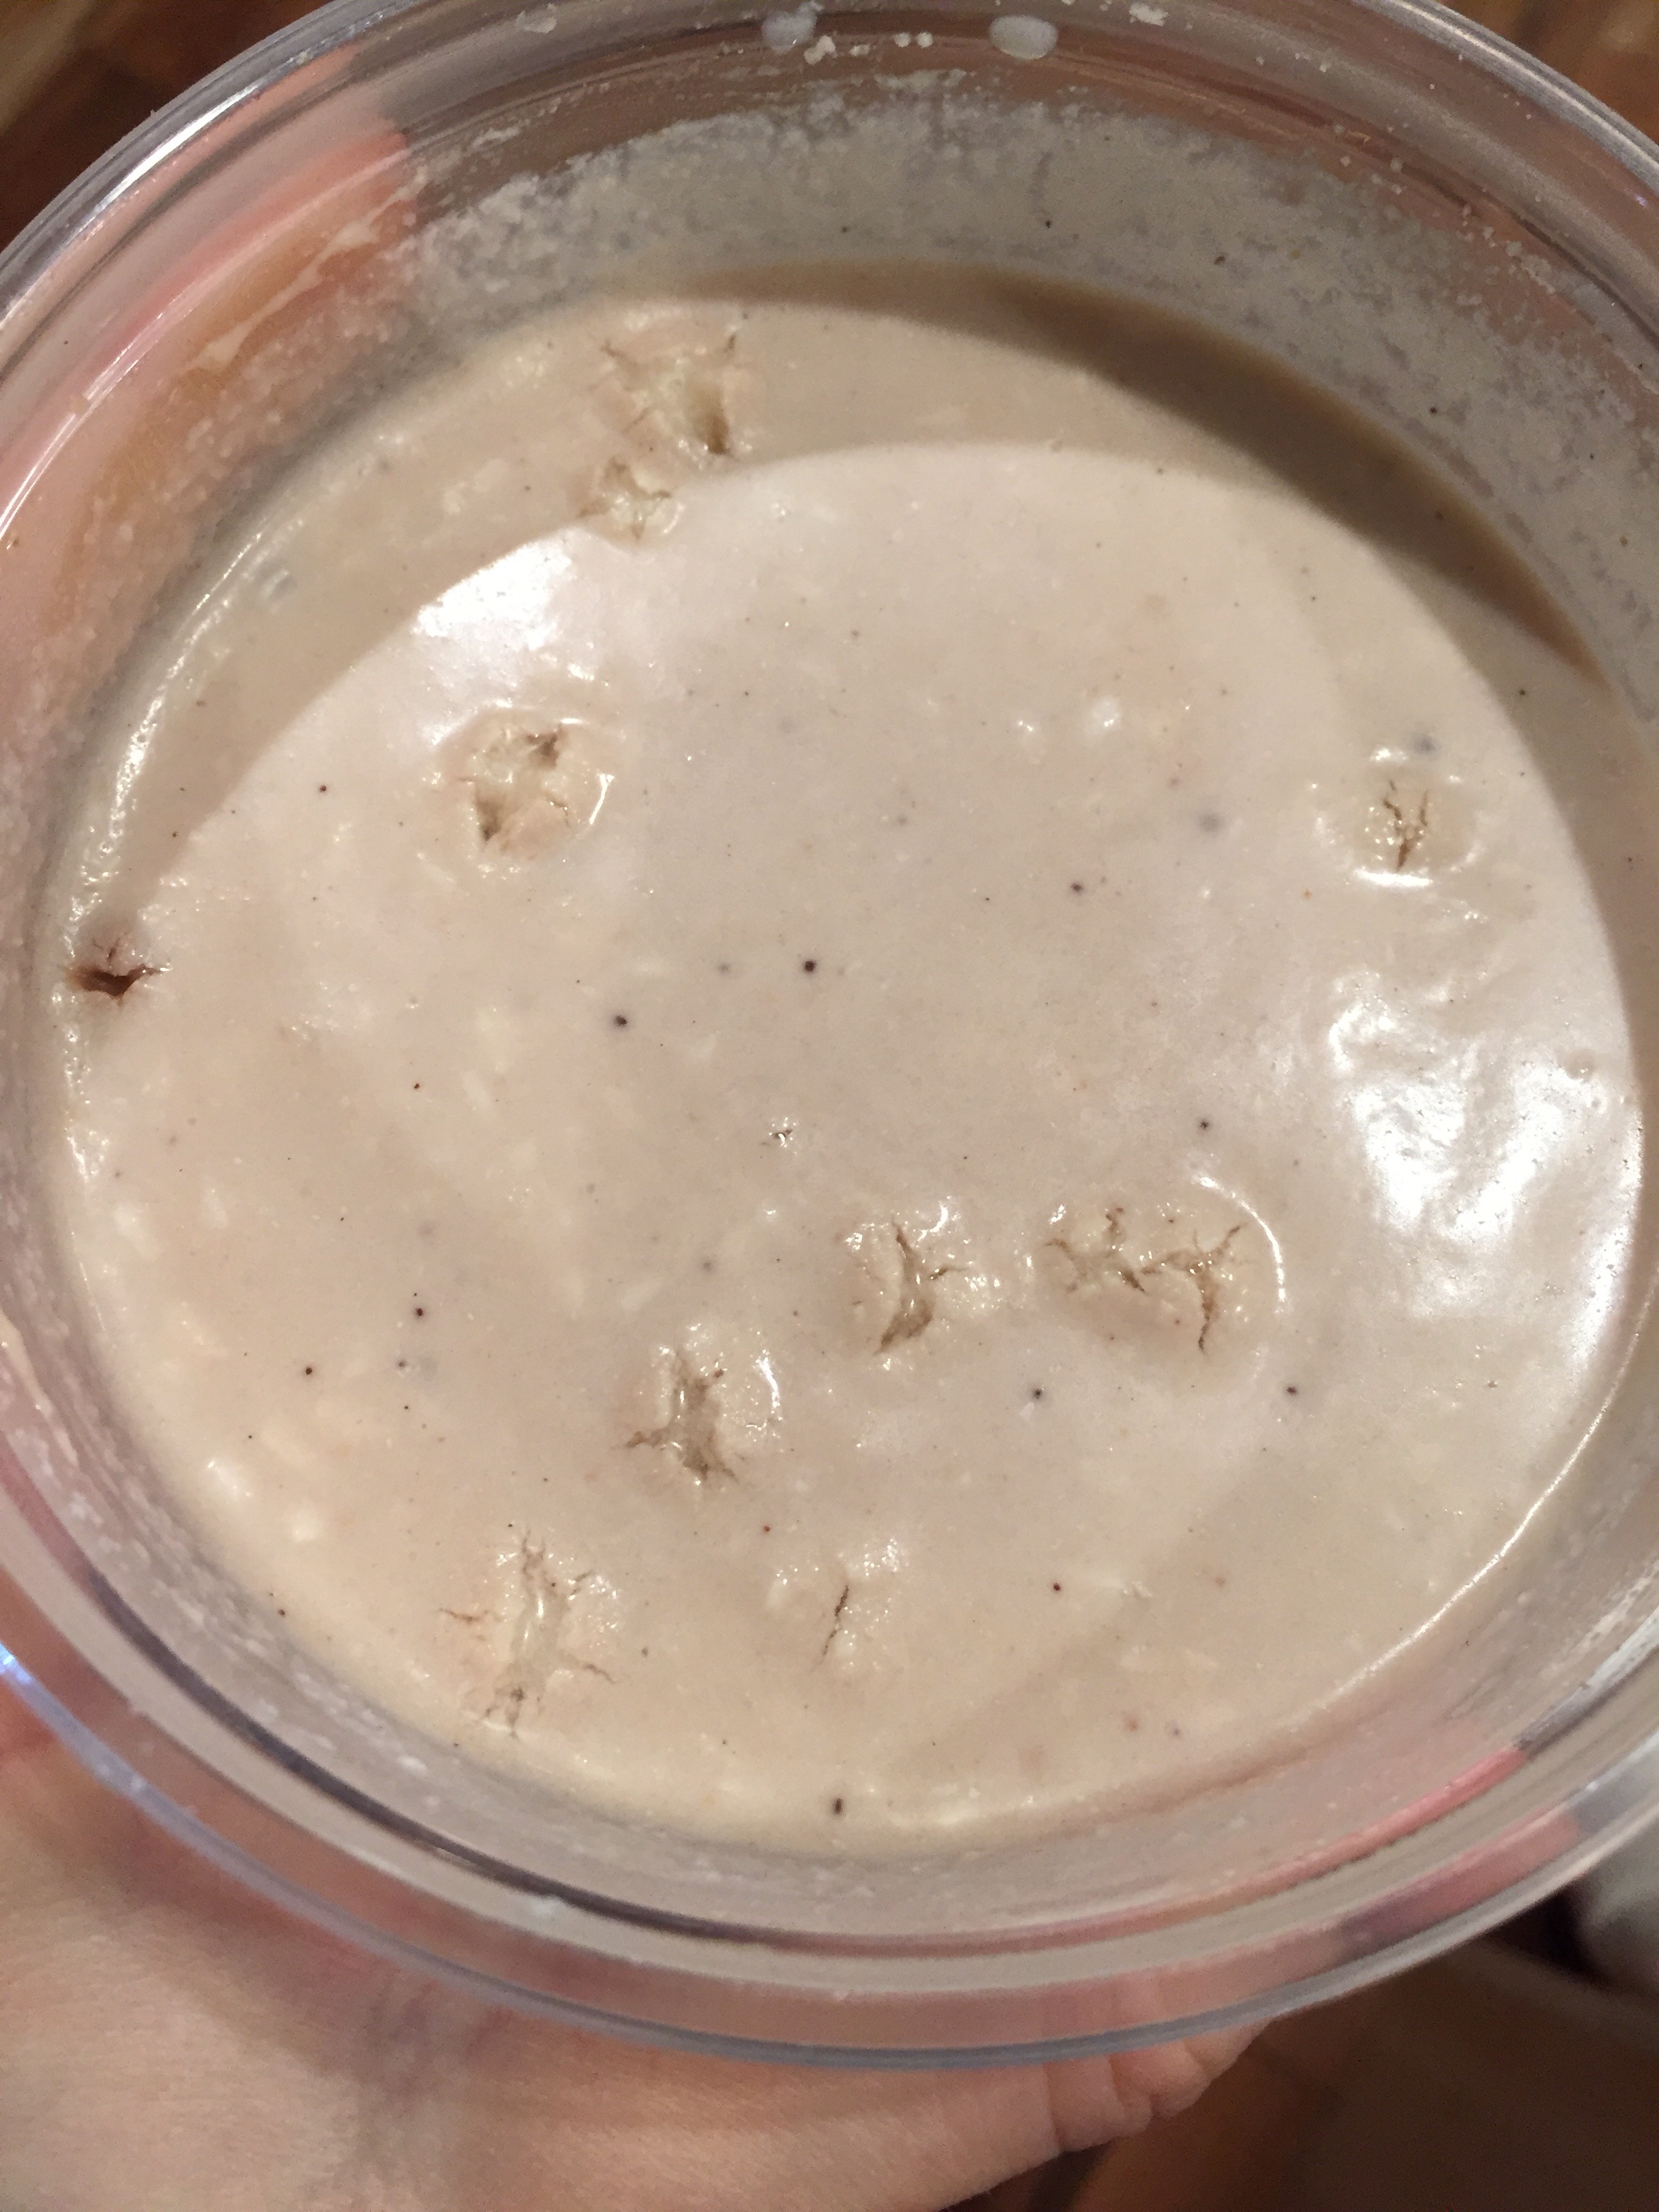
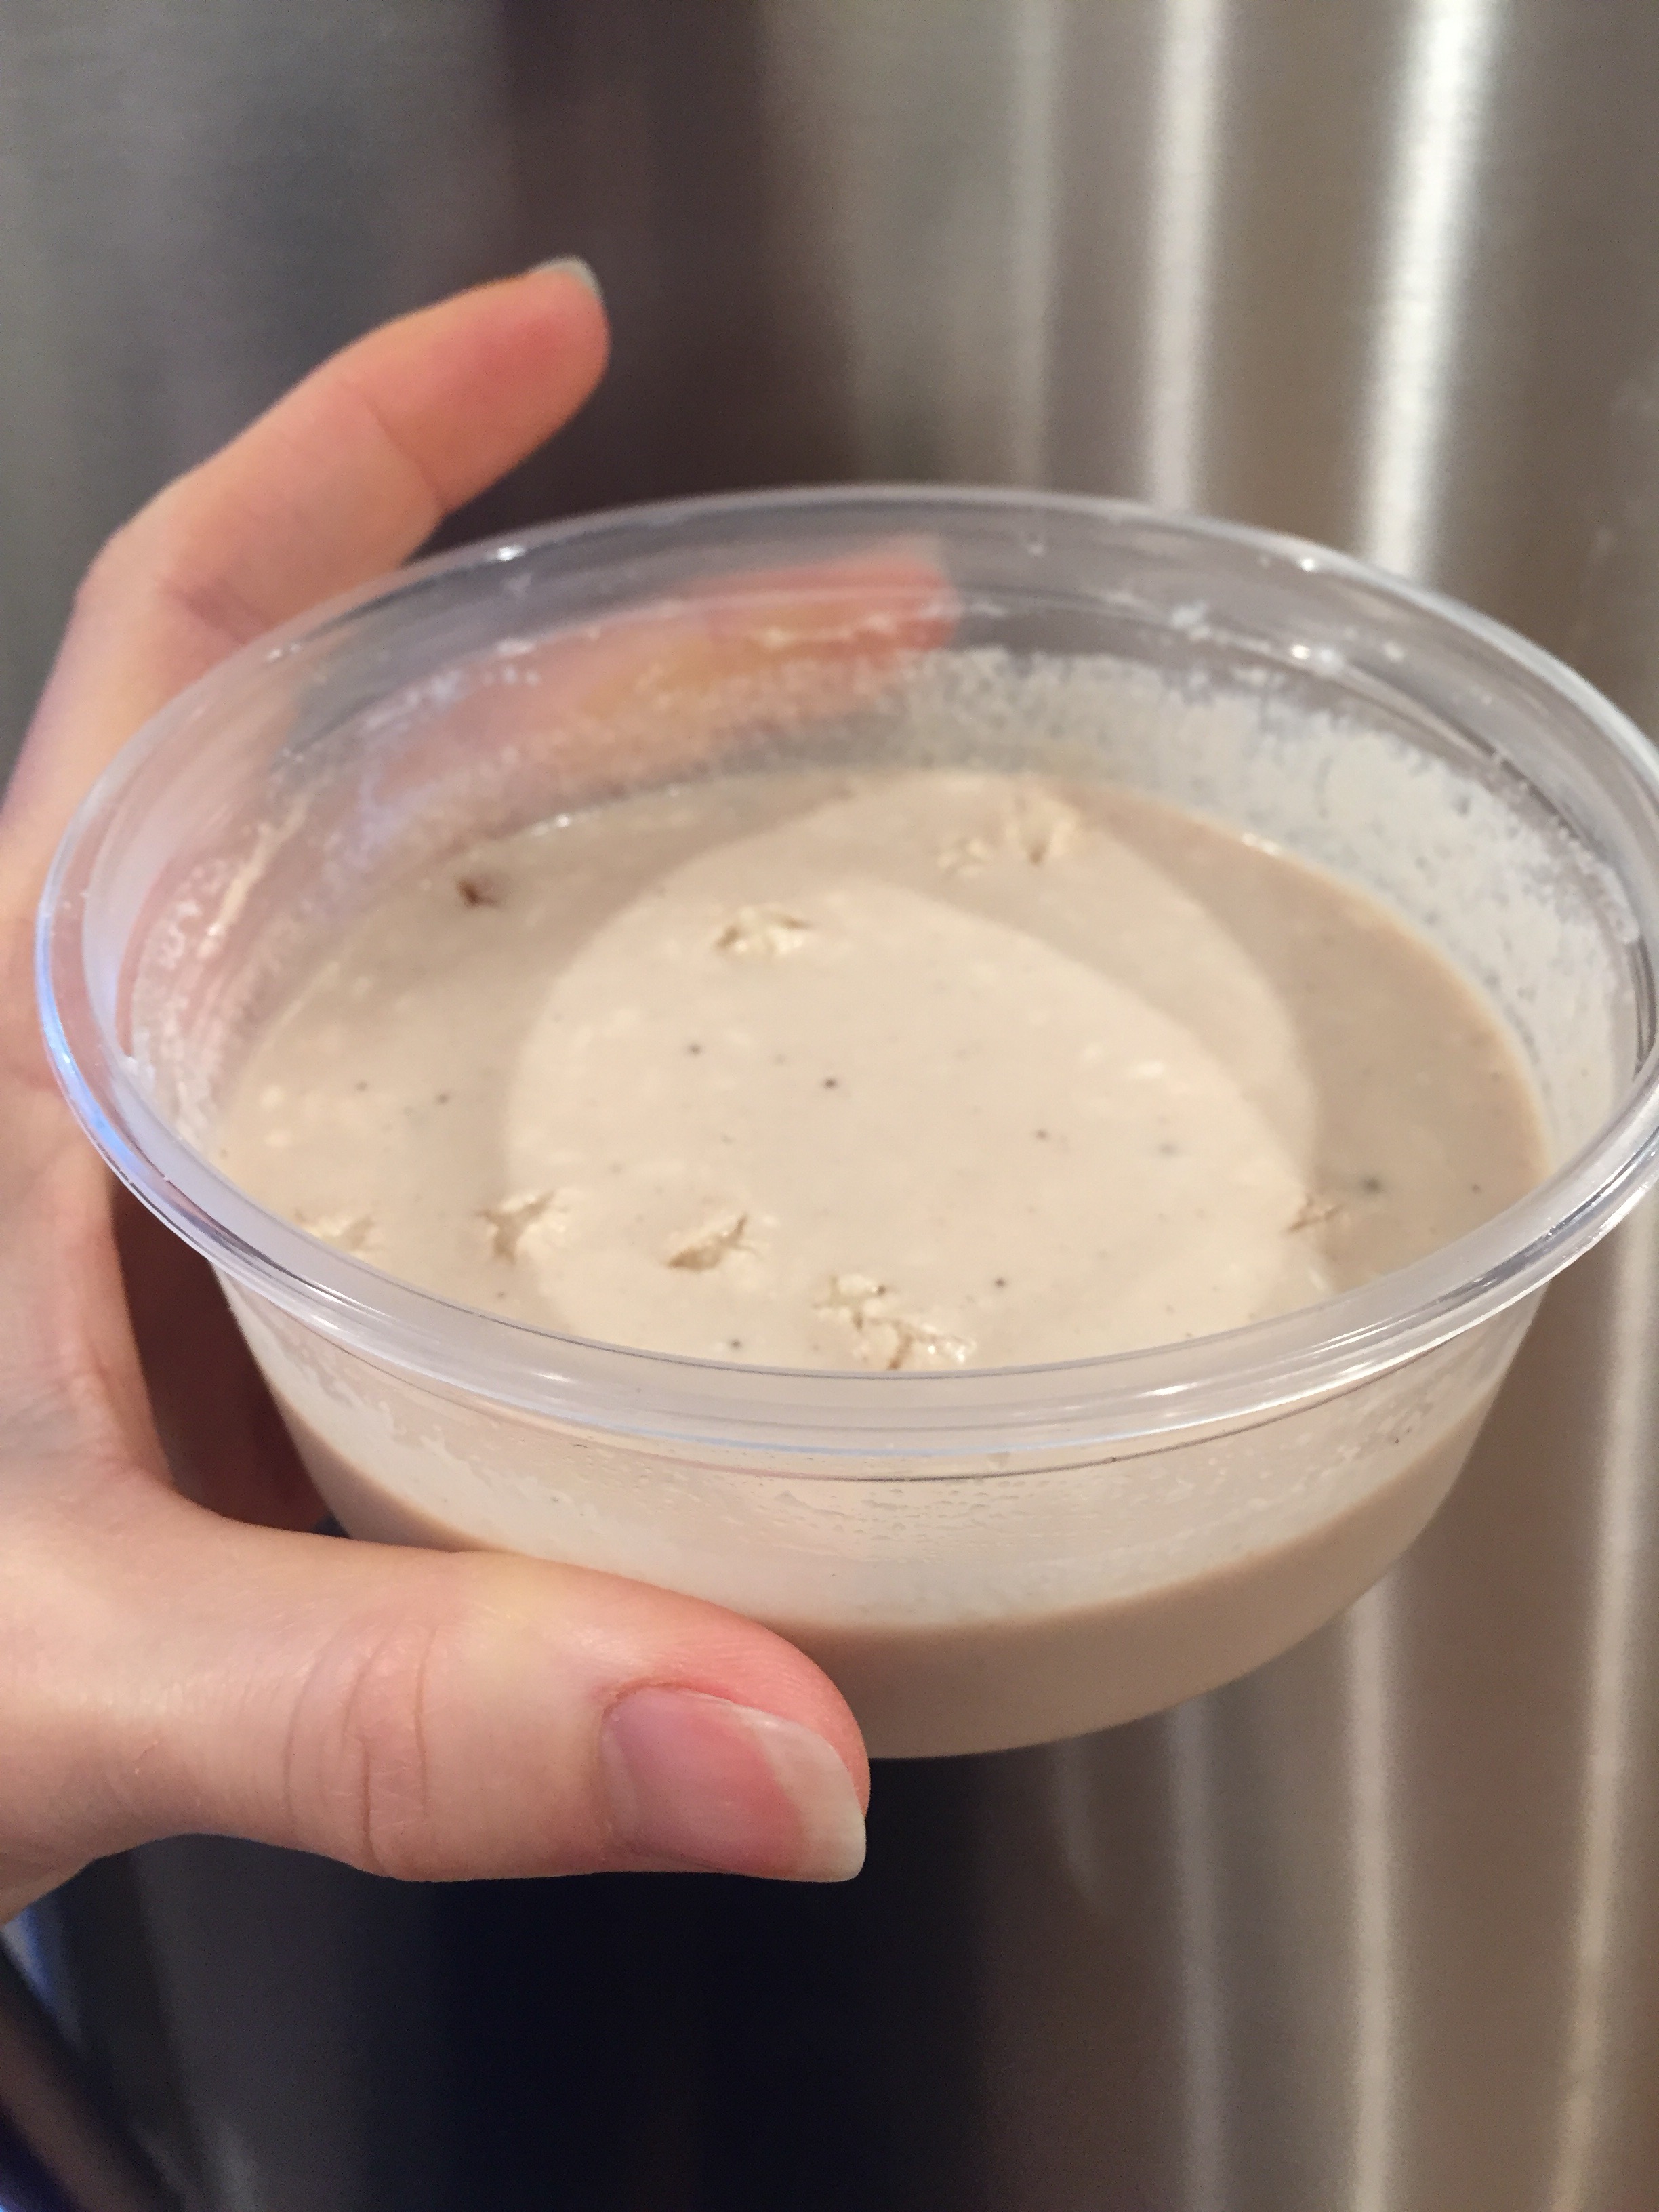
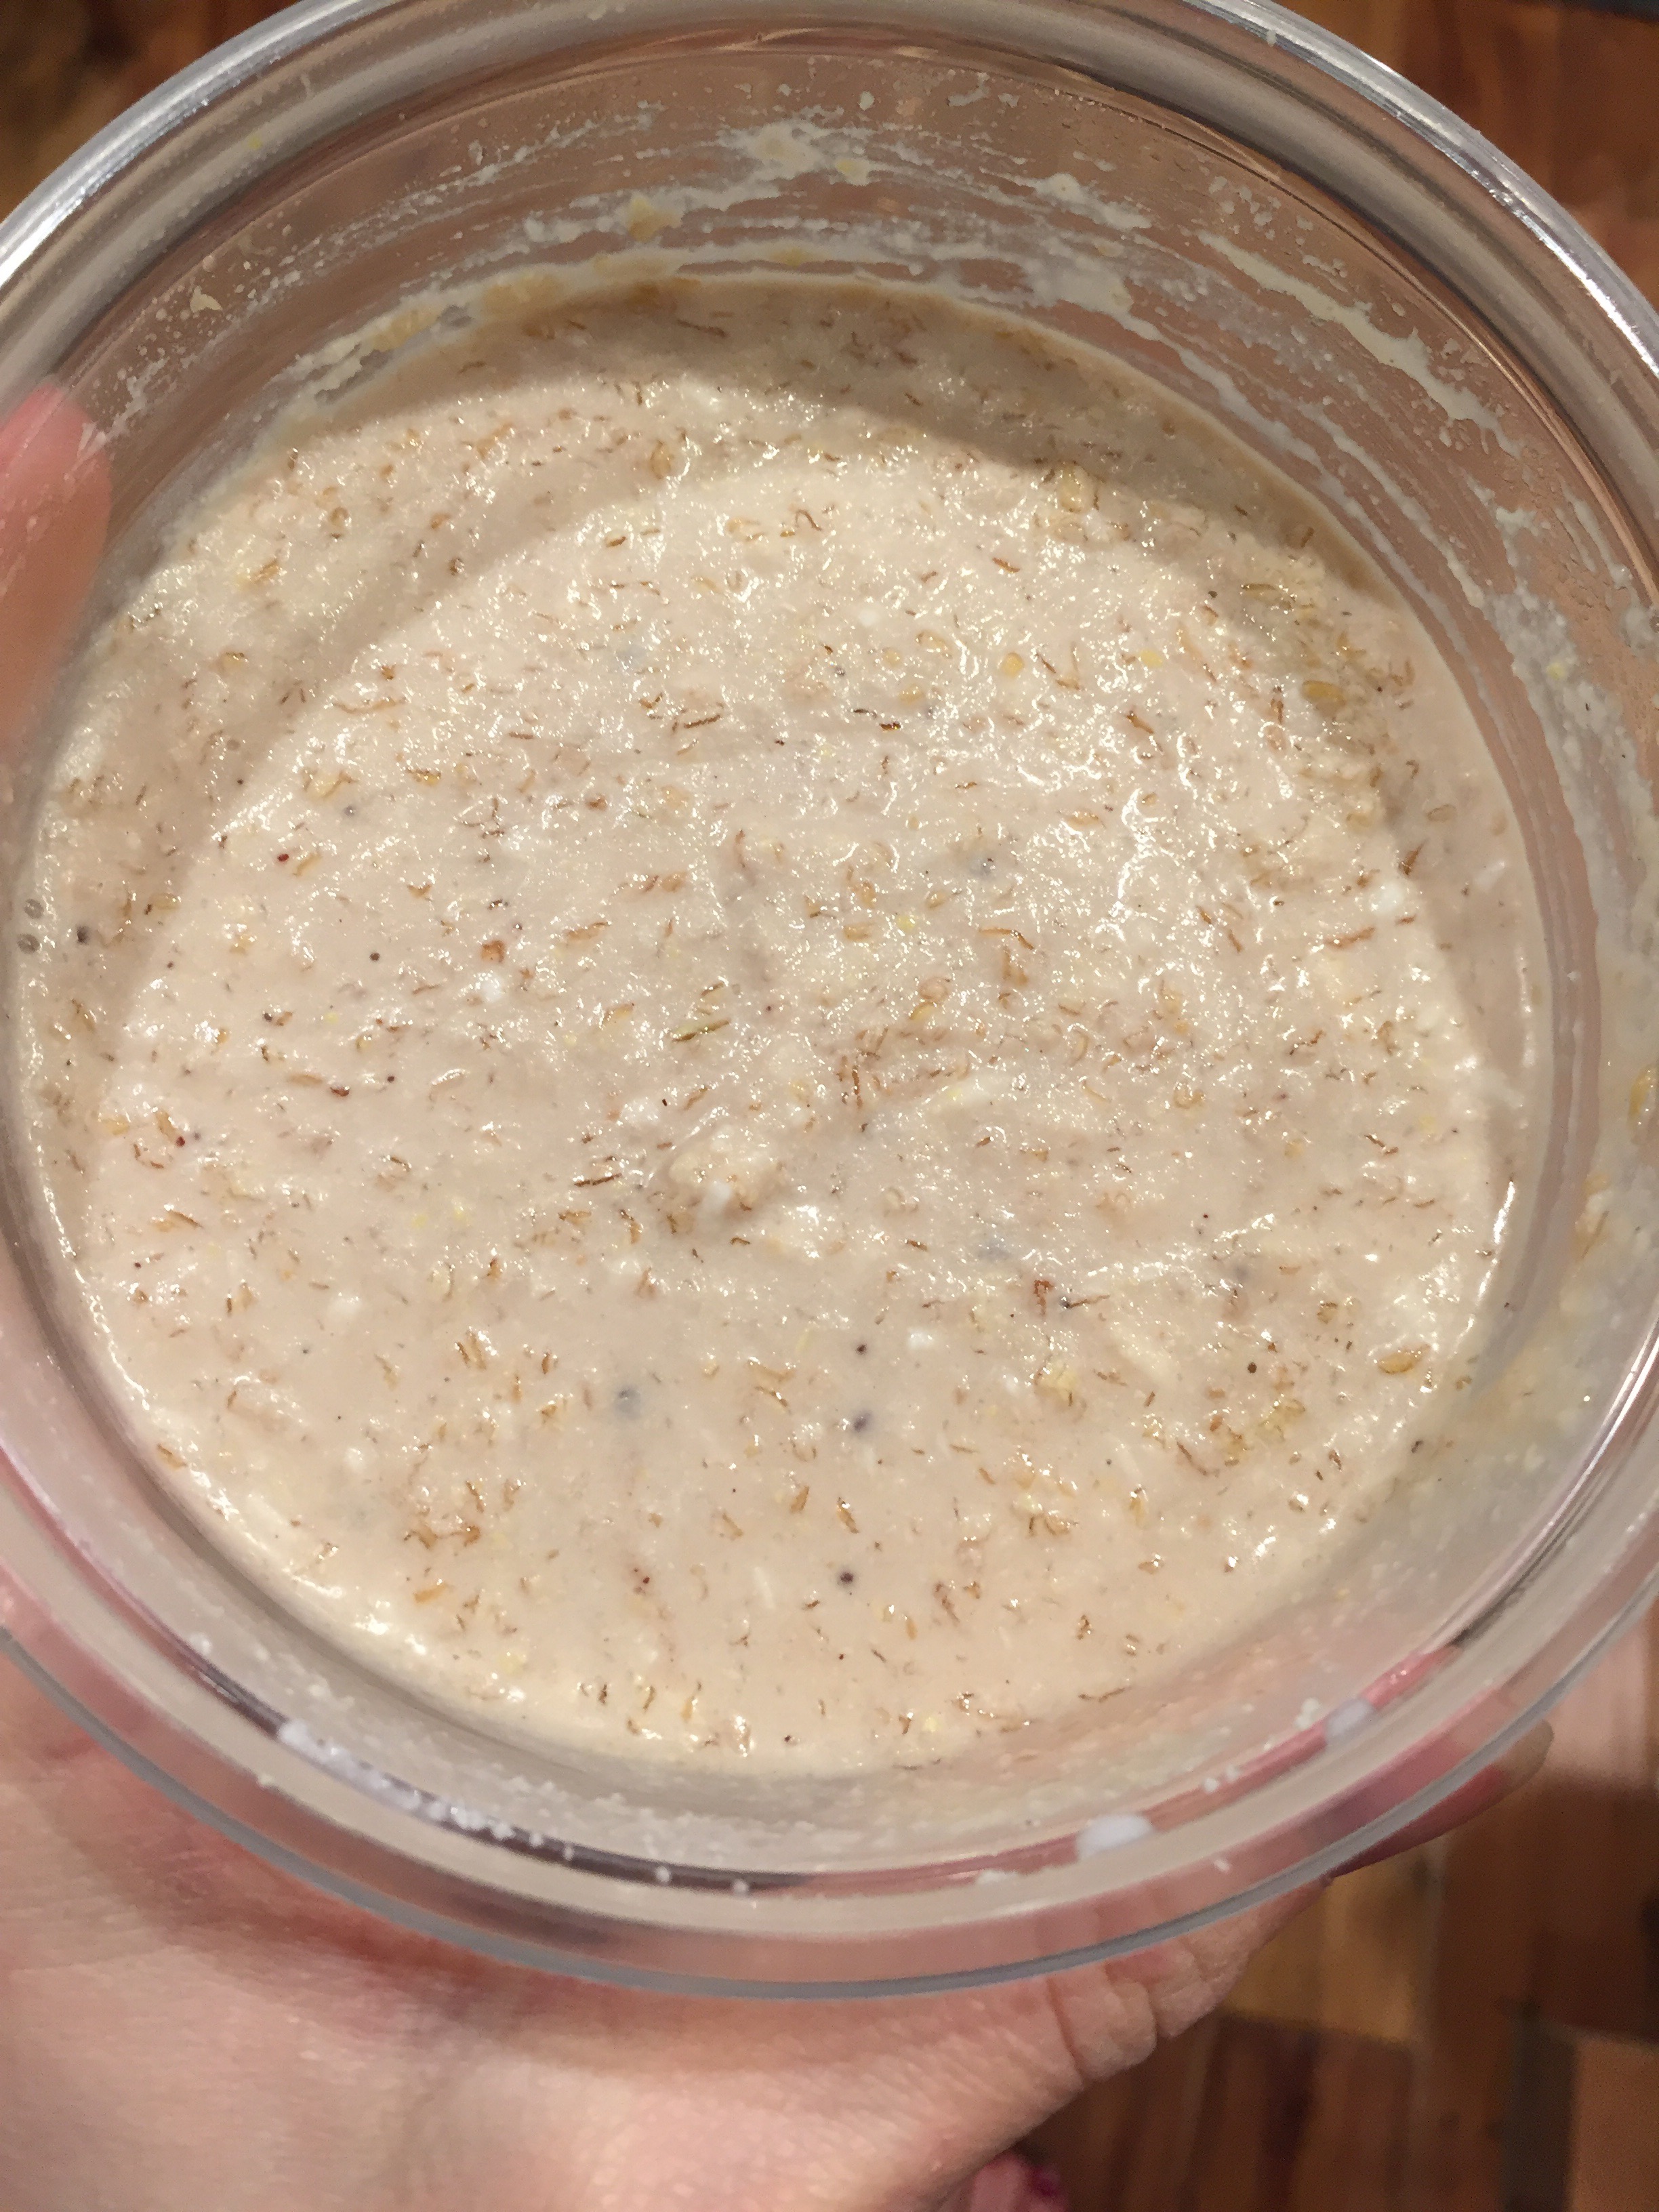
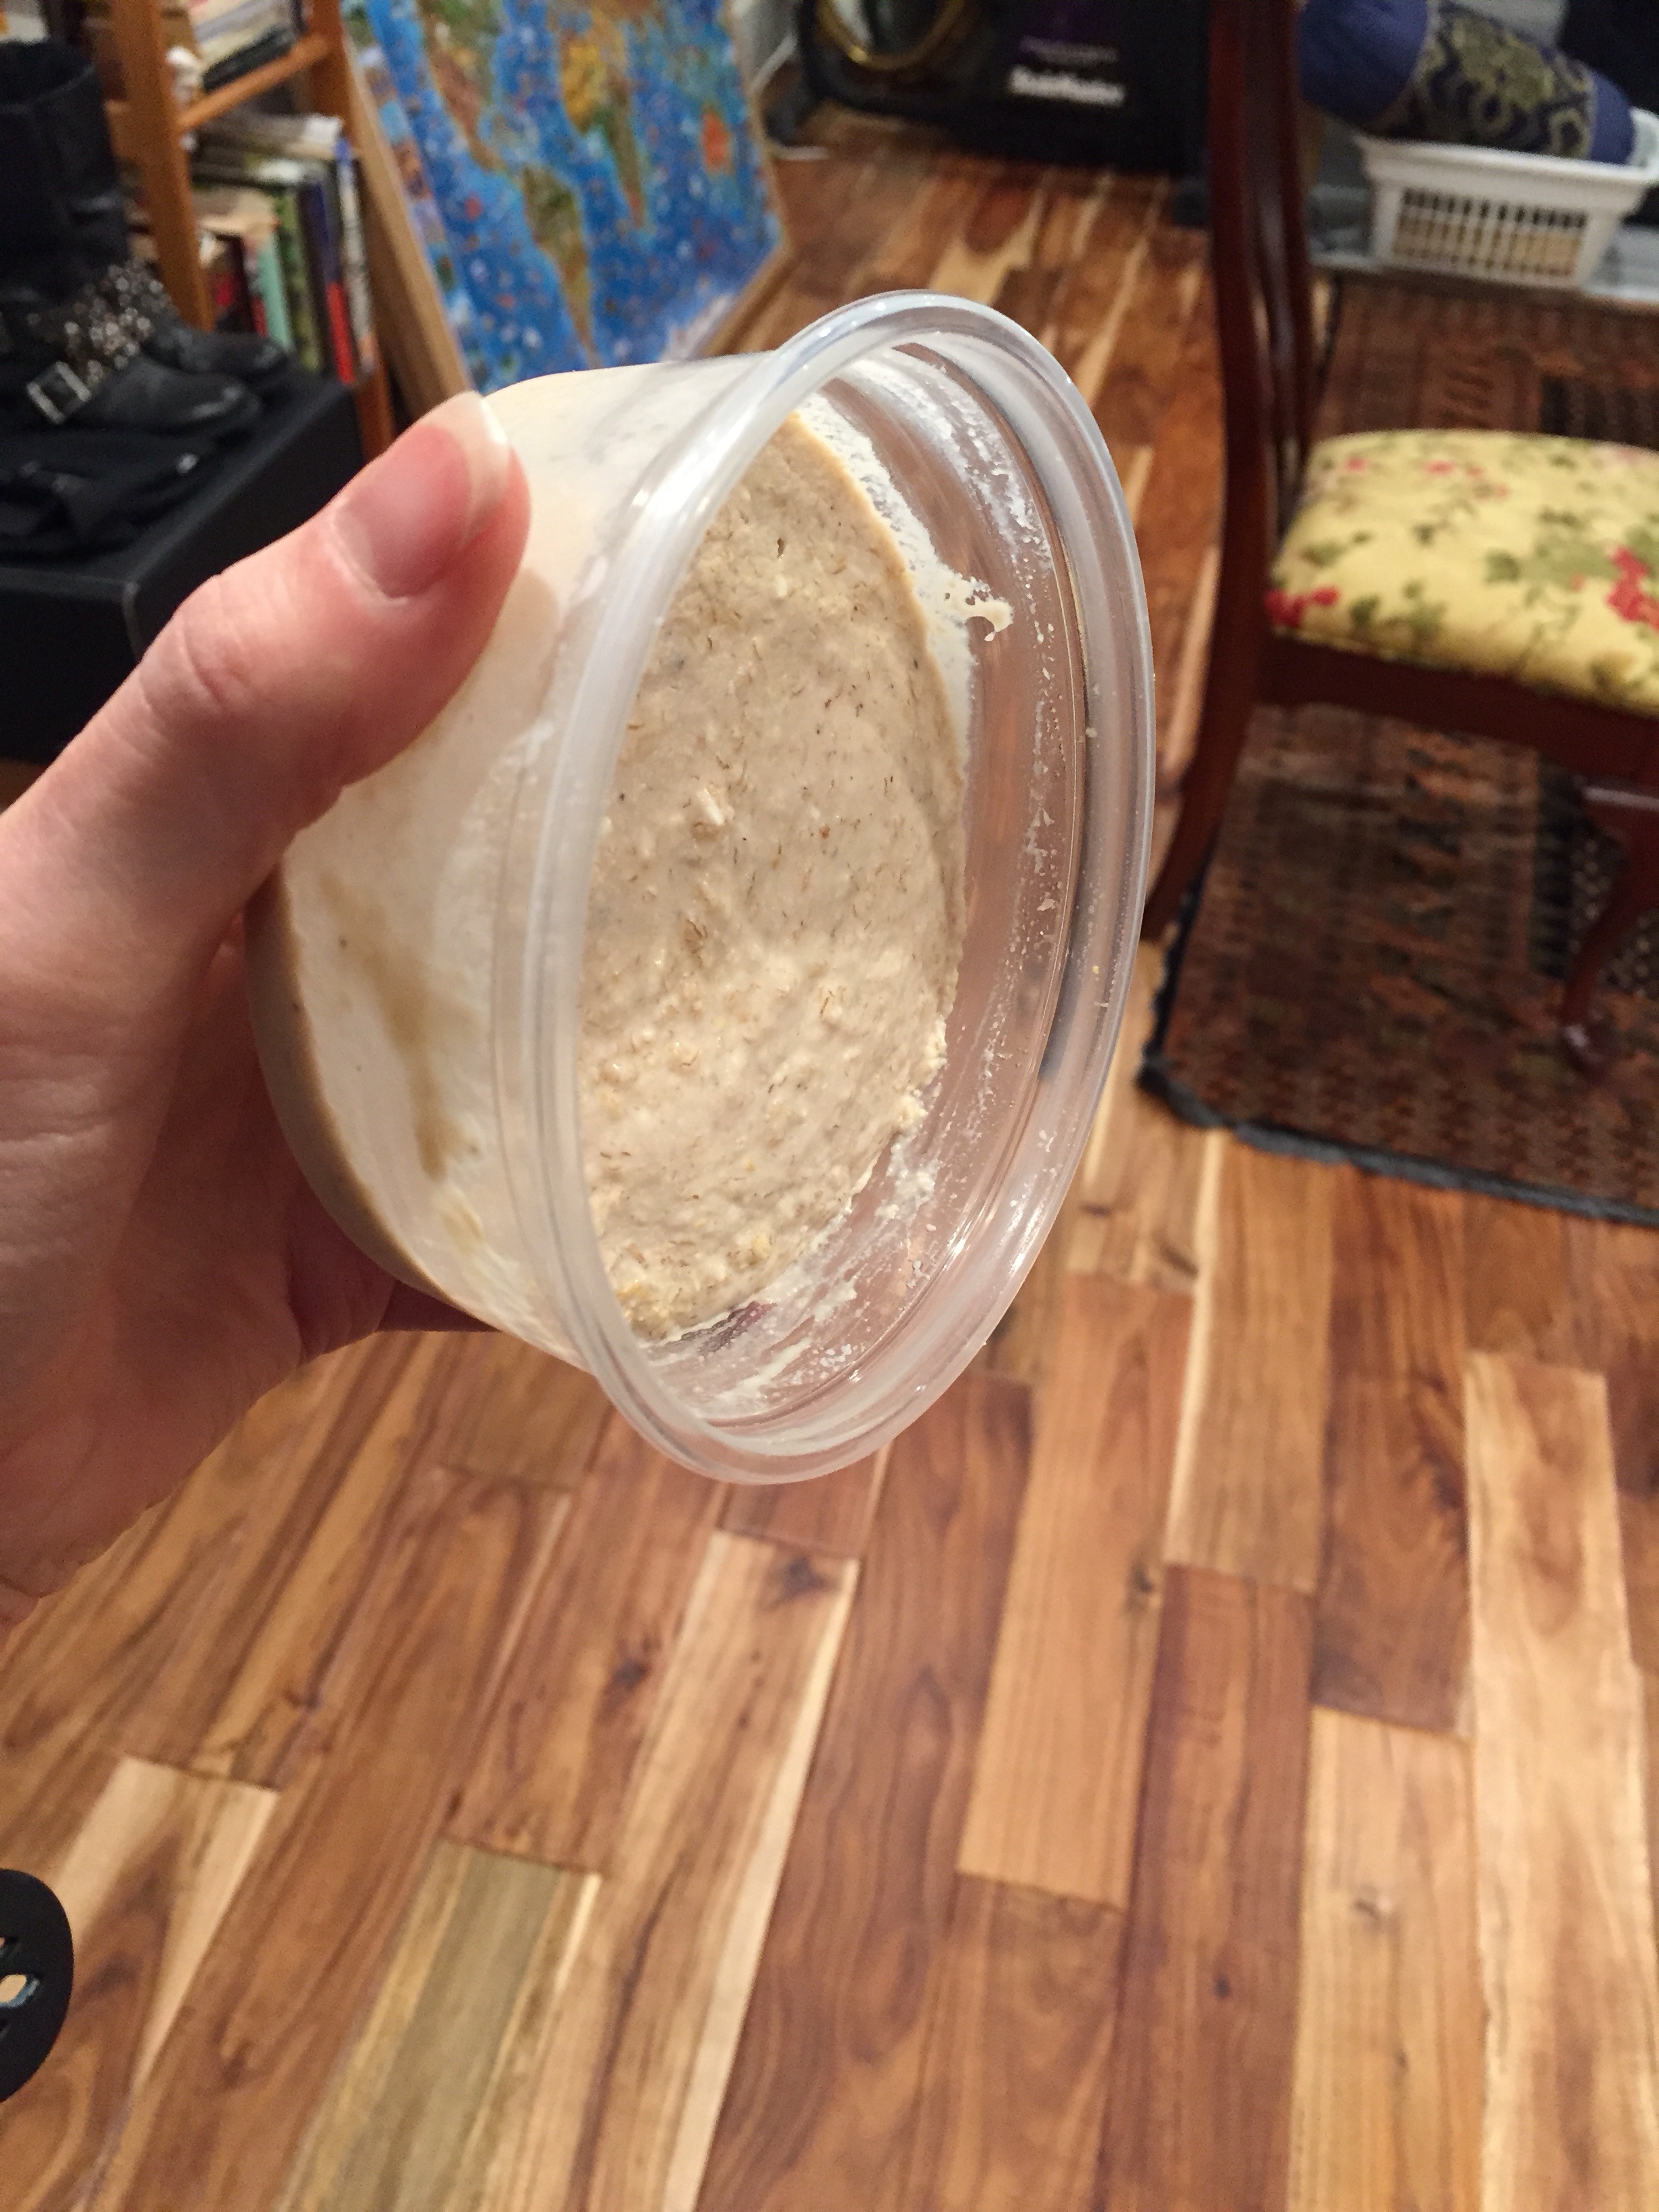
Low Carb Paleo Not Oatmeal (Hot Cereal)

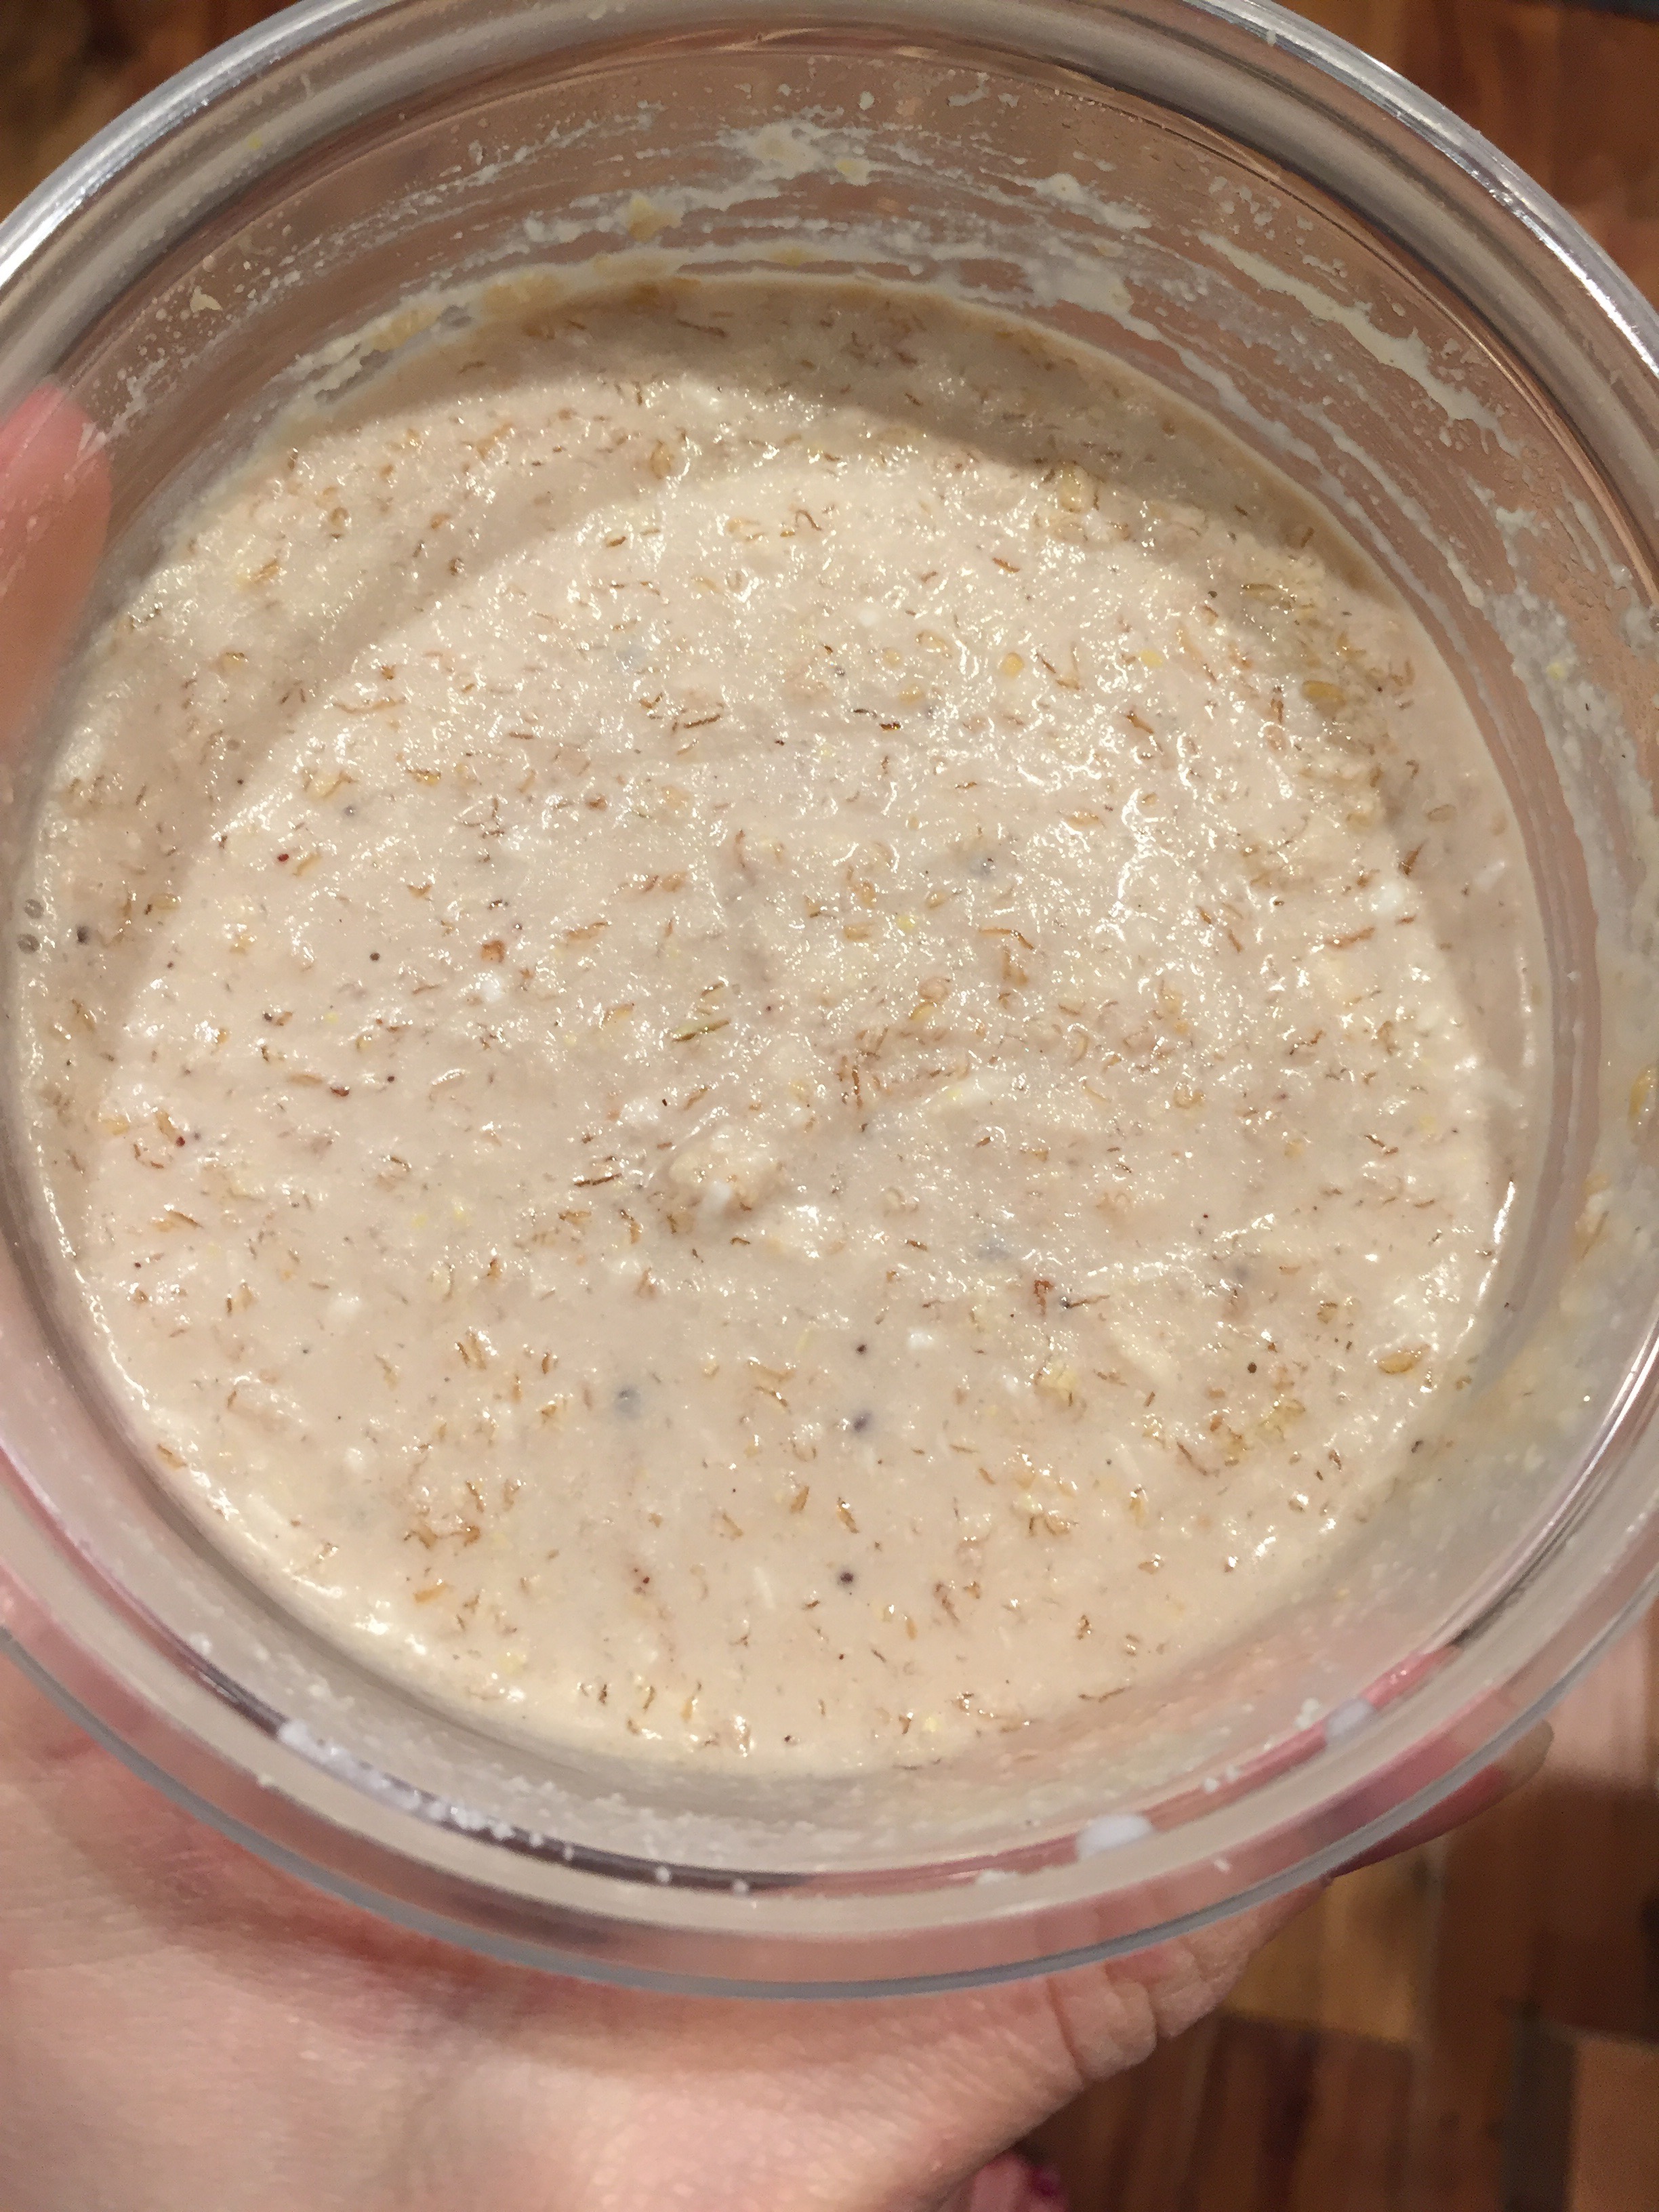
As an oatmeal lover, I have been experimenting with some high fiber, lower carb options. I don’t avoid carbs, but as we know can happen, often a very high carb meal will leave me with an energy crash soon after. The texture of this is more like cream of wheat or farina than oatmeal, but add chunky goodies for some texture!


Recipe: Mix together-

1 cup unsweetened vanilla almond milk

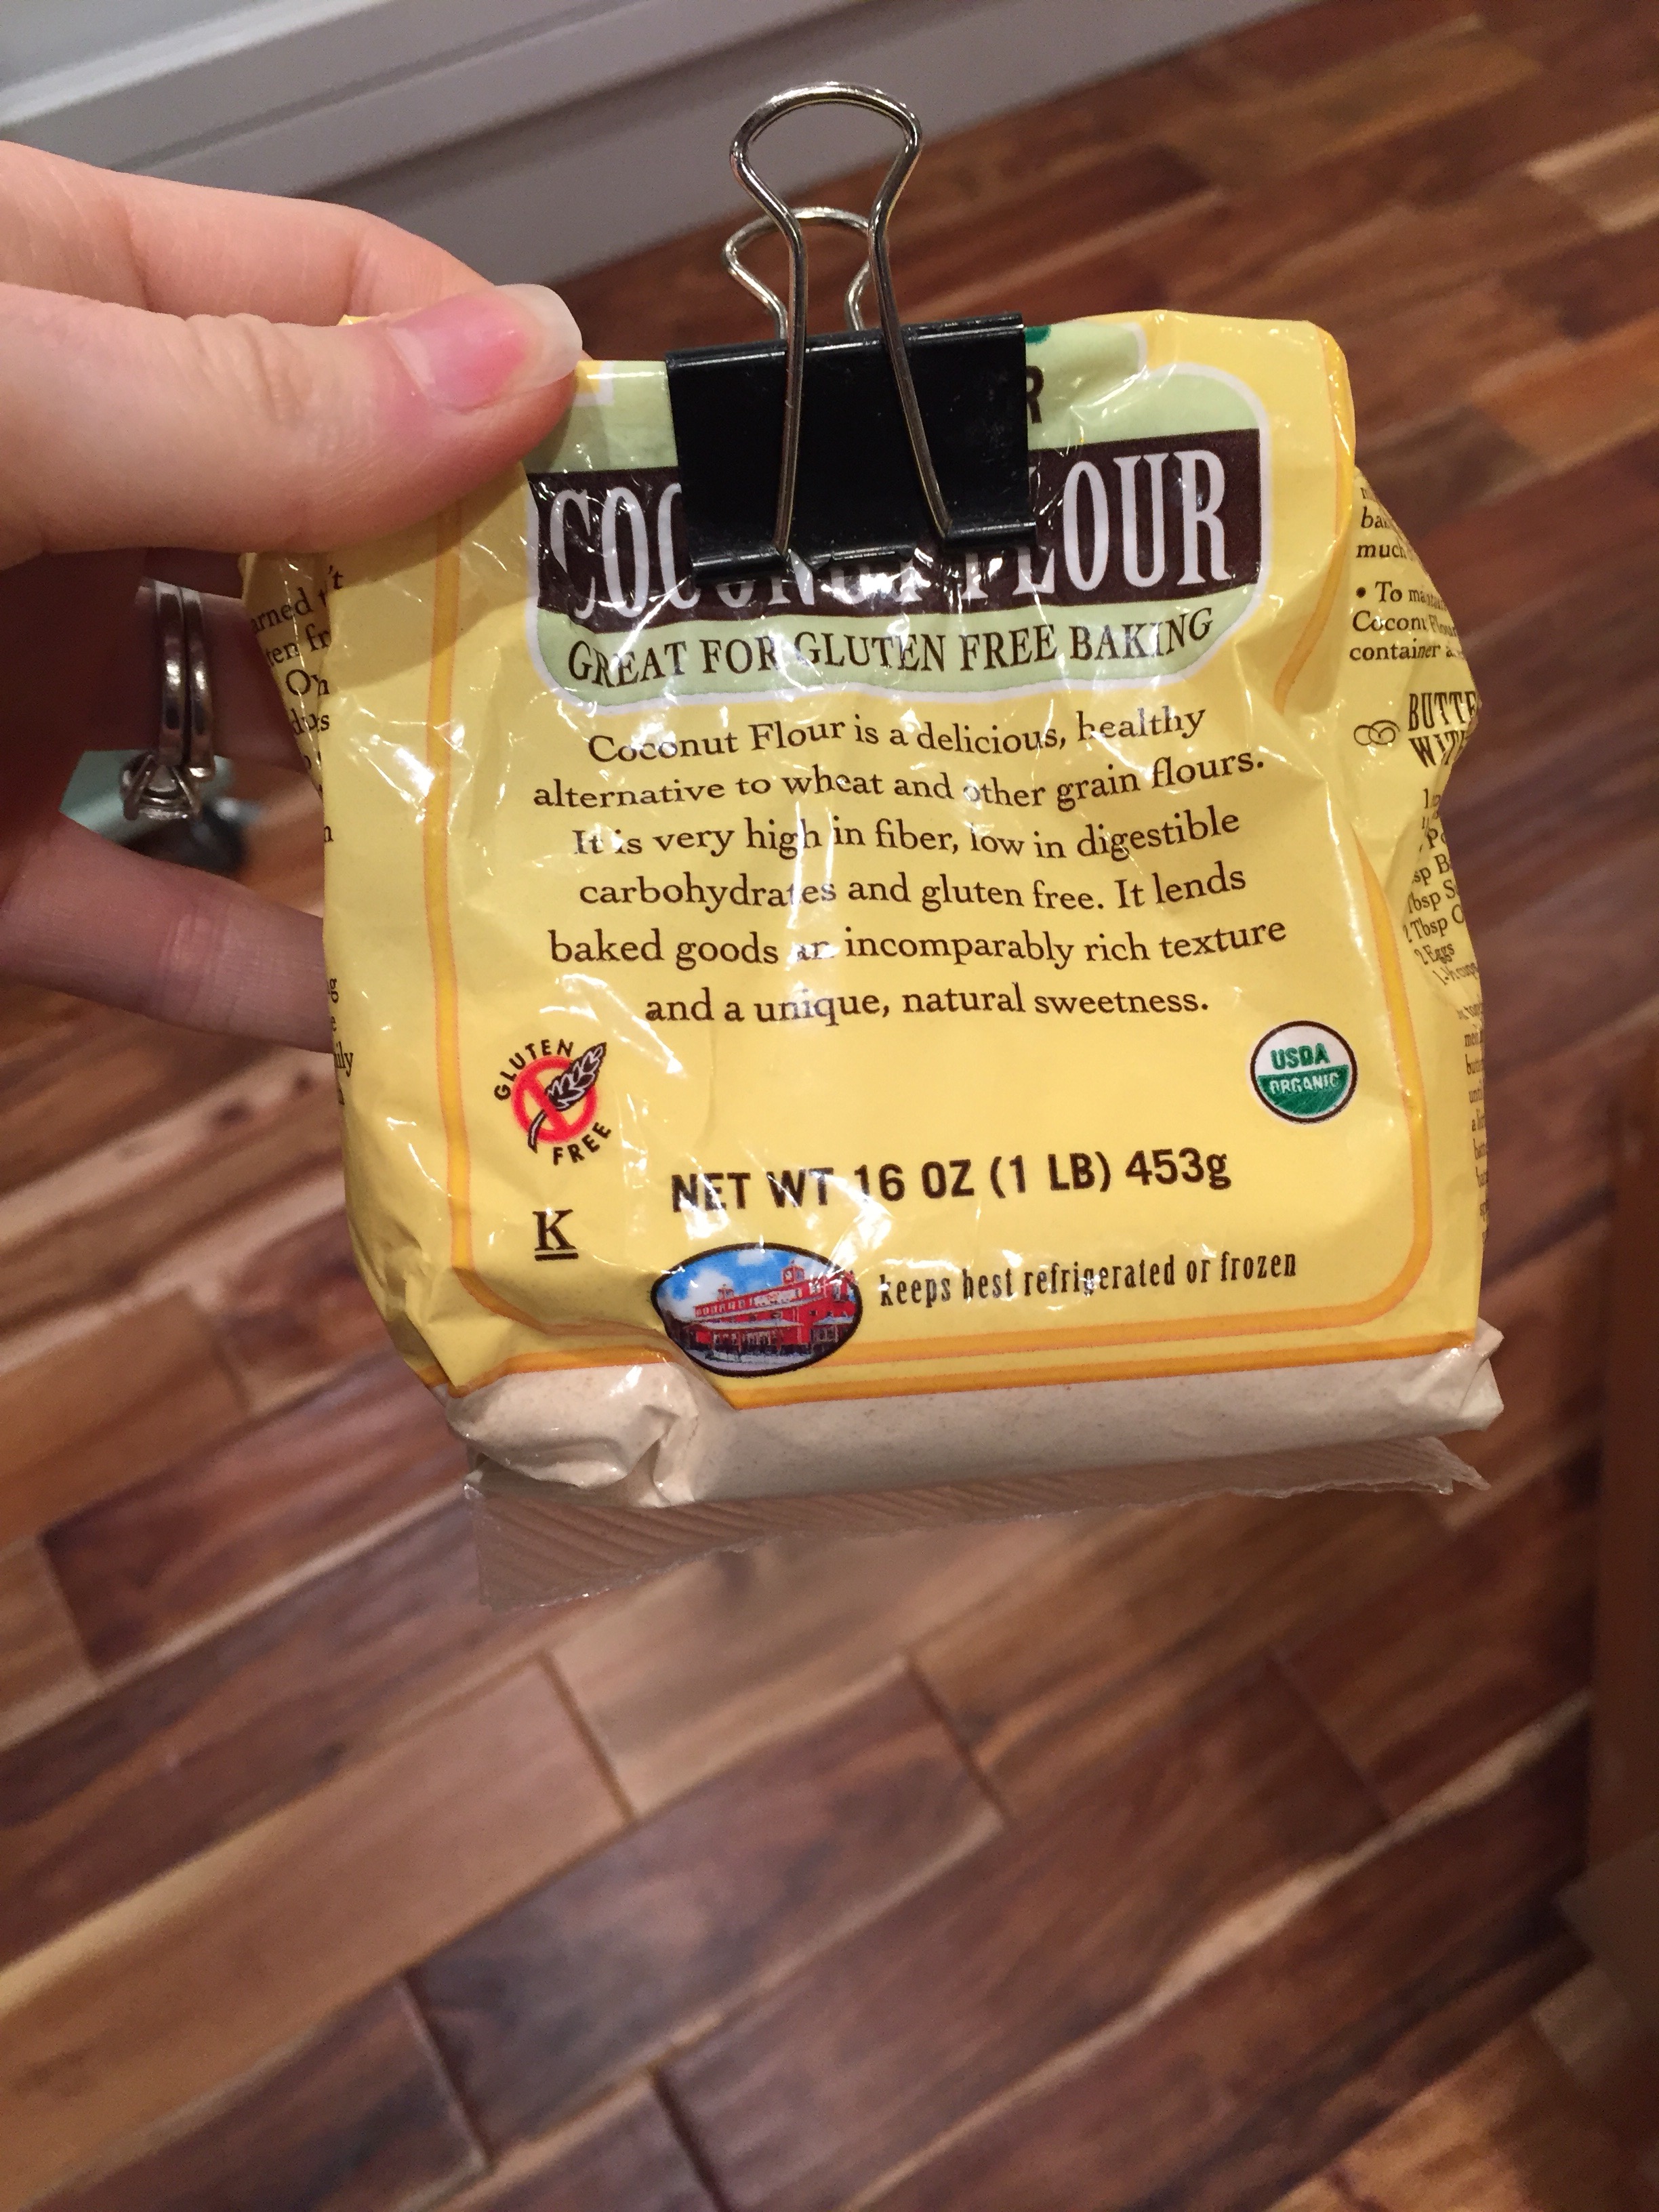
2 TBS coconut flour

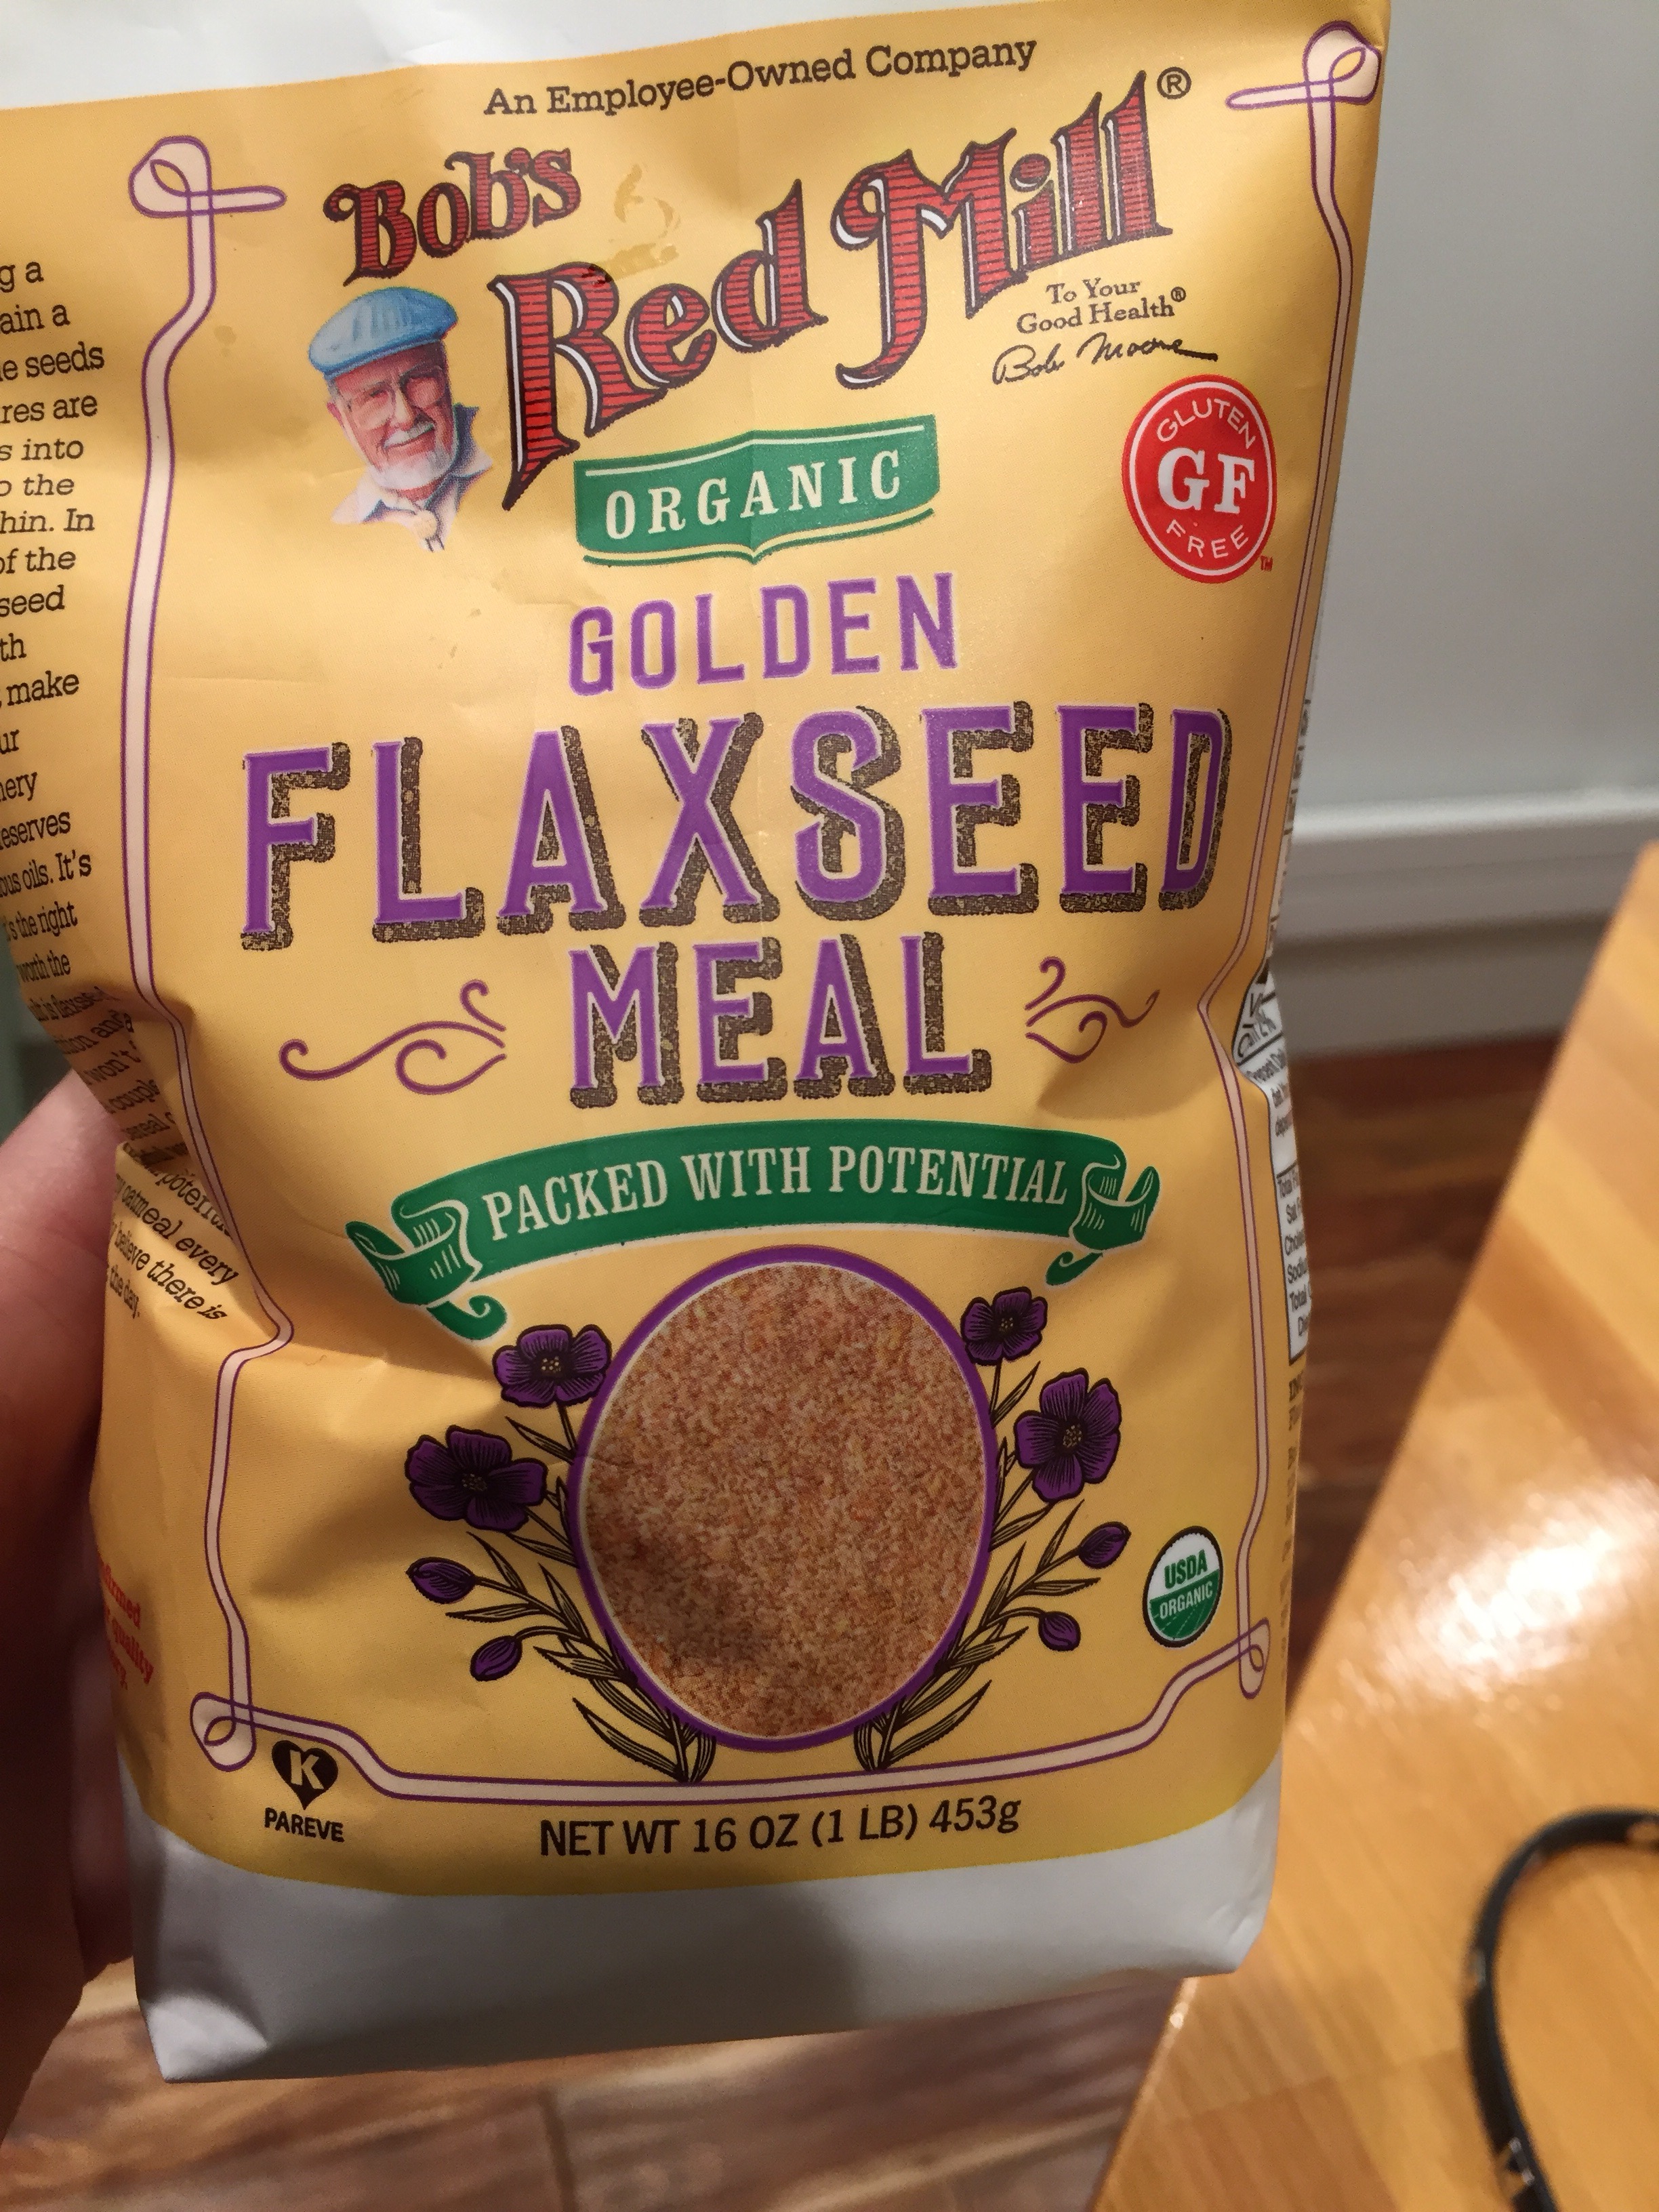
2 TBS flaxseed meal

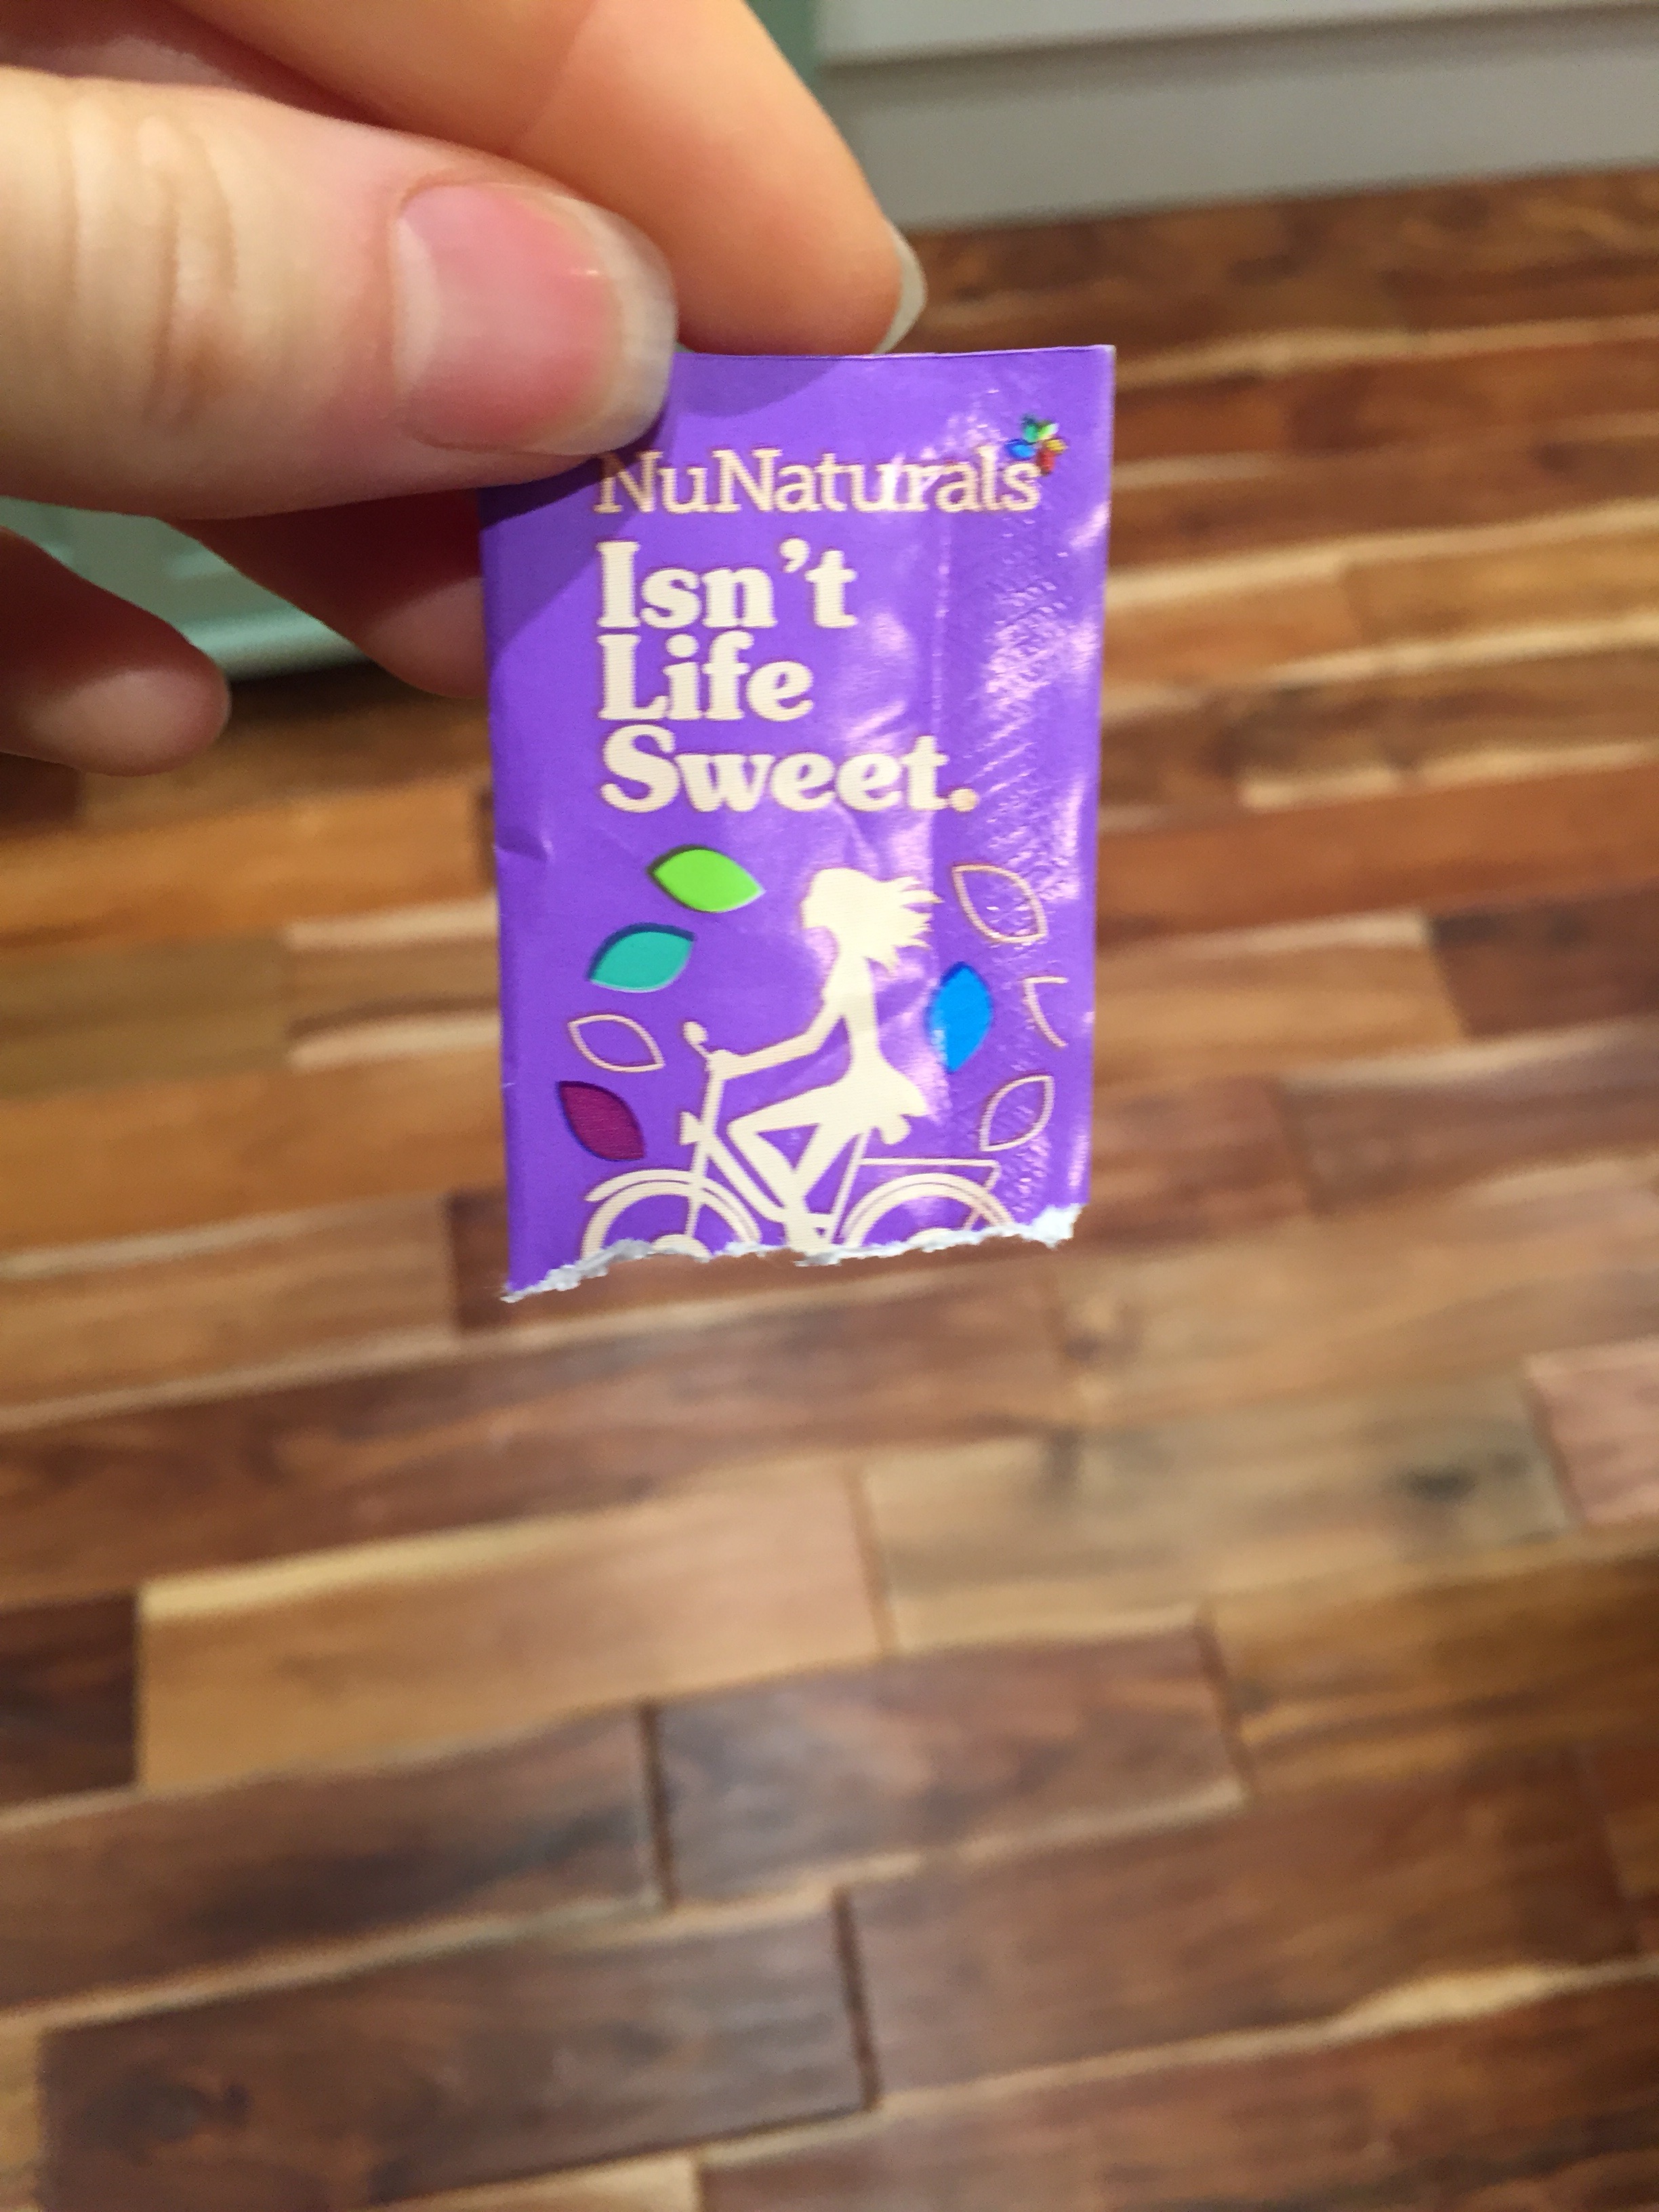
1/2 to 1 pack stevia (omit for savory version)

1 TBS shredded unsweetened coconut

Optional: 1 TBS peanut flour, 1 TBS cocoa PB2 (or 2 tsp unsweetened dark cocoa powder to keep it Paleo)

Stir well and let it rest for 5-10 minutes to thicken, and it becomes even firmer overnight.

Eat cold as overnight “oats” or heat up on low temp to serve warm. Mix in fun stuff if you like; berries, cinnamon and pecans for a sweet version, or for a savory version leave out the stevia and use plain unsweetened soy milk, then top with a poached egg and cheese or nutritional yeast.

I first tried the recipe without the flaxseed meal, it was medium thick, but I like my hot cereal very thick and the taste was not quite there. 


Then I added the flaxmeal and it really formed up, as well as providing a delicious, nutty and much more balanced taste (along with extra fiber and healthy fats).

Update 2/1/18: I have made this several times, and find that the taste and texture is actually much better when made one the microwave vs on the stovetop. What an unusual surprise!

Low Carb Paleo Not Oatmeal (Hot Cereal)

The veggie burger that bleeds

Have you heard of the famous/infamous new veggie meat that tastes and acts exactly like beef, and even “bleeds”? It promises to convert meat-eaters to veggie-burger fans…saving animals, the environment and our arteries all at once…

We all know how big hype is often mostly just that, but I was excited to try the new bleeding veggie burger at the Carlile Room in Seattle, though I’m not usually a burger-orderer of any type. 

So here is the famous burger:

Unfortunately, I forgot to take a photo at the restaurant, and instead my husband and I filled up the camera roll standing by a huge truck that was much much taller than either of us. 


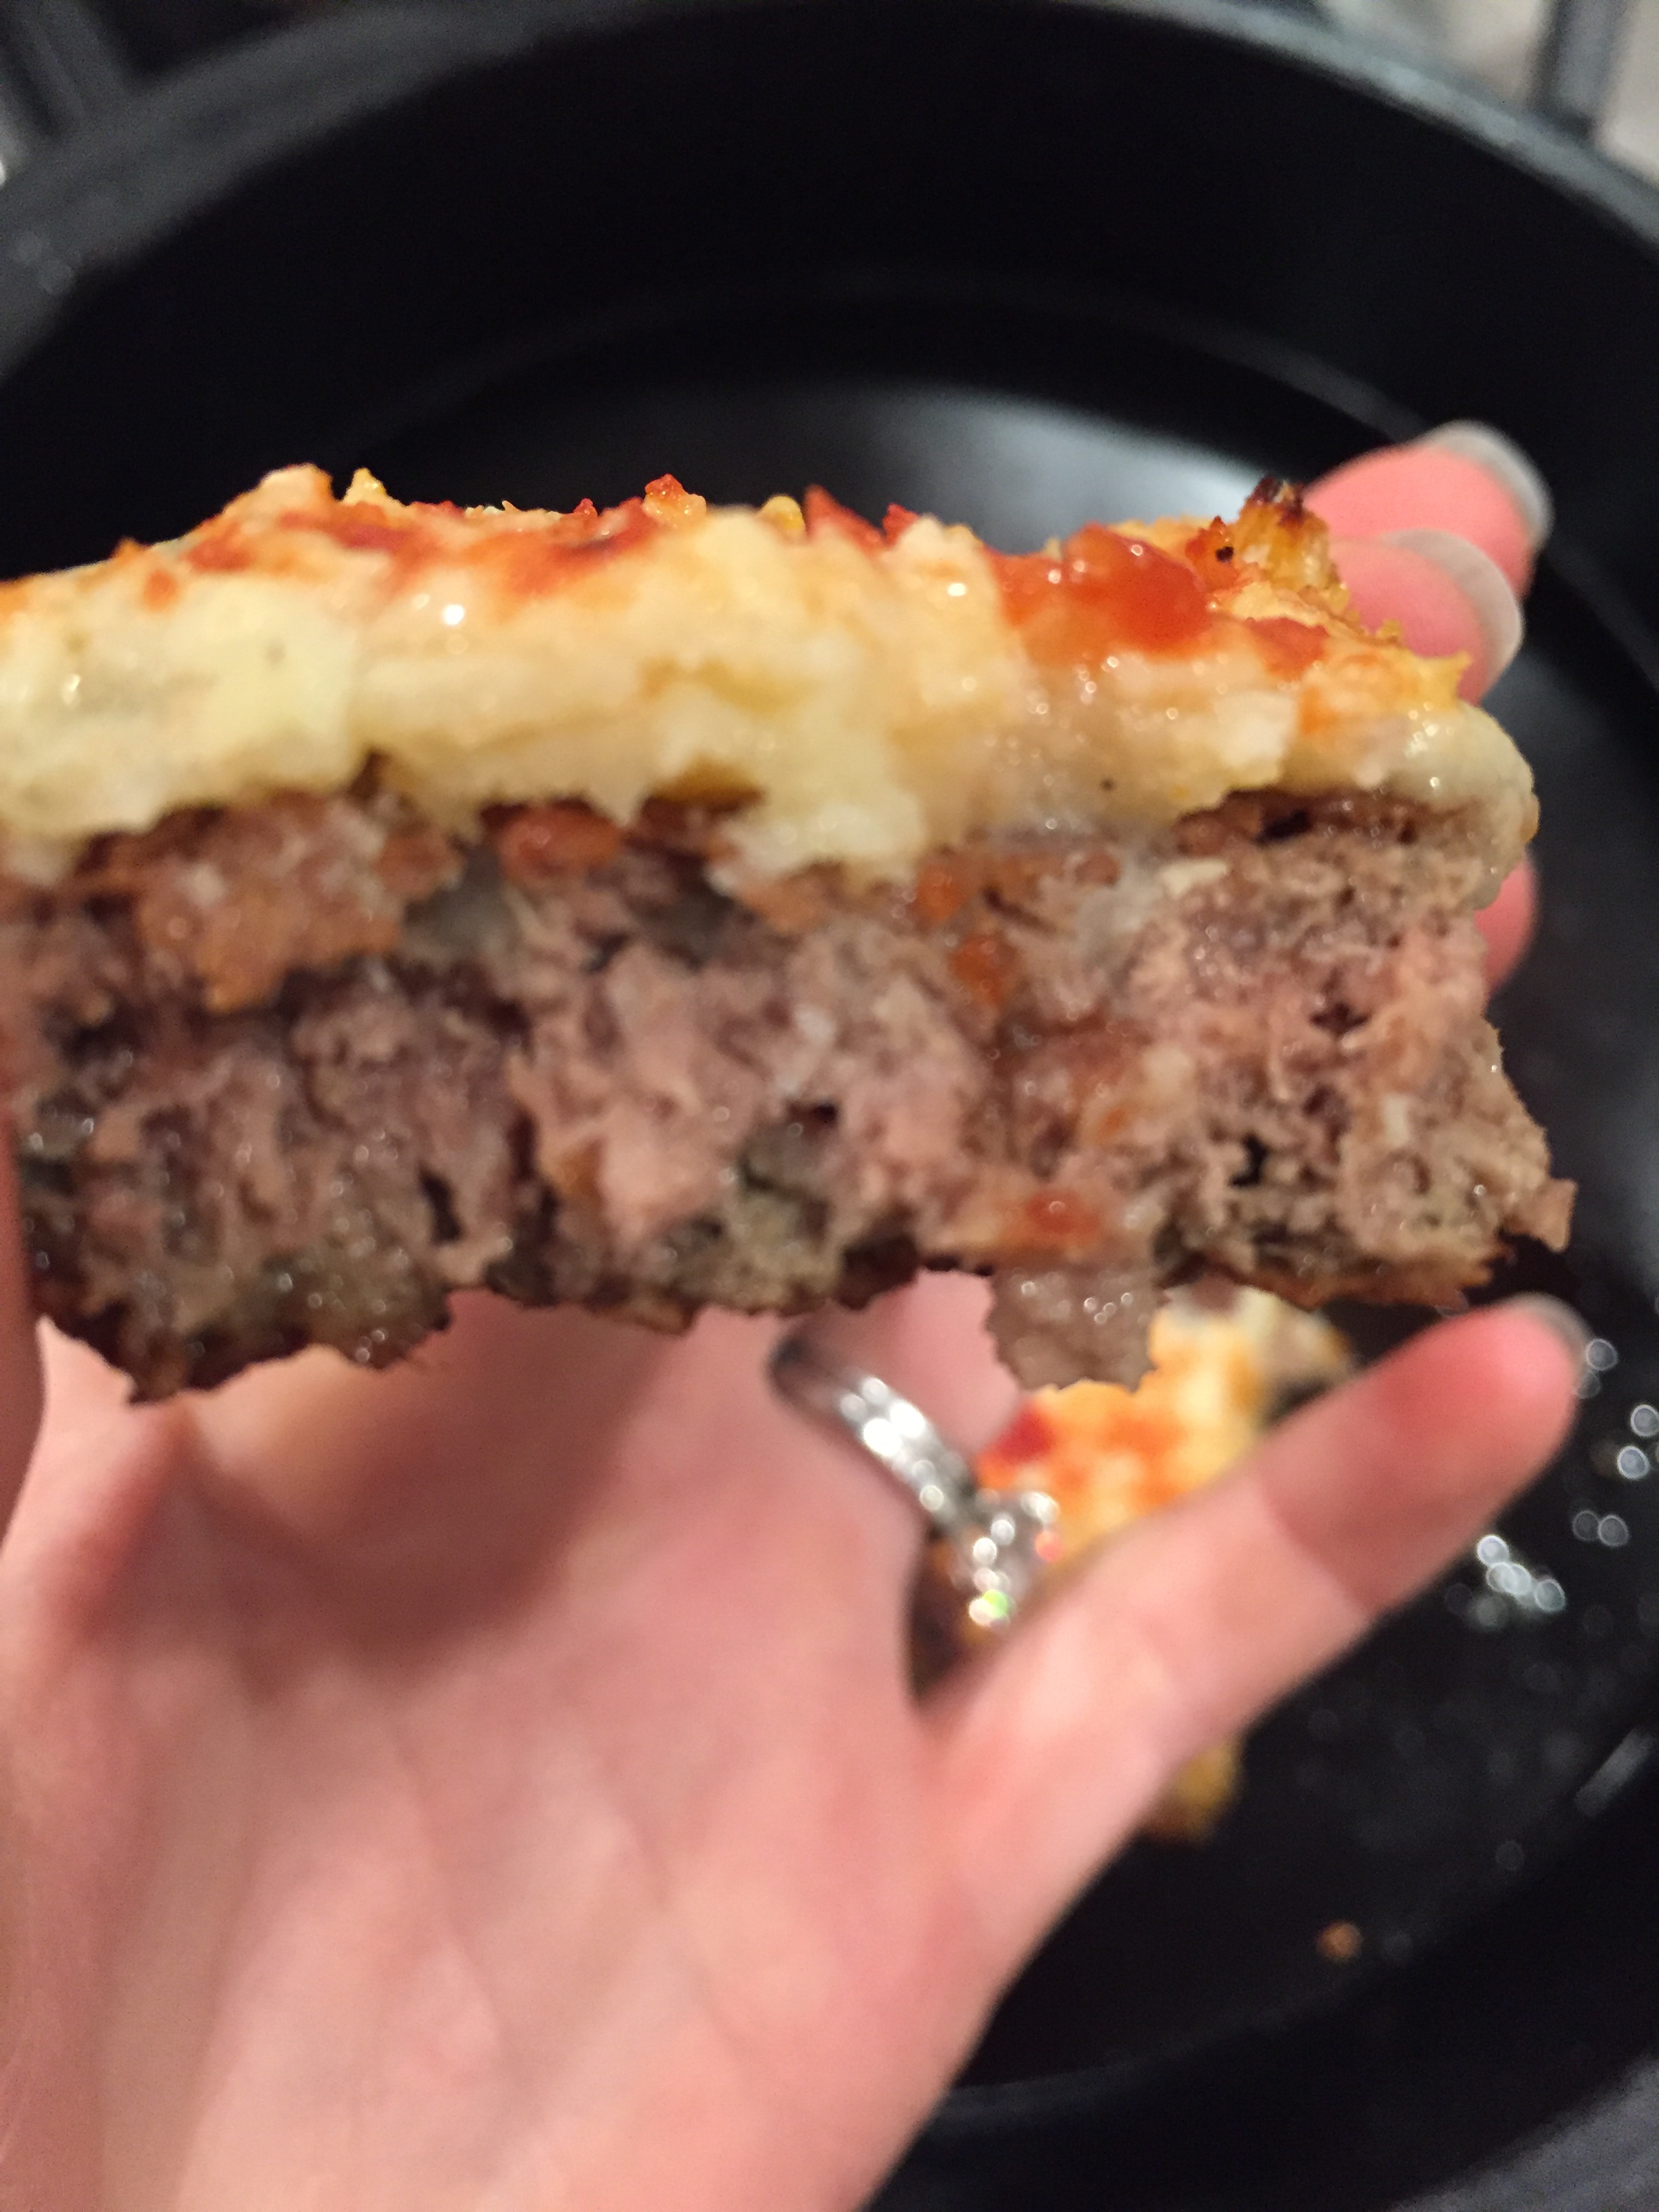
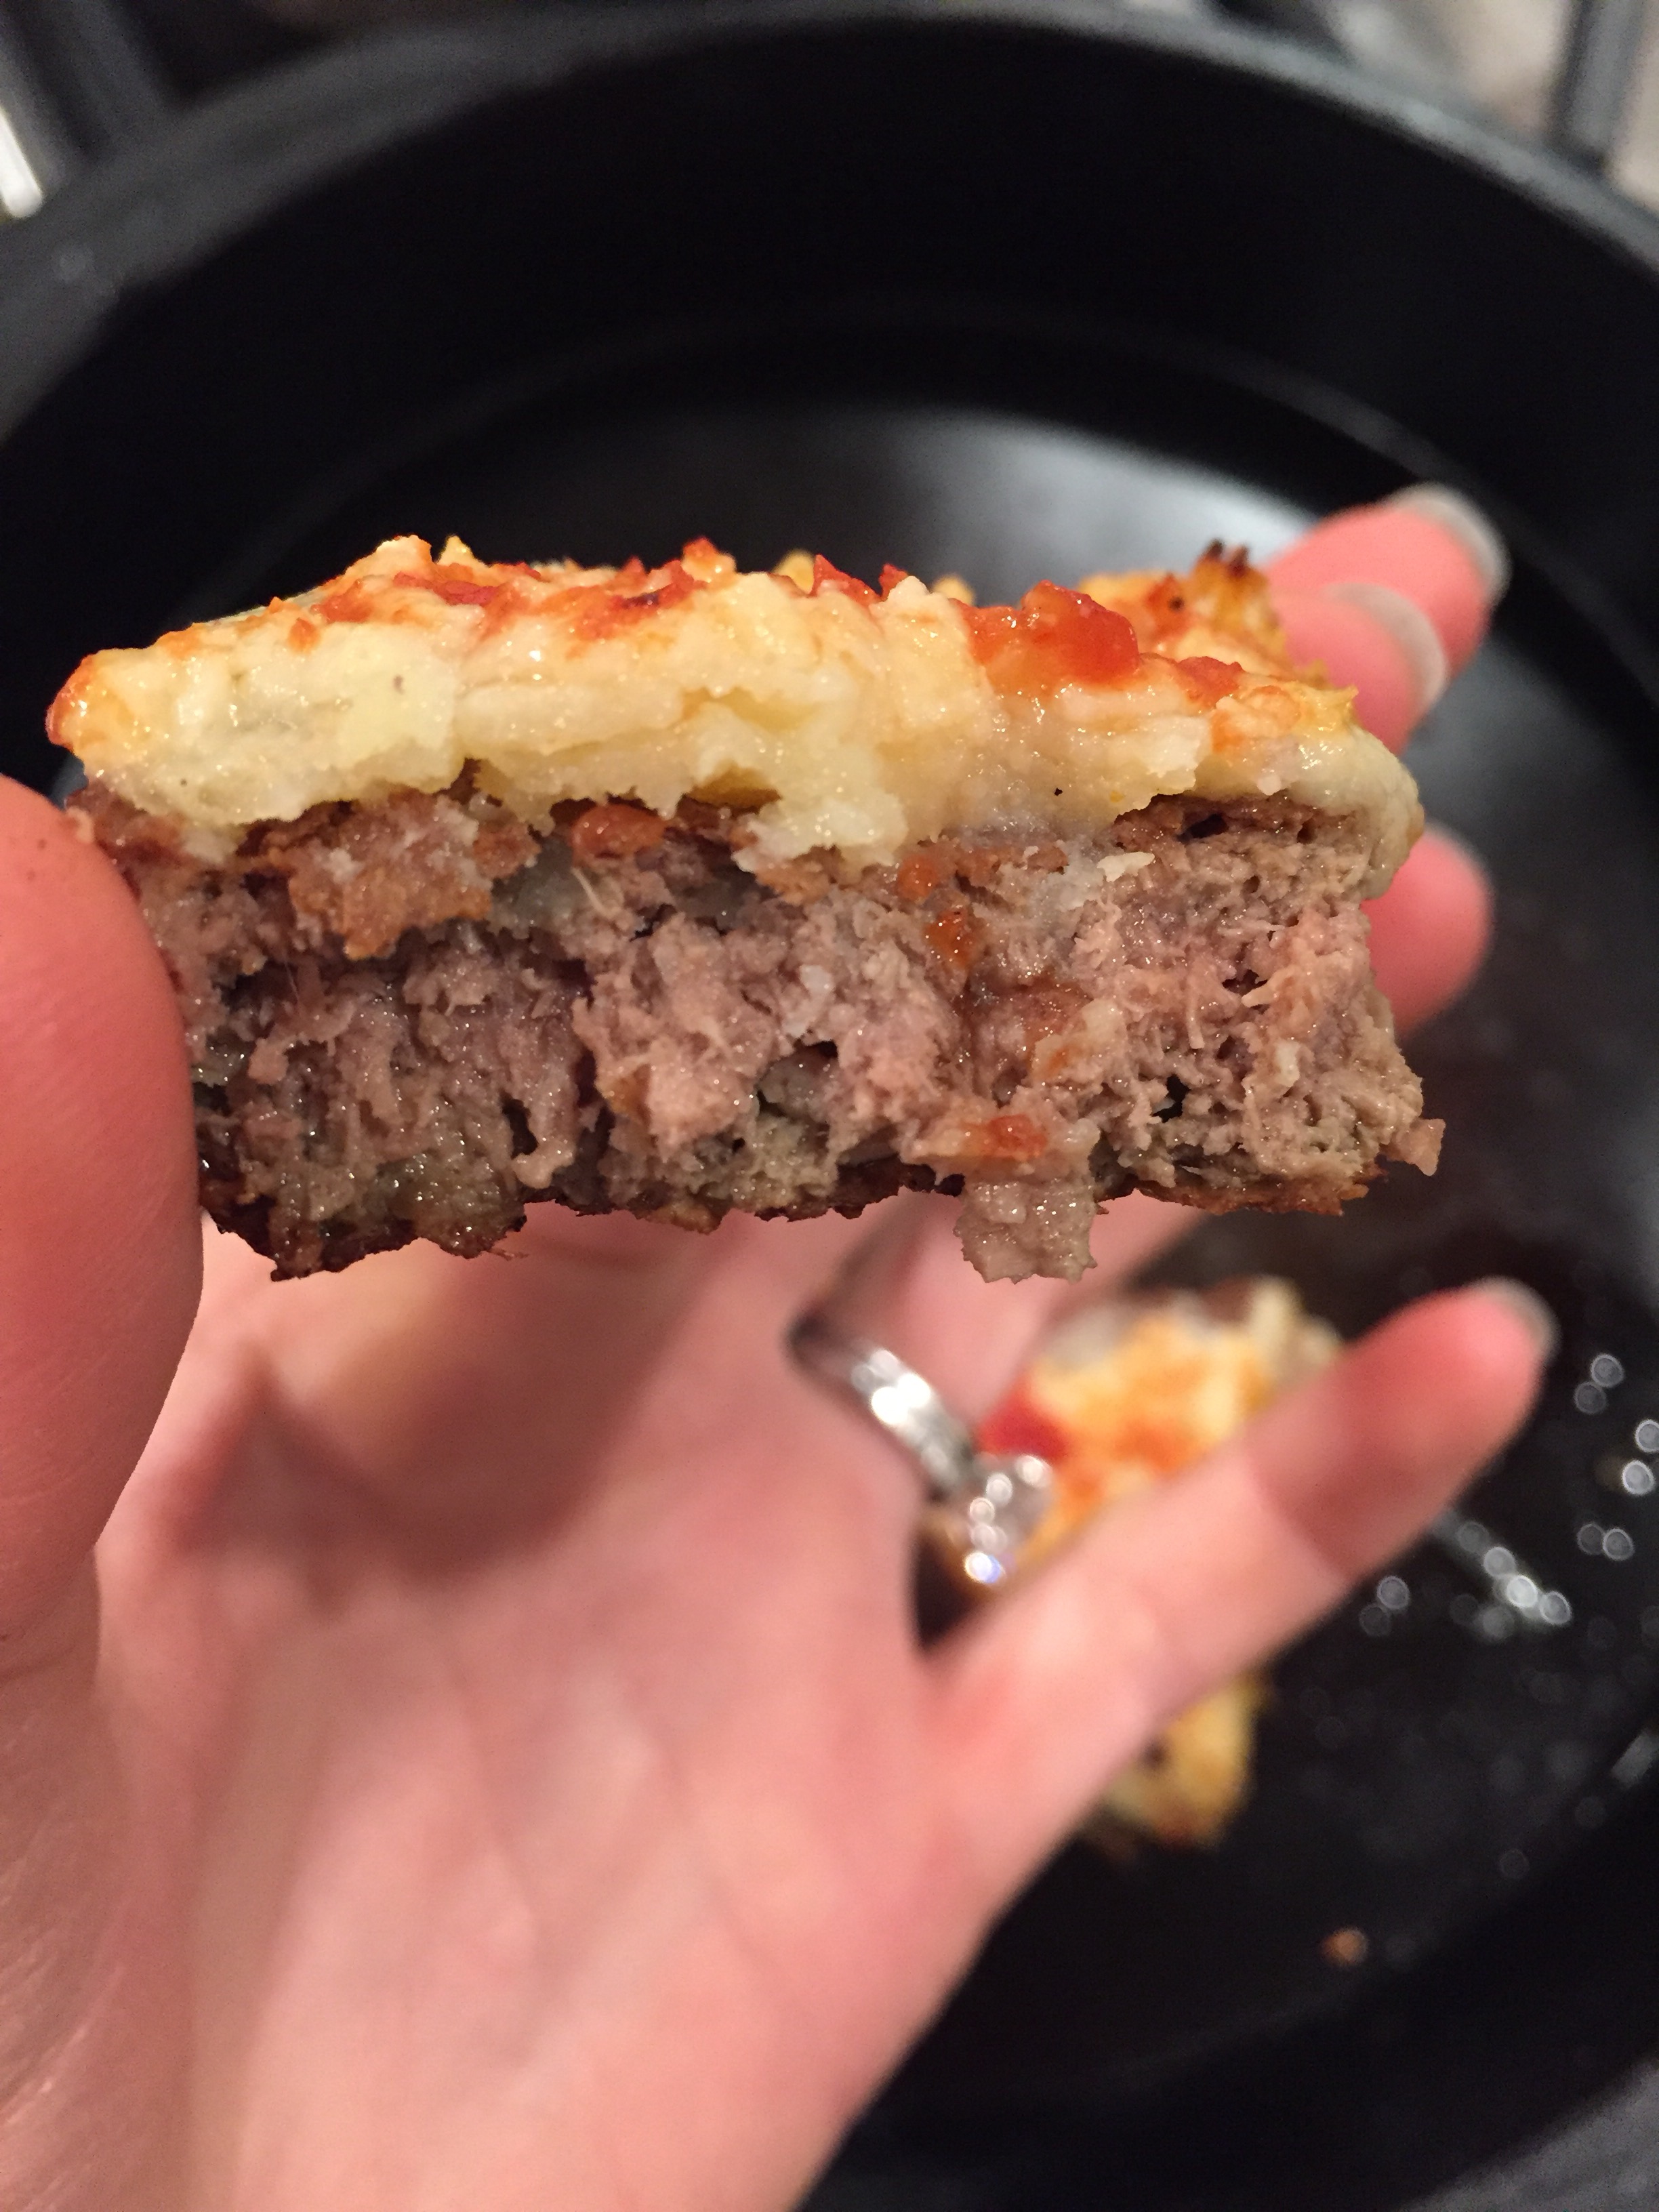
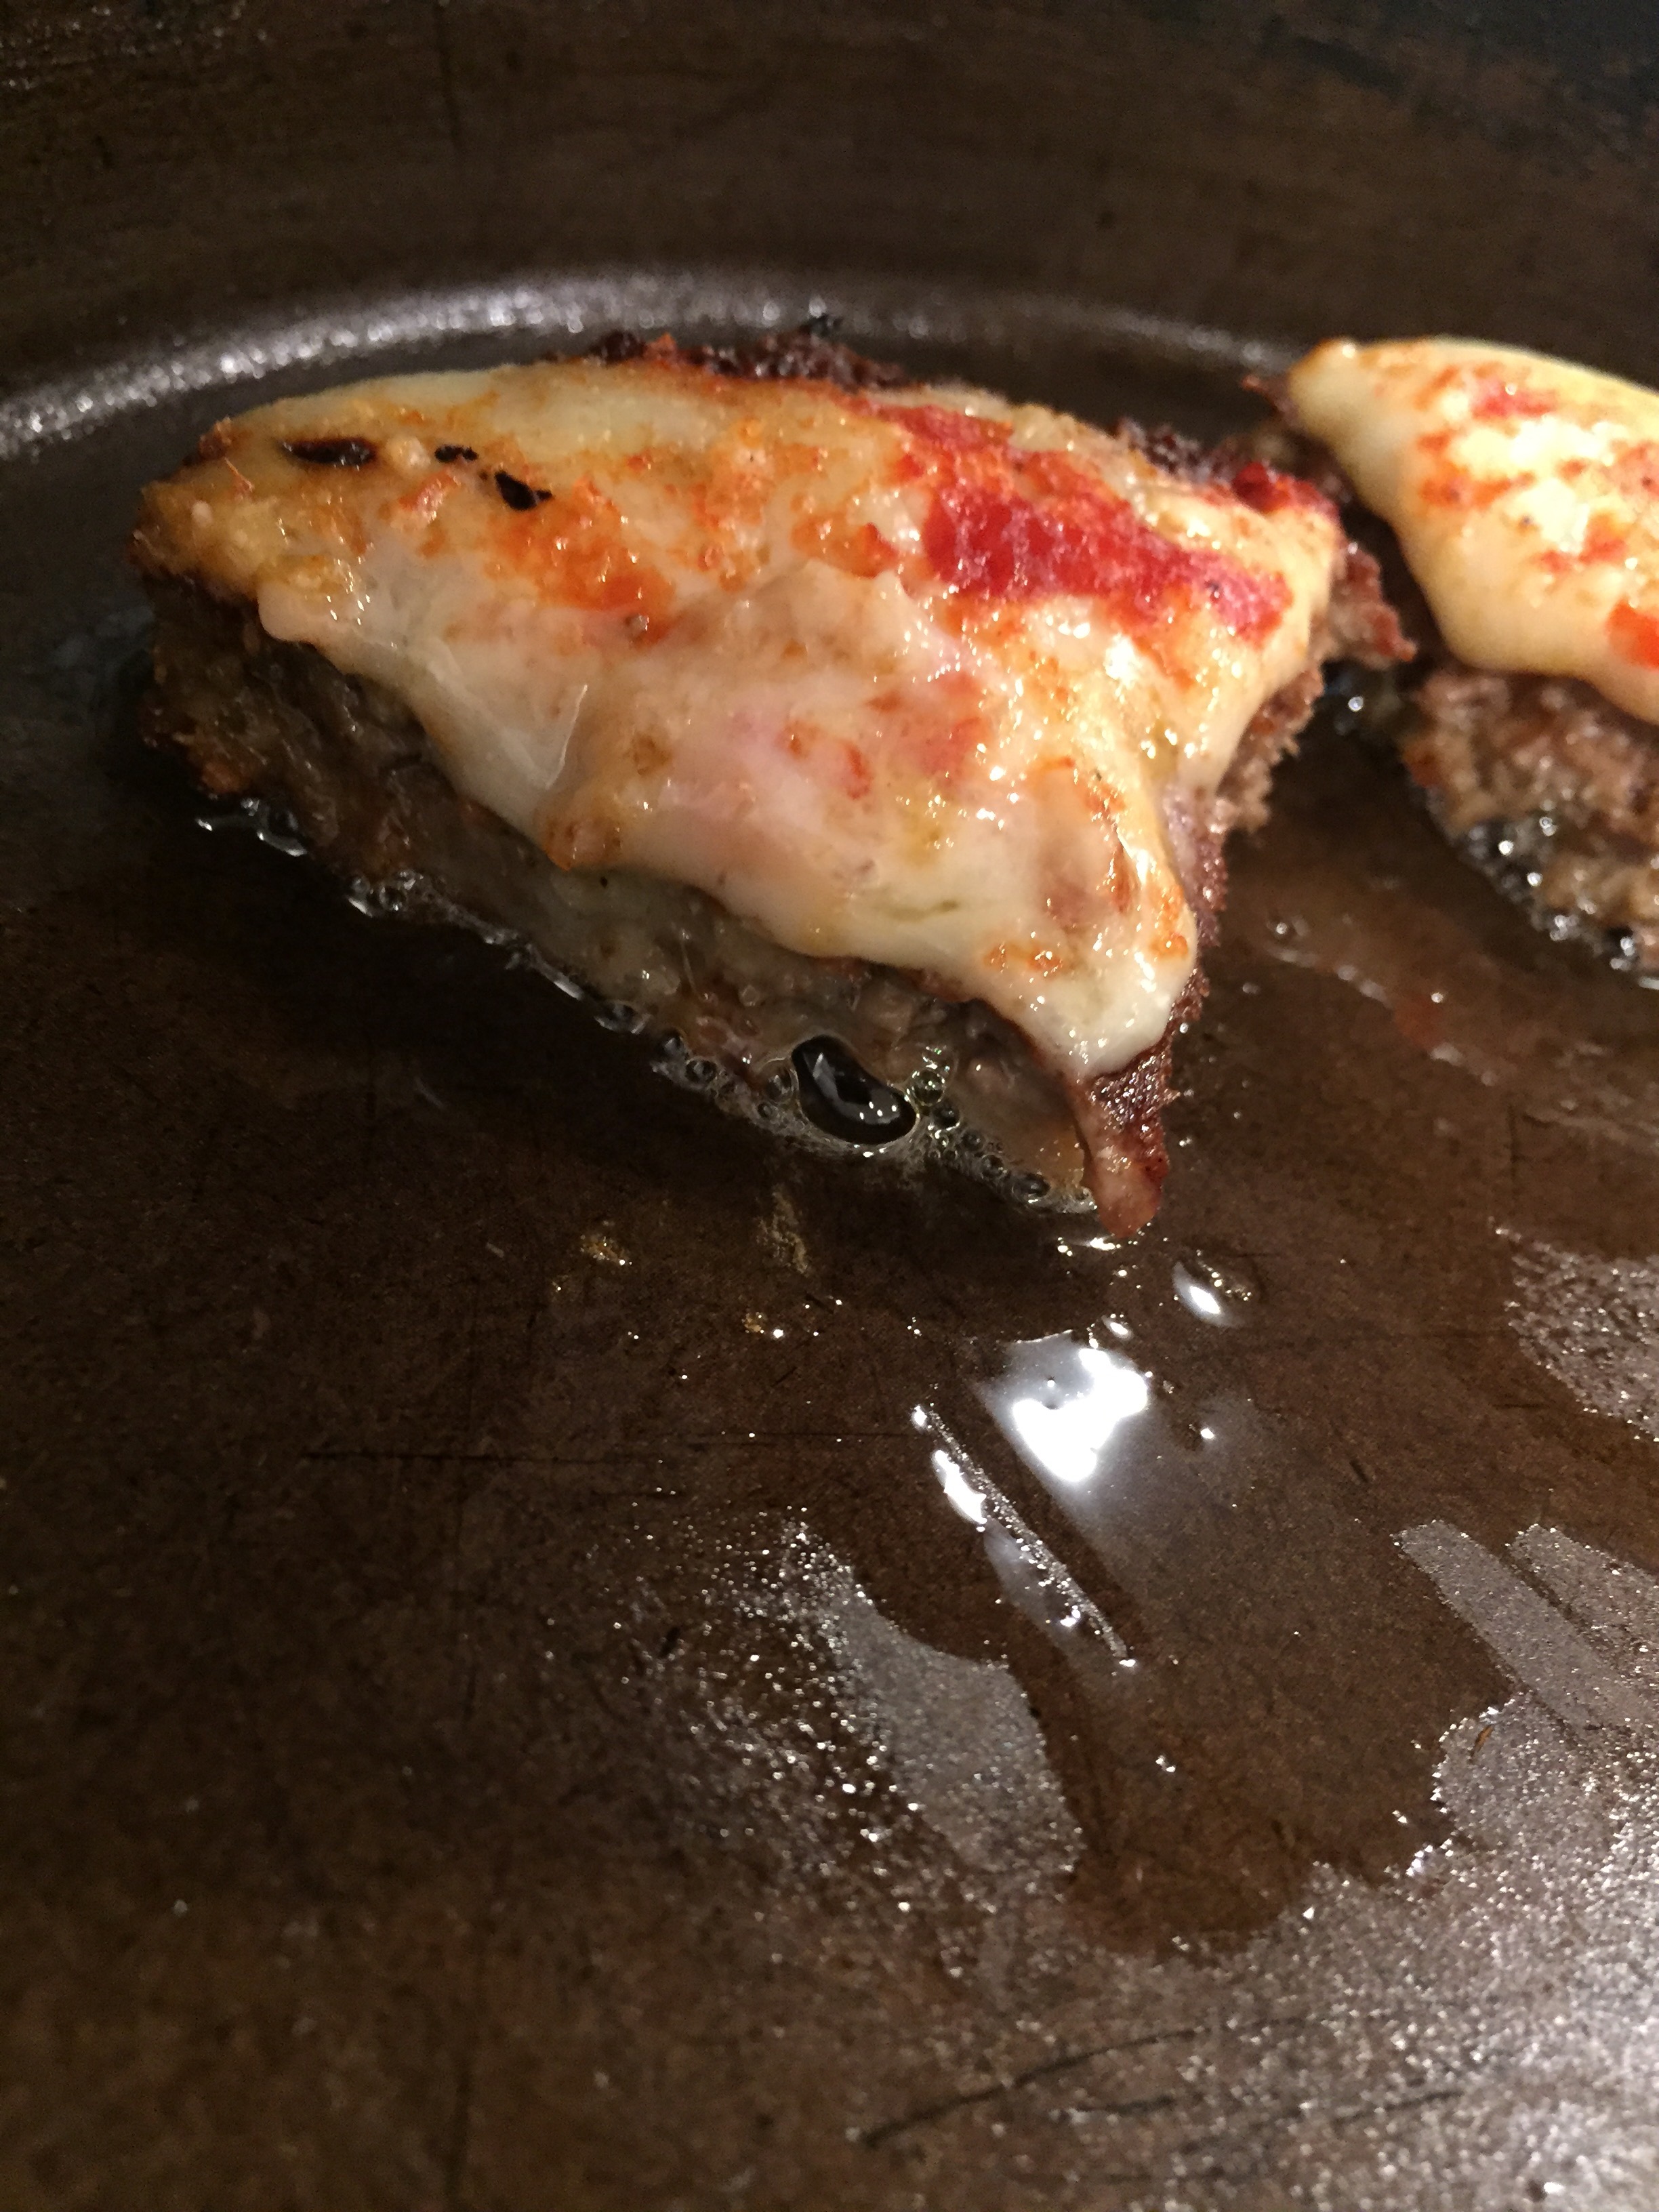
I did take photos of the reheated 1/2 leftover burger from lunch today. It was good! My husband was completely fooled and said it was good and tasted exactly like a “real burger”. I don’t remember what beef tastes like after 30 years, but to me it tasted like a really excellent soy burger, which impressed me about how far non-meat burgers have come. Note the pink in the burger, I asked for it cooked medium-well done so it didn’t “bleed”. I wasn’t ready for that yet.

The veggie burger that bleeds

Trail mix Greek yogurt

I fall into food crushes where I want the same thing over and over for a year or two and then suddenly, without warning, the spell is gone.

Some past Greek yogurt favorites, using plain Greek yogurt with add ins:

1. Greek yogurt + equal parts frozen berries and cinnamon, sweetener optional.

2. Greek yogurt + cocoa powder, 1 Tbs almond milk, vanilla extract and stevia.

3. Greek yogurt + vanilla protein powder (mix First with 1 Tbs almond milk) + shredded tangerine slices (creamsicle).

My new favorite, more sweet and savory:

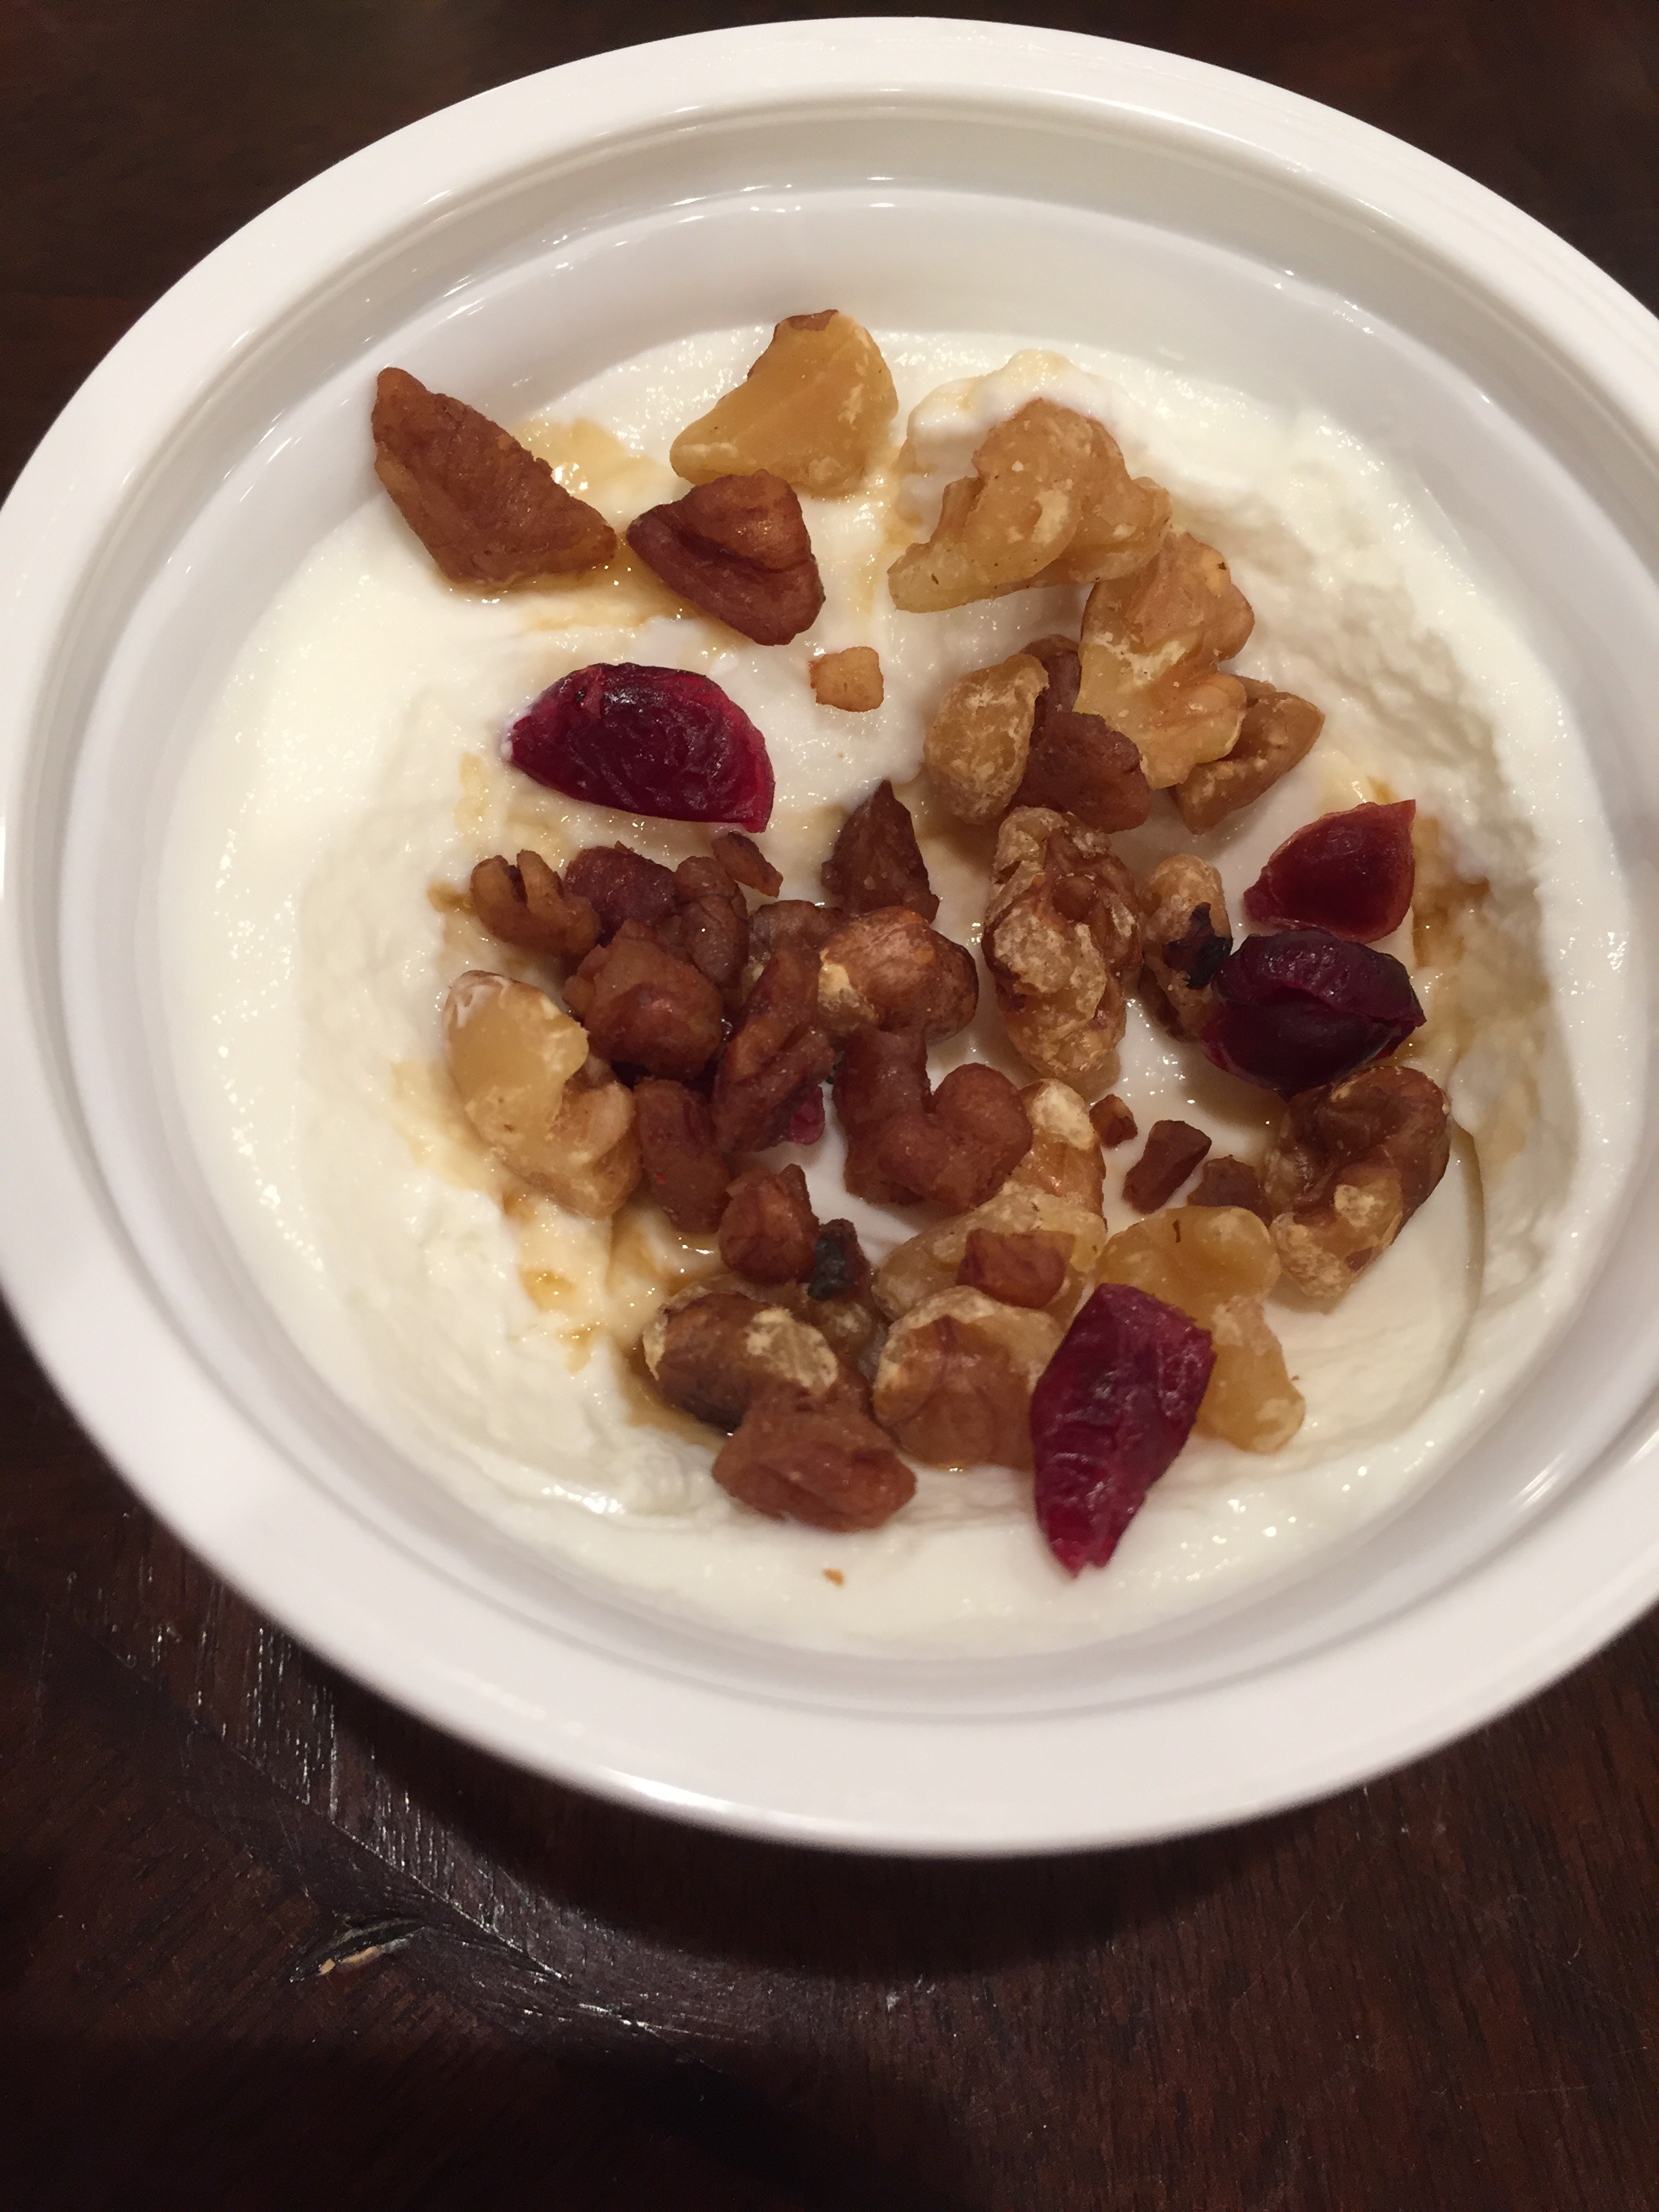
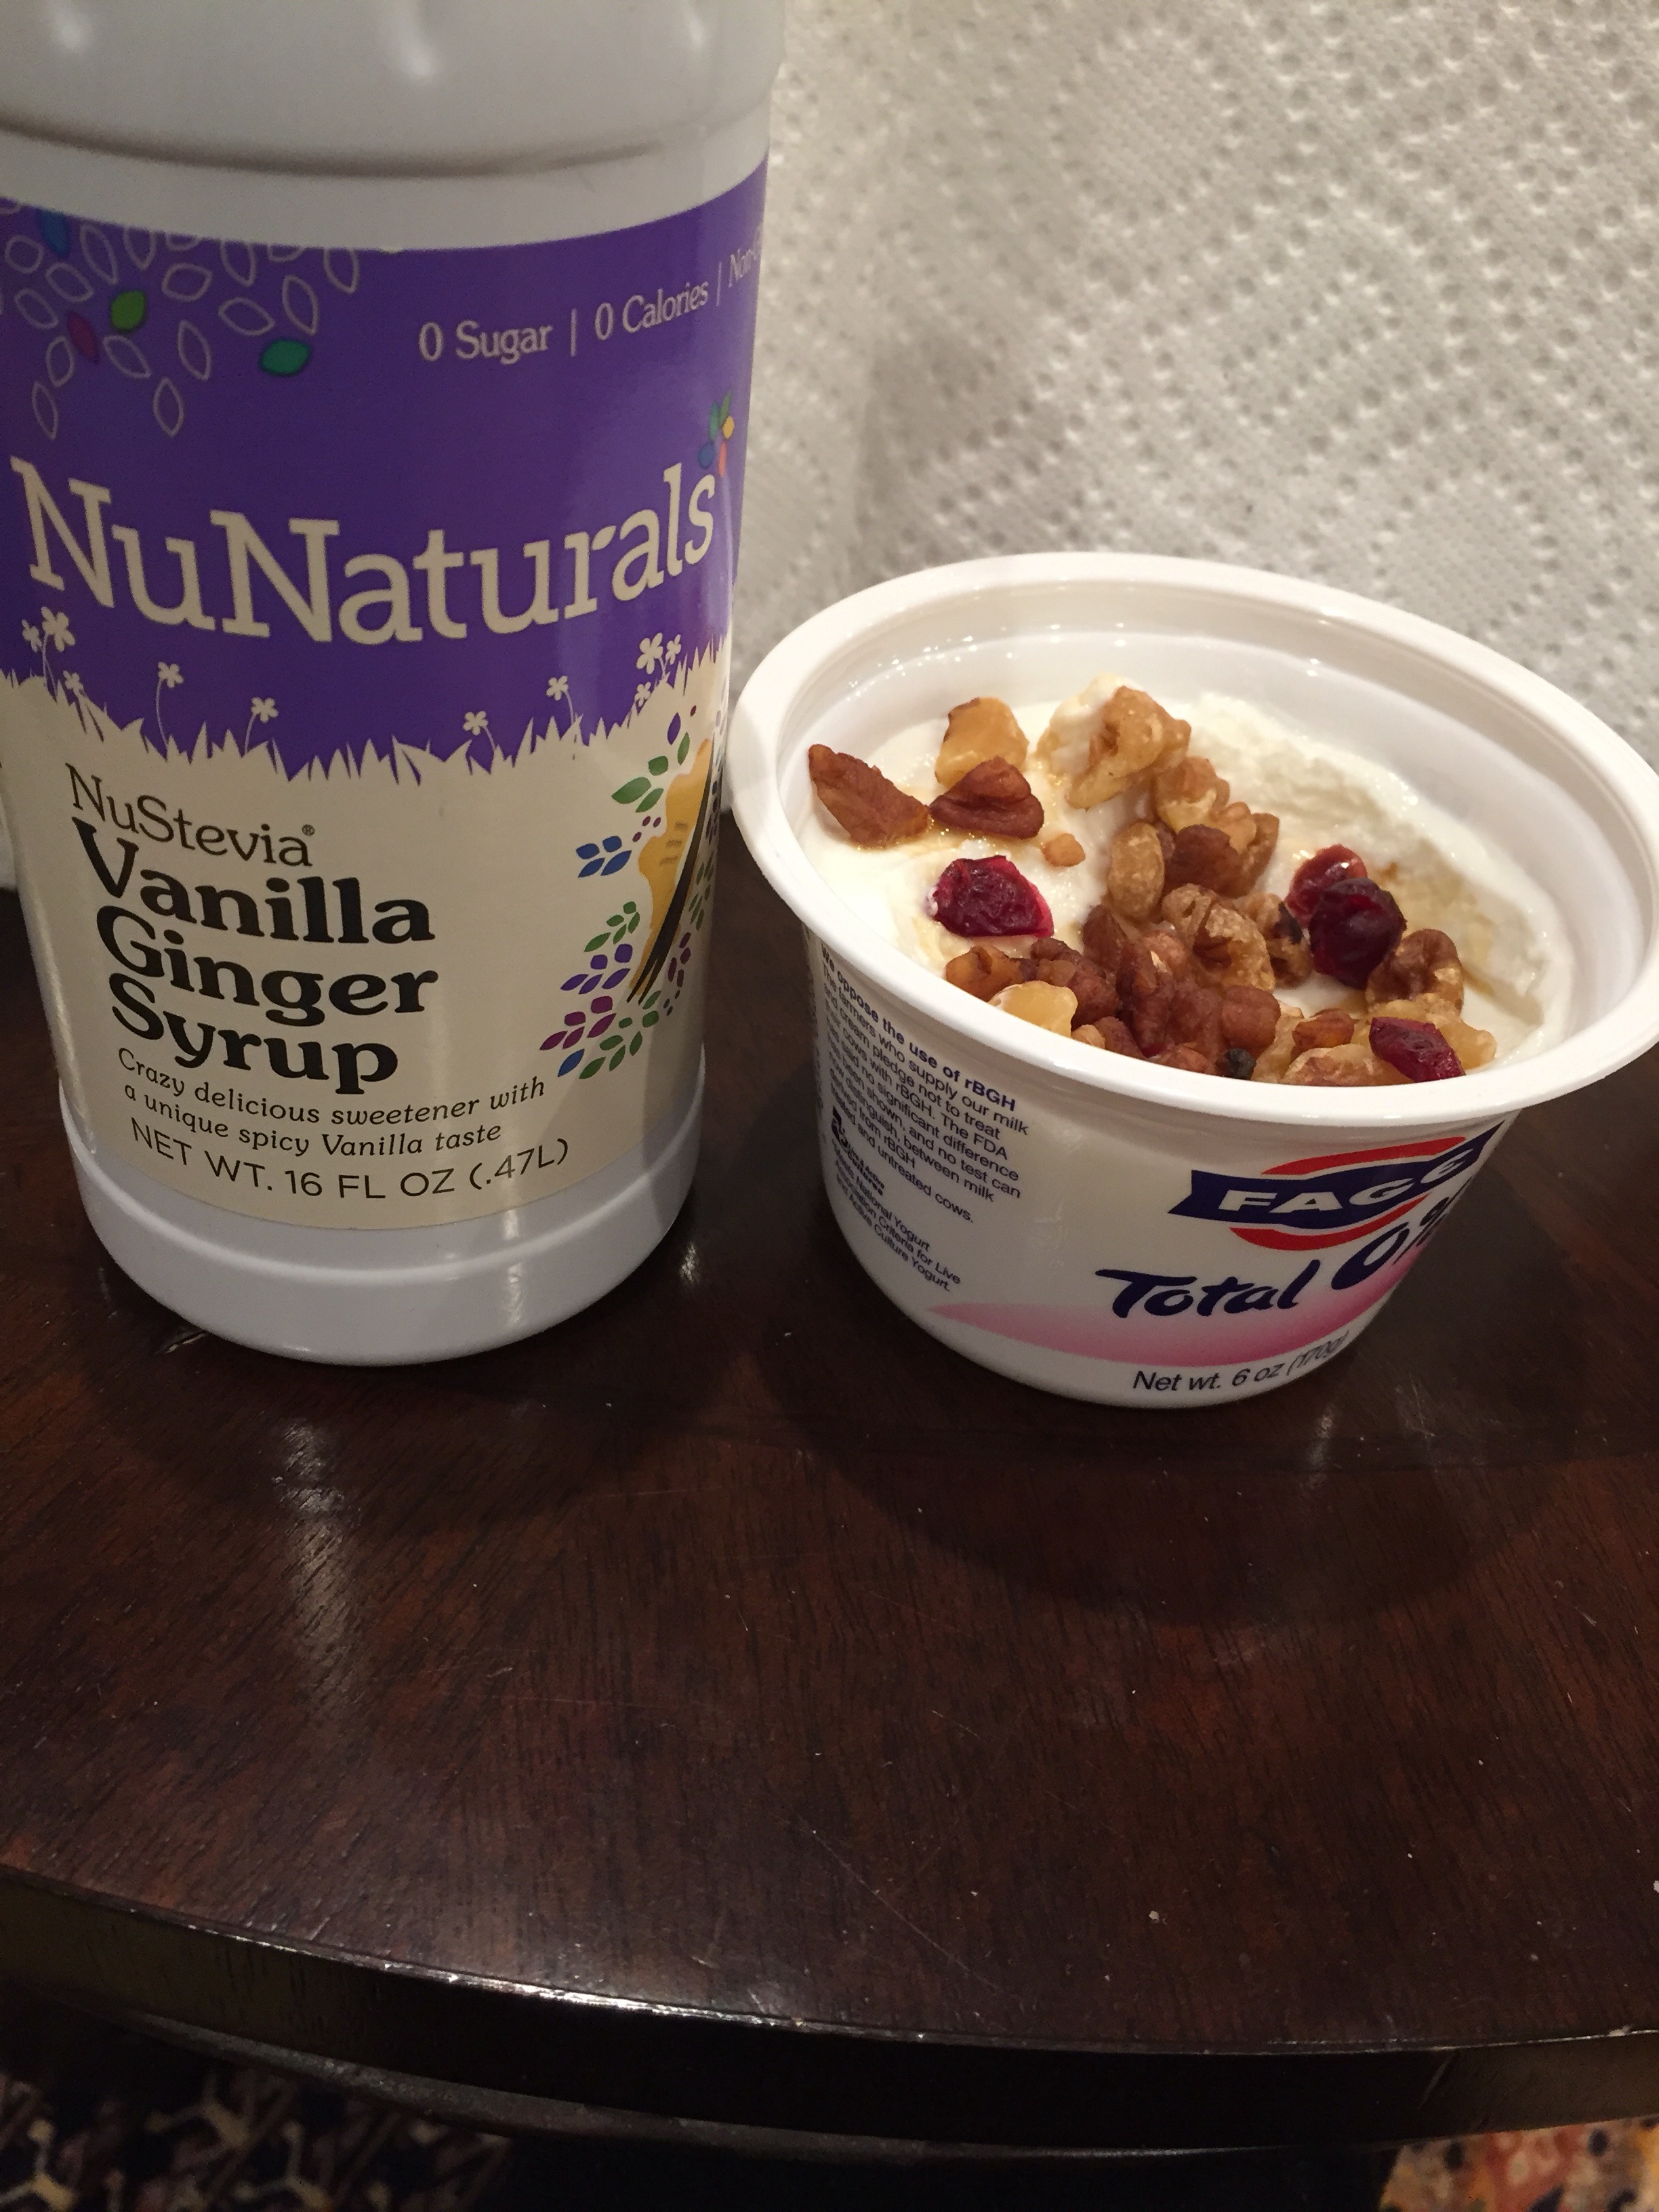
Greek yogurt + trail mix. I make my own, but pre-made mixes are also fine to use.

I pick and choose from: salted and roasted pumpkin seeds, honey pecans, walnuts, coconut flakes, roasted and sliced almonds, dried cranberries and dried ginger. It’s also good with a few drops of stevia mixed in (I used nunaturals ginger vanilla stevia).

Trail mix Greek yogurt

Roasted Veggies – 4 favorite recipes

I have a deep love for oven roasted veggies; crispy on the outside and melts in the mouth.

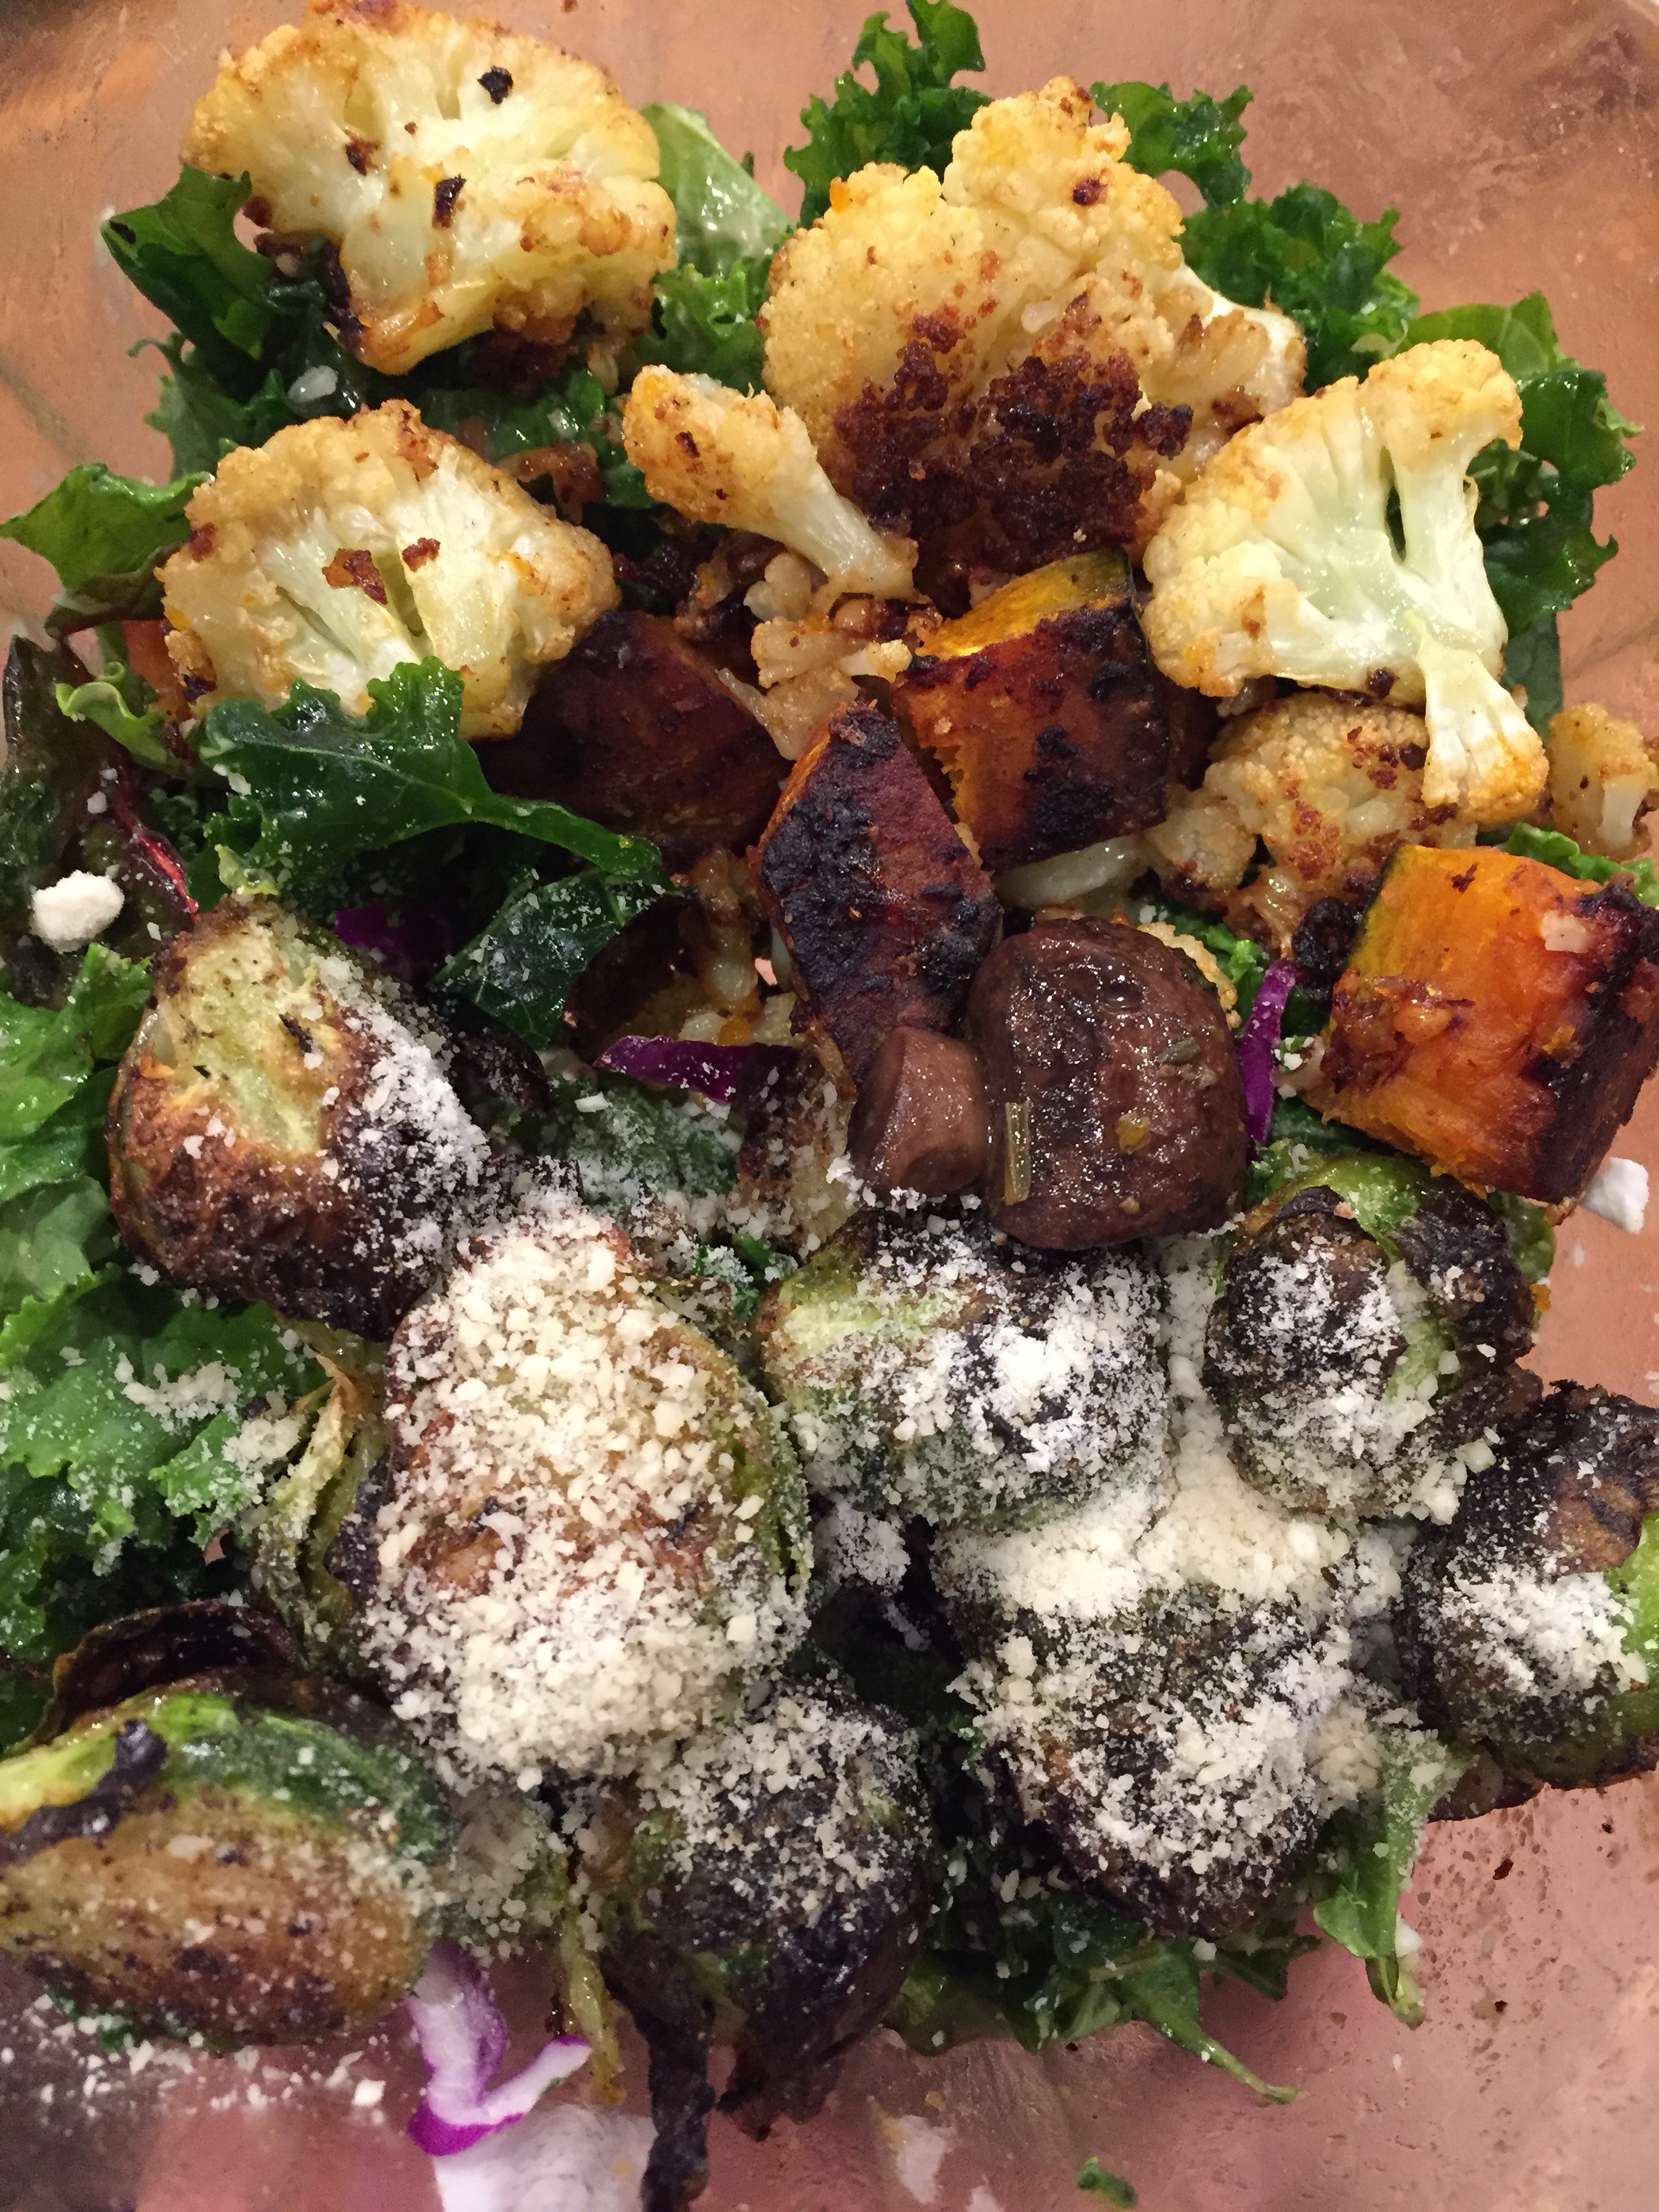
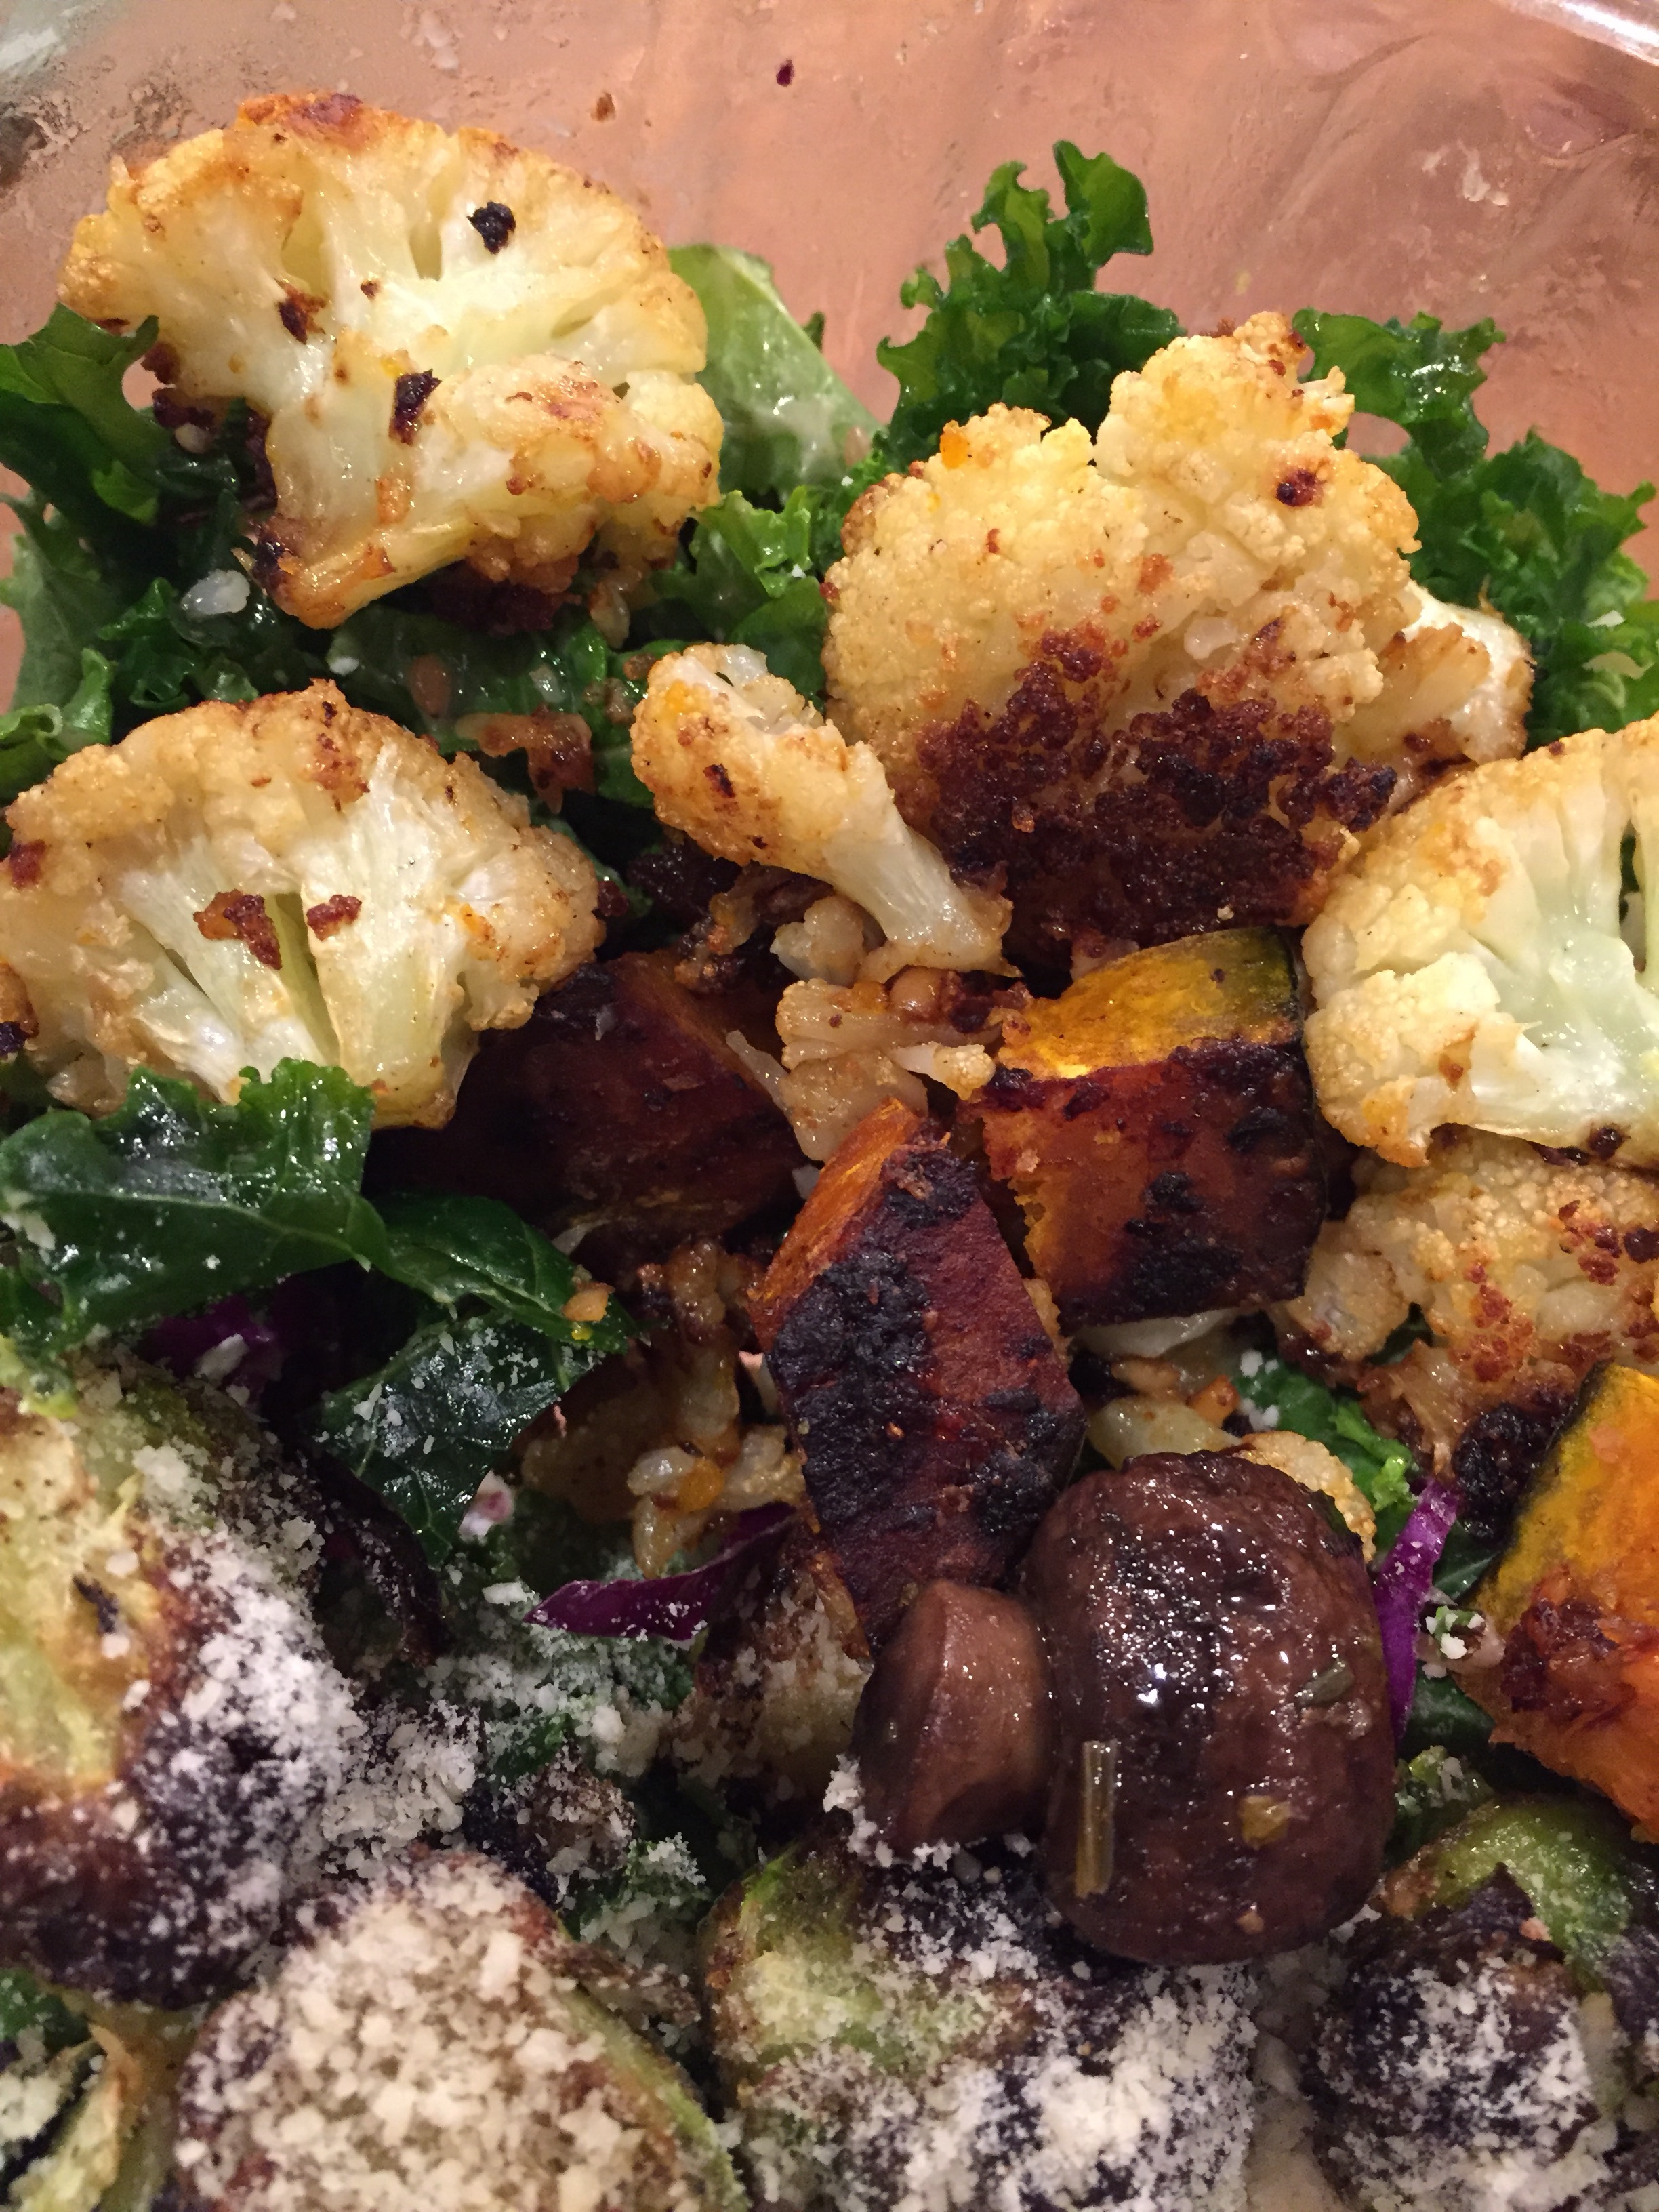
Preheat the oven to 425, mix 1 Tbs oil per cup vegetables + sea salt and seasoning, spread out on a baking tray and cook for 10 minutes or until soft inside and crisp outside. Broil at 500 degrees for 1-2 minutes if not crispy enough.

My marriage: Halved Brussels sprouts with cumin.

My action on the side: Cubed winter squash (Kabocha if you are very lucky) and cinnamon.

My teenage crush: Broccoli and diced garlic (add the garlic for the last few minute or it will burn).

My new love affair: Cauliflower chunks with ginger. I have no words.

Roasted Veggies – 4 favorite recipes

Shirataki Noodles 3 Ways

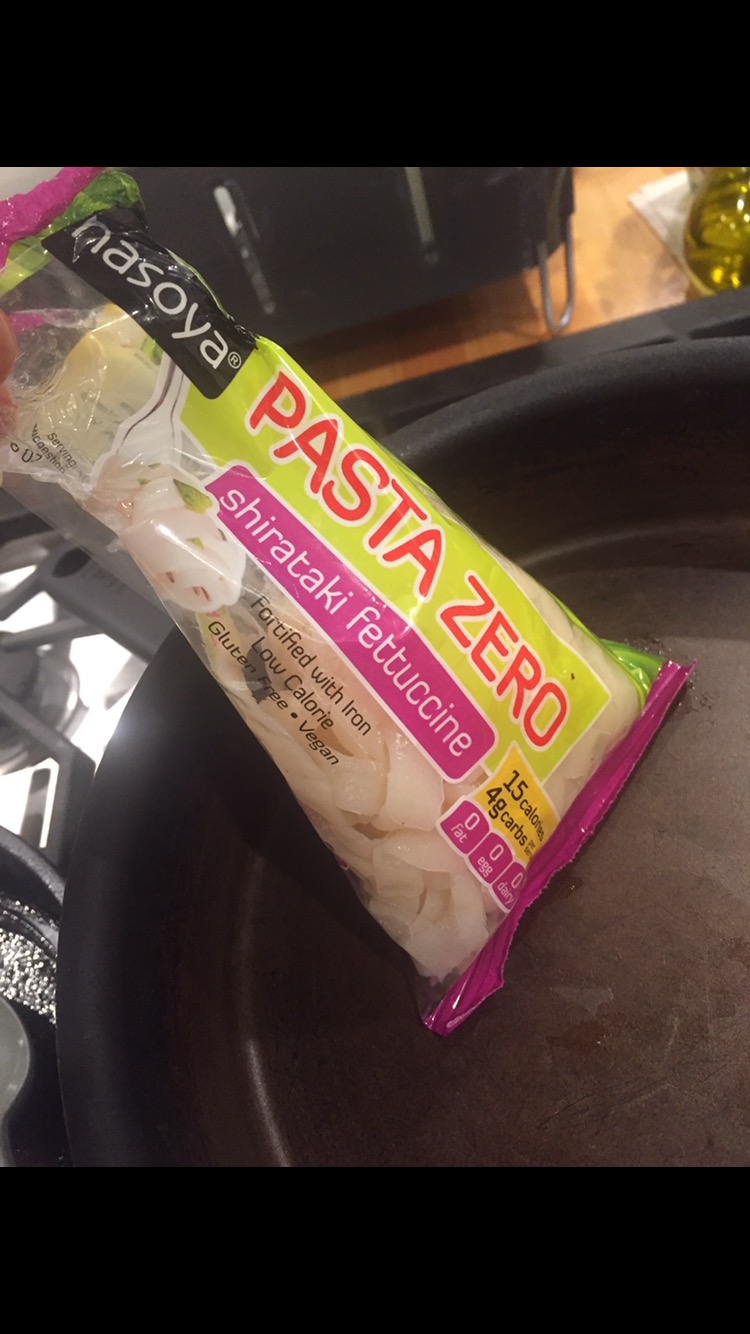
Shirataki noodles have come along way since I first tried them years ago. They are known for being extremely low in calories and high in fiber, mimicking regular noodles more than other very low-calorie options such as spiralize zucchini or spaghetti squash. 

The major complaints about Shirataki noodles are that they can have a slightly fishy smell and are firmer than regular noodles. The best way to correct these issues are 1) Rinse the noodles a couple of times in fresh water before using and water before using and 2) Add the noodles to the pot during cooking so that they absorb the flavor of the sauce.

Two types I tried:


Almost any brand is like this one – a slightly fishy smell before rinsing, ~15 calories per serving (2/3 cup), easy to find in the refrigerated section of most better-stocked grocery stores.


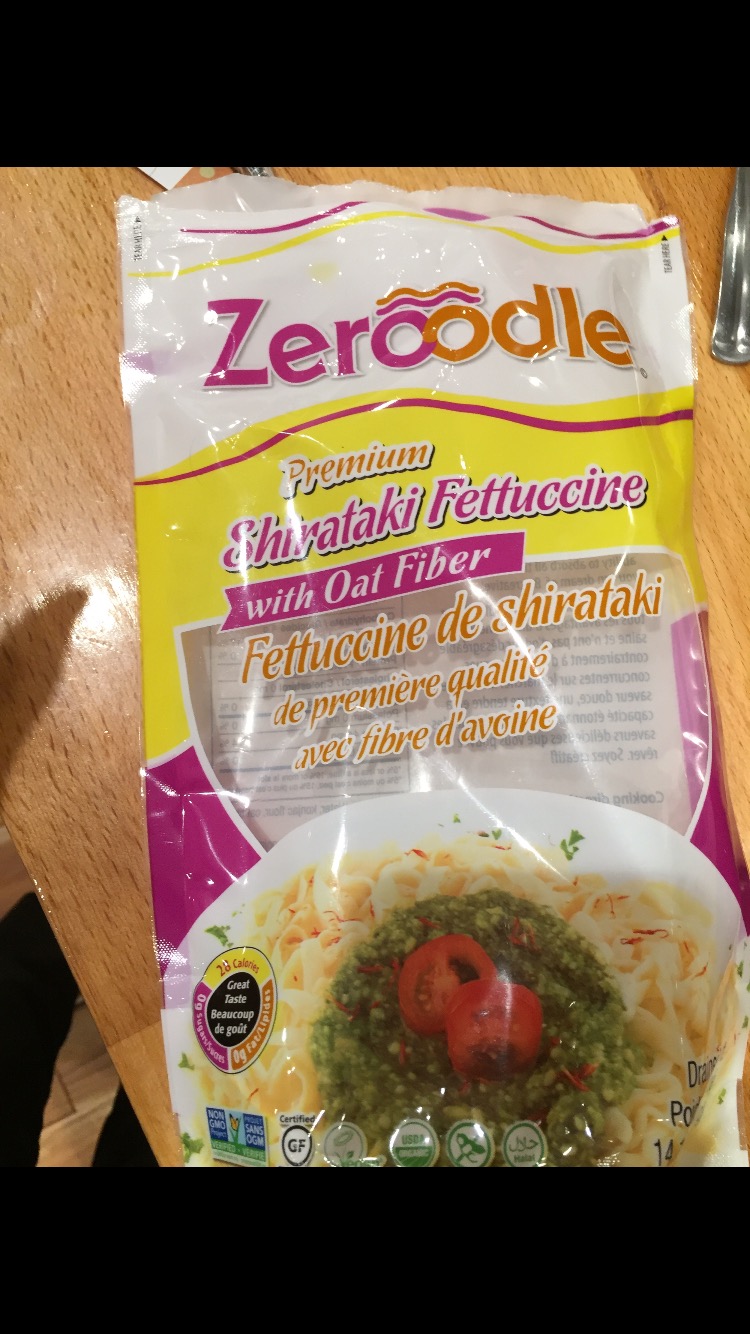
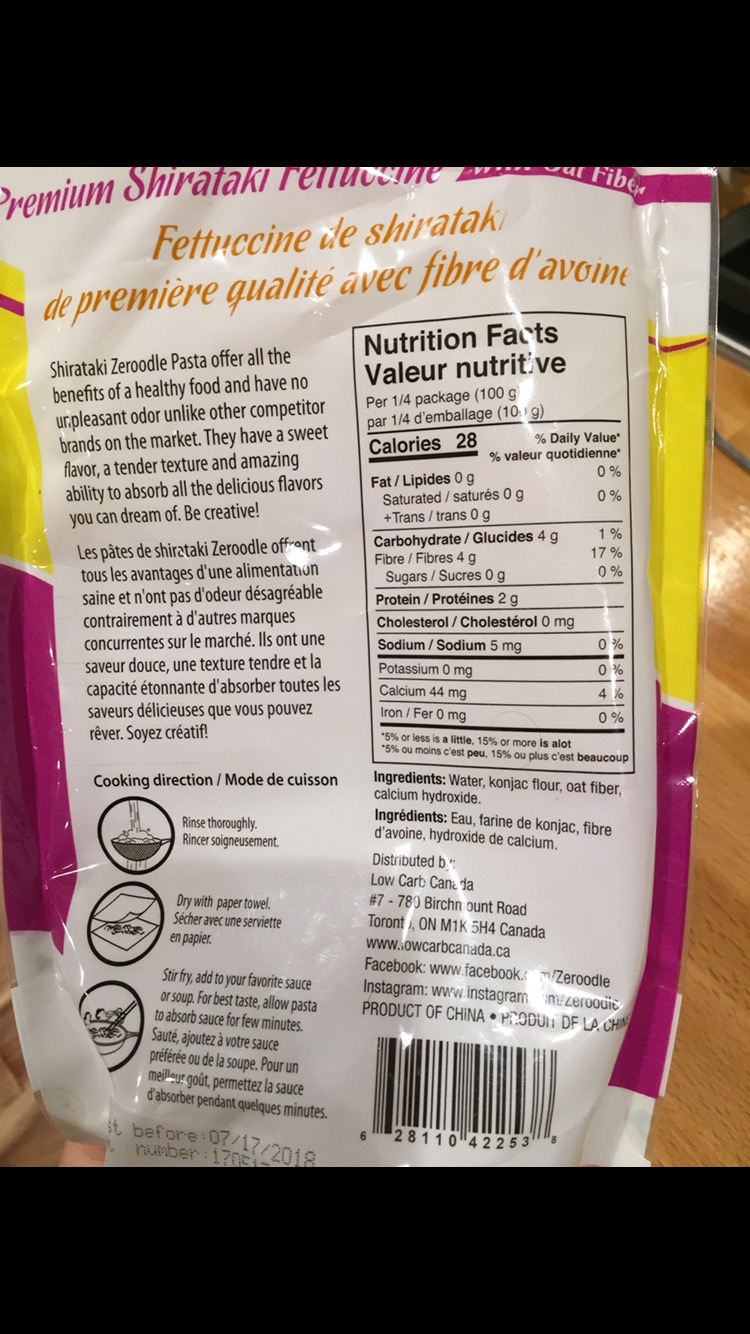
Shirataki noodles with oat fiber – no fishy smell, ~30 calories per serving, more difficult to find in the store (I ordered mine from netrition.com).

Three favorite meals are below. I hope you will try one!


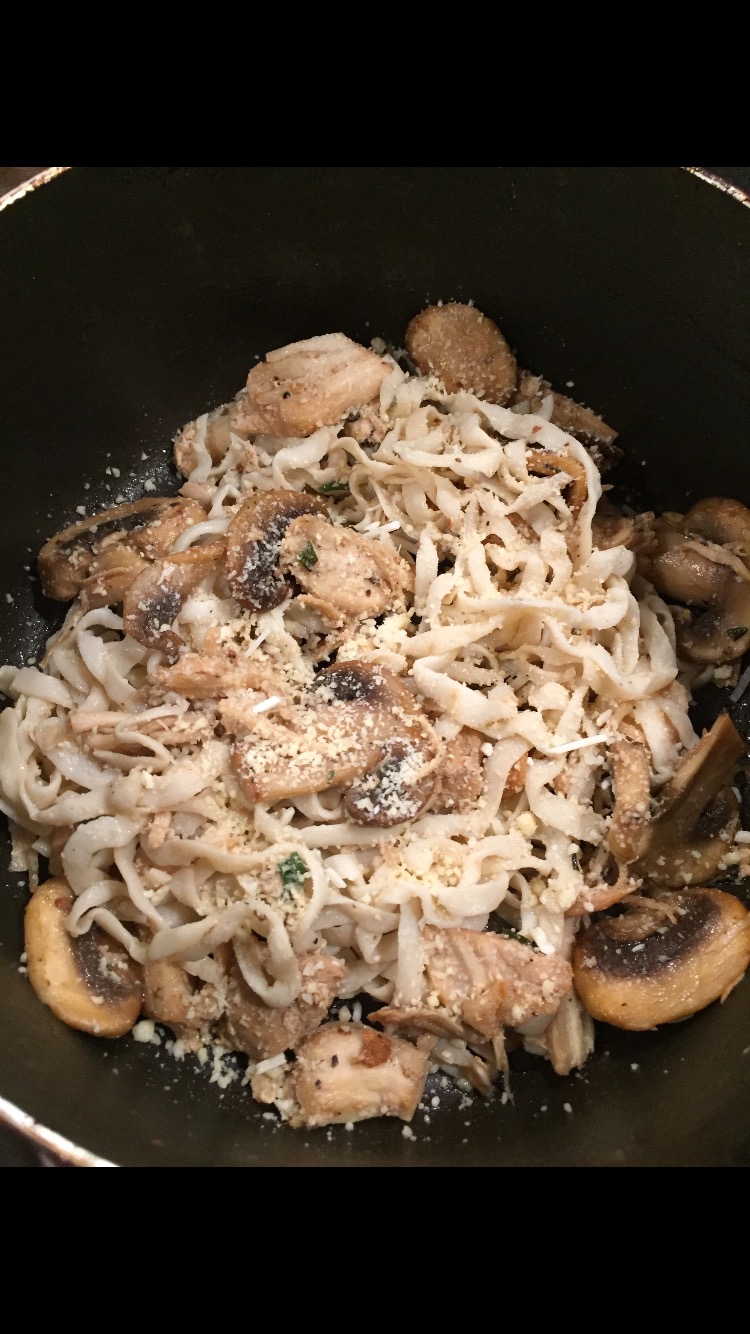
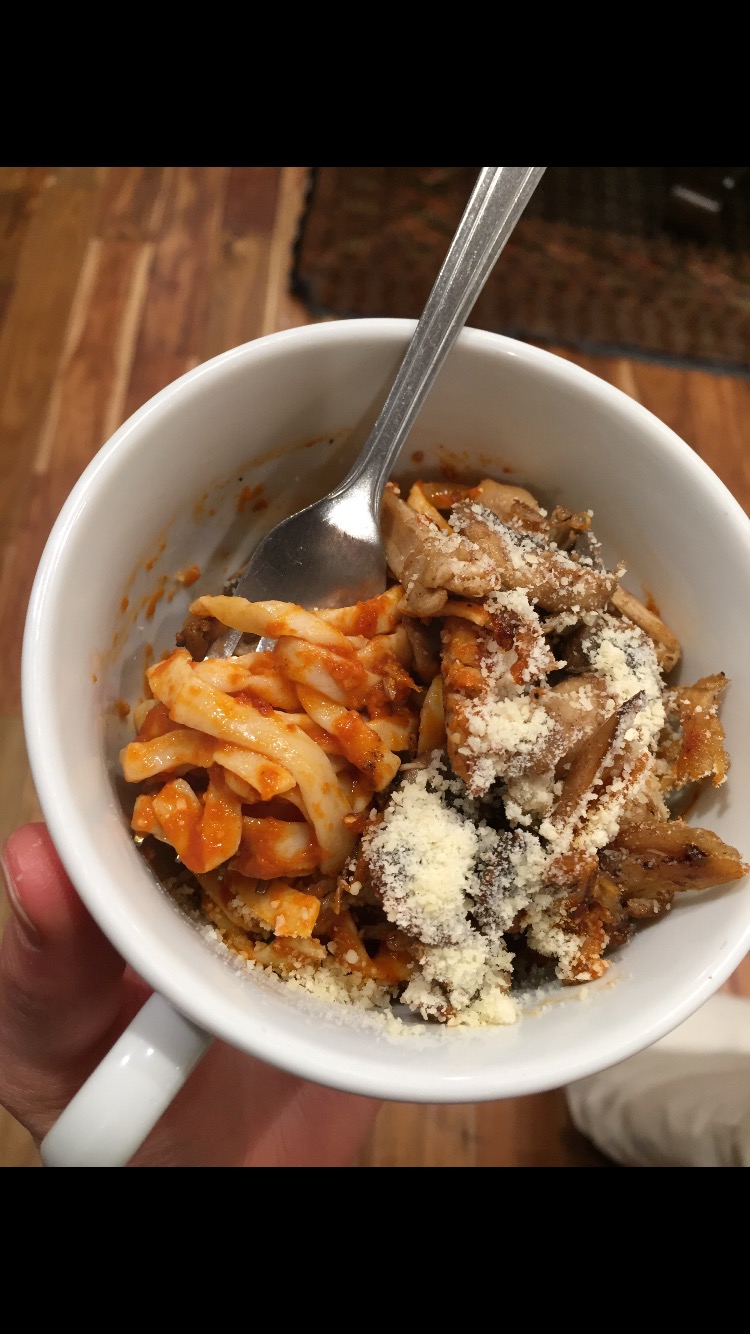
Chicken, mushrooms and a dusting of parmesean and nutritional yeast, with and without tomato sauce.


Asian salad with mixed veggie “noodles” (daikon and jicama), toasted almonds, cilantro, oven-roasted broccoli and shirataki noodles heated in a pan with sesame oil, miso and picked ginger.


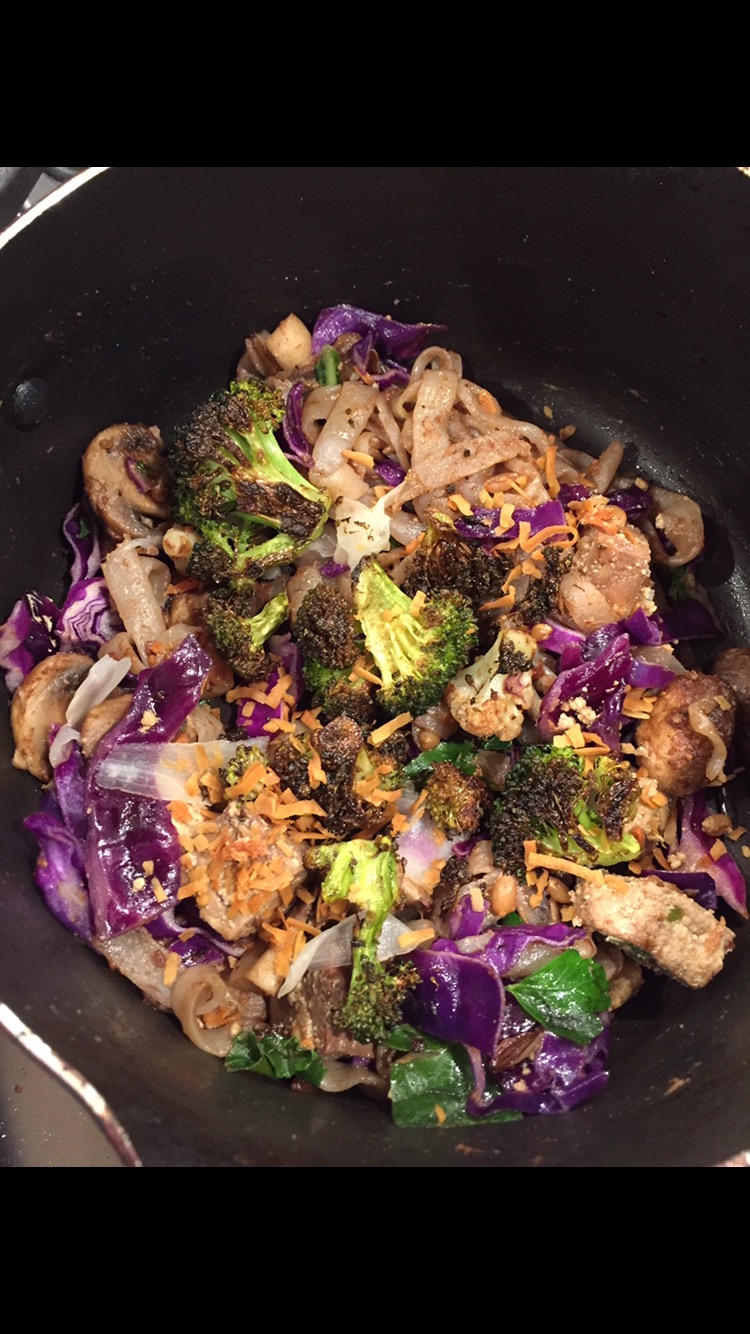
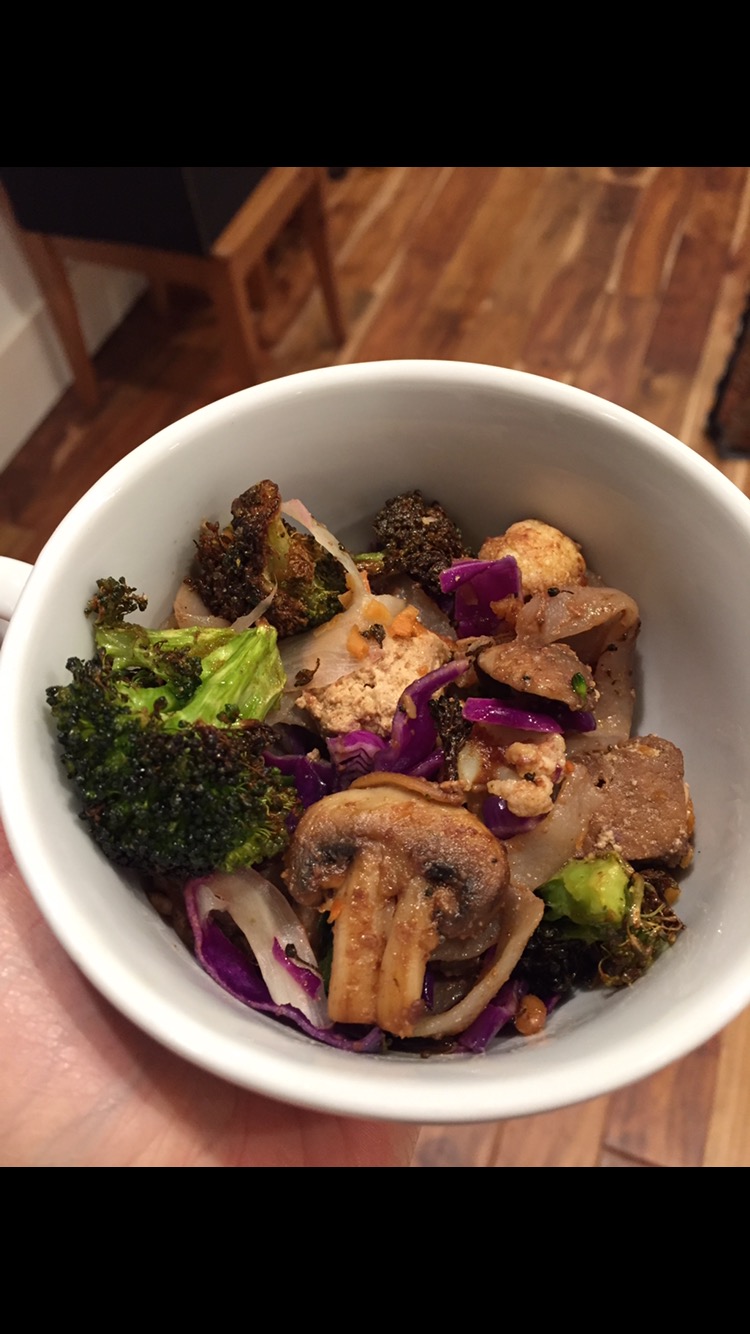
Tofu, broccoli, mushrooms,  red cabbage and shirataki noodles stir-fried in a sesame sauce, topped with toasted coconut flakes.

Shirataki Noodles 3 Ways

Please include your email or phone number with appointment requests!


Hello there. I love all of my clients and future clients! One thing you may not realize is that if you do not include an email address or phone number with your inquiry through this website, I have no way to contact you. The good news is that your information is always completely private! The bad news is that I may never get to meet you unless you include your contact info. I hope we do have the chance to talk and work together! Have a great day.

Please include your email or phone number with appointment requests!

Kale Saag Recipe

Make saag with kale instead of spinach in a few easy steps! Kale is much more firm than spinach, so you will steam the leaves initially and then purée then after cooking to create a silky texture without strings. Any kind of kale can be used in this recipe. I used curly kale because that is what I had on hand, but lactino/dinosaur kale would be excellent also. For the broth; chicken or vegetable can be used, or water (less sodium but less flavorful). Spices can be any that you like; I have listed what I used. Some fat will be needed to bring out the sweet taste in the kale, traditional recipes use cups of oil or ghee/clarified butter. You could also use almost no fat, but the mouthfeel would be less creamy and the taste would be slightly more bitter. I suggest starting on the low side, then adding more as needed for taste.

Simplified ingredient list: Large bunch of kale. 1/4-1/2 Chopped onion. 1 Tbs each Crushed ginger and chopped garlic. Oil or ghee. Dry spices and spice pastes as desired. 1/2 Tbs Tomato paste. Water or broth. Half and half or coconut milk. 1 can of chickpeas.

Equipment needed: large pot with a lid, spoon for pot, measuring spoon (or your eyes), steamer basket (helpful), oven pan, immersion blender/blender/food processor.

1. Wash kale thoroughly. I started with one large bunch of kale. Remove largest part of the stem.

2. Steam kale for 8 minutes to soften. I used a steamer basket in a huge soup pot.

3. Sautéed 1/4 to 1/2 chopped onion in 2 tablespoons oil with salt and pepper until lightly golden. Add 1 tablespoon each of crushed ginger and chopped garlic and cook briefly until garlic is fragrant.

4. Add in wilted kale, tearing leaves up into slightly smaller pieces. 

5. Add another 2 Tablespoons oil and sautéed kale for 3 minutes on medium heat.

6. Add 2 cups broth to deglaze the pan. Add 1/2 Tablespoon tomato paste. Add spices as desired: I used a sprinkle each of cumin, garlic powder, cayenne pepper, turmeric, chili powder and a pinch of cardamom. I also added 1/2 teaspoon of red Thai chili paste (though this is not traditional).

7. Cook for 1 to 2 hours. The longer you cook, the more the flavors will blend. Add additional water as it becomes dry. Add additional oil in small amounts of the kale is not getting slightly glossy. Adding 1-2 Tbs butter or ghee will make this taste great, but is not required.

8. Meanwhile oven toast 1 can of chickpeas in 1/2 tablespoon oil at 450 degrees for 8 minutes.  Add a sprinkle of sea salt and a sprinkle of spices (I used cayenne, garlic powder and cumin). Place back in the oven for 1-2 more minutes until lightly brown and shrunk in size by 1/4-1/6 of their original size. Set aside.

8. After you can wait no longer, purée the kale with an immersion blender/blender/food processor. I used an immersion blender. You do not need to make it totally puréed but you should eliminate all of the strings and big chunks, which takes awhile. Adding more liquid can help make this easier if you are using an immersion blender.

9. Add 1/4 cup half and half. Alternatively add coconut milk. The amount can be increased to 1/3 cup if needed. Run the immersion blender one more time briefly.

10. Cook on low for another 10 minutes, stirring constantly.

11. Turn off heat and stir in toasted chickpeas.
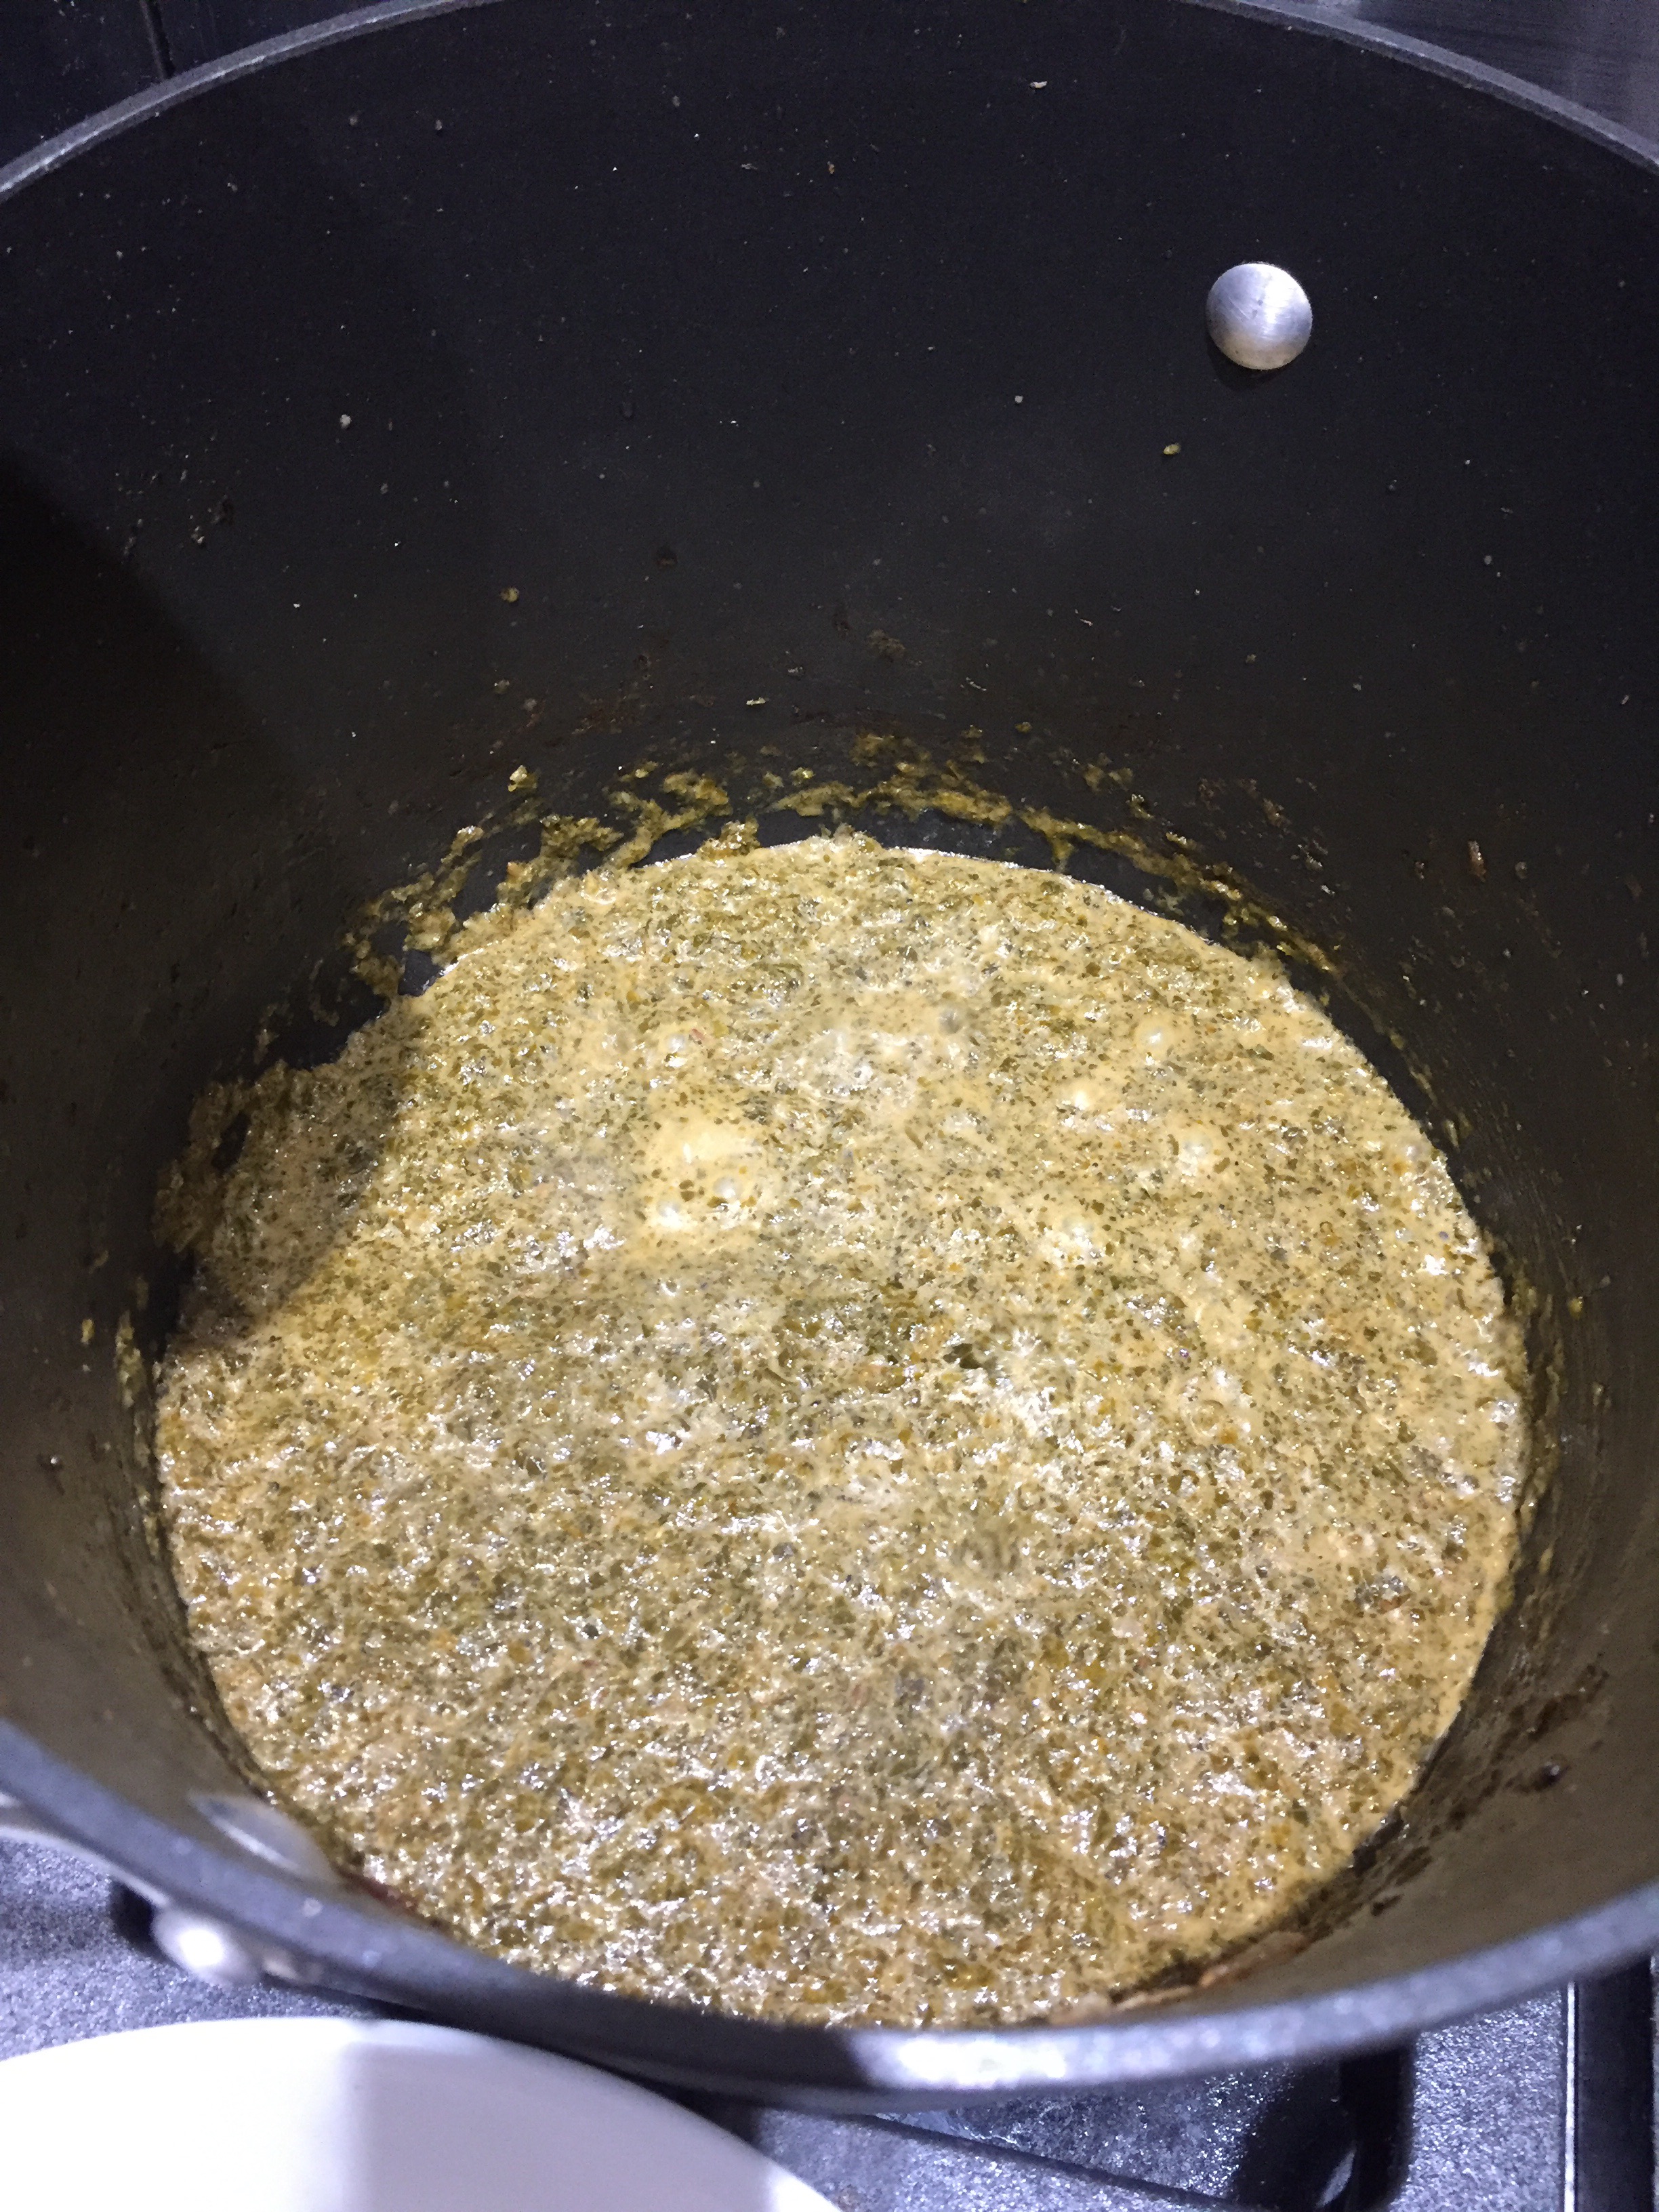
Puréed kale cooking.
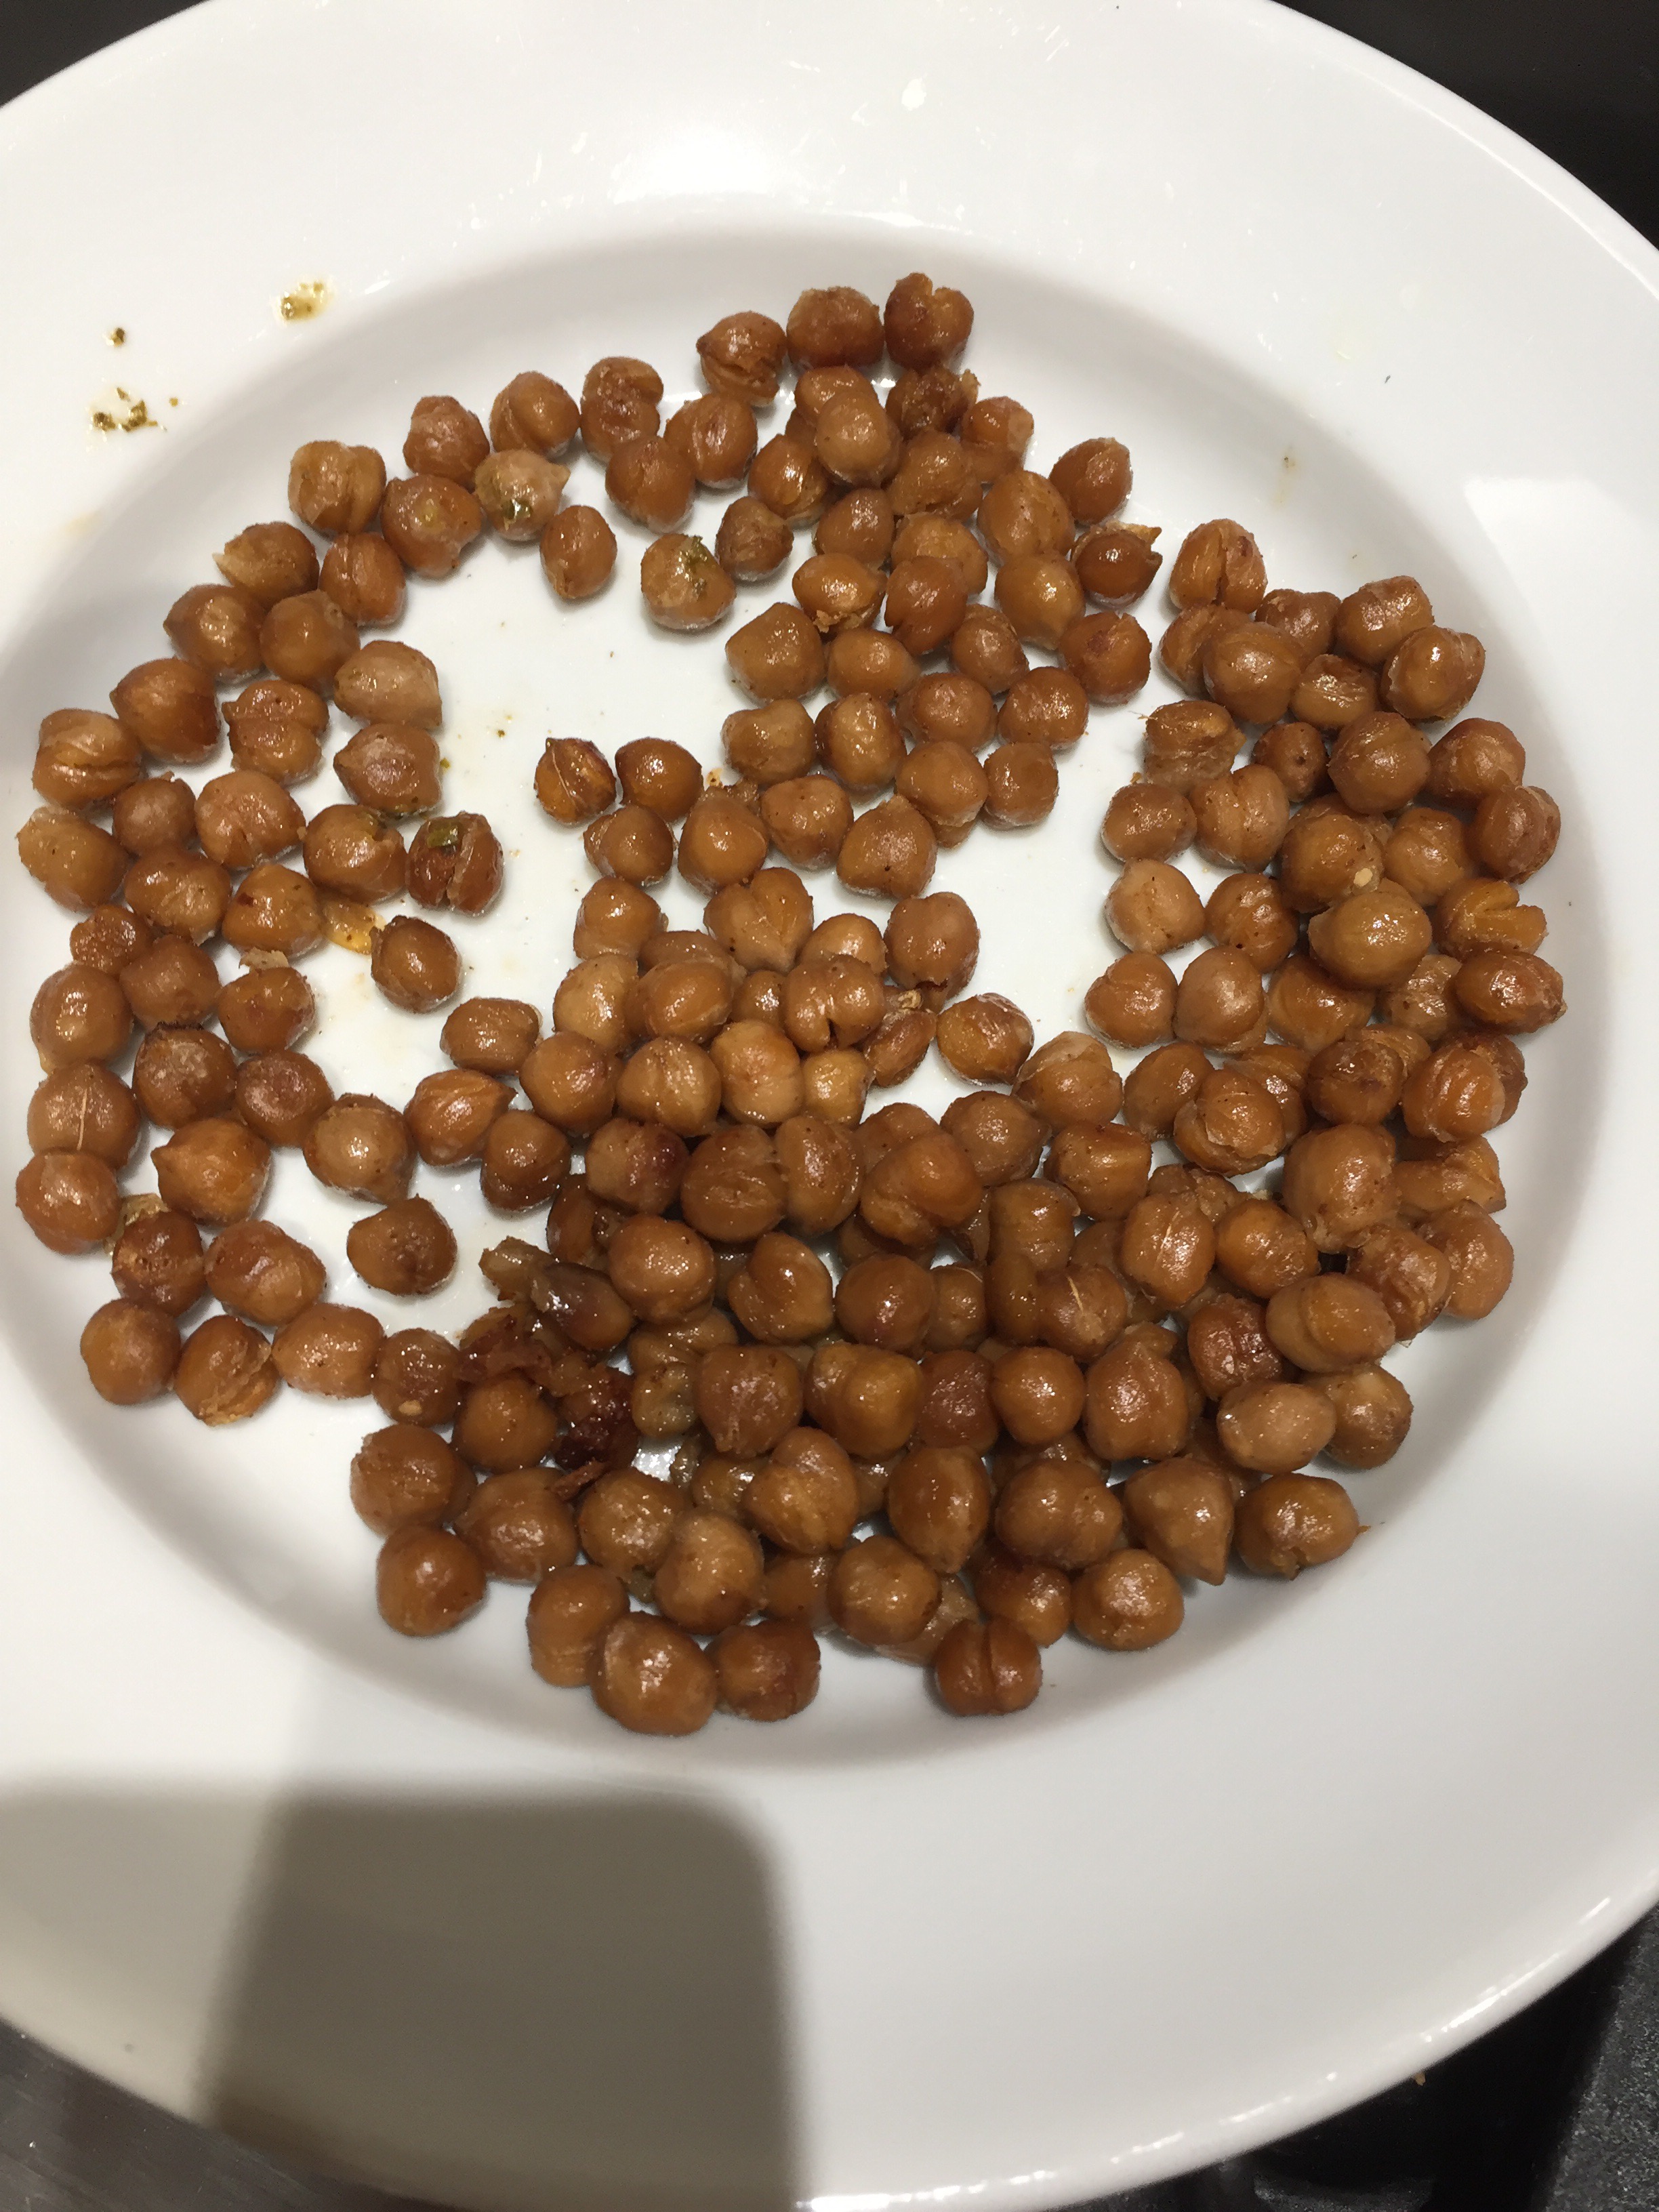
Toasted chickpeas.
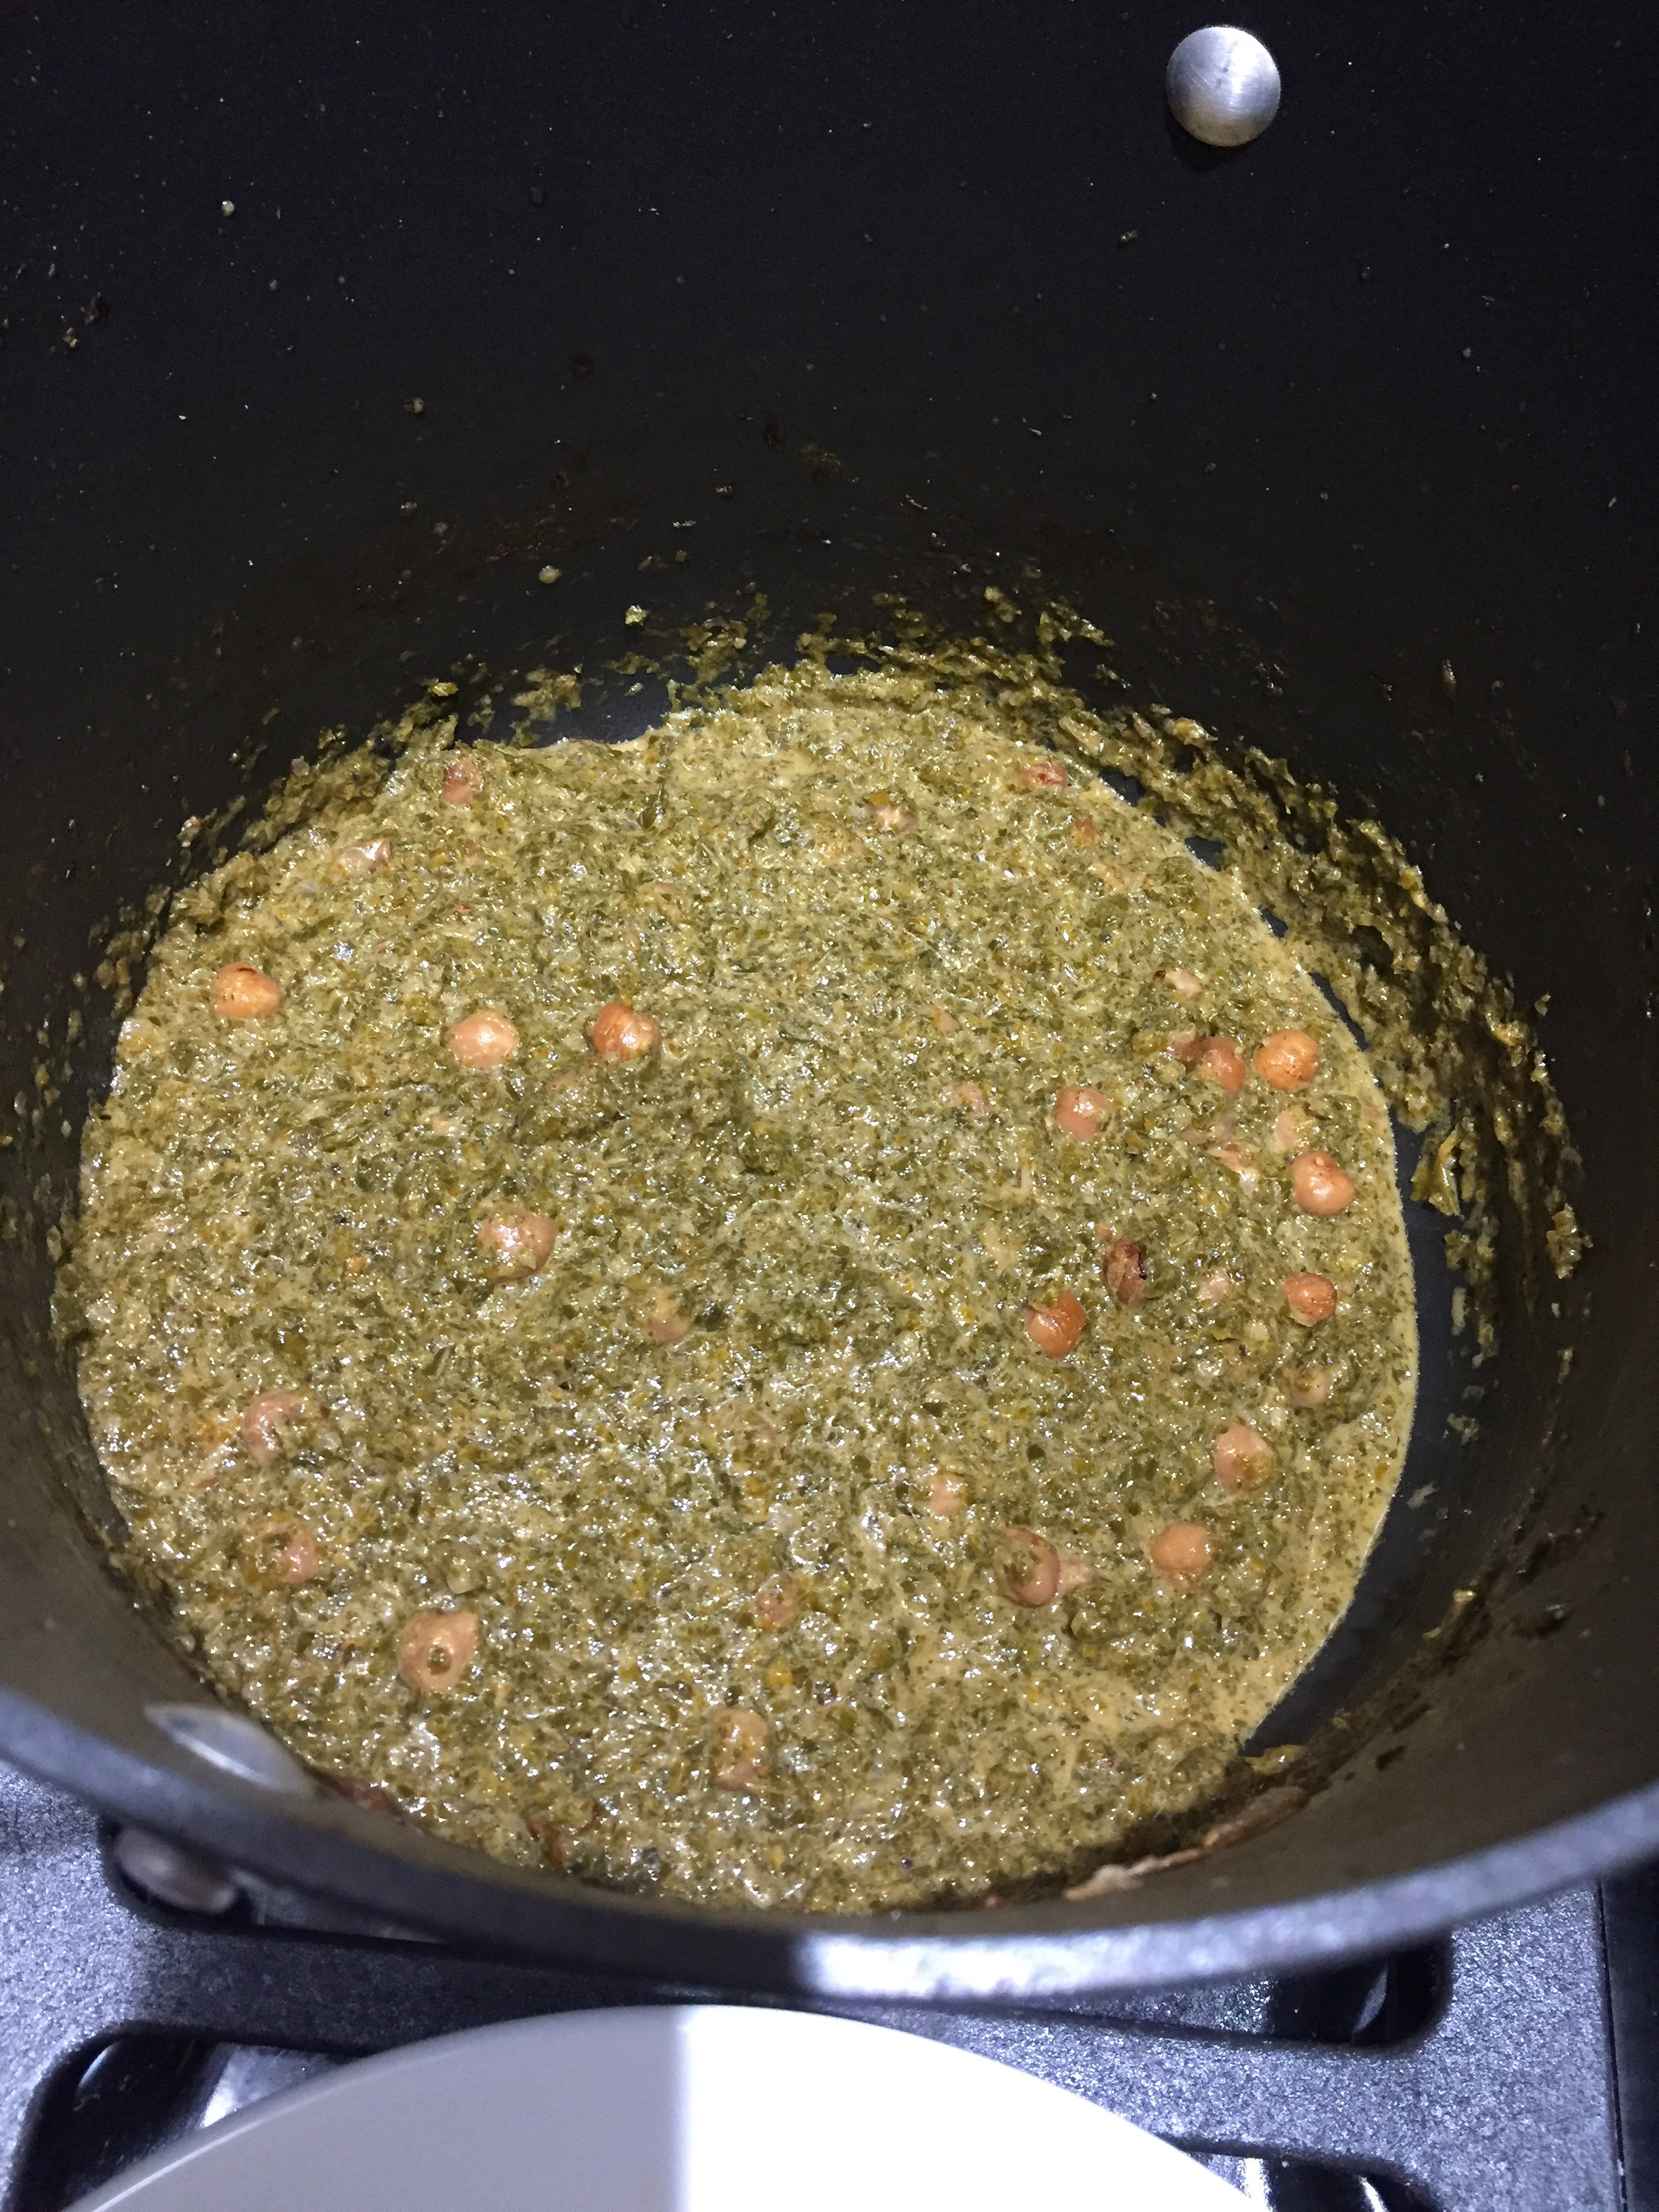
Finished kale with chickpeas added.
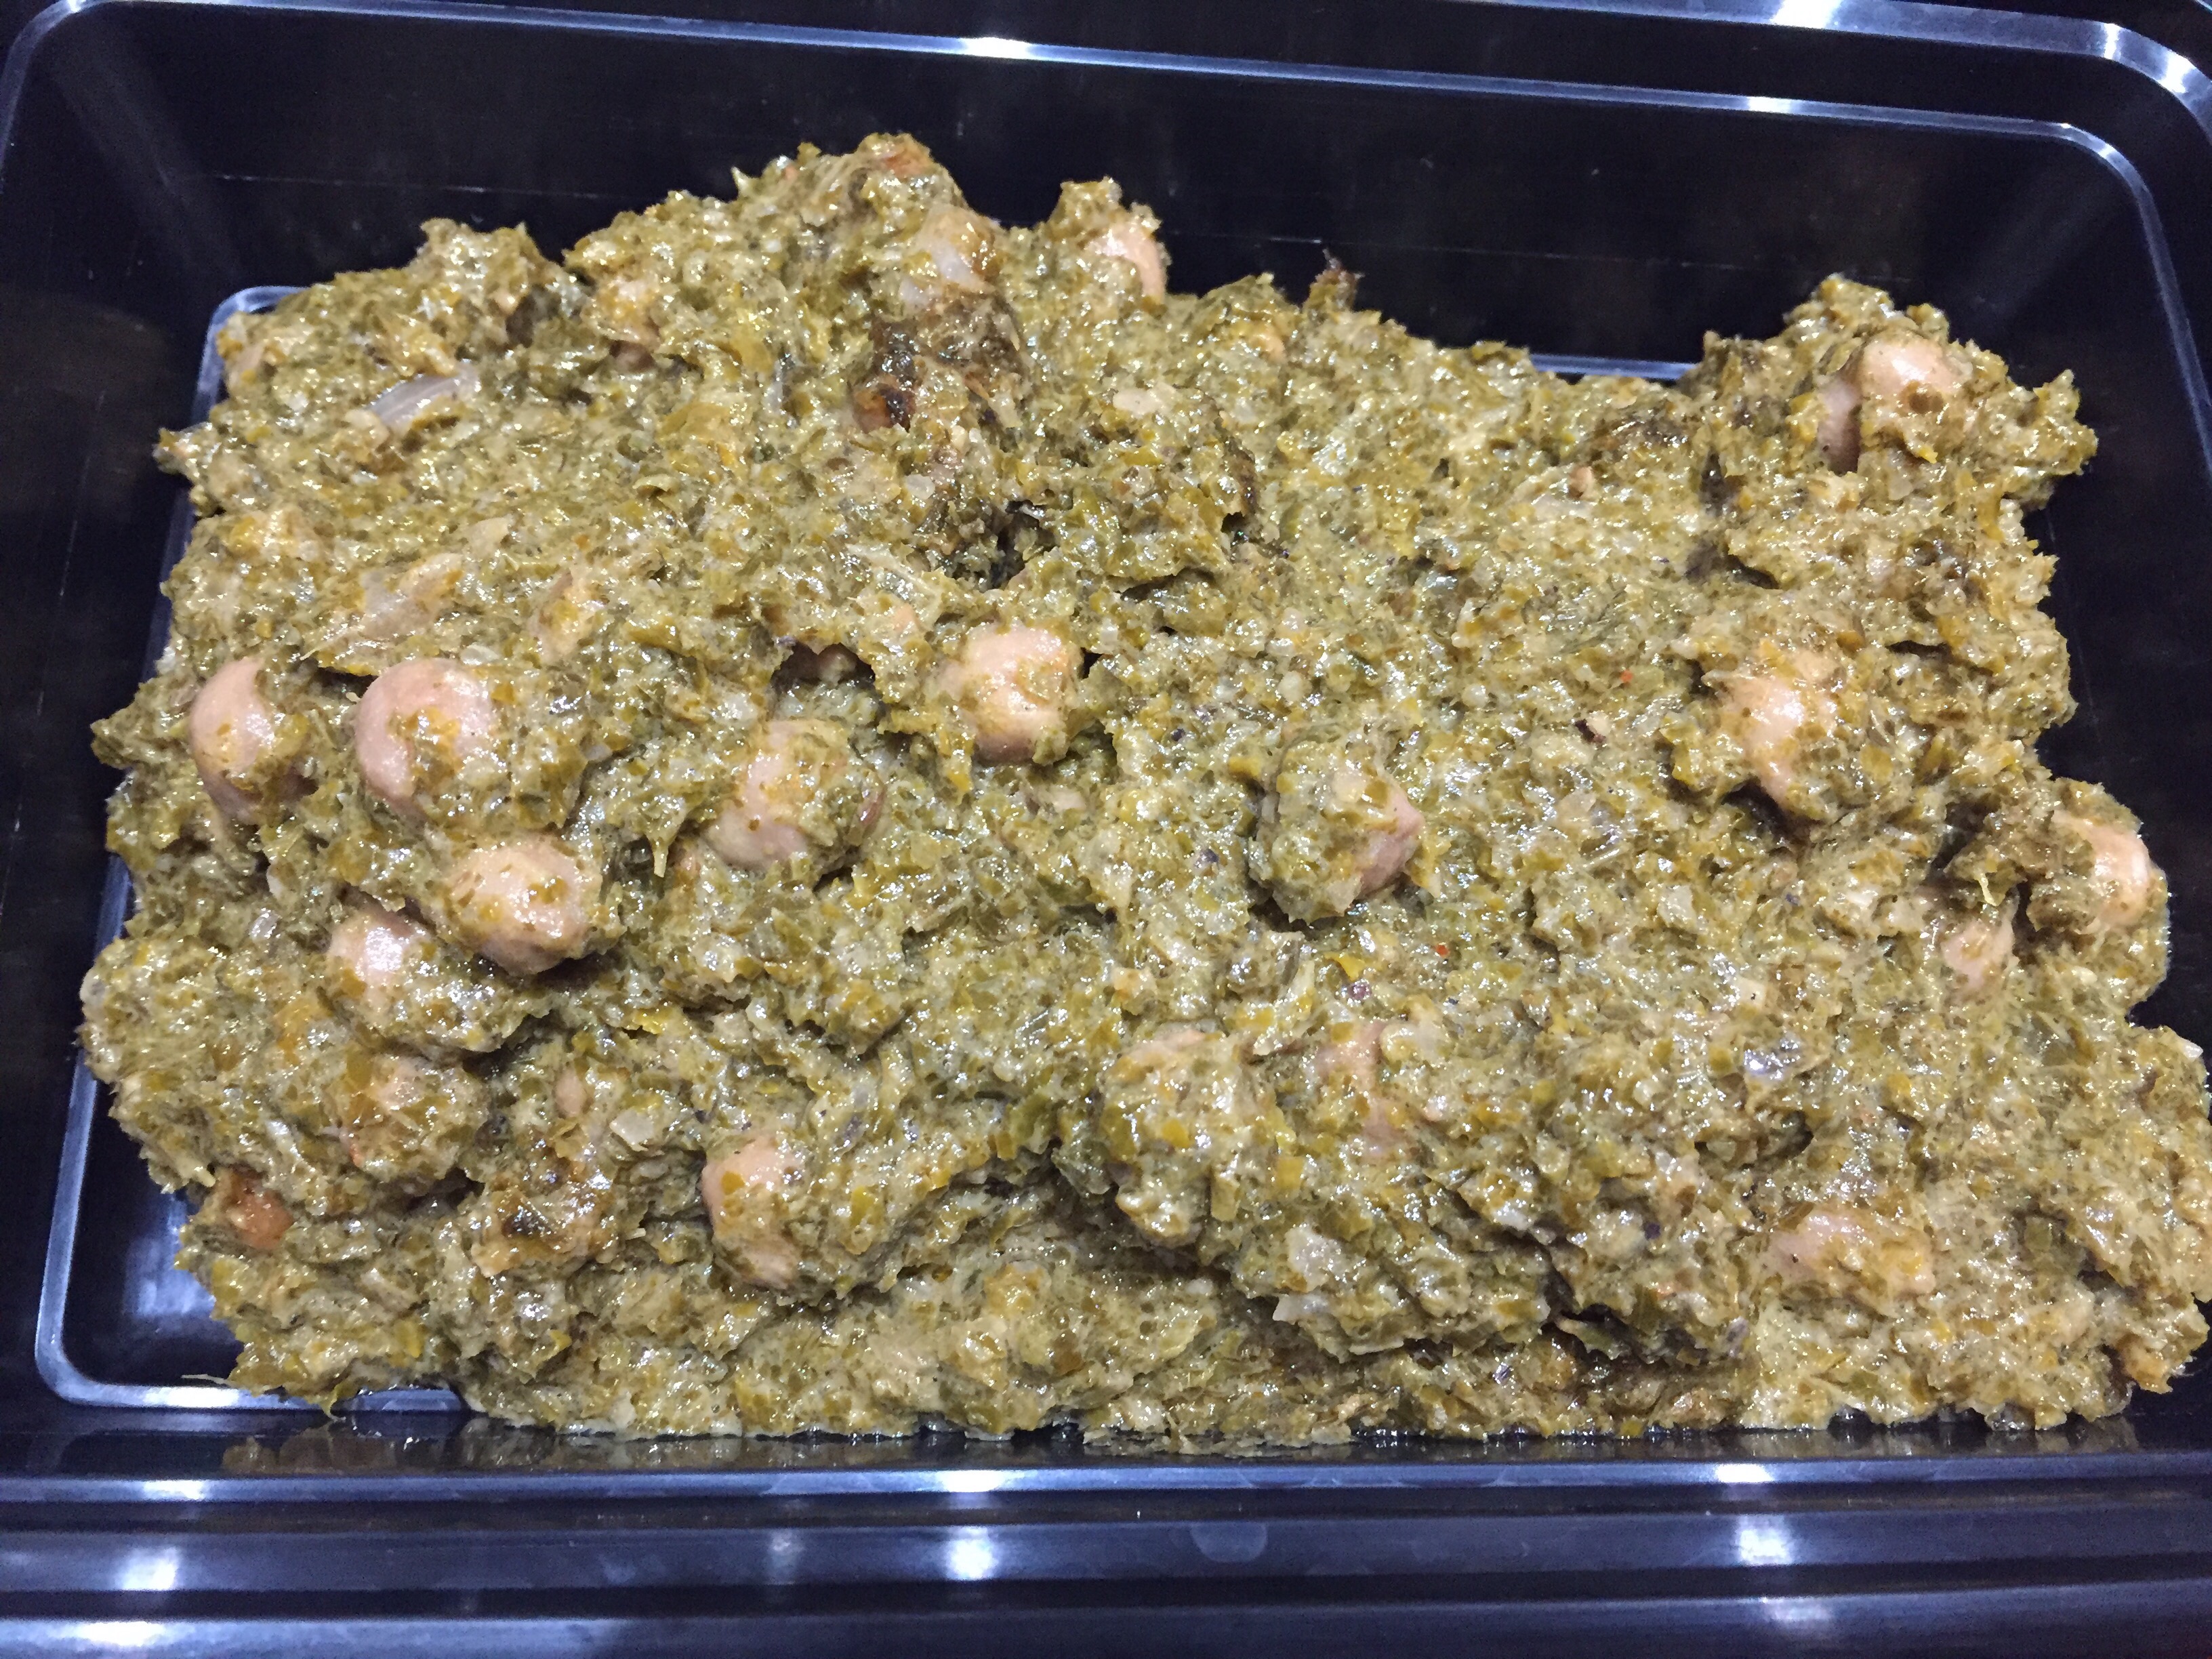

Fed a family of 4 with leftovers!
Kale Saag Recipe

Sweetgrass Buddha bowl at home + How to preserve an avocado

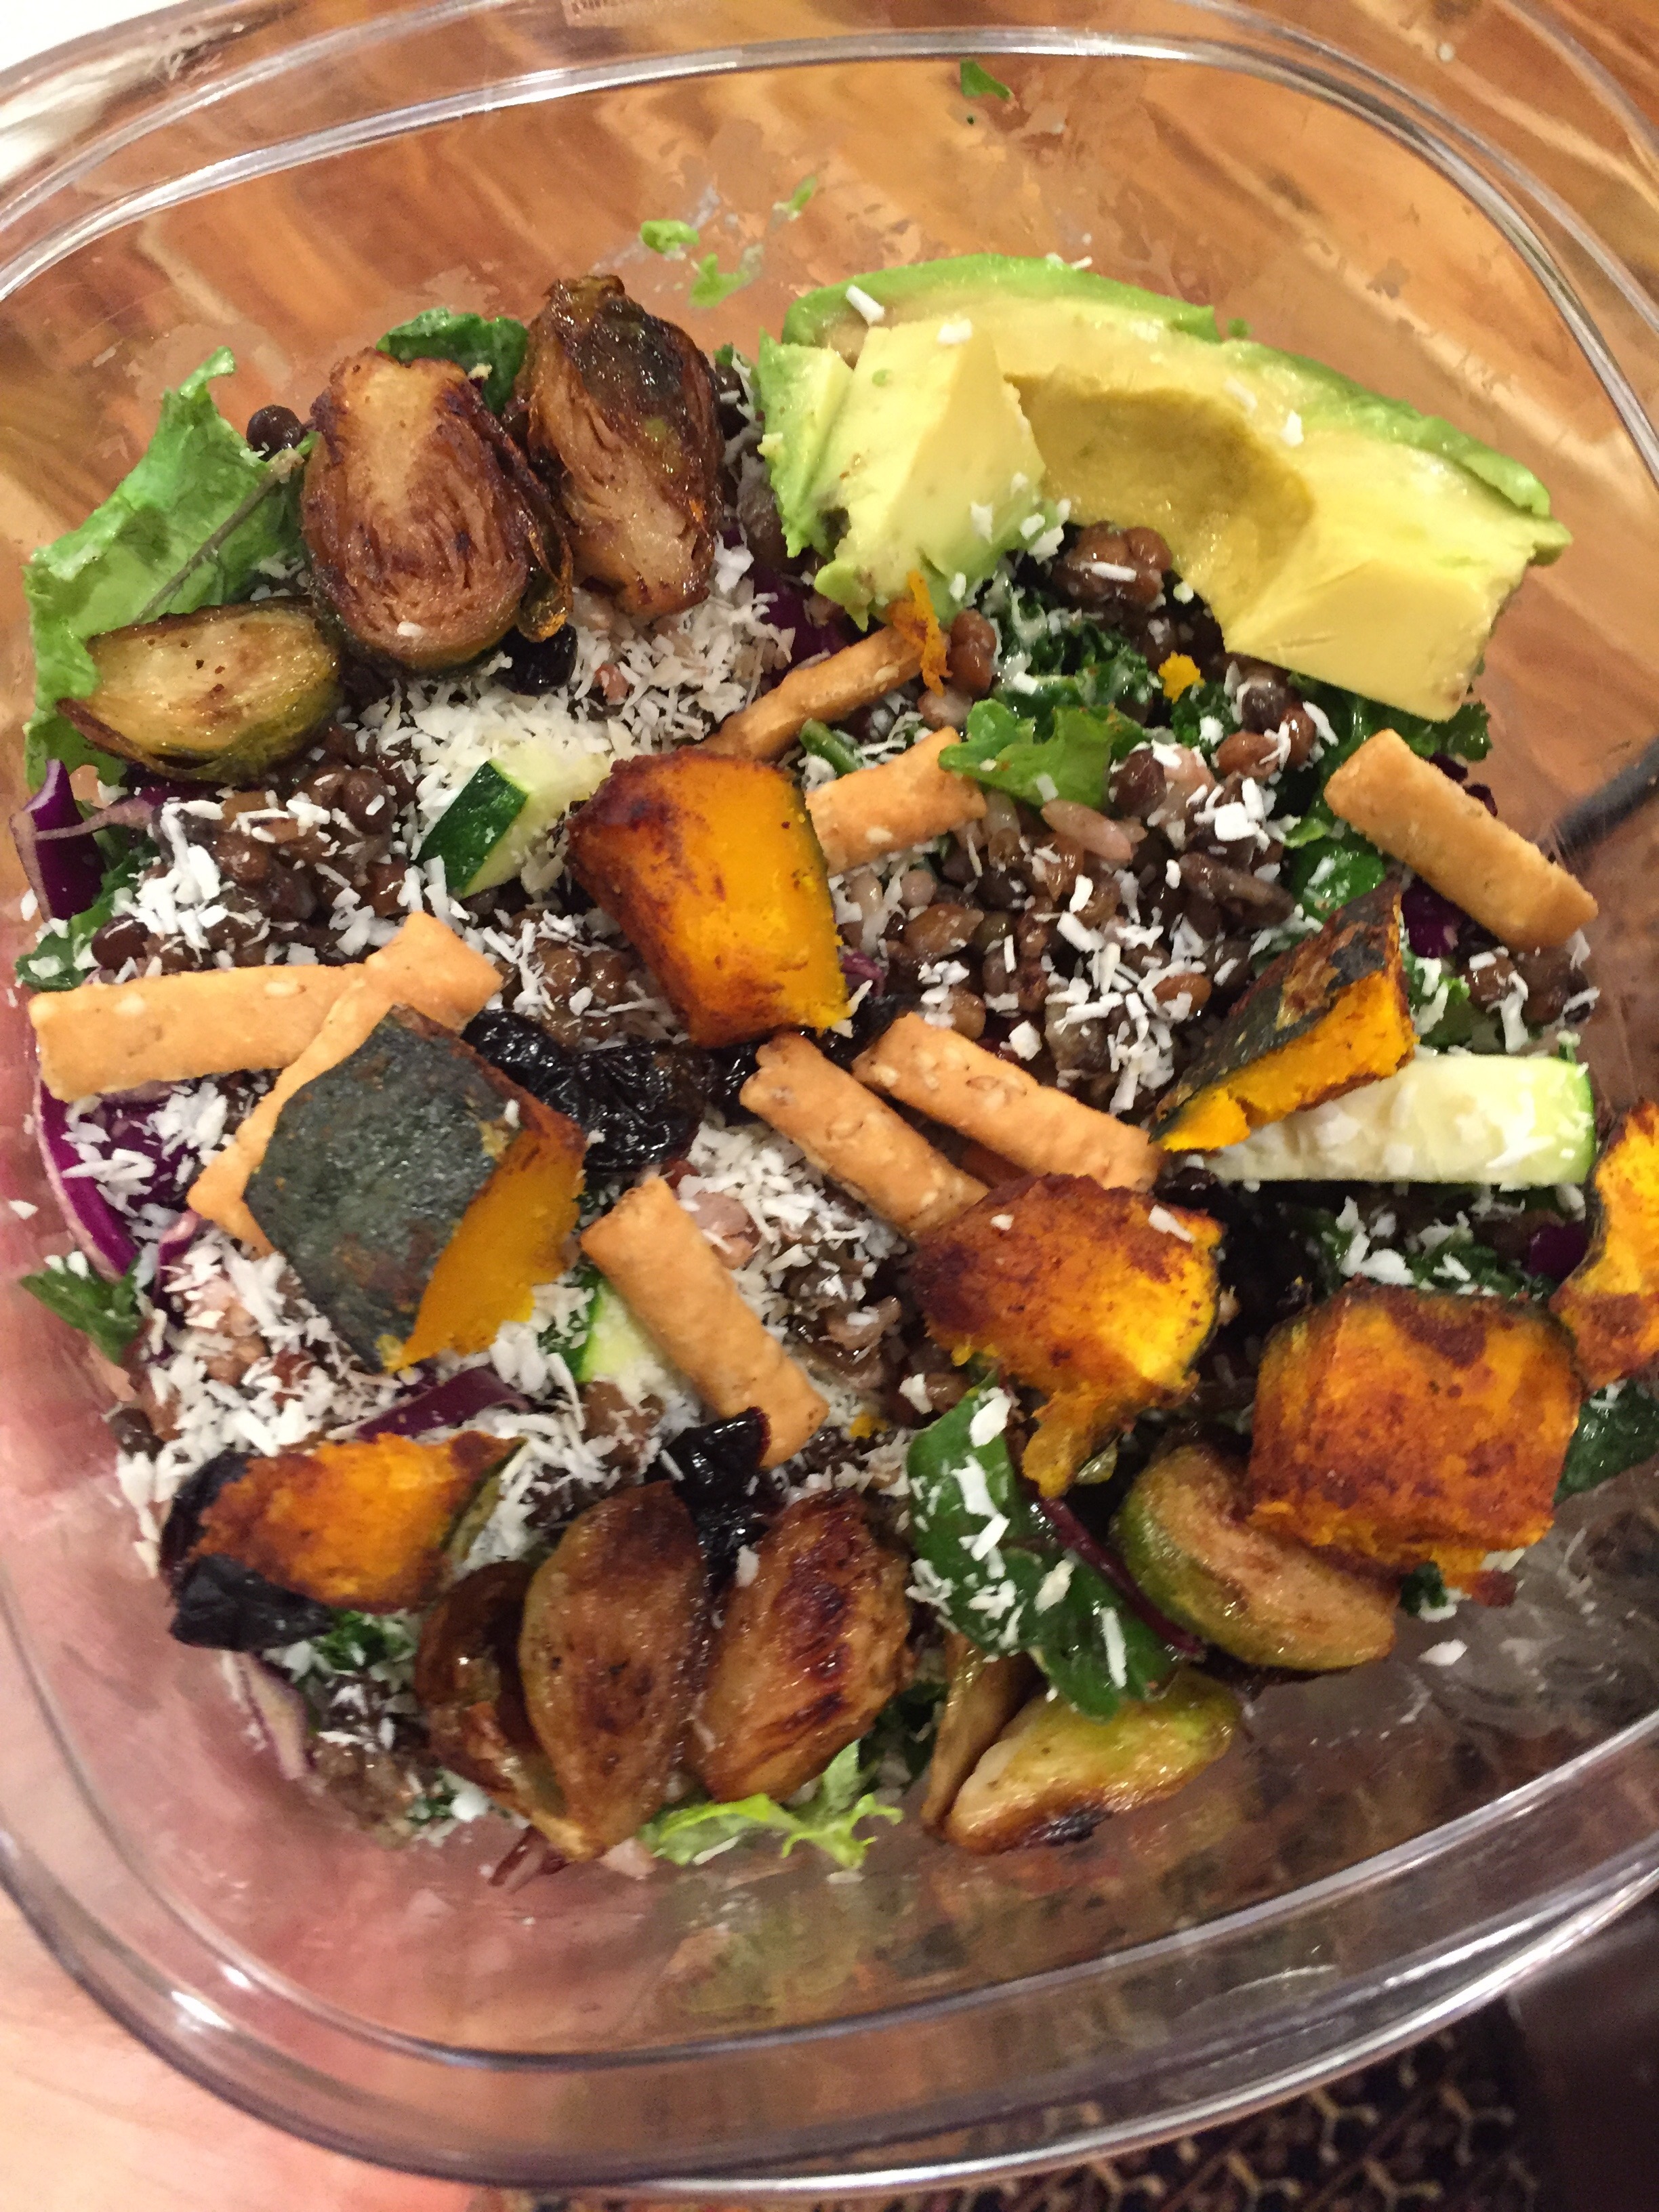
I have been ordering my favorite salad by postmates delivery, but I have been craving it every day and it’s hard to justify $30 for a salad every day!I recreated it: kale and red cabbage, roasted squash and Brussels sprouts, lentils, coconut flakes, slivered zucchini, avocado slices, sesame sticks (the restaurant uses homemade granola bar crumbles), dried cranberries (the restaurant uses diced dried dates), Bhutanese red rice and agave tahini dressing.


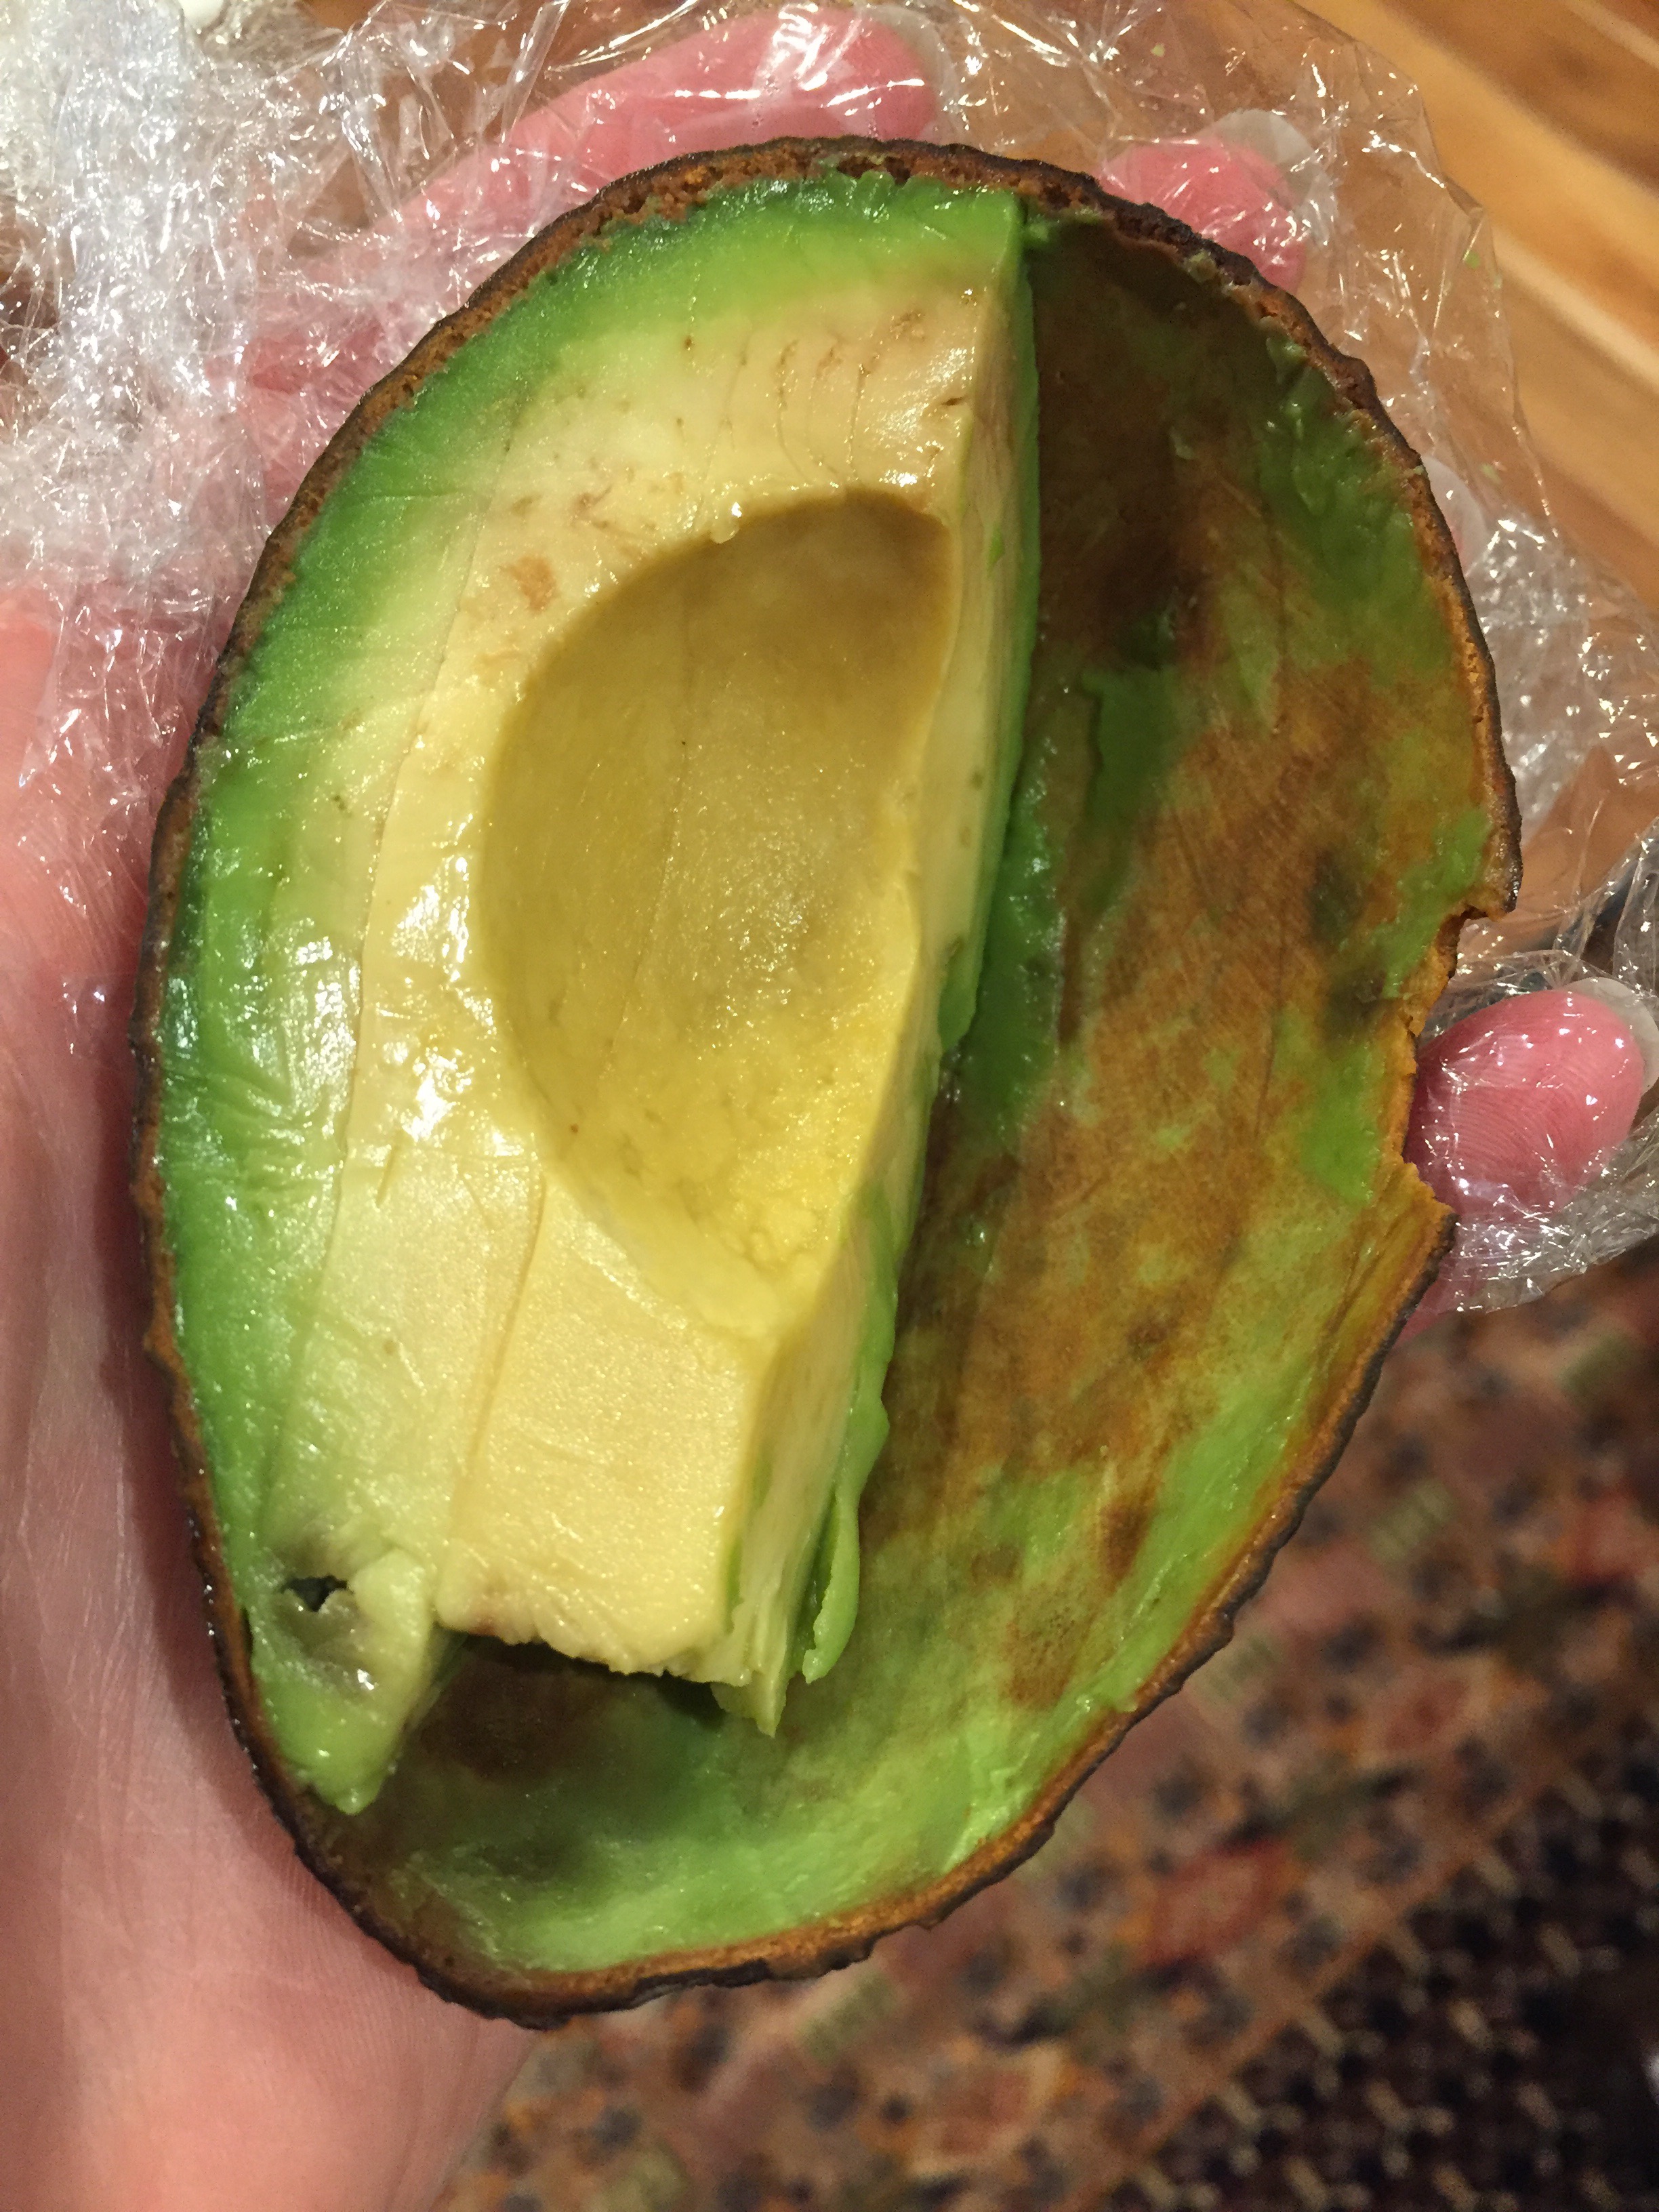
I also found a nice and easy trick for preserving avocado. Just wrap it tightly with plastic wrap (get into all of the crevices) and put it in a zip baggie or Tupperware. This stayed pretty green 24 hours later! It worked much better than lemon juice and tastes much better also. 

Sweetgrass Buddha bowl at home + How to preserve an avocado