Easy, Quick Twice Baked Sweet Potato with Egg Recipe

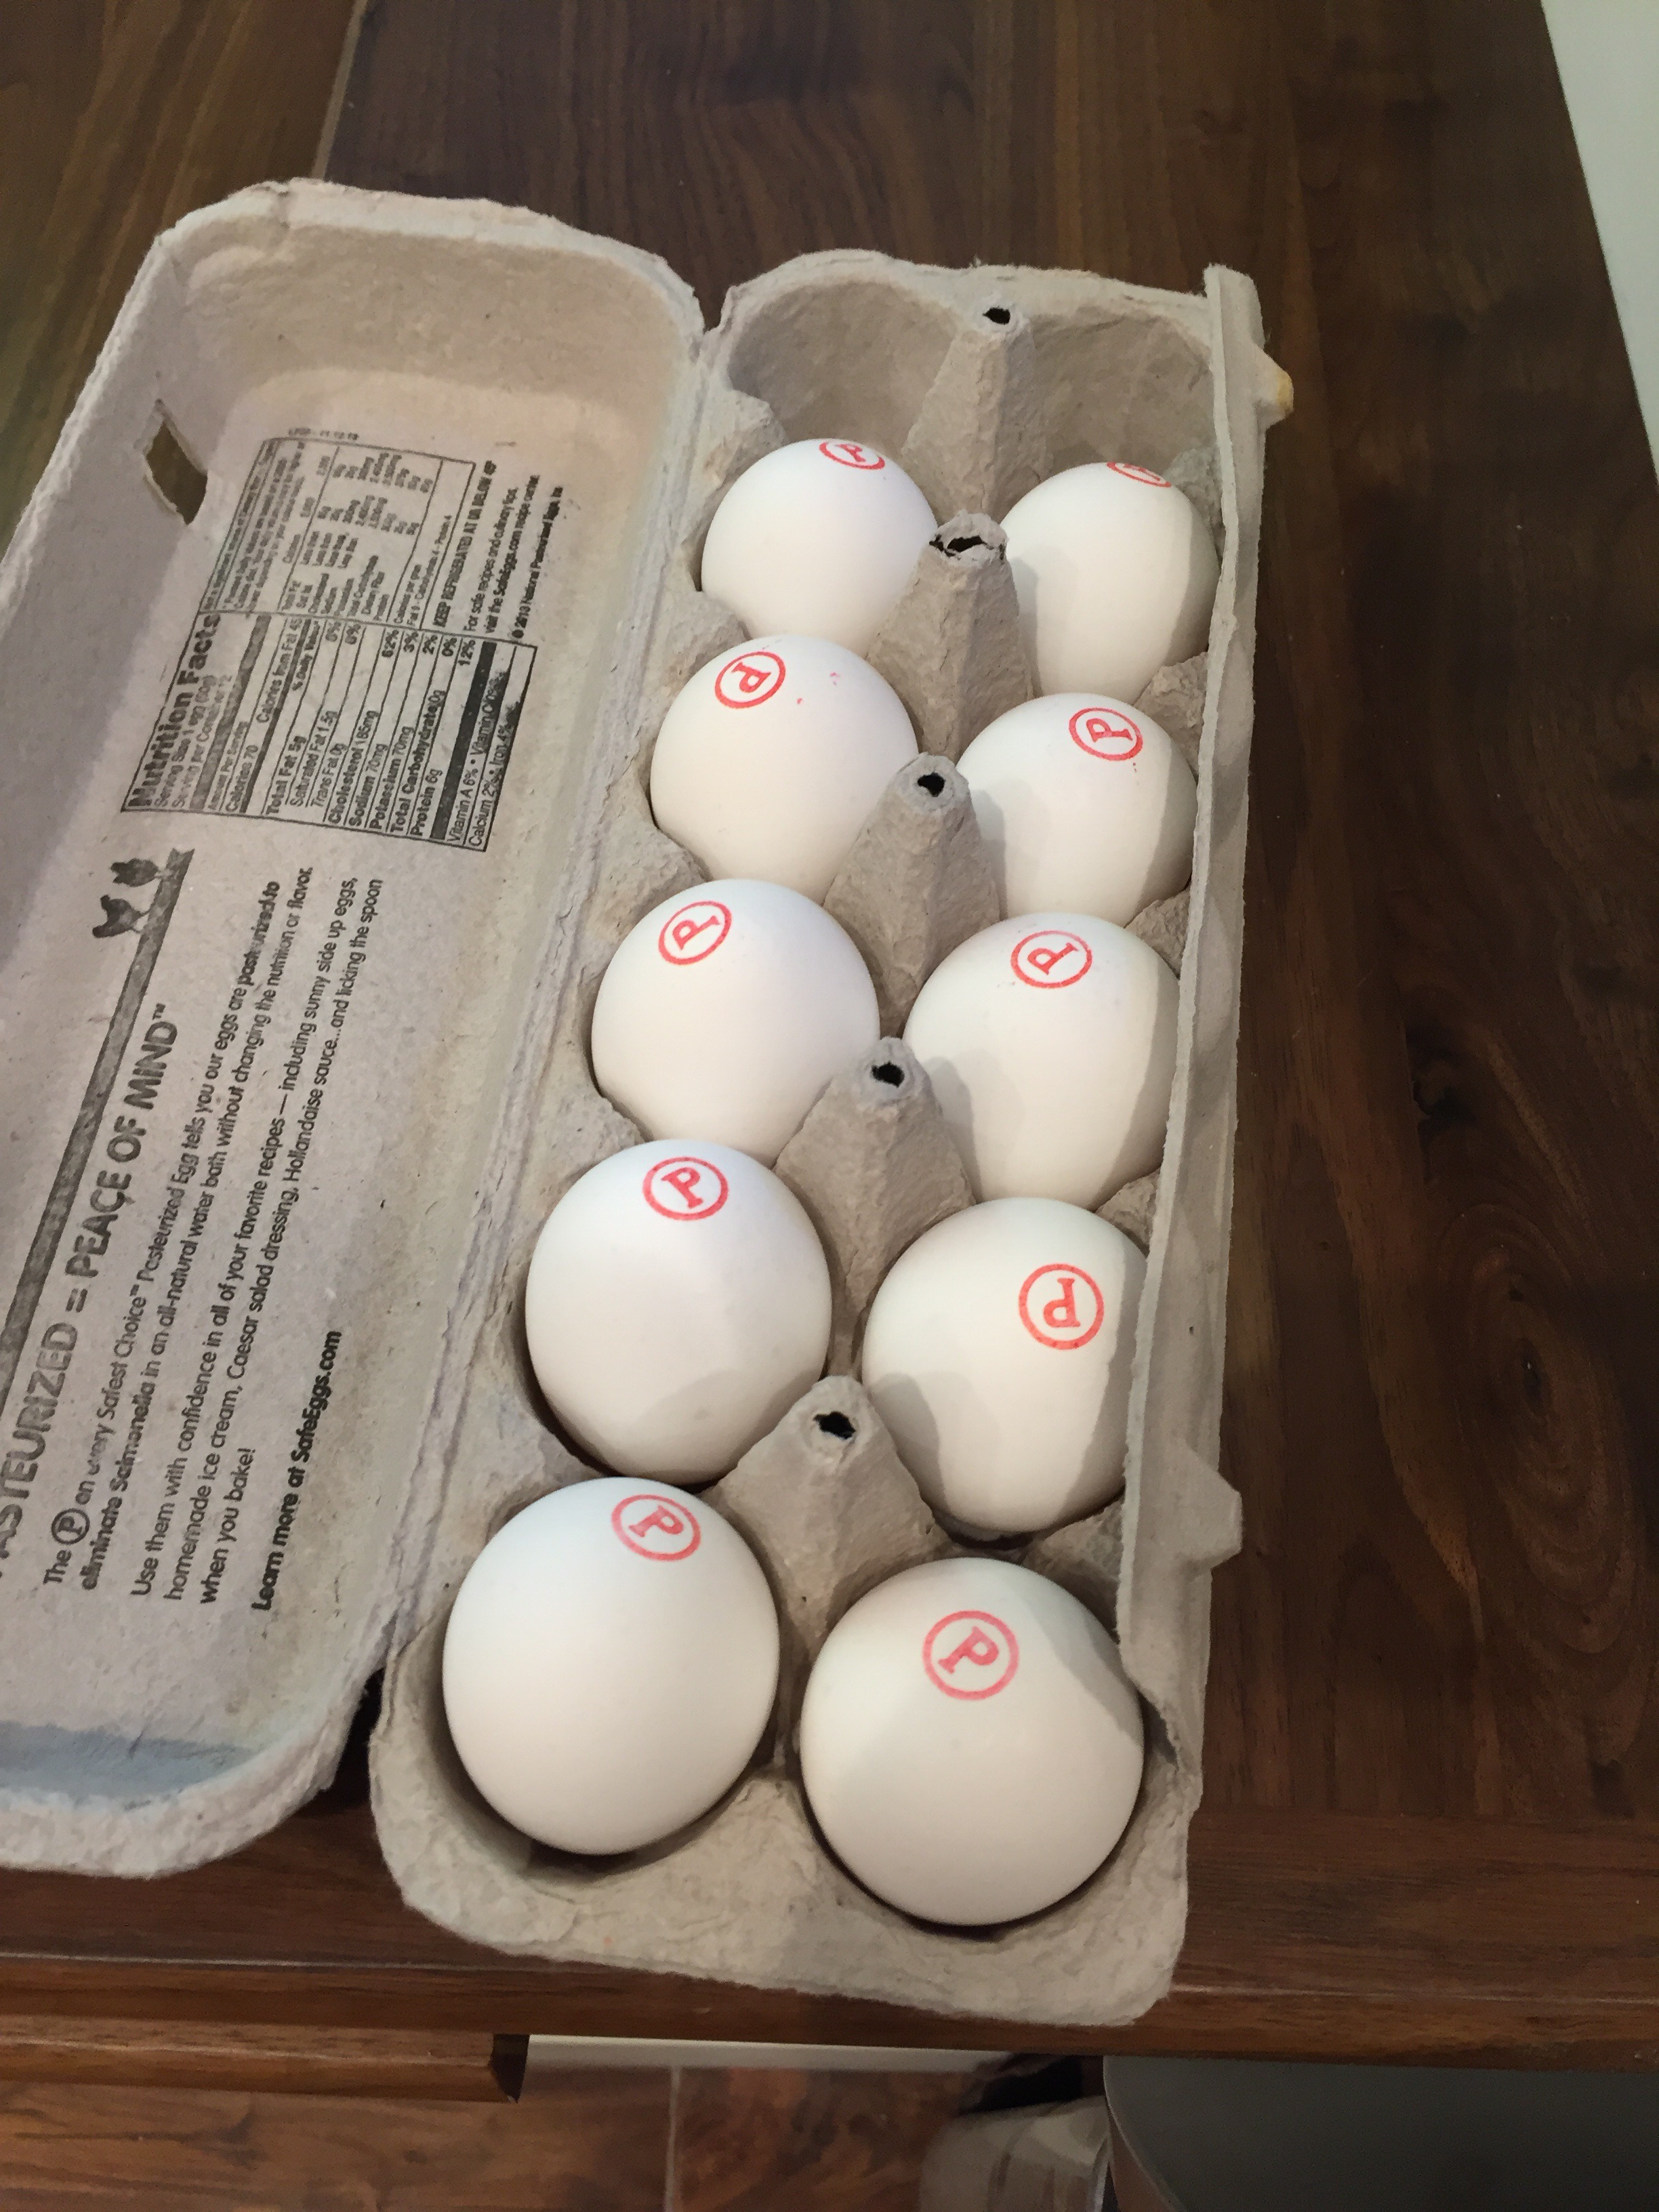
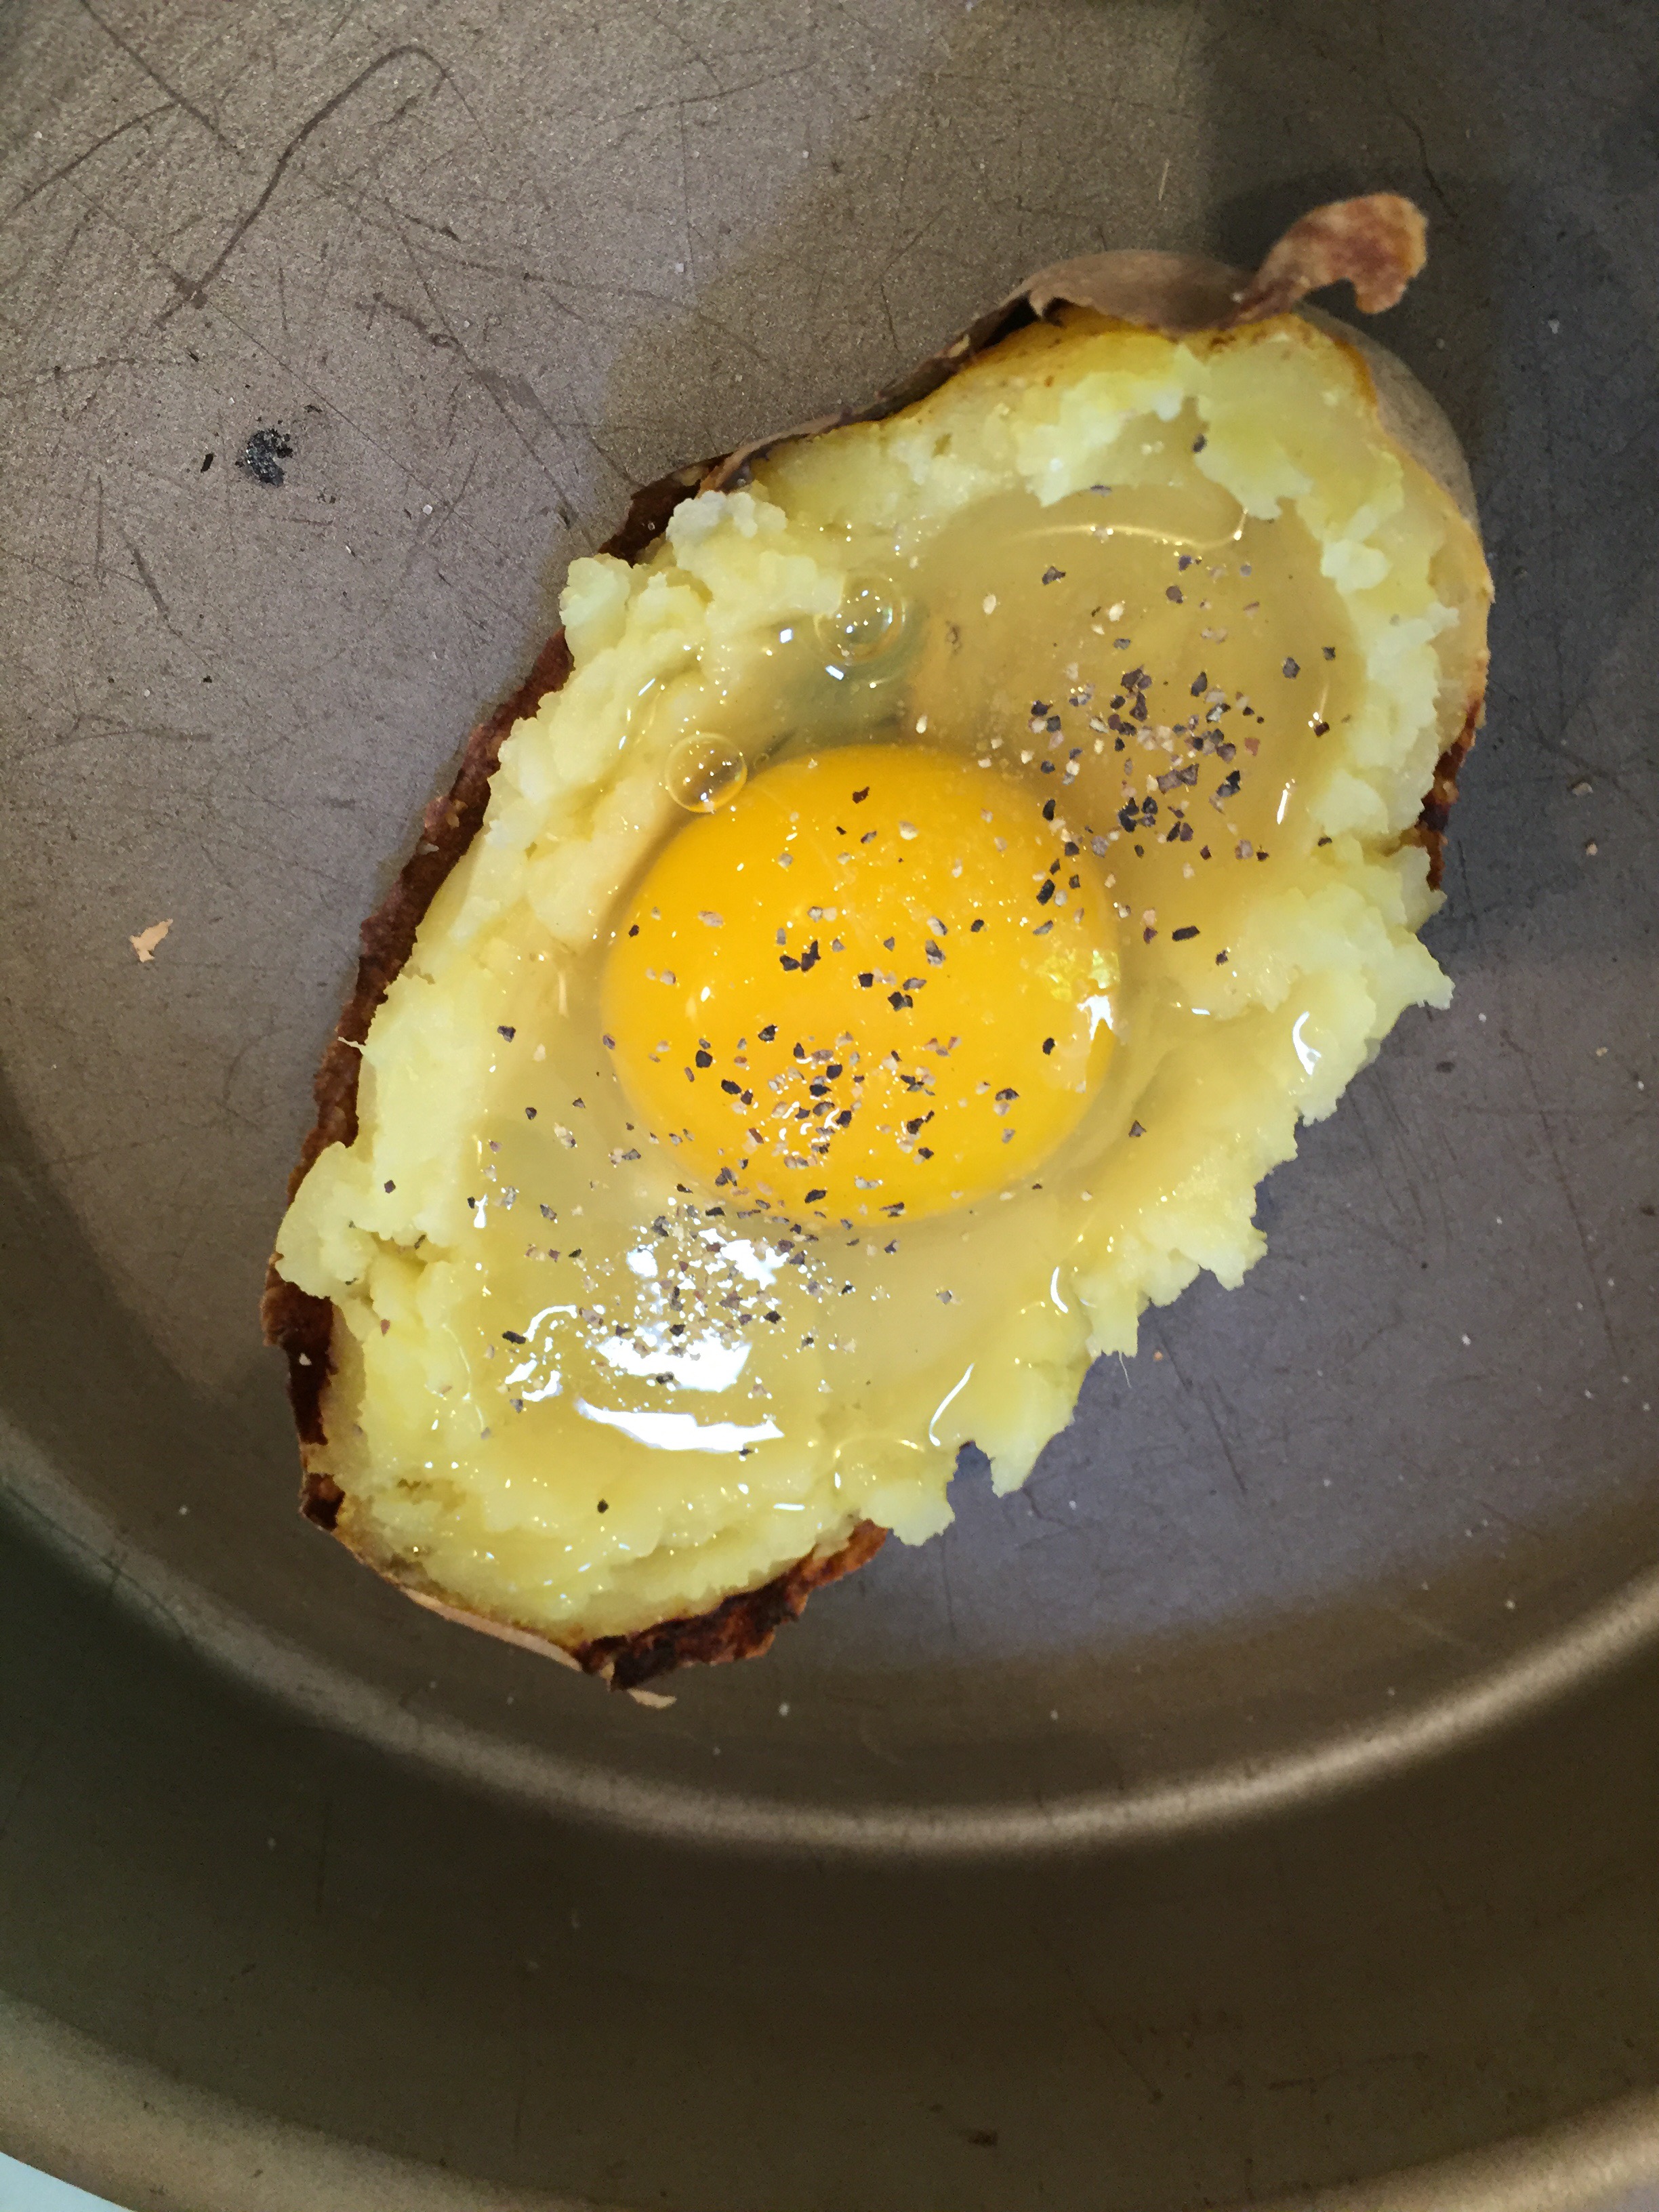
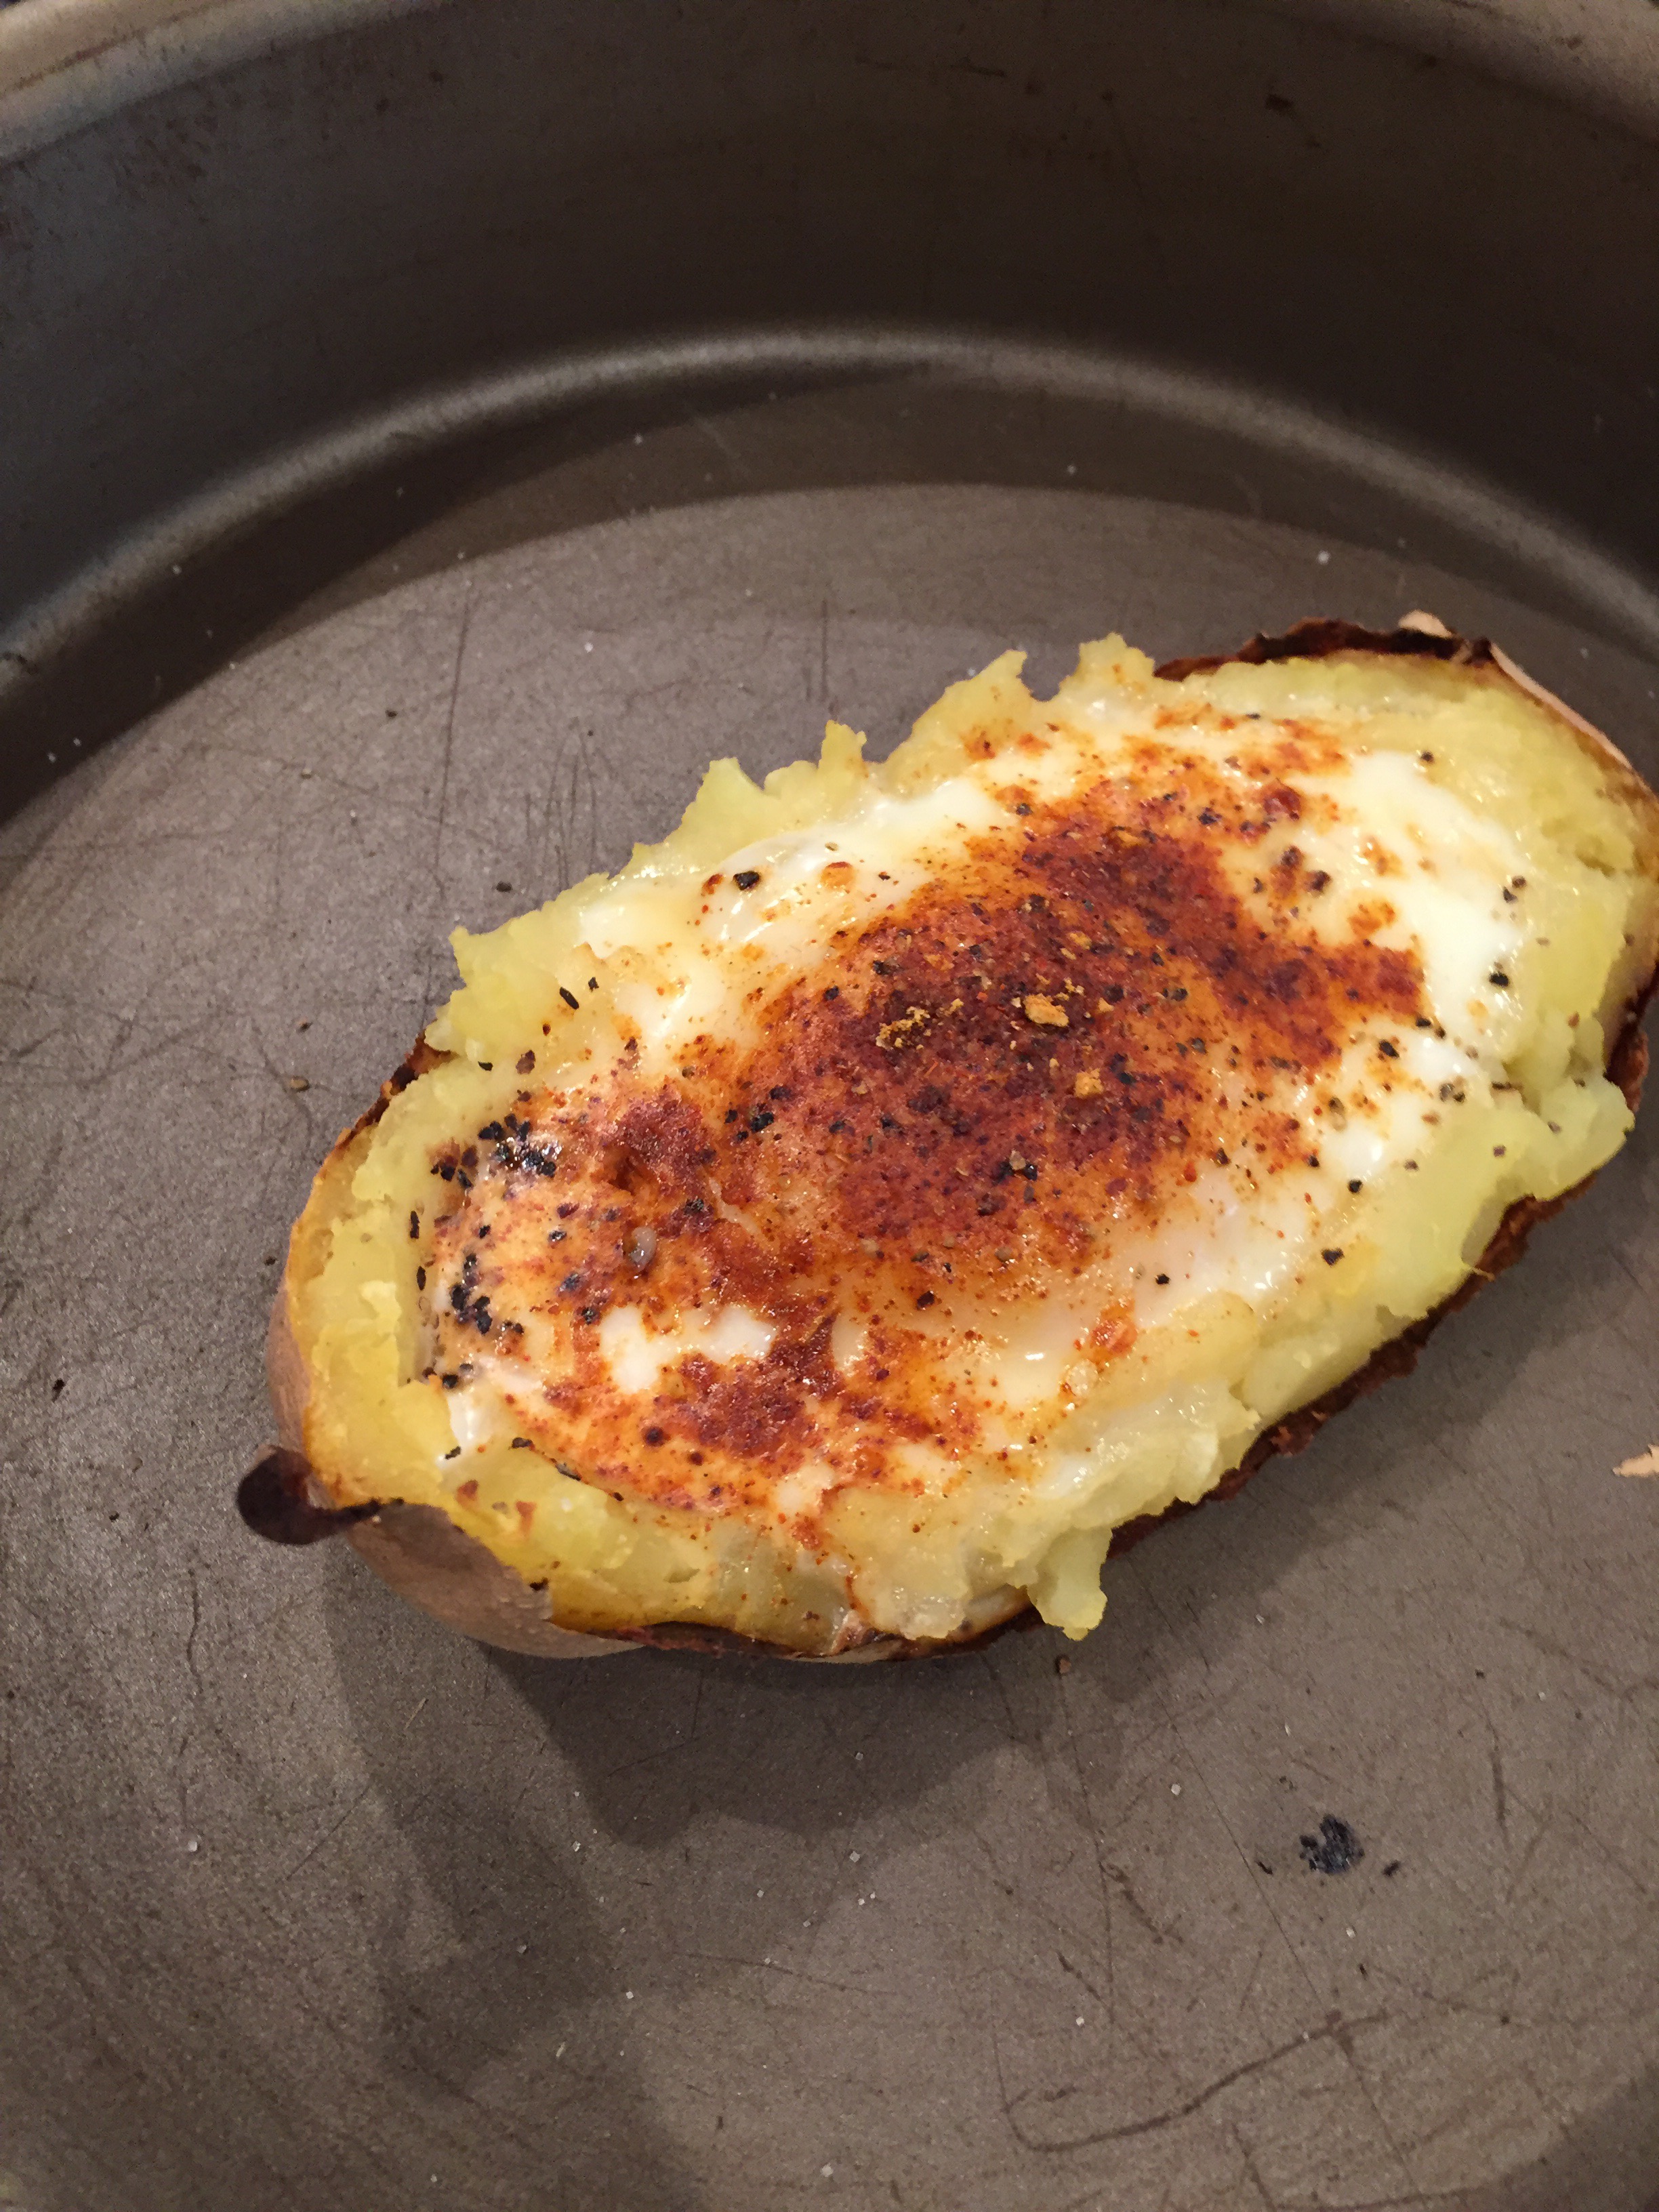
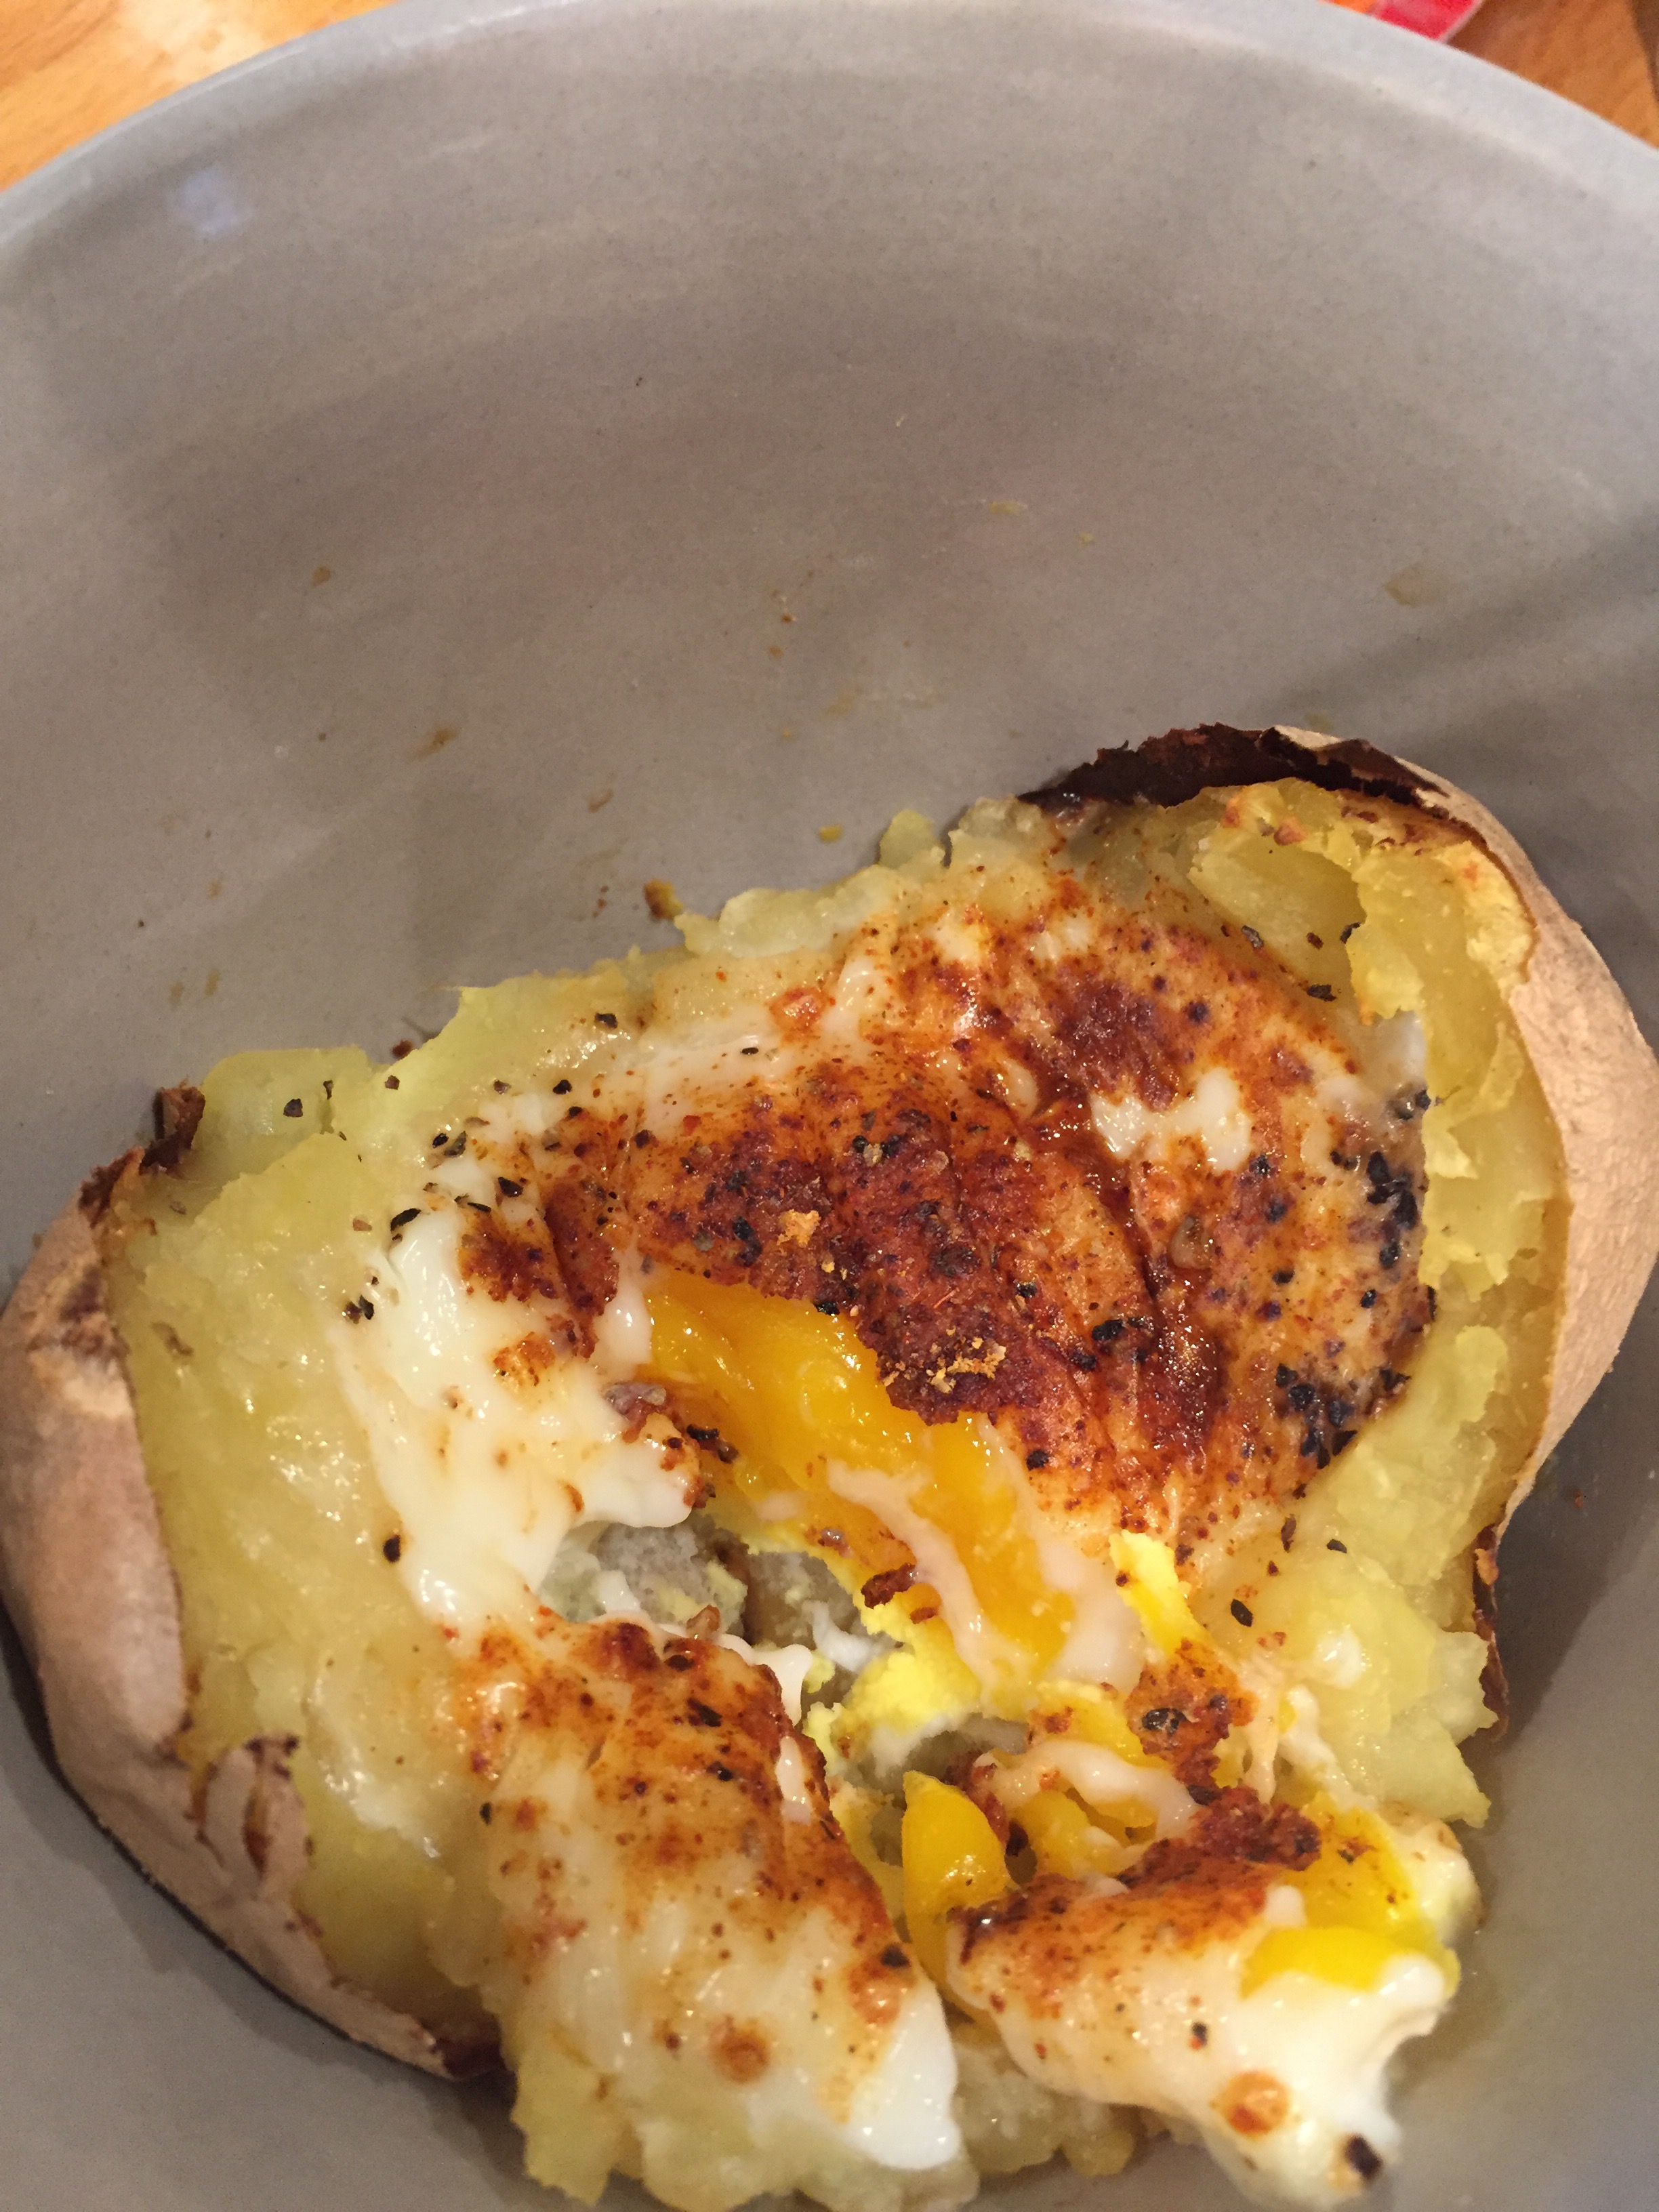
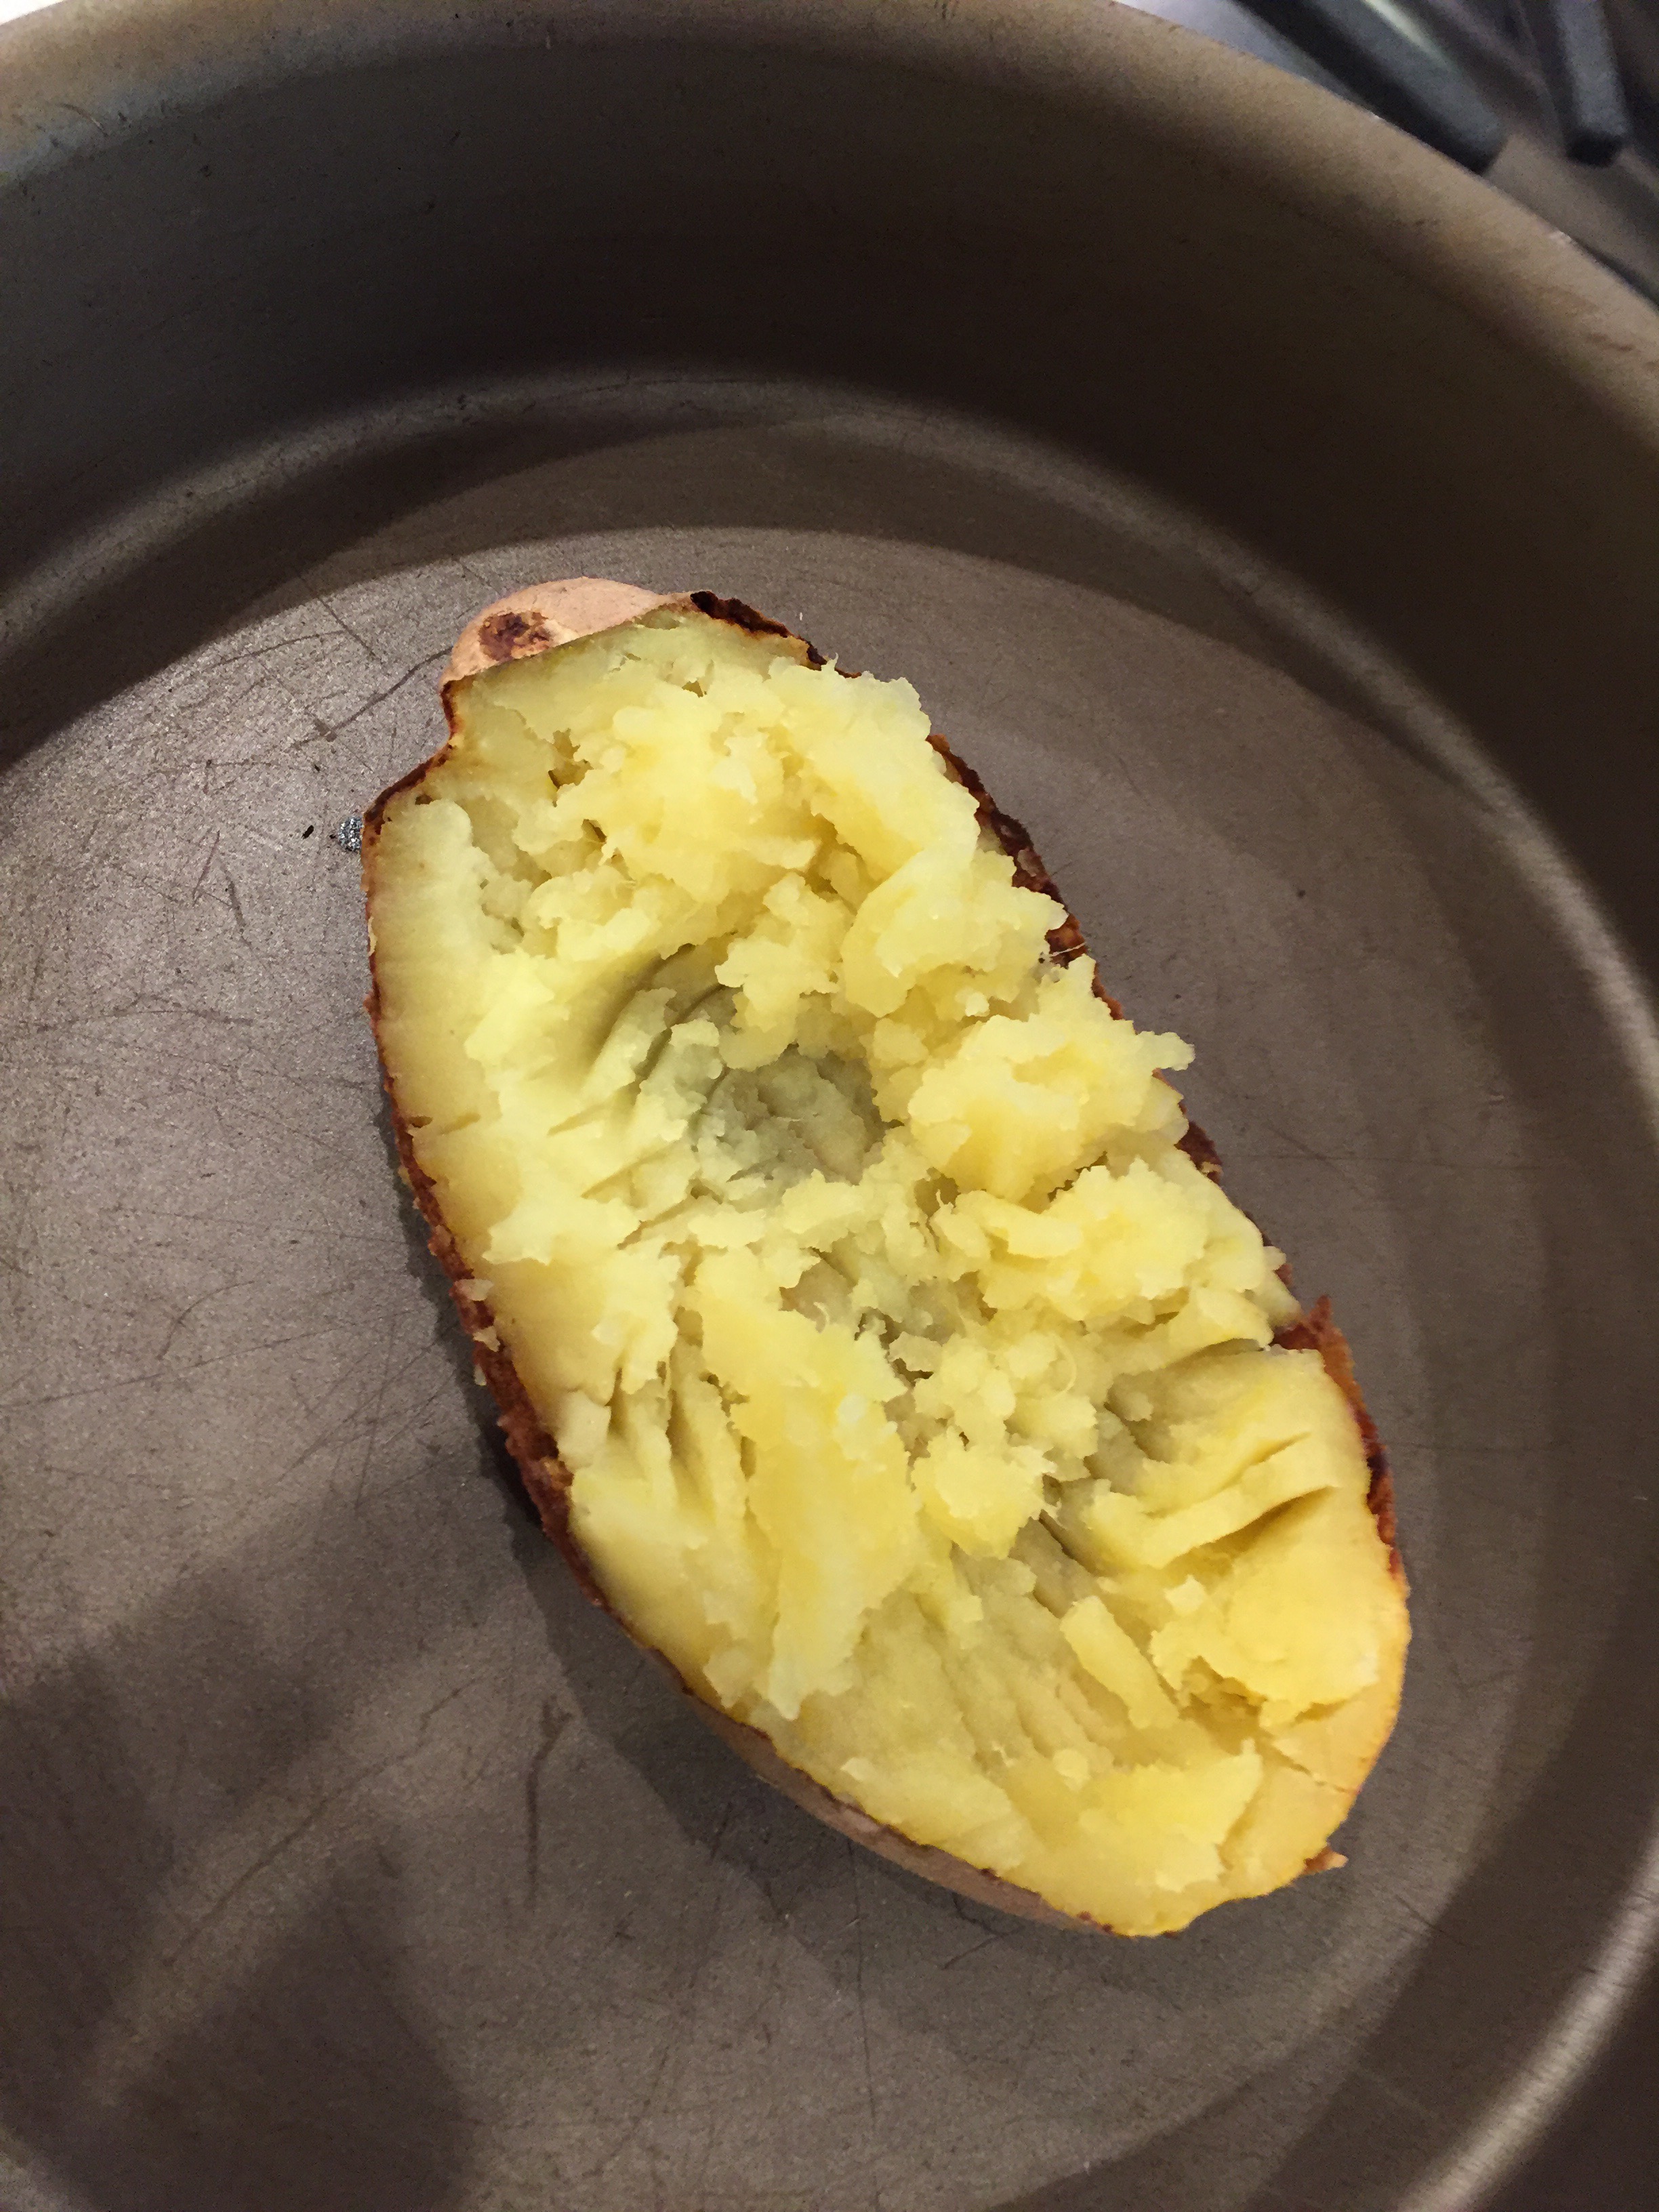
Preheat the oven to 400 degrees. Bake a small to medium sweet potato in the oven for 40-45 minutes until soft. Cut the sweet potato in half lengthwise and mash the inside, building a well on the sides. Crack an egg into the center of each half and season with salt, pepper and paprika. Bake for an additional 10 minutes or until egg whites are set and yolk is soft set. Enjoy!

Here is the recipe in photos:


Easy, Quick Twice Baked Sweet Potato with Egg Recipe

Arctic Zero Frozen Dessert Review

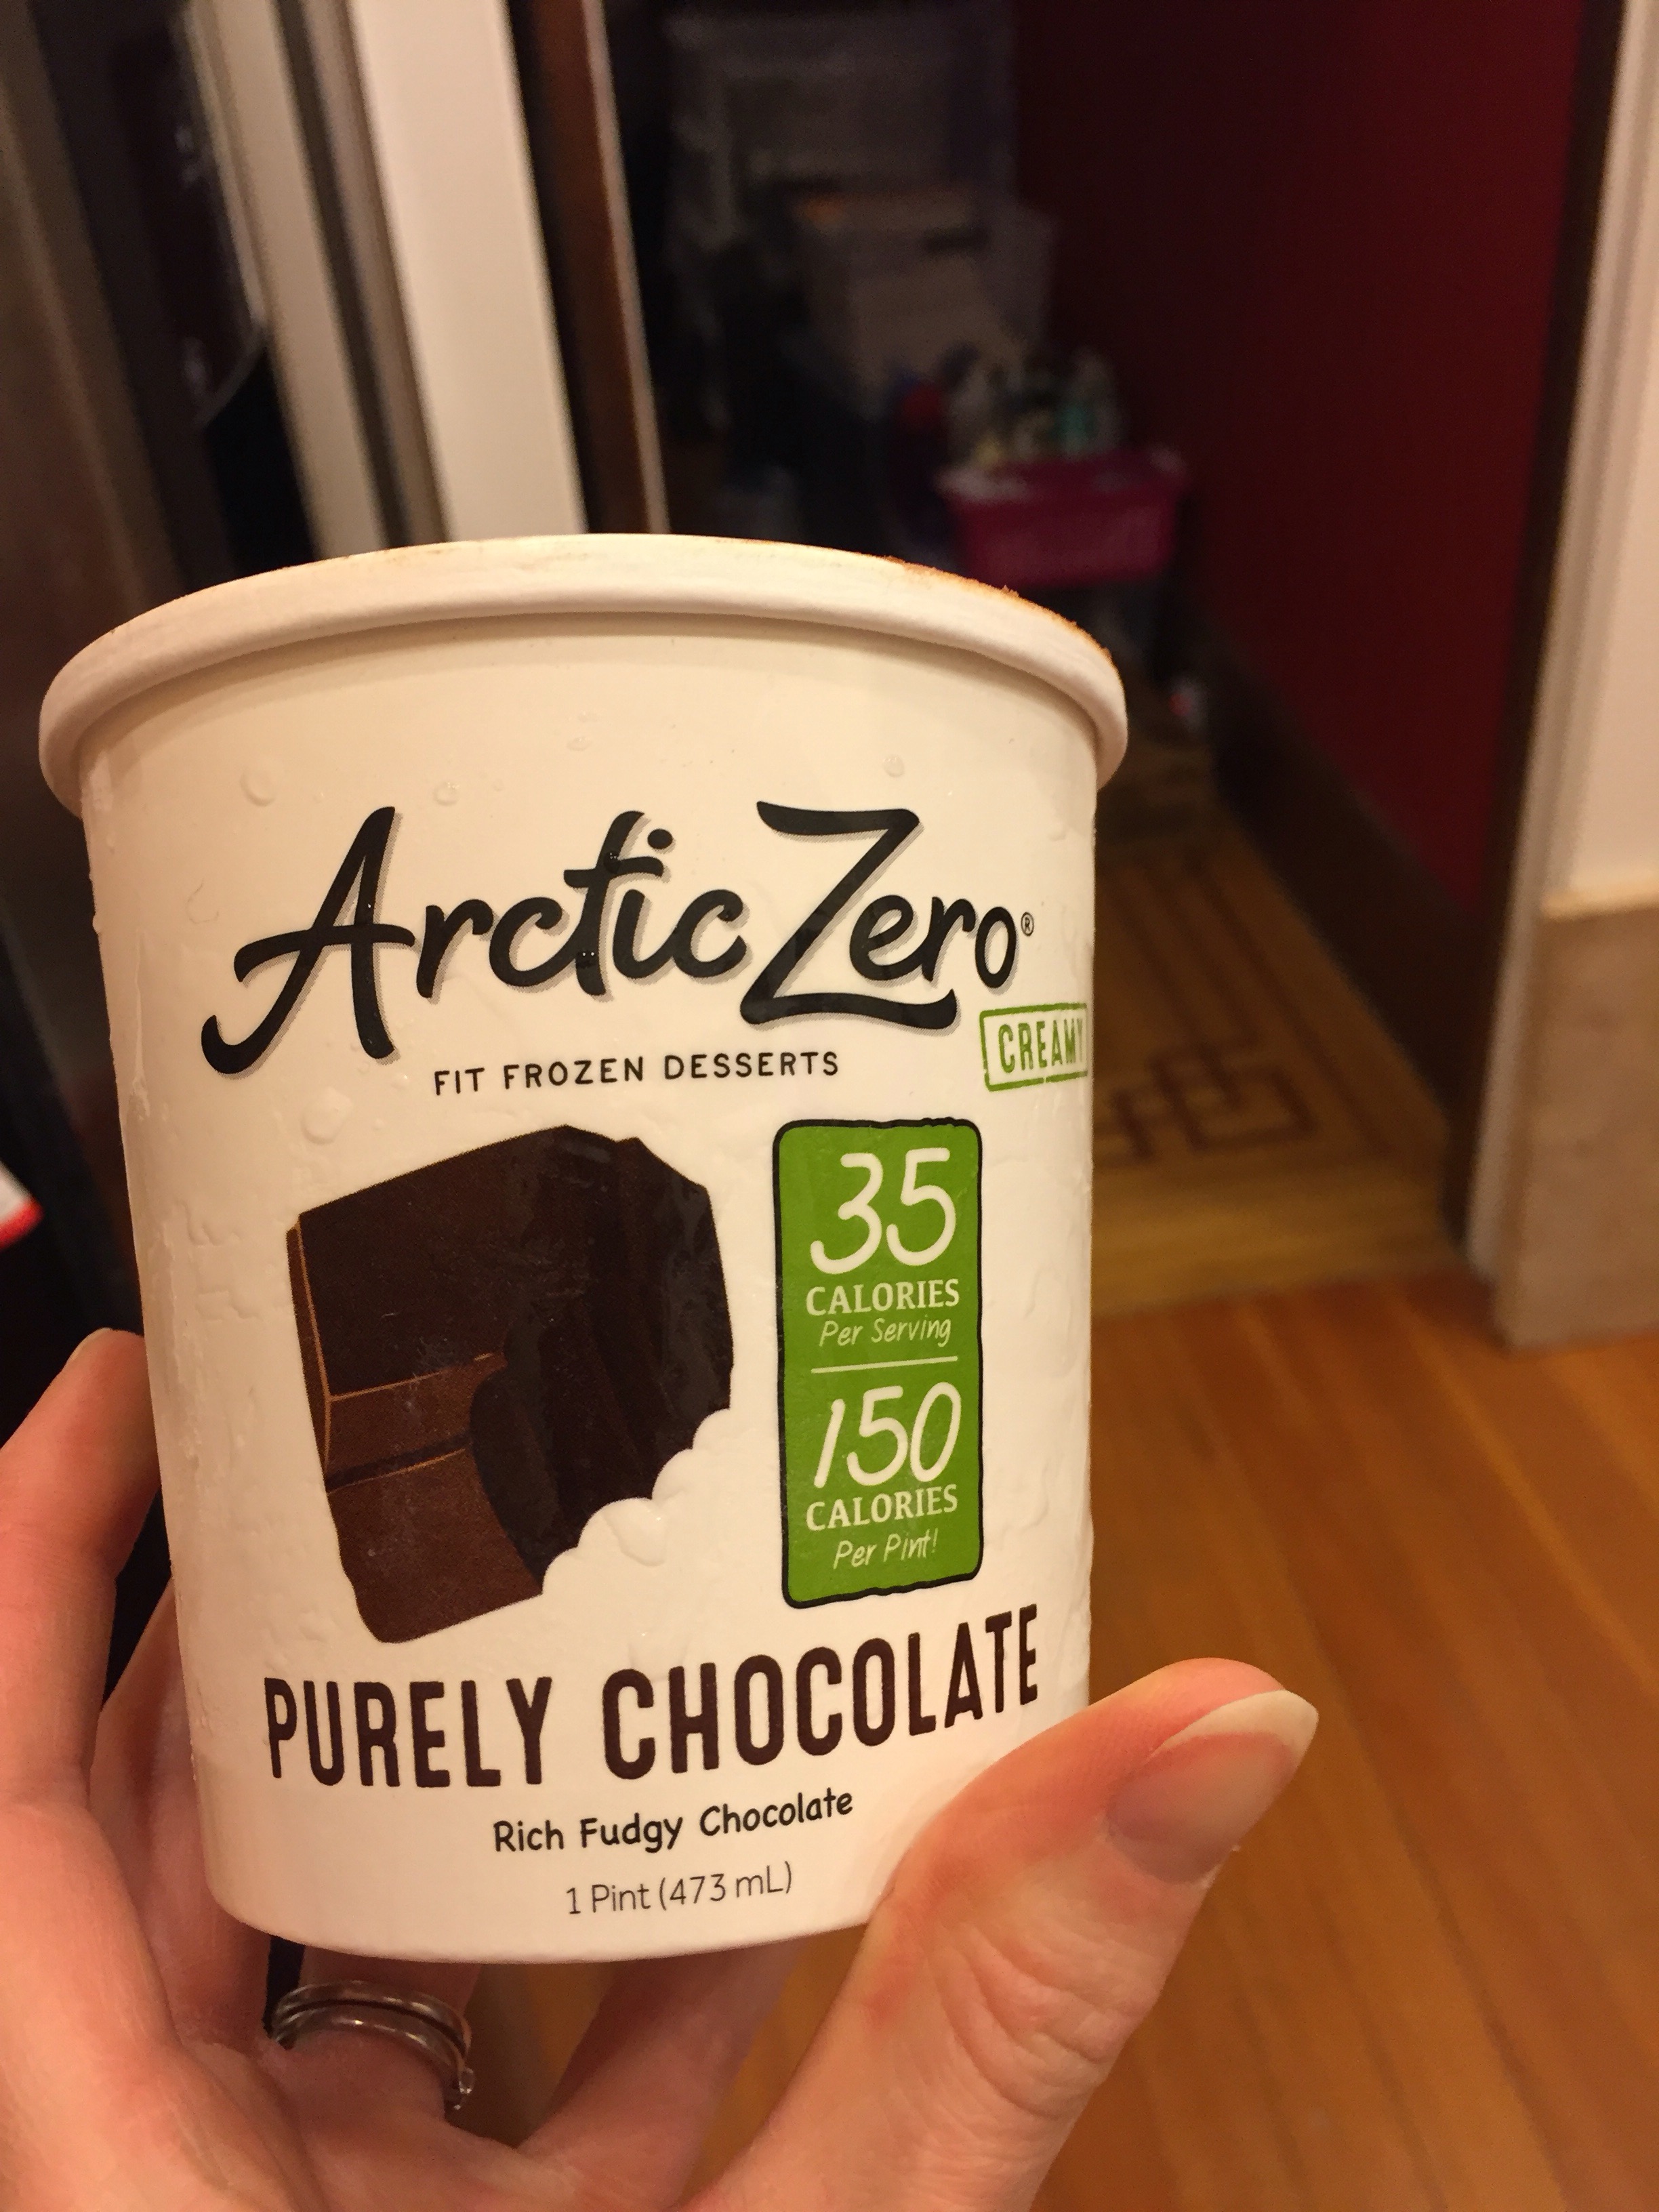
As you know from my post, “A Dietitian’s Favorite Things”, I am a fan of Arctic Zero as a low-calorie frozen dessert option. Each 1/2 cup serving of their “creamy” line of flavors contains 35 calories, 2g fiber, 3g protein, 5g sugar and 0g fat. They advertise that their pints contain 150 calories, and though there was some controversy over this number, as I explained fully in my earlier post. In any case, I would not advise eating a full pint of any frozen dessert at one time. If you are that hungry, try to get in a balanced snack or mini-meal instead.
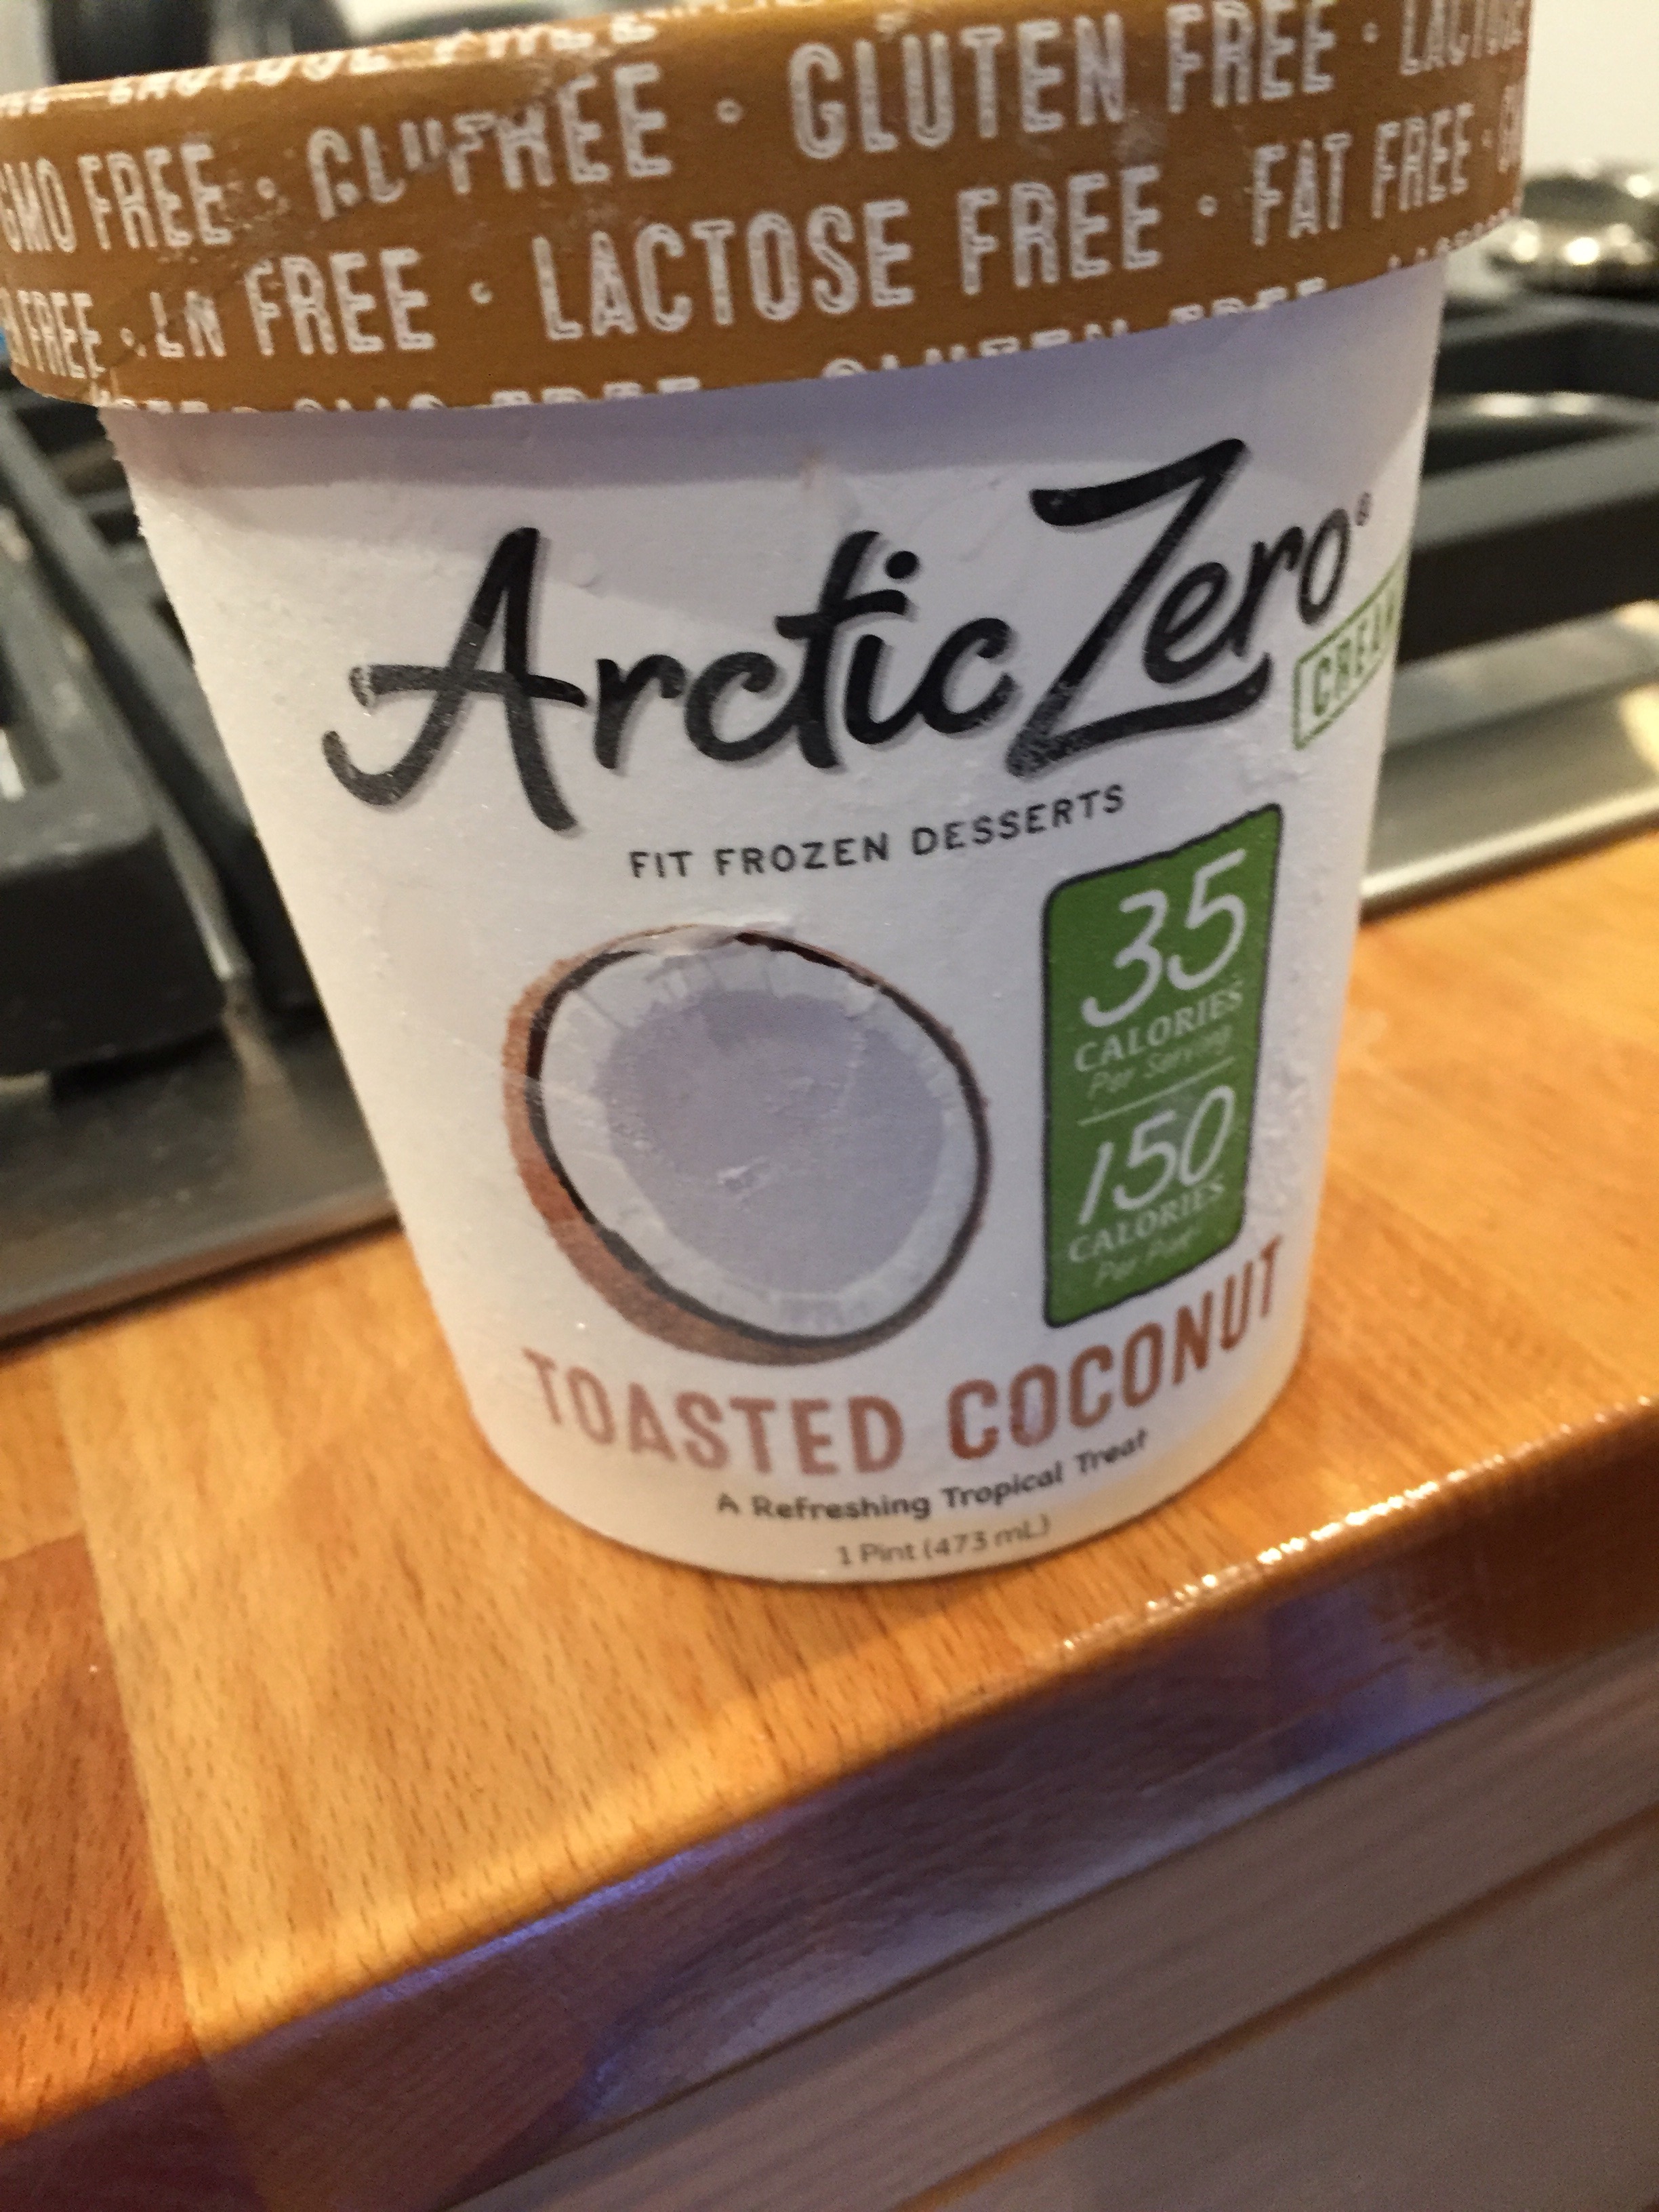
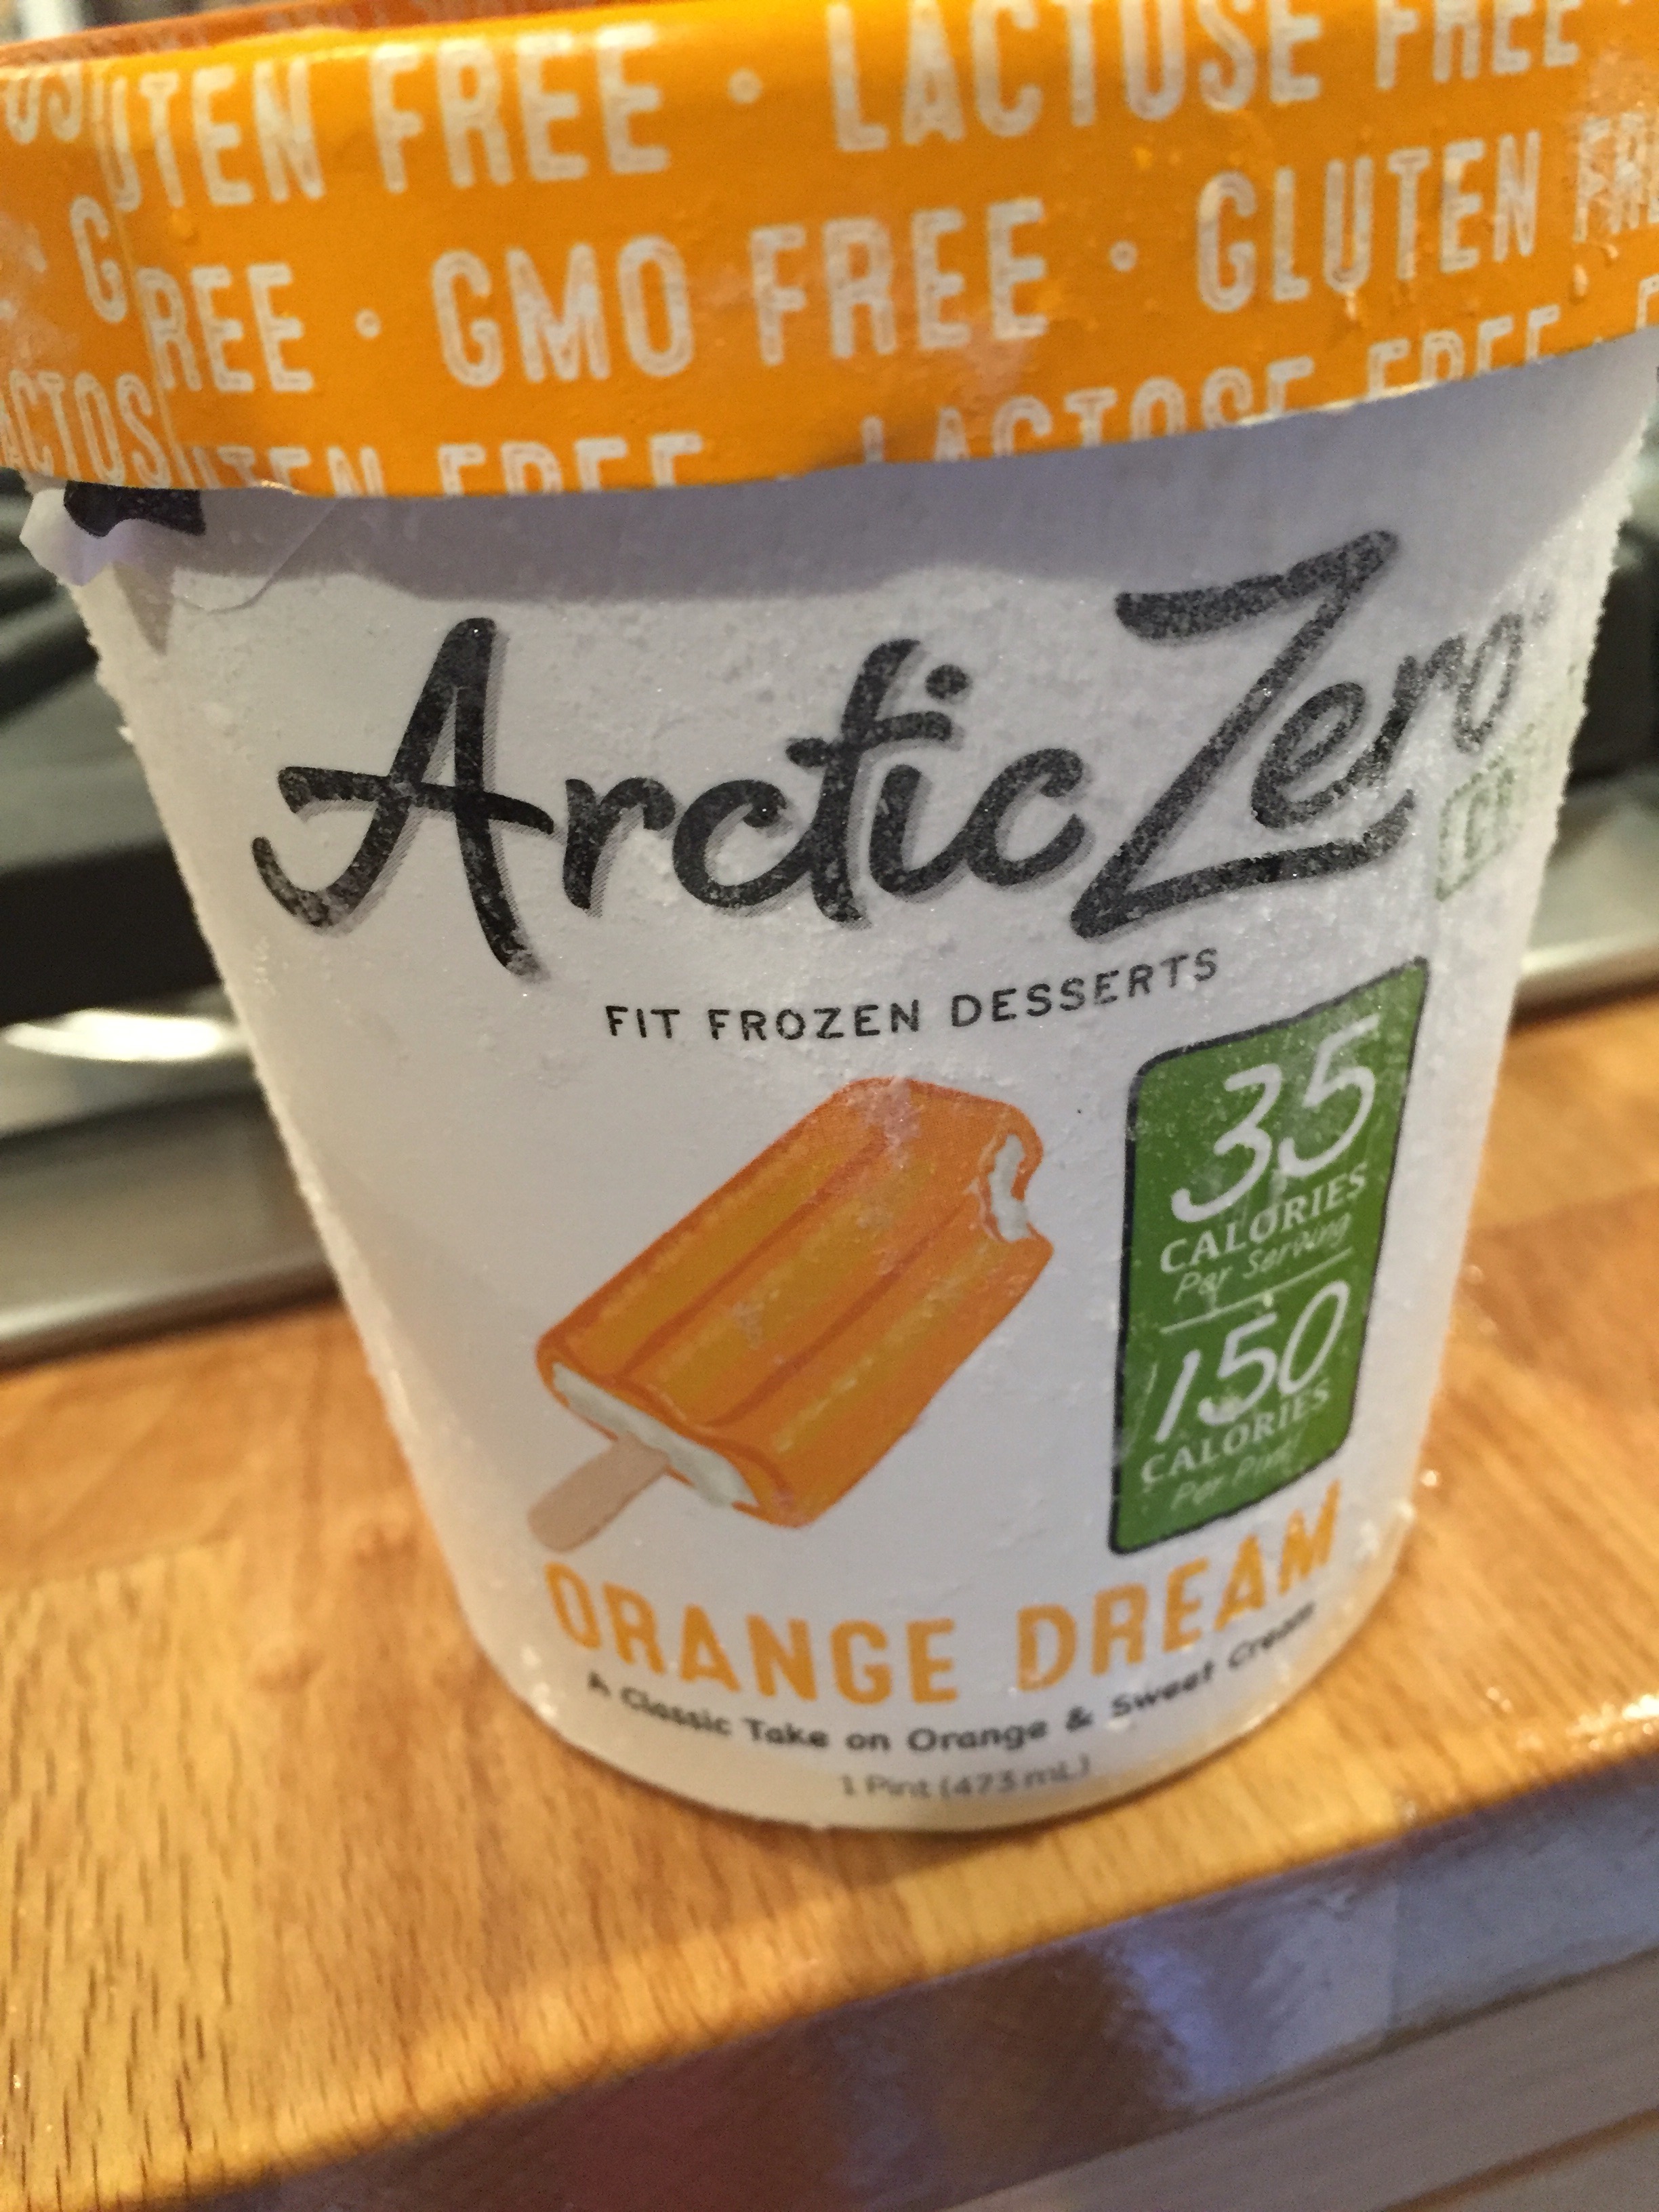
In my previous post, I rated Purely Chocolate as my favorite flavor, due to the rich chocolate taste and creamier texture than the other flavors I had tried. My review was noticed by Arctic Zero and they offered me the chance to try two flavors that are not available at my nearby supermarkets, Toasted Coconut and Orange Dream. Now that I have tried these flavors, Purely Chocolate has some close competition!

In Seattle, Arctic Zero is available at Whole Foods, QFC and Fred Meyer. I have found the largest selection of flavors at Whole Foods ($5) and larger QFCs ($6). The full selection of flavors can be purchased from arcticzero.com, for $7.66 each with a minimum order of 6 pints, and $6.50 each with a minimum order of 10 pints. This is a more expensive option, but I think it is worth it in order to get the flavors I like best.

Review of Flavors:

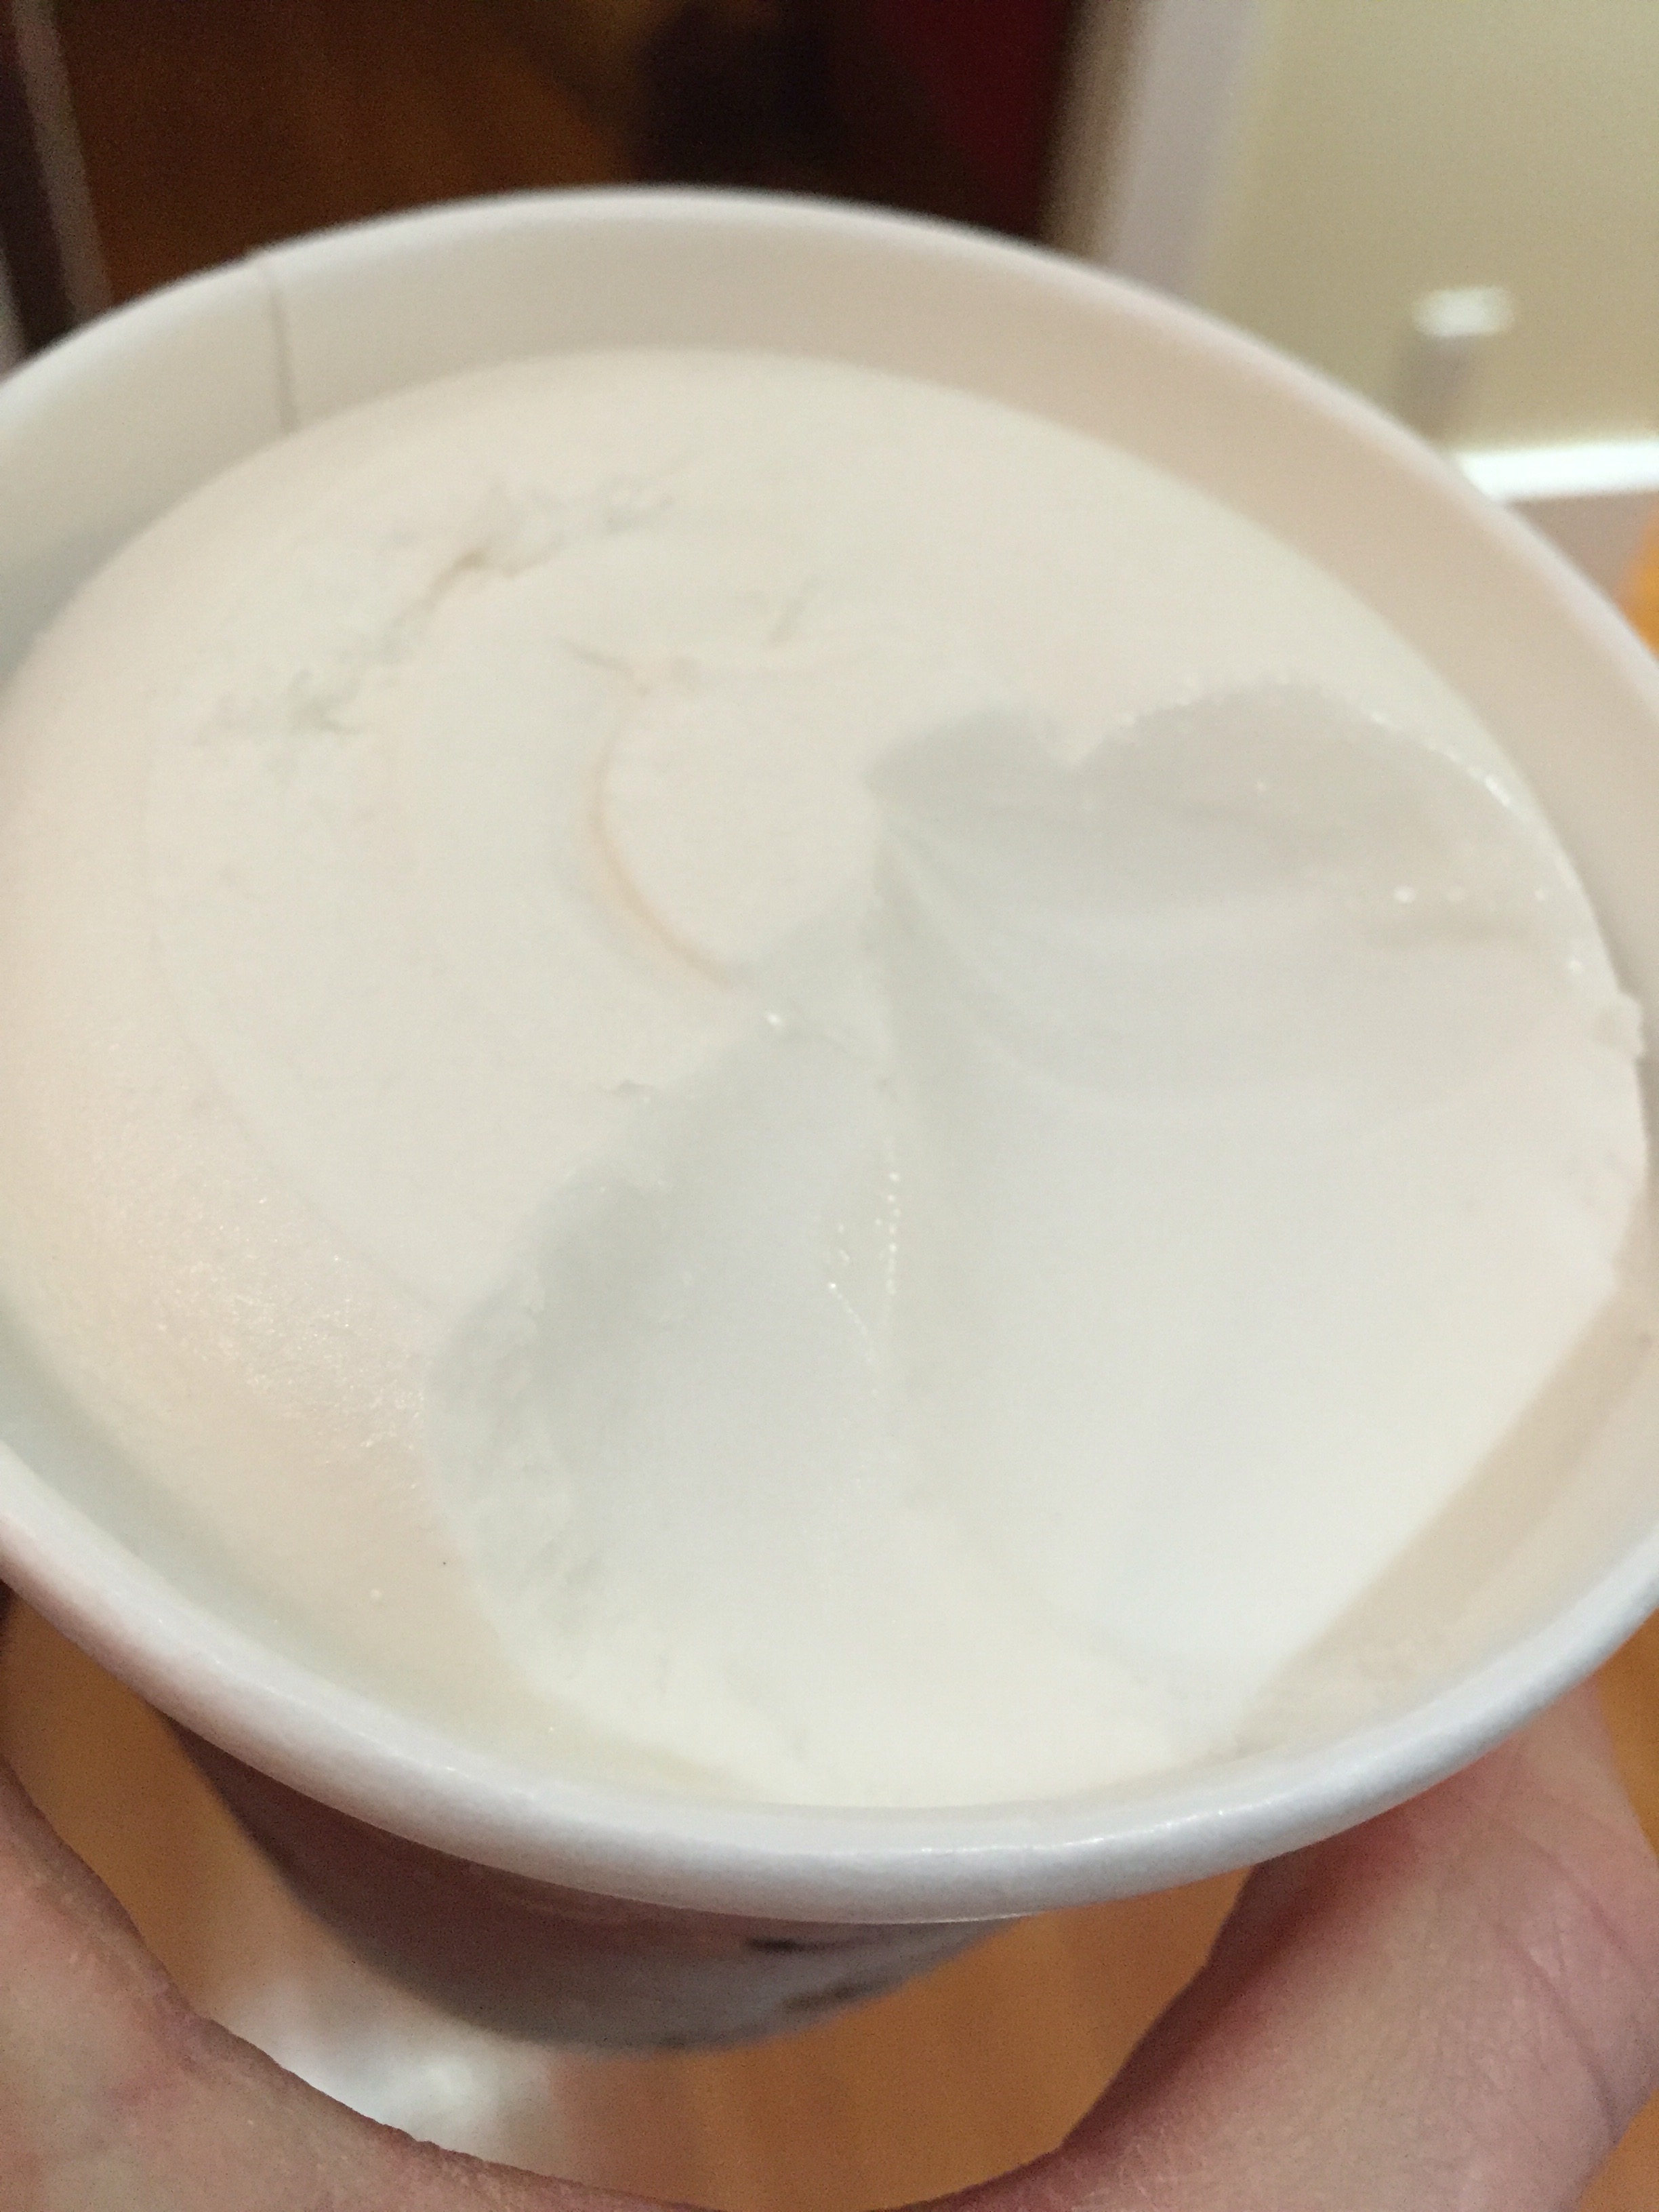
Toasted Coconut – A tie for my favorite! Sweet taste with a very creamy texture and true coconut flavor. Not too sweet, not too nutty, a perfect balance. This one is a huge winner!  


    Orange Dream – A milder taste than some other flavors, sweet with a tart accent. Great for those who prefer fruit flavors. This one is worth keeping in your freezer for variety.


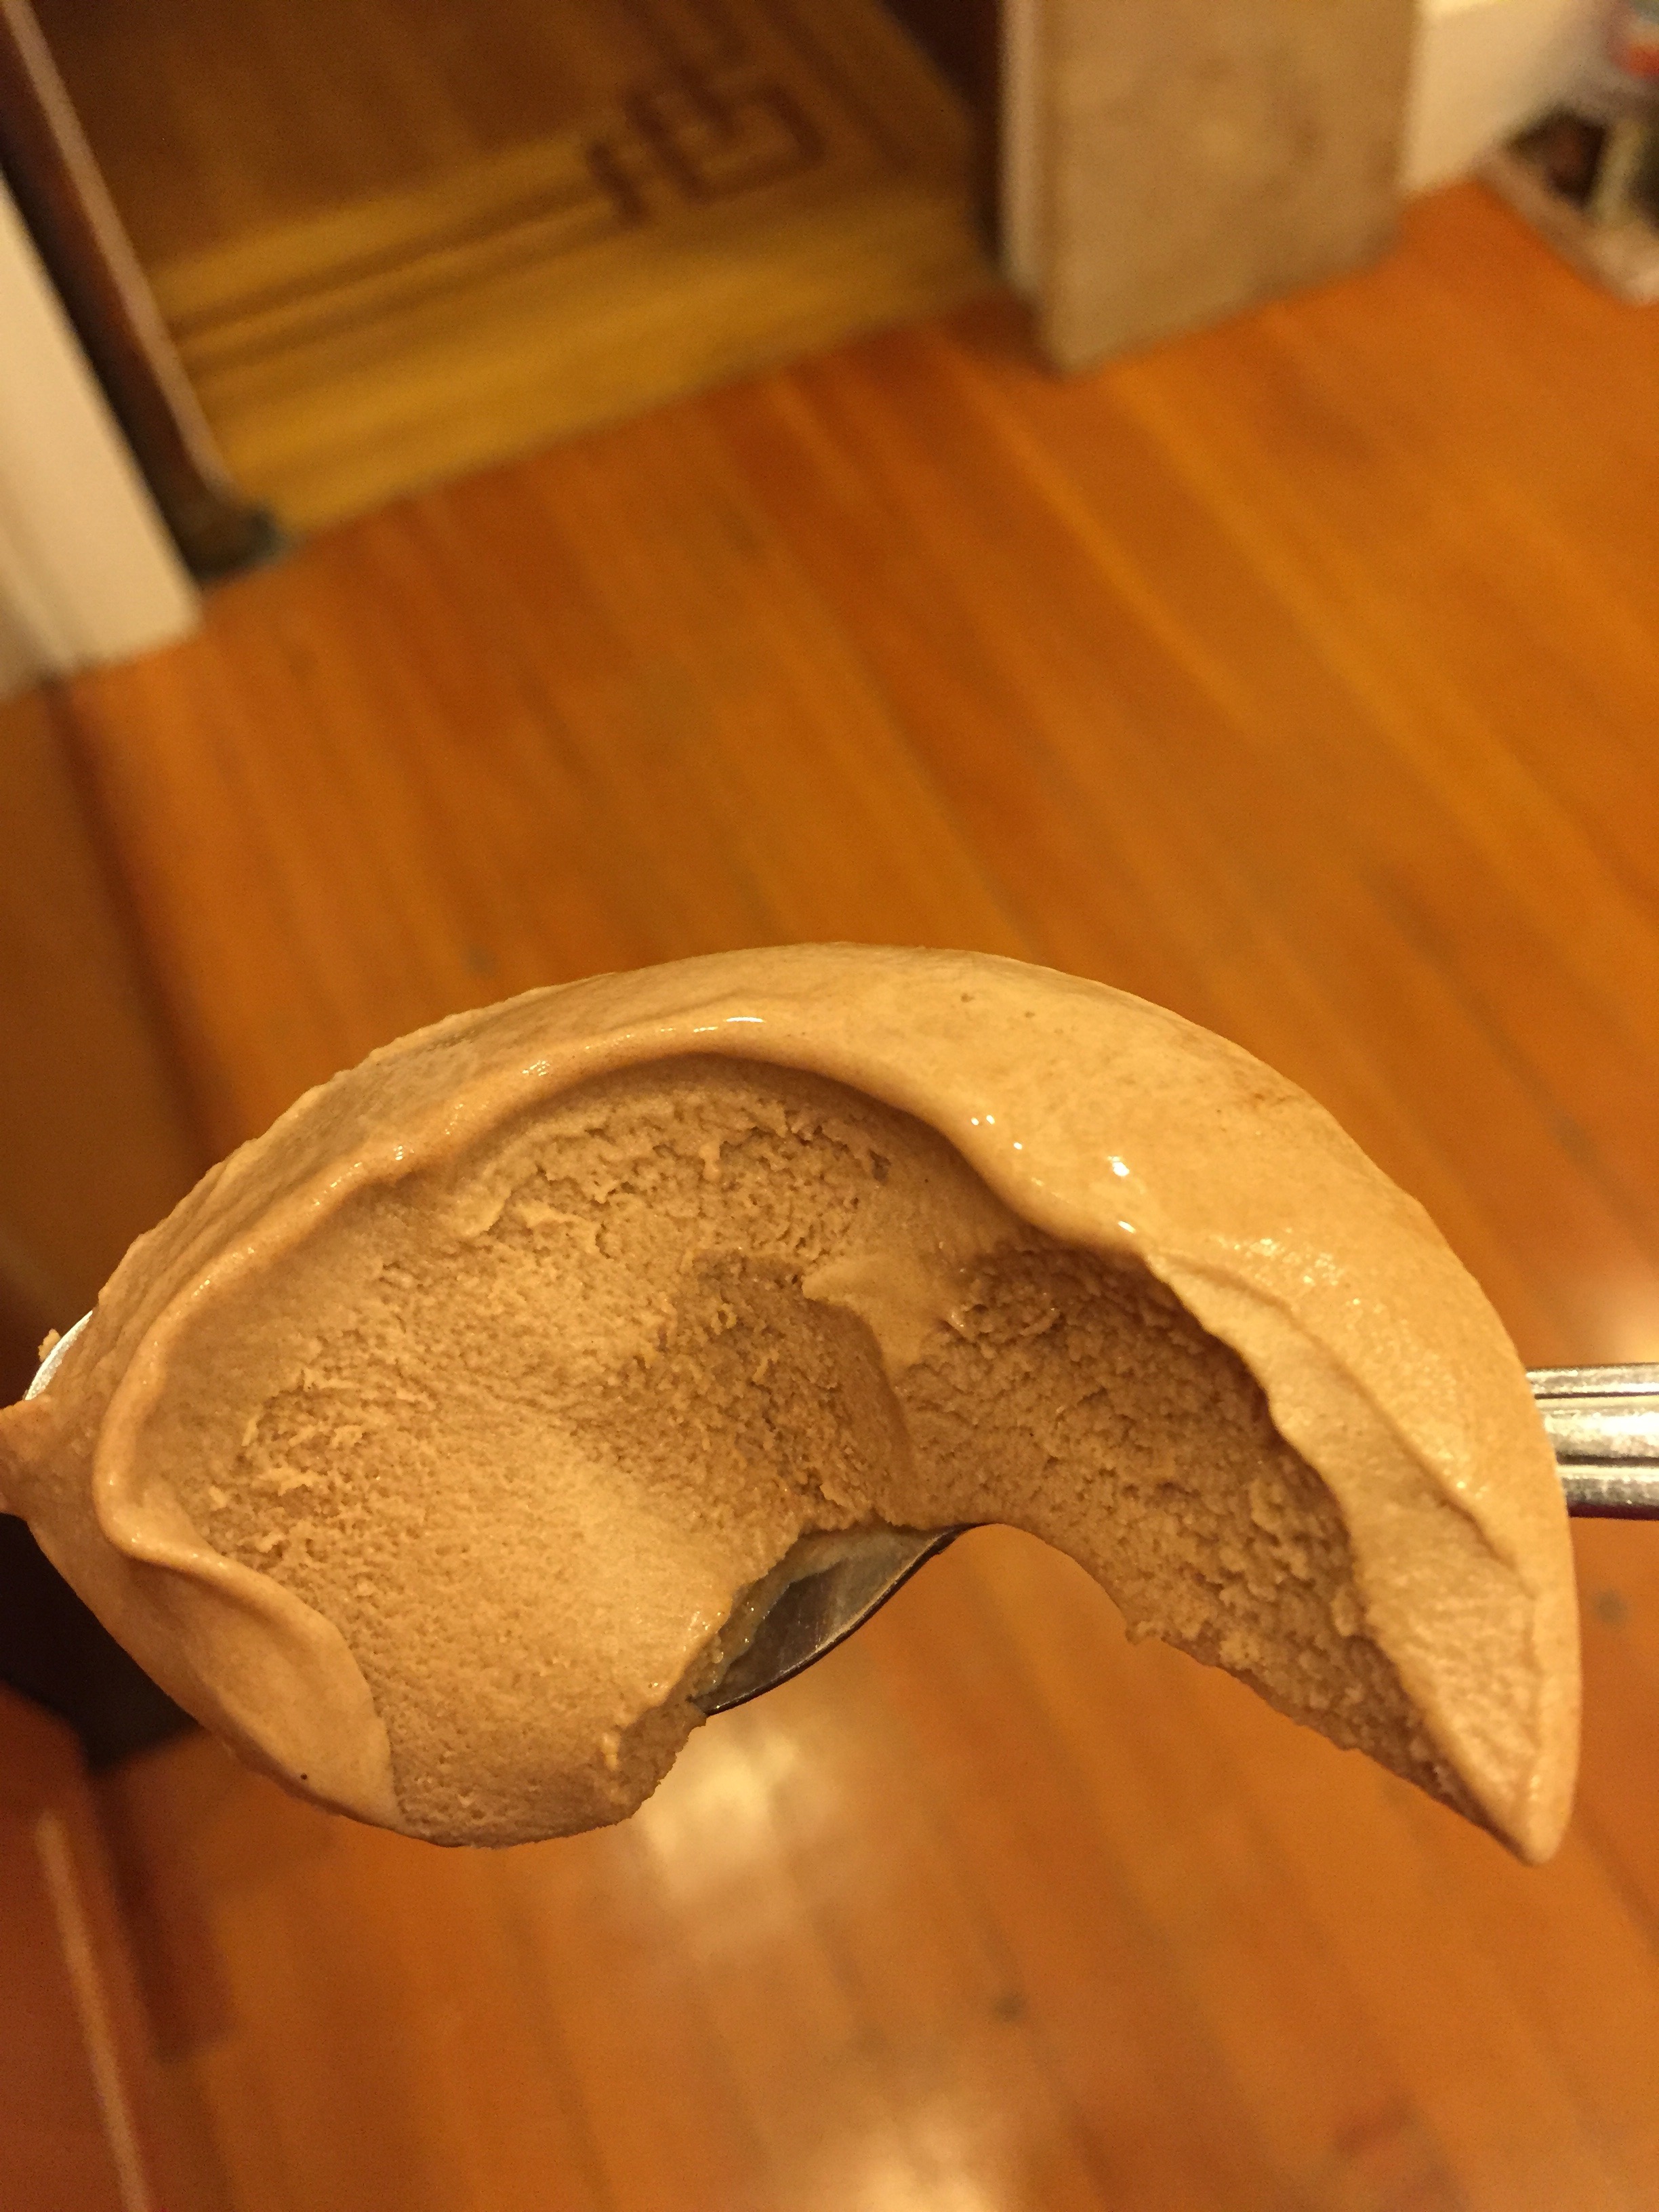
  Purely Chocolate – A tie for my favorite! This flavor has a rich, deep and satisfying chocolate taste, like dark chocolate without the bitterness. Best of all, this flavor has the softest and most creamy texture of all that I have tried. This flavor needs to be in my freezer every day! I loved it. 

  Vanilla Maple- This flavor is true to its name, with both maple and vanilla flavors present. This flavor is great for those who like vanilla flavor, though I tend to prefer chocolate over vanilla when I have the choice.
Chocolate Peanut Butter – The peanut butter flavor is mild, I get more of a muted milk chocolate flavor, with a slight nutty undertone. I like the Purely Chocolate flavor much more. This flavor is also firmer and slightly icier than the Purely Chocolate flavor.

Salted Caramel – I love a “saltier” salted caramel flavor, while this is more on the sweet side. The flavor is quite good, but it is a bit one-dimensional compared to my favorites. This is a once-in-awhile choice.

Cookie Shake – This flavor is true to its name, similar to a toned-down cookies and cream or Oreo cookie taste. The sweetness is nice, but there is a bit of a whey aftertaste. This is another once-in-awhile flavor.

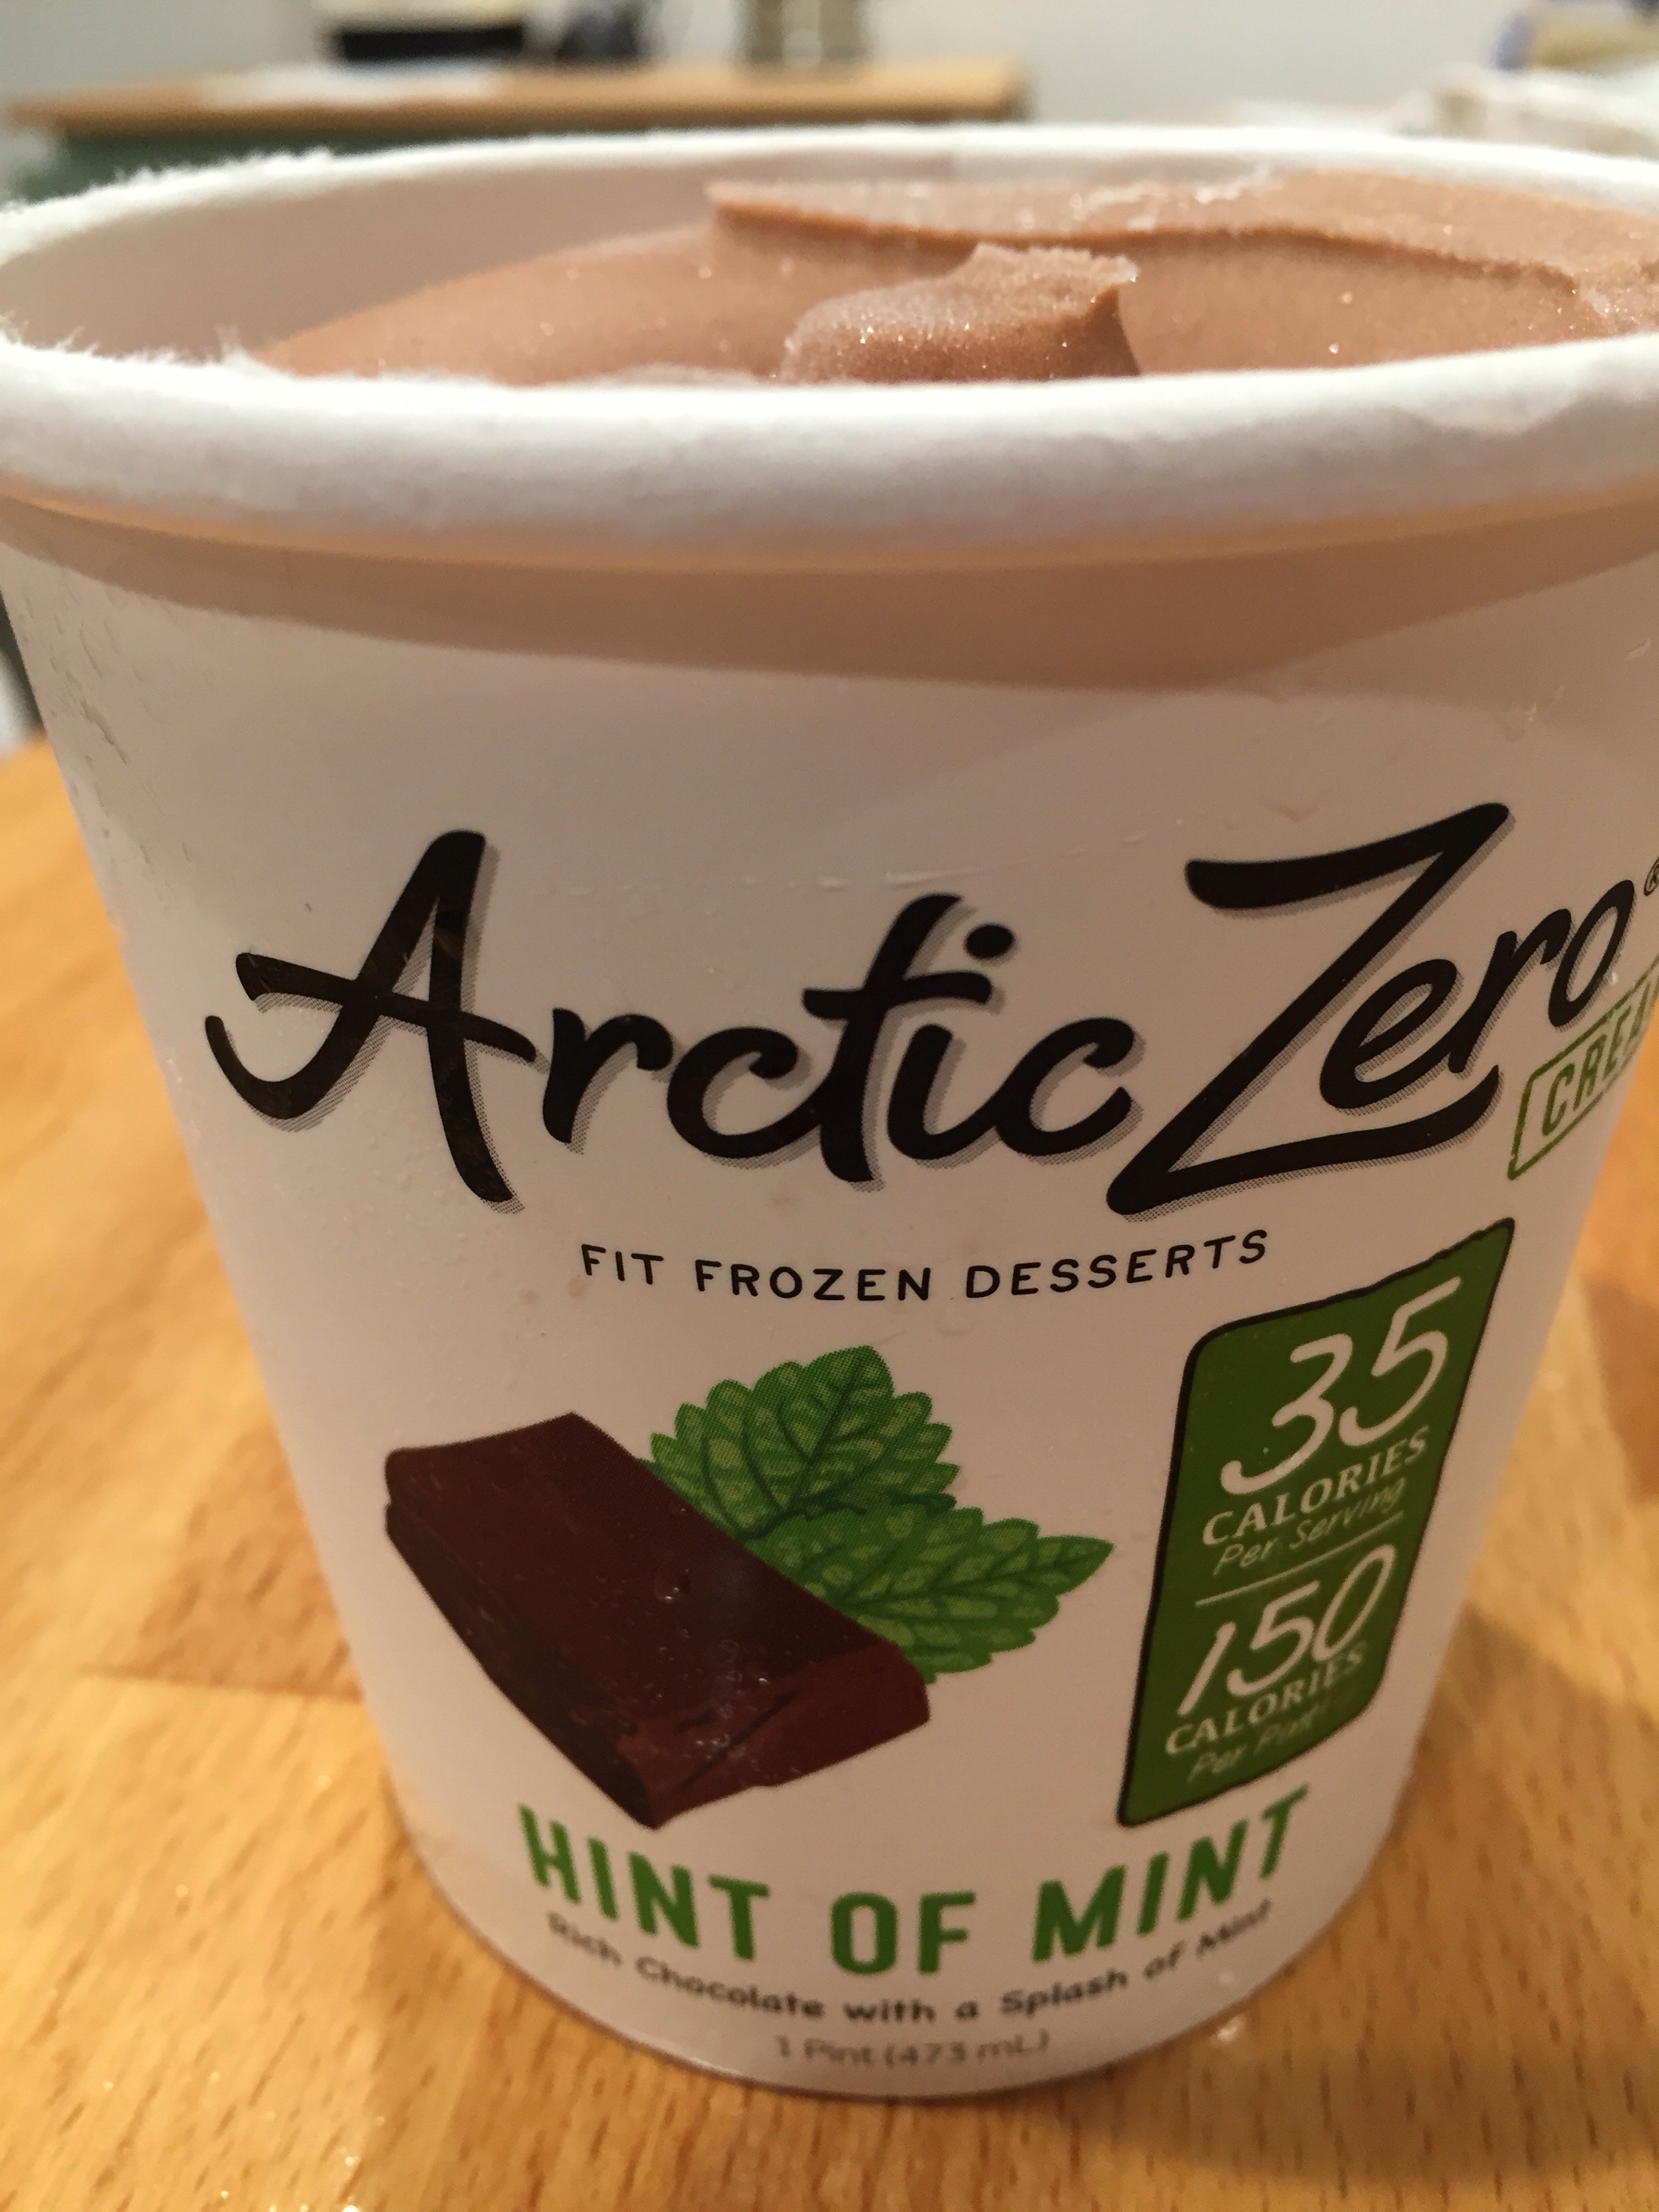
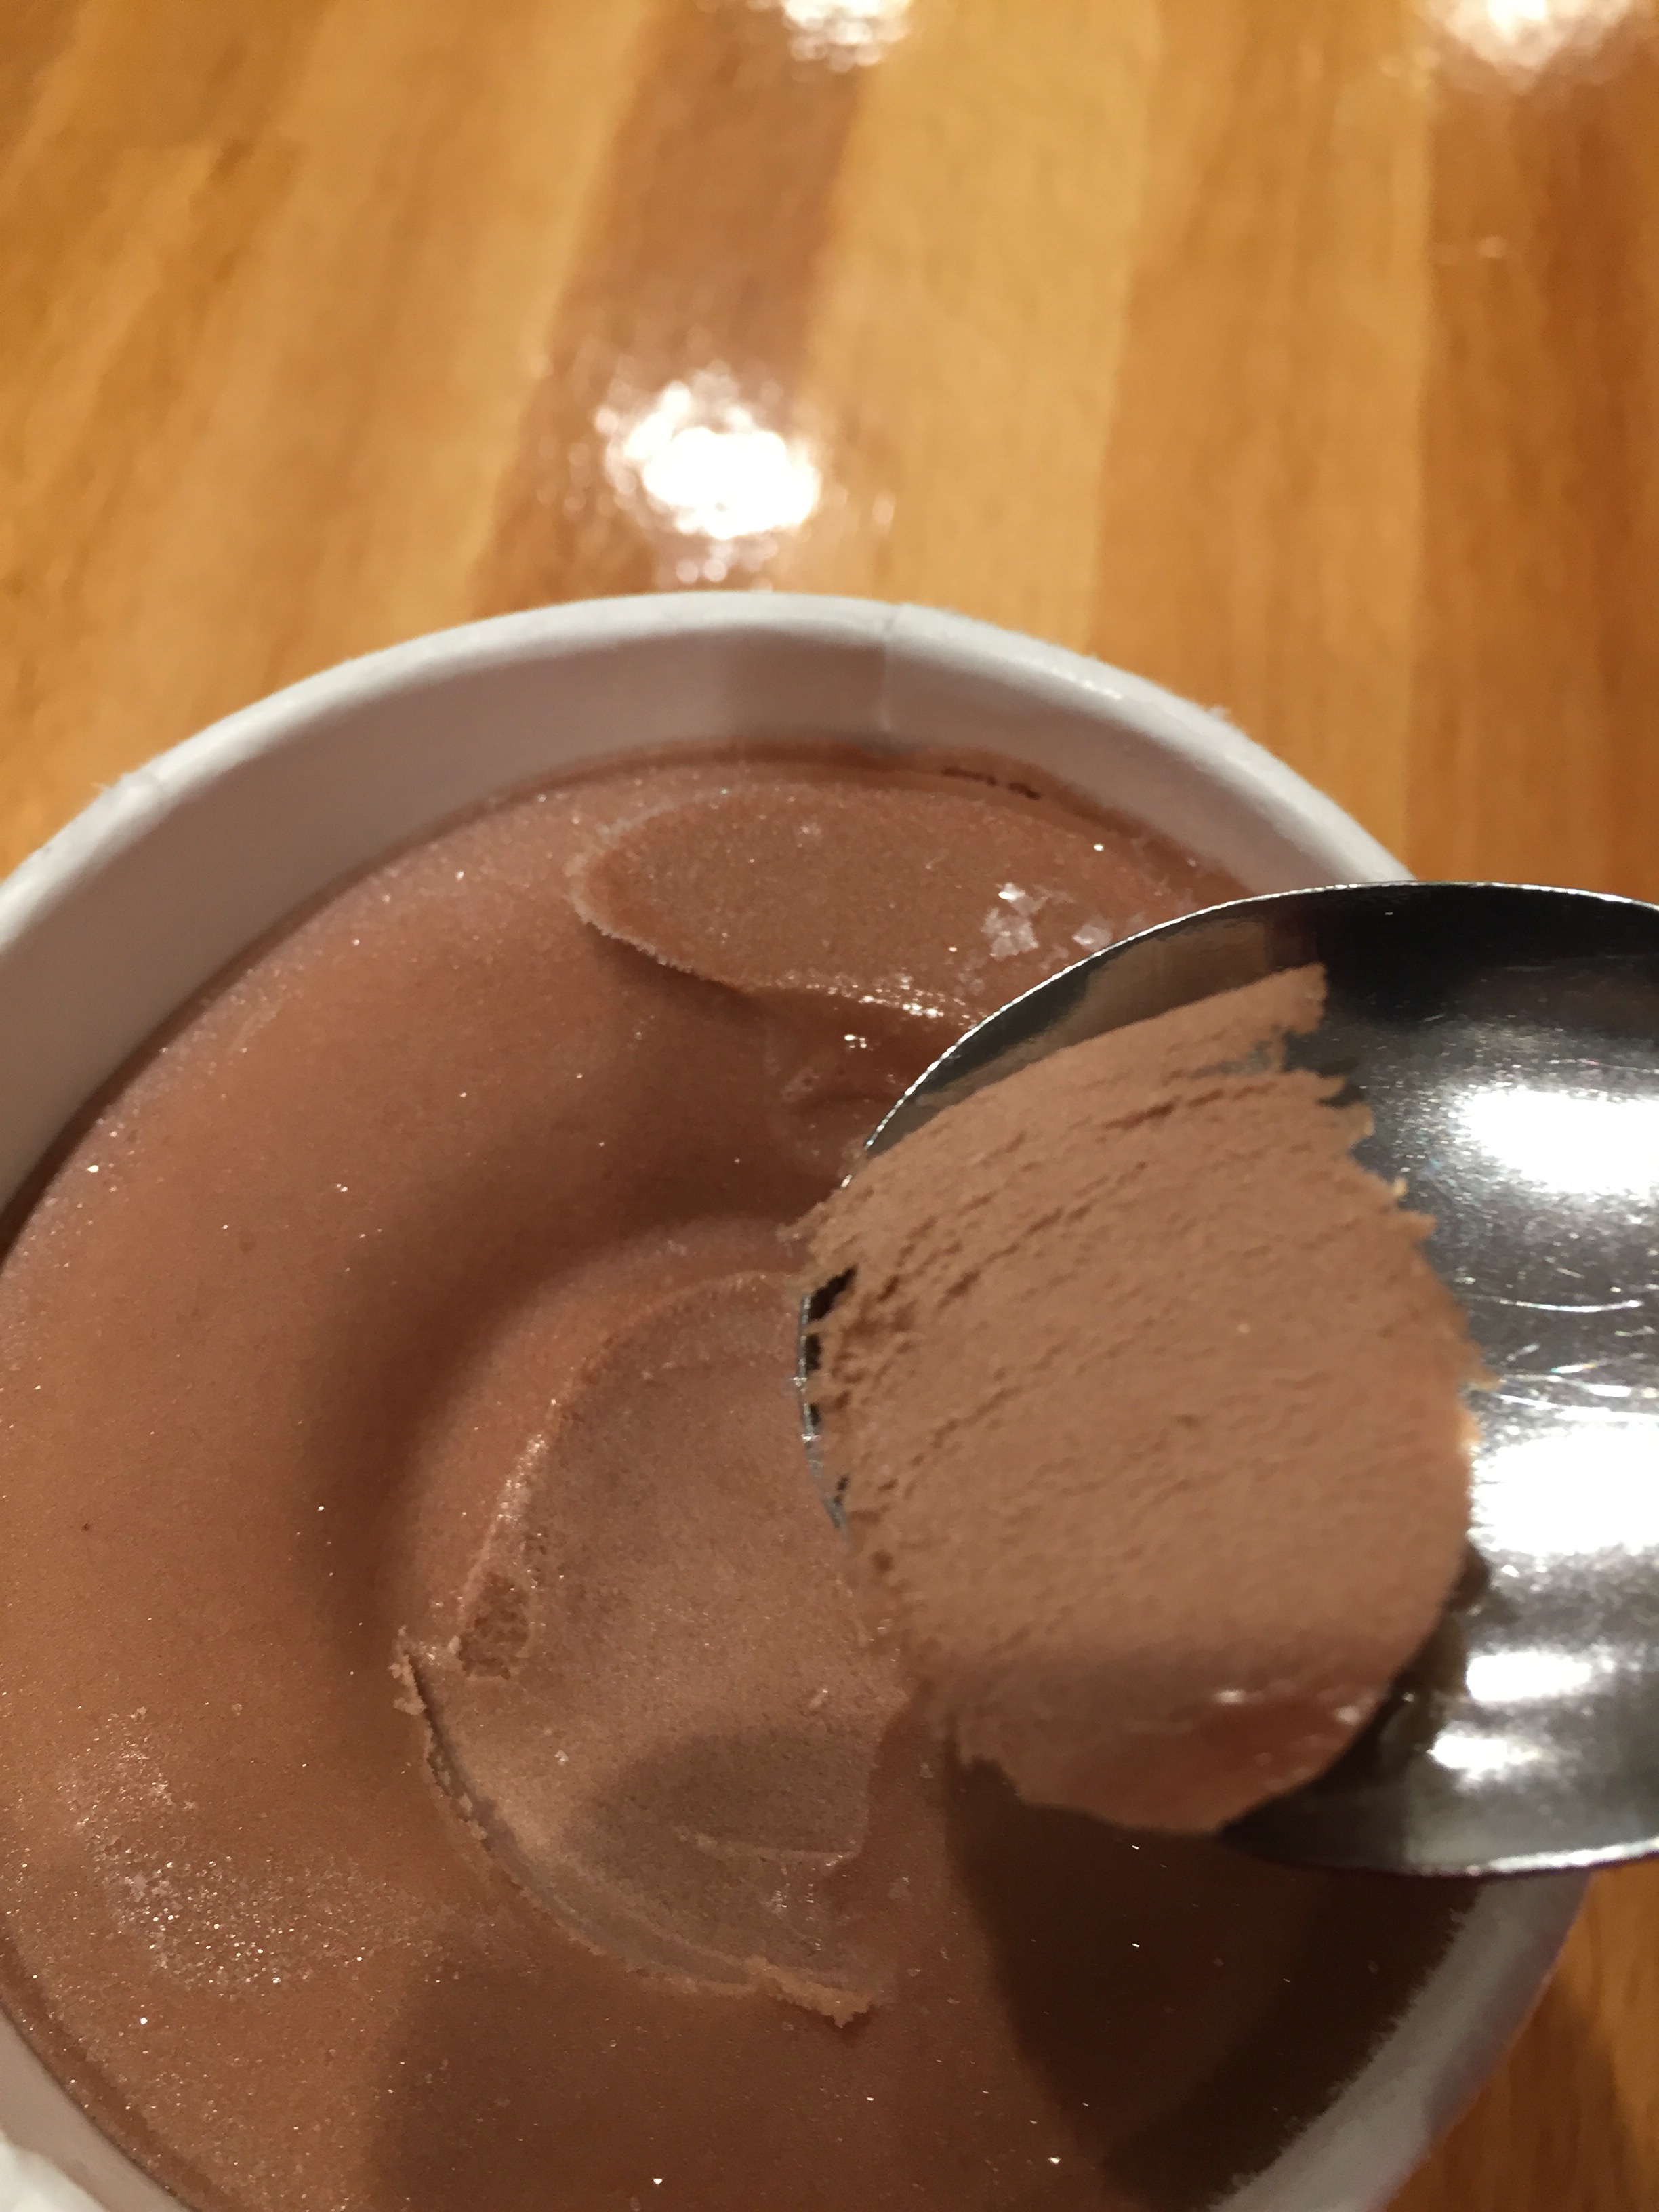
Hint of Mint – This one is my least favorite flavor. I get more of a mint flavor and not much chocolate. The texture is also a bit icier than I prefer.

  Flavors on my list to try in the future: another fruit flavor, the Simply Strawberry, currently available on the website, and a new flavor called Cake Batter which will be available in mid-March. If you have tried either of these favors or one of the flavors that I have reviewed above please let me know in the comments what you thought of them!

Arctic Zero Frozen Dessert Review

Chickpea Cookie Dough Perfected

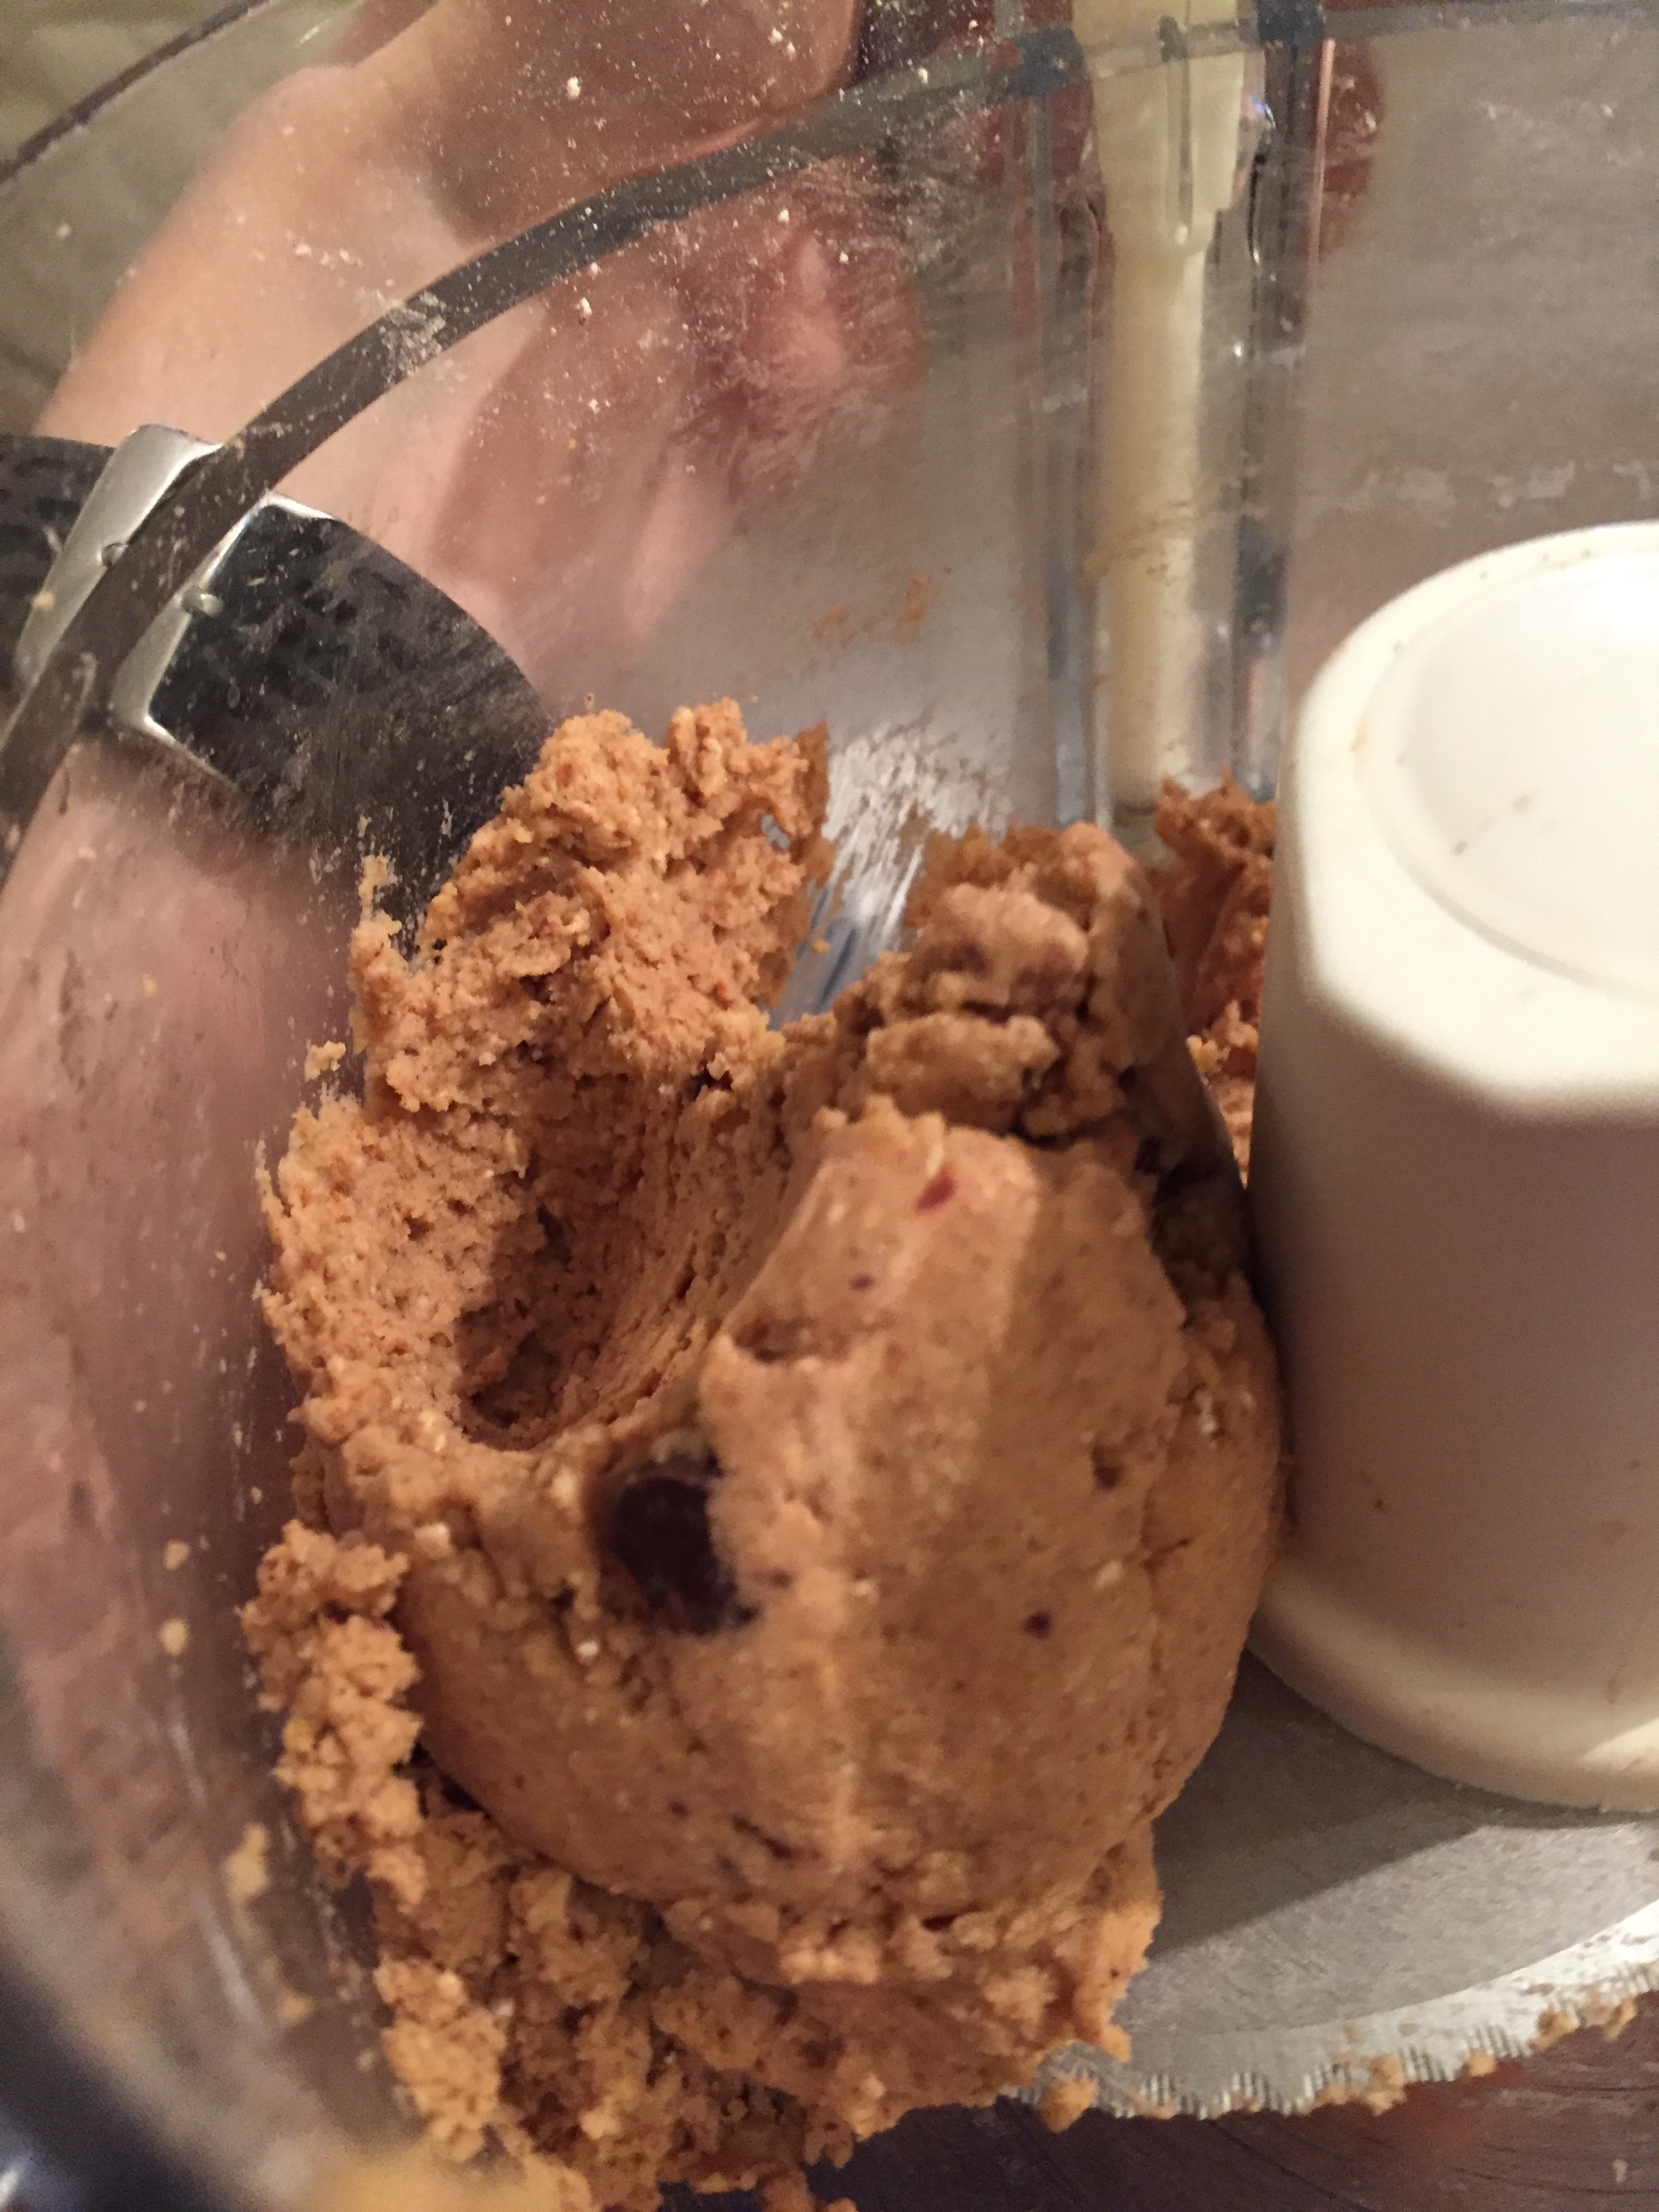
I have been making chickpea cookie dough for years now, but I have finally perfected the recipe. For those of you new to bean-based healthy dessert recipes, the advantage to using beans versus flour is the added fiber, extra protein, lower carbs and most importantly – beans are less processed and refined than flours. Flour is highly processed and digested very quickly compared to a whole food version like wheat berries (or beans). This recipe includes only a tiny amount (1/2 teaspoon) of whole wheat flour or whole wheat pastry flour, but it is completely optional. So the big question is whether beans can possibly mimic the taste of real dough, and the answer is yes!

The key players in bean dessert recipes are black bean brownies, white bean or chickpea blondies and chickpea cookie dough. I have had the most success with the chickpea cookie dough, but it has taken me 2 years to perfect the recipe. The secret to a sublime texture for the chickpea cookie dough is to remove the skins of the chickpeas after rinsing and to only use the pulse setting on the food processor. Peeling the chickpeas creates a creamy texture and using the pulse setting instead of blending the chickpeas keeps the mixture thick like cookie dough – otherwise it will still be tasty, but will be more of a hummus texture. These steps are not required, but are highly recommended!

Ingredients:

1 can chickpeas, drained and peeled (I like Westbrae organic)

1/4 cup rolled oats

1/8 cup quick oats

1/2 teaspoon whole wheat flour (optional)

2 soft dates, chopped

1/2 to 1 teaspoon cinnamon

1/4 to 1/2 teaspoon baking powder

Sprinkle of salt (if using unsalted chickpeas)

2-4 Tablespoons fresh ground creamy peanut butter

1-2 teaspoons agave nectar

1-2 packs stevia (I like Nunaturals brands)

1/2 teaspoon vanilla extract

1/2 teaspoon maple extract (optional)

1 Tablespoon semi-sweet chocolate chips, vegan carob chips or cocoa nibs (optional, but recommended) – listed in order from most delicious to most healthy!

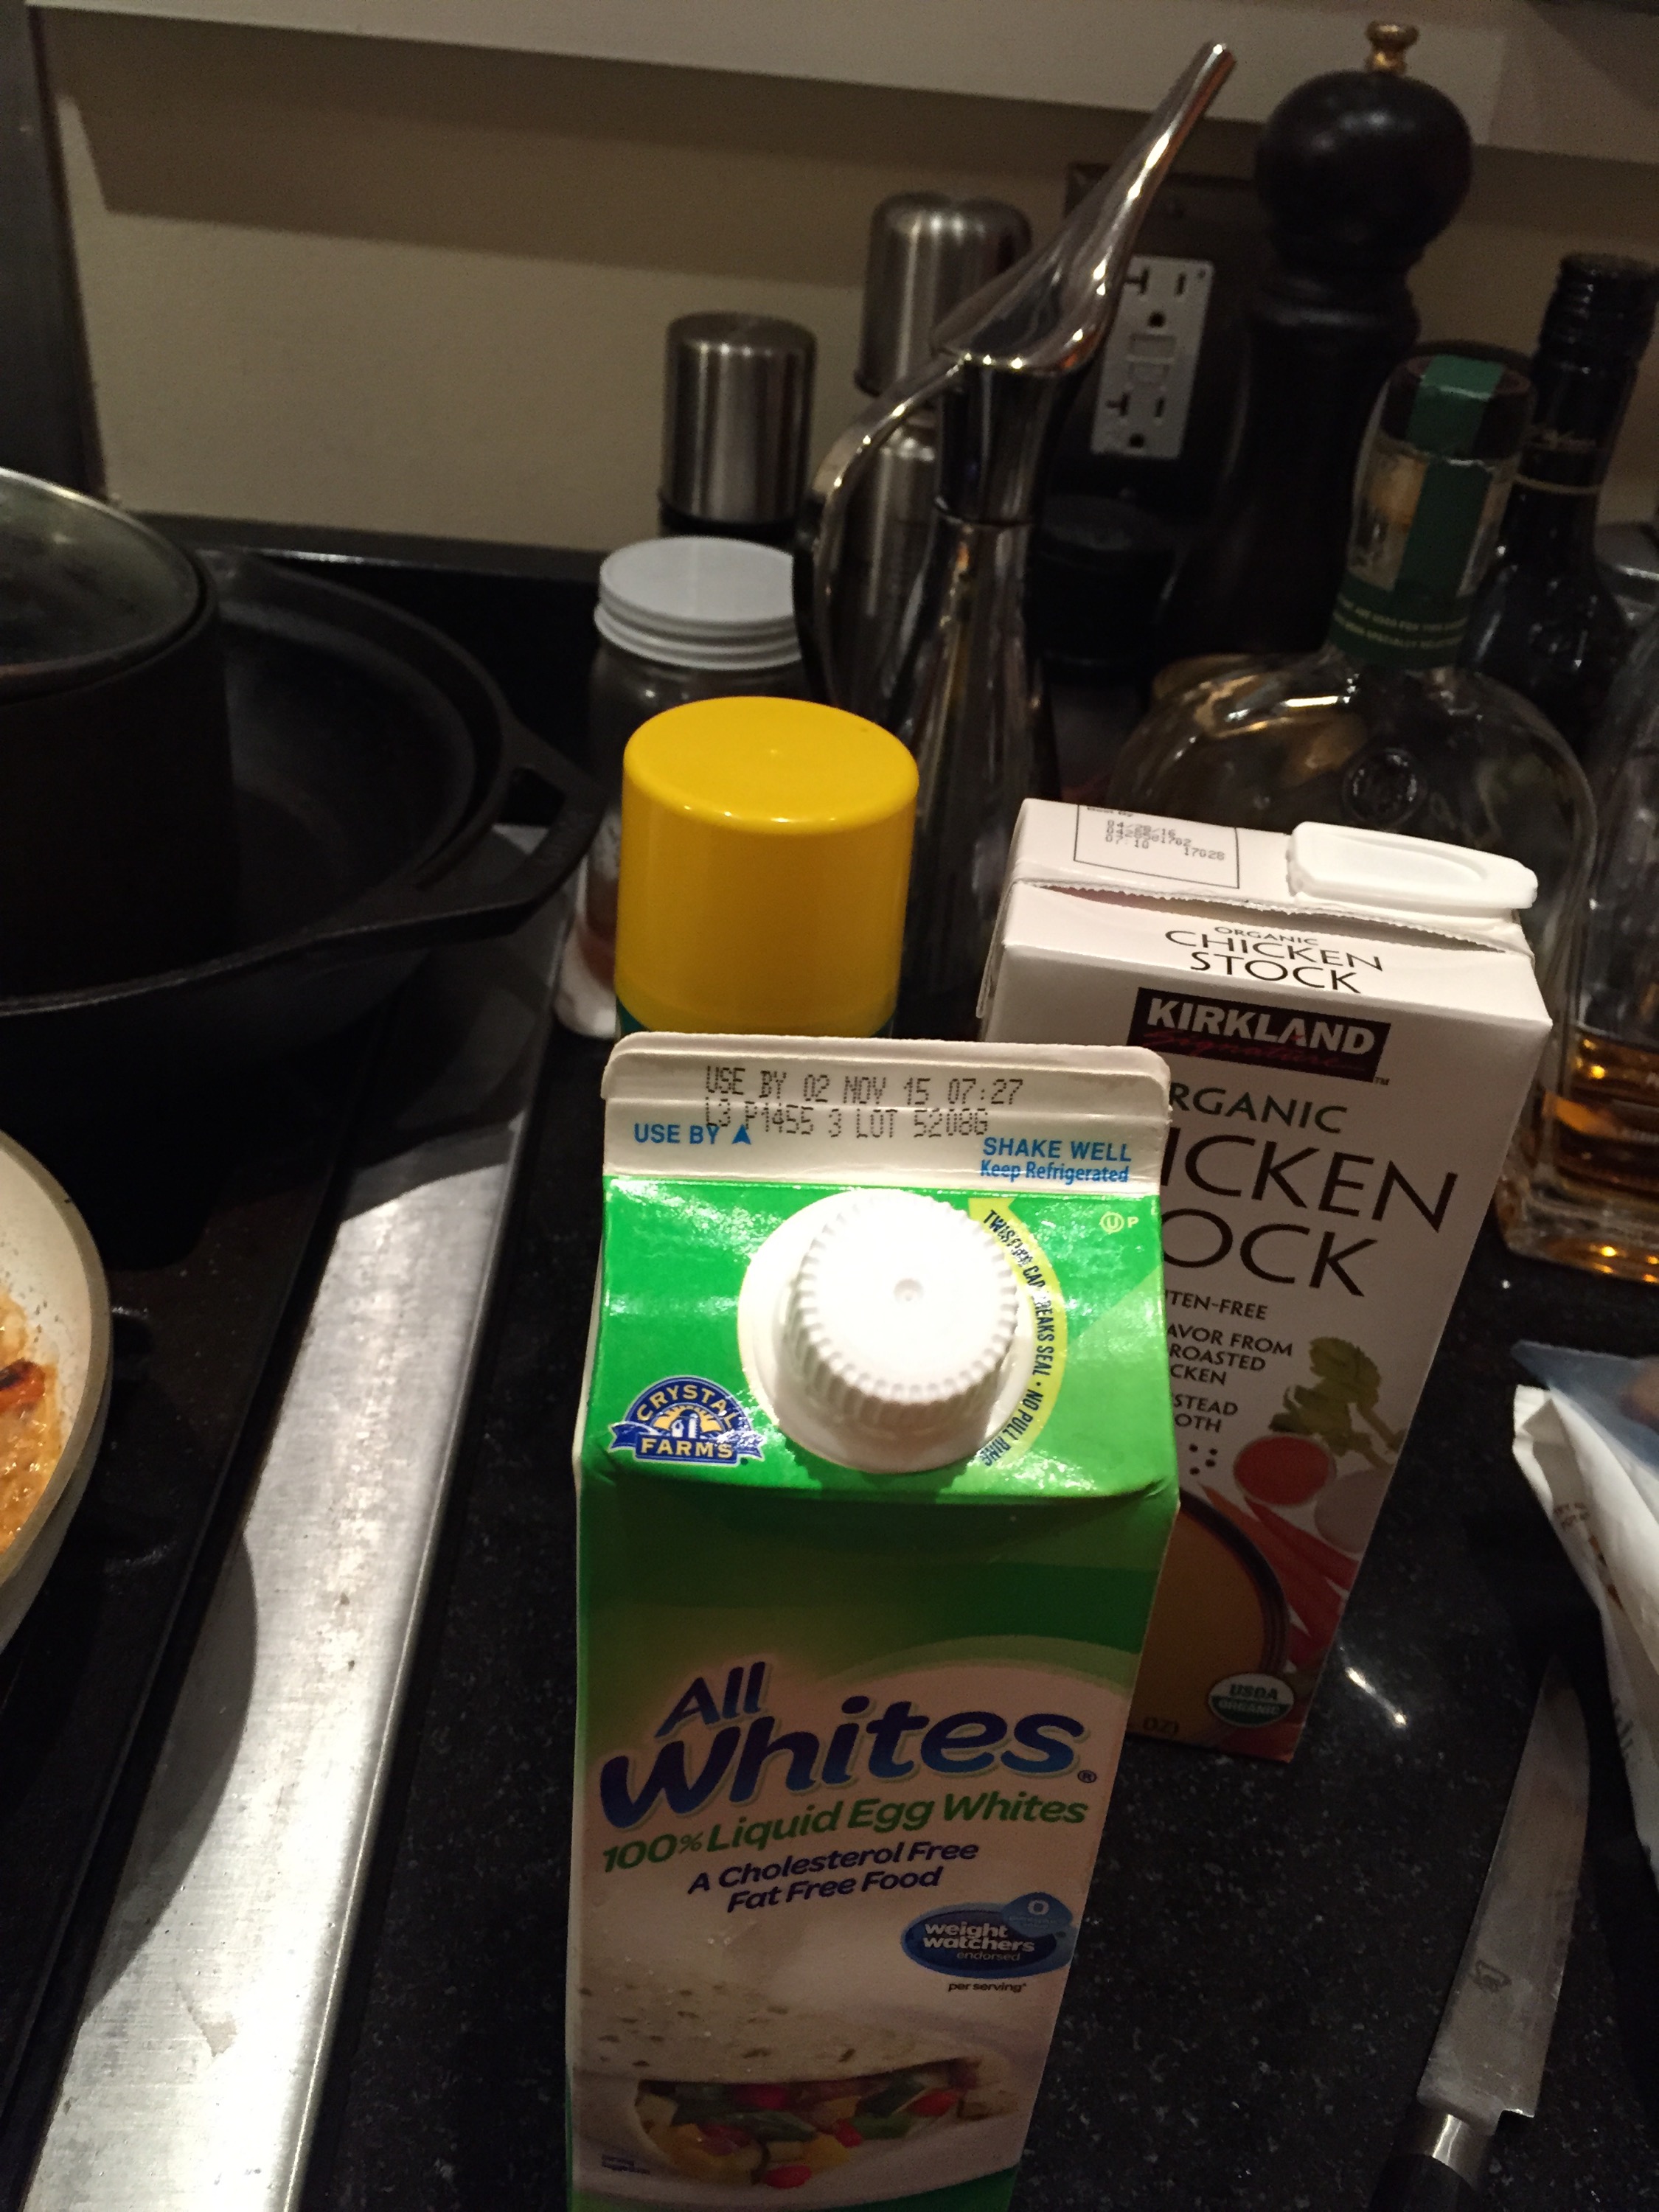
1-2 Tablespoons liquid pasteurized egg whites (substitute 1 Tablespoon unsweetened almond milk to keep it vegan, use the egg whites for higher protein and thicker texture)

Directions:

Pulse dry ingredients in food processor for 5 seconds. Add wet ingredients and pulse for 5 more seconds. Taste and adjust ingredients (you can start with the lower end of the sweetener, peanut butter and other ingredient amounts if you like, and add more to taste if desired – I like a sweeter taste). Add chocolate chips, if using, and pulse for 2 seconds. While pulsing for 2 more second, add the egg white or almond milk. Then enjoy!

Chickpea Cookie Dough Perfected

Soft Serve Ice Cream Protein Shake

The secret to turning my daily protein shake into soft serve ice cream is a pinch each of guar gum and xanthan gum. These ingredients work as textural agents in creamy or baked packaged foods, like nondairy milks, ice cream and gluten-free baked goods. These can also be used at home to magicaly turn ice  and a little almond milk into creamy and thick soft serve protein ice cream without using any extra fat. The guar gum makes the shake thicker, and the xanthan gum makes the mixture creamy instead of icy. Without xanthan gum it will be more like a Starbucks Frappuccino rather than soft serve ice cream.

I can guarantee results if you use a Vitamix blender or a Blendtec blender. Lower power blenders may work, but you will likely need more liquid, less ice and I would start with slightly less of the gums. The result will be less thick and creamy, but still delicious.
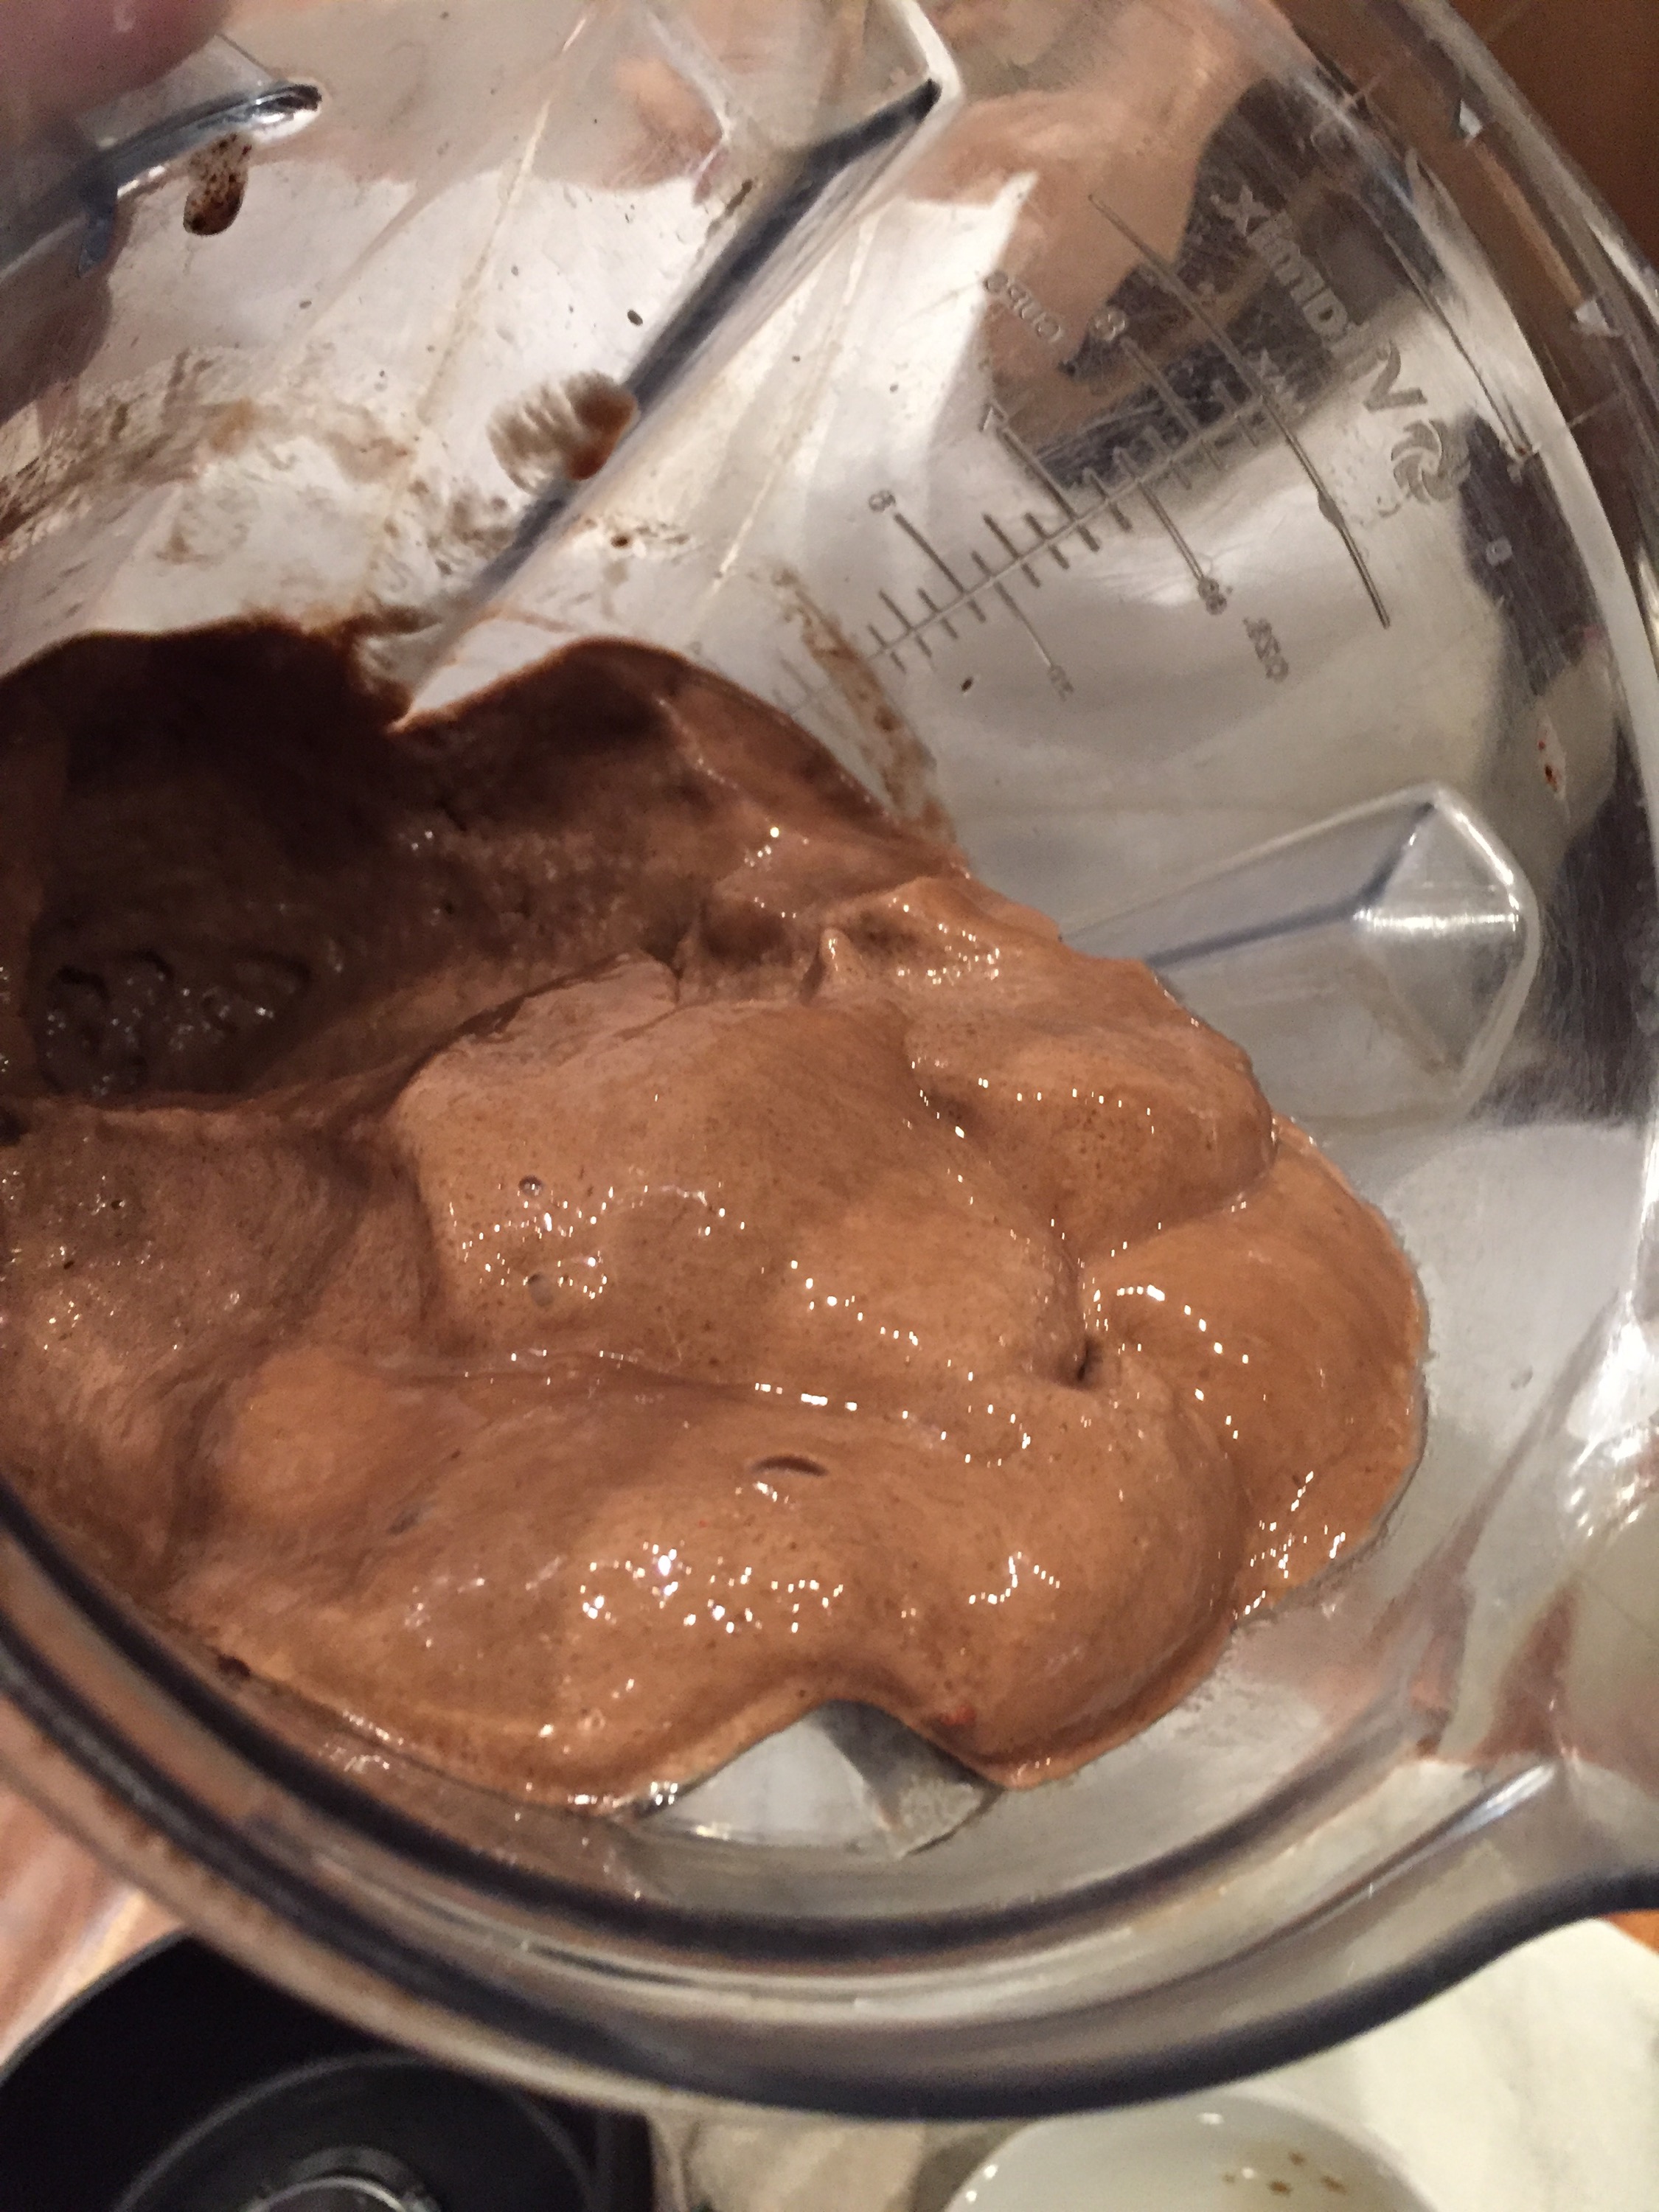
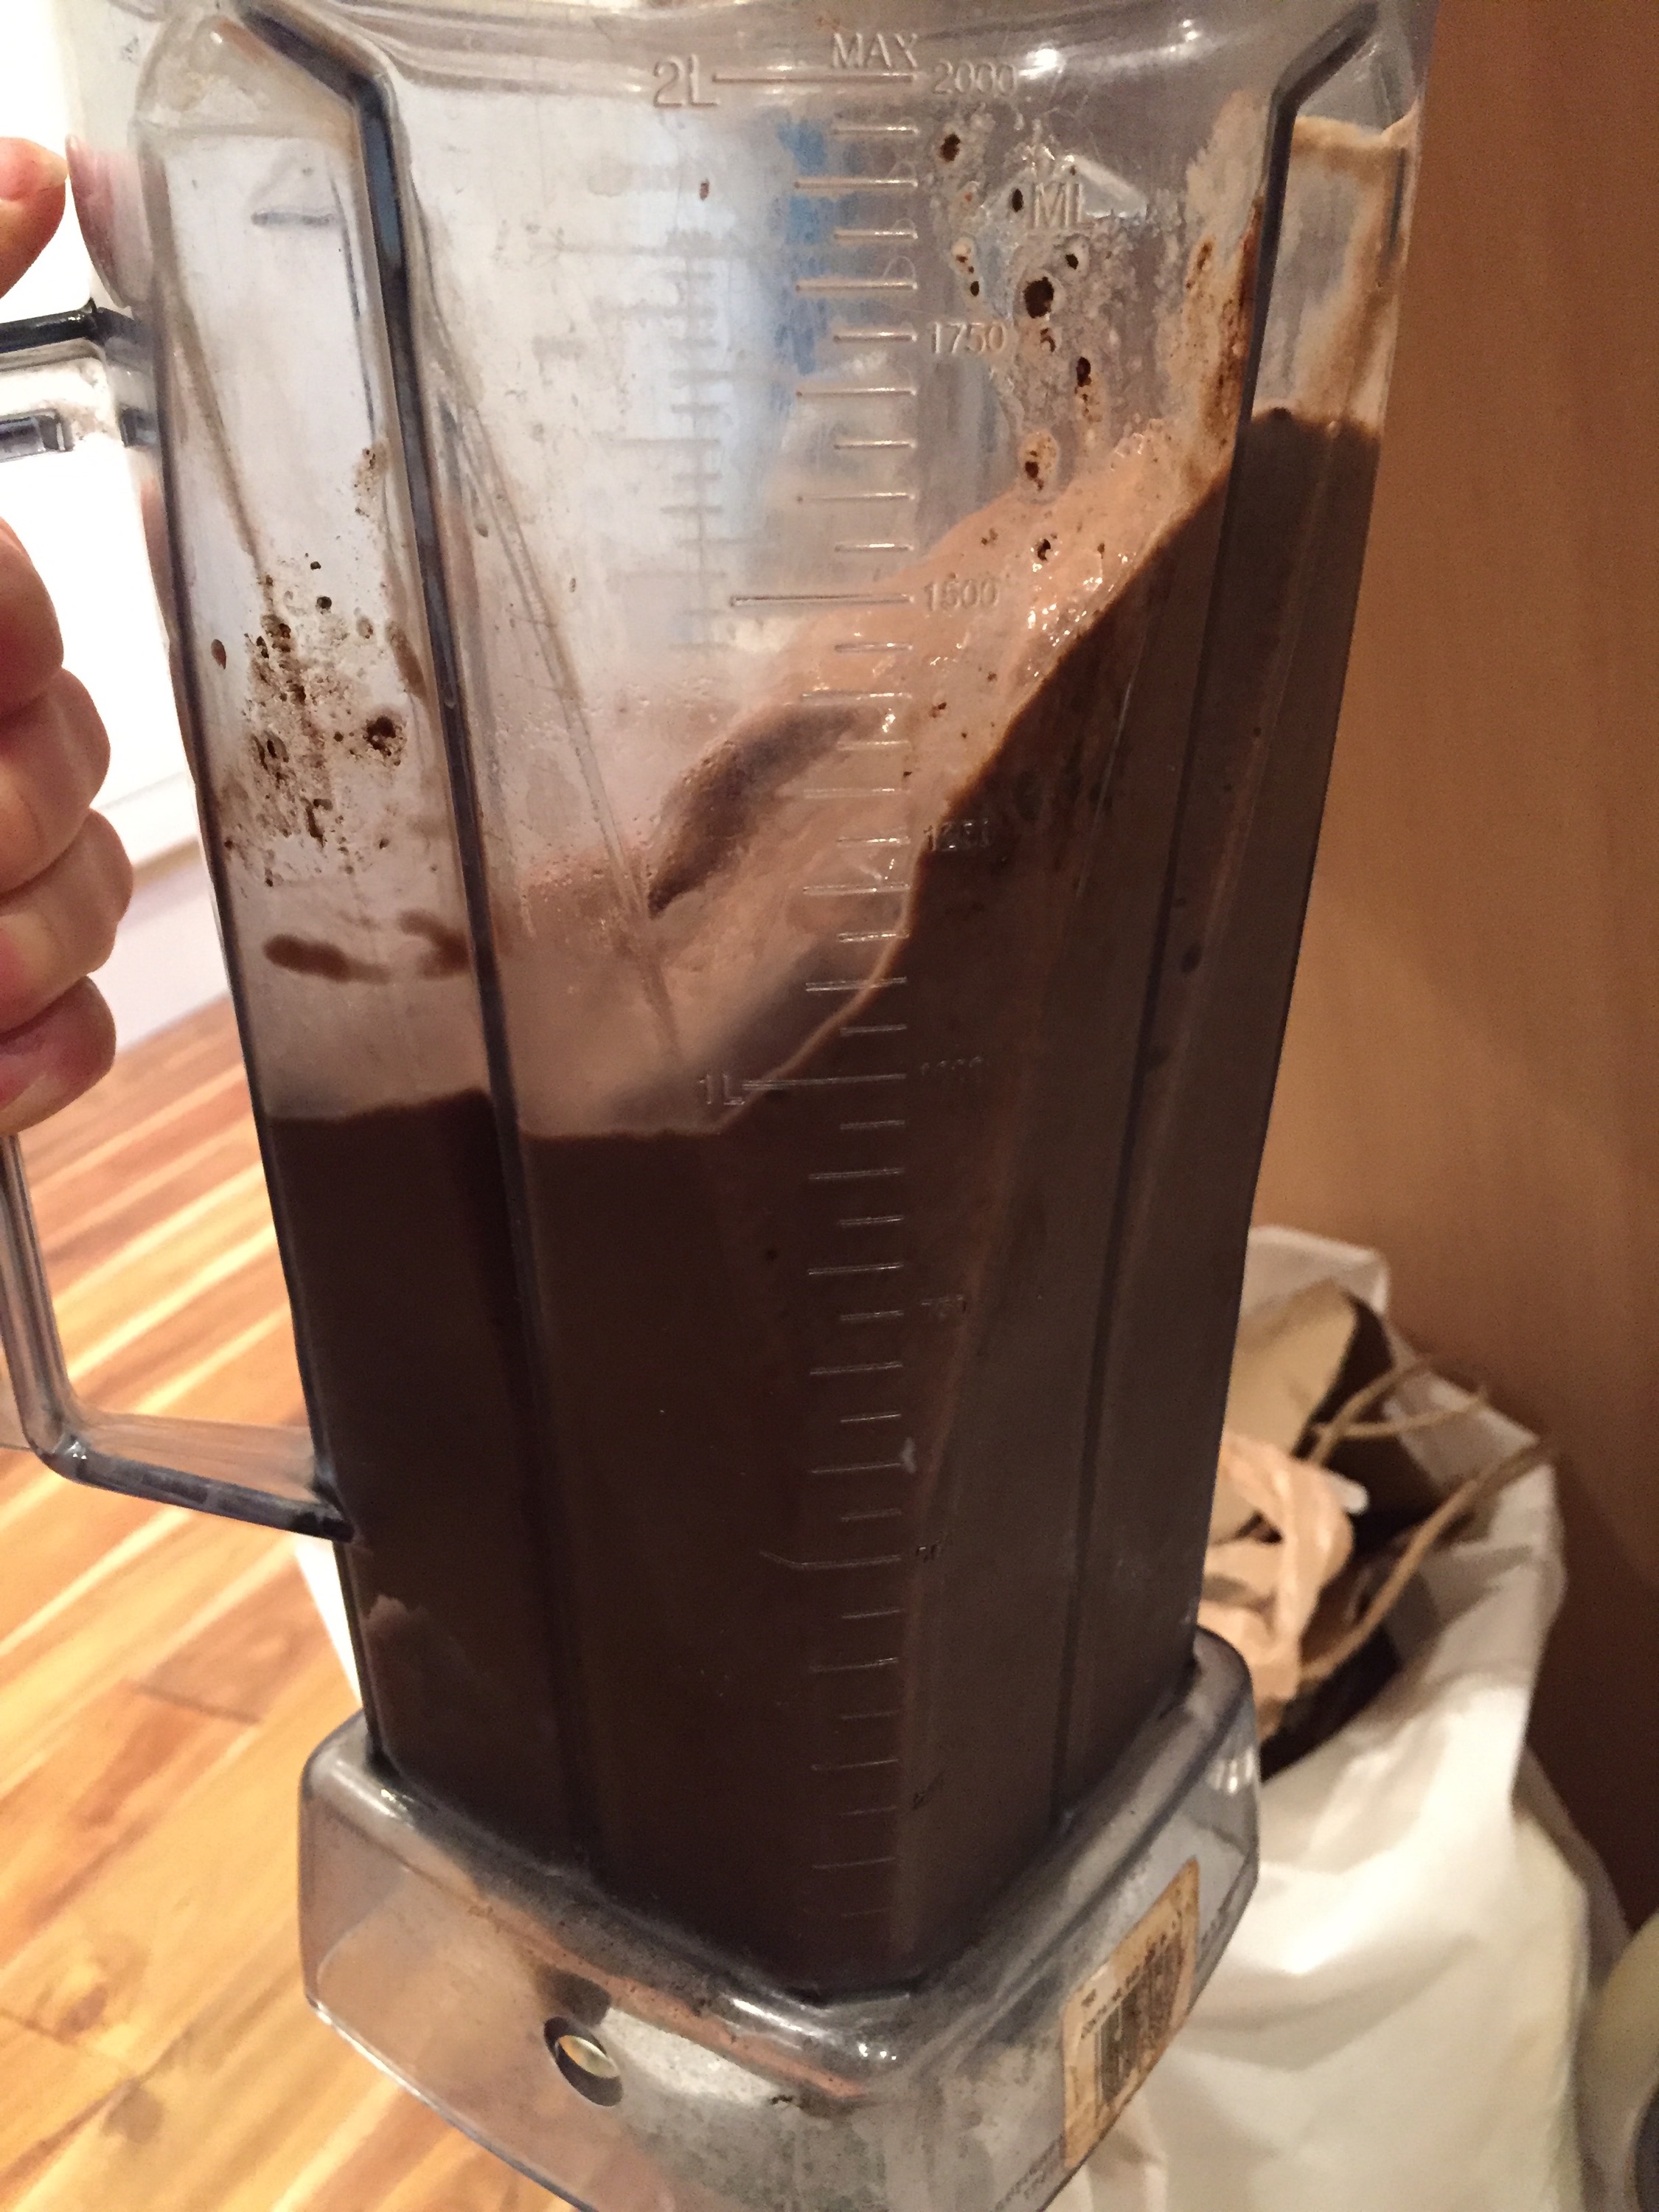


The recipe is very forgiving, and you can adjust ingredients and amounts for your personal preference. The most important part is to start on the low side with the gums, and only add more if needed. An extra 1/16 teaspoon will be the difference between a thick protein ice cream and a near-solid slimy lump in your blender! 

My recipe using a Vitamix:

3/4 C unsweetened almond milk

1-2 TBS cocoa powder

1/2 scoop stevia- sweetened sweetened vanilla whey protein powder (I use Jay Robb)

1 packet Nunaturals Stevia

1 teaspoon vanilla extract

1/2 teaspoon maple extract

1/4 teaspoon cinnamon

1/4 teaspoon guar gum

1/4 teaspoon xanthan gum

Added flavor if desired (sugar free coffee syrups, flavor enhancer drops for shakes or baking, other extracts)

1/4-1/2 cup additional fluid – water or a combination of the optional ingredients above + water

– Blend on low for 5 seconds.

– Add 2-2.5 cups cubed ice to the blender.

– Add 1/4-1/2 cup hot coffee or boiling water on top of the ice in the blender and stir.

– Blend on low, then turn up the dial from 1-10 until mixed for about 10-15 seconds. Stir if needed.

– Optional: add a few pieces of frozen fruit (I like frozen strawberries, peaches, cherries or banana slices)

– Optional: stir once after the initial blend. Then turn back on and blend on low, turn up the dial from 1-10 and then immediately increase to high just until the contents turn over once. This is the key to an even creamier result, but the contents can get stuck in the blender at this stage if there is too much ice or not enough liquid. If so, you can stir and add a little more liquid, or just be content with the result: 99% maxed out creaminess!
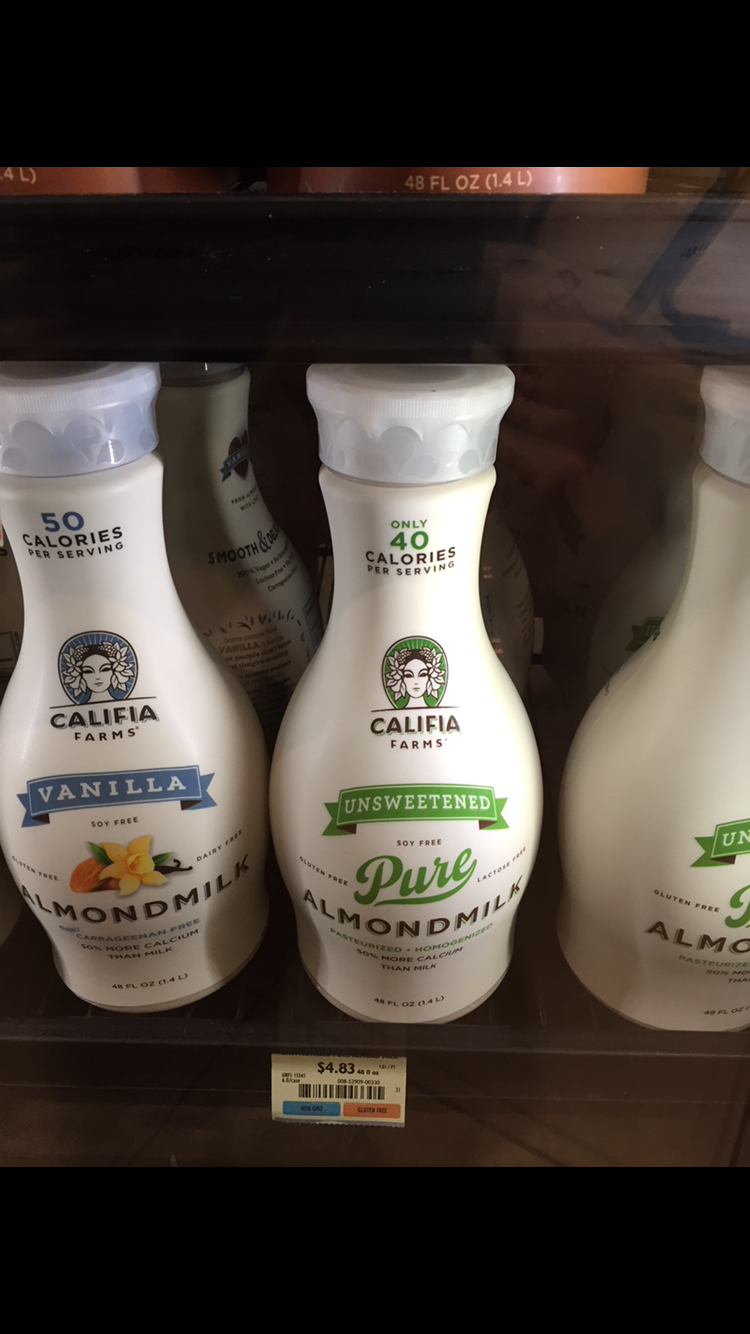
 My favorite almond milk.
 Frontier brand Vanilla extract and Maple extract, mild tasting and alcohol free.
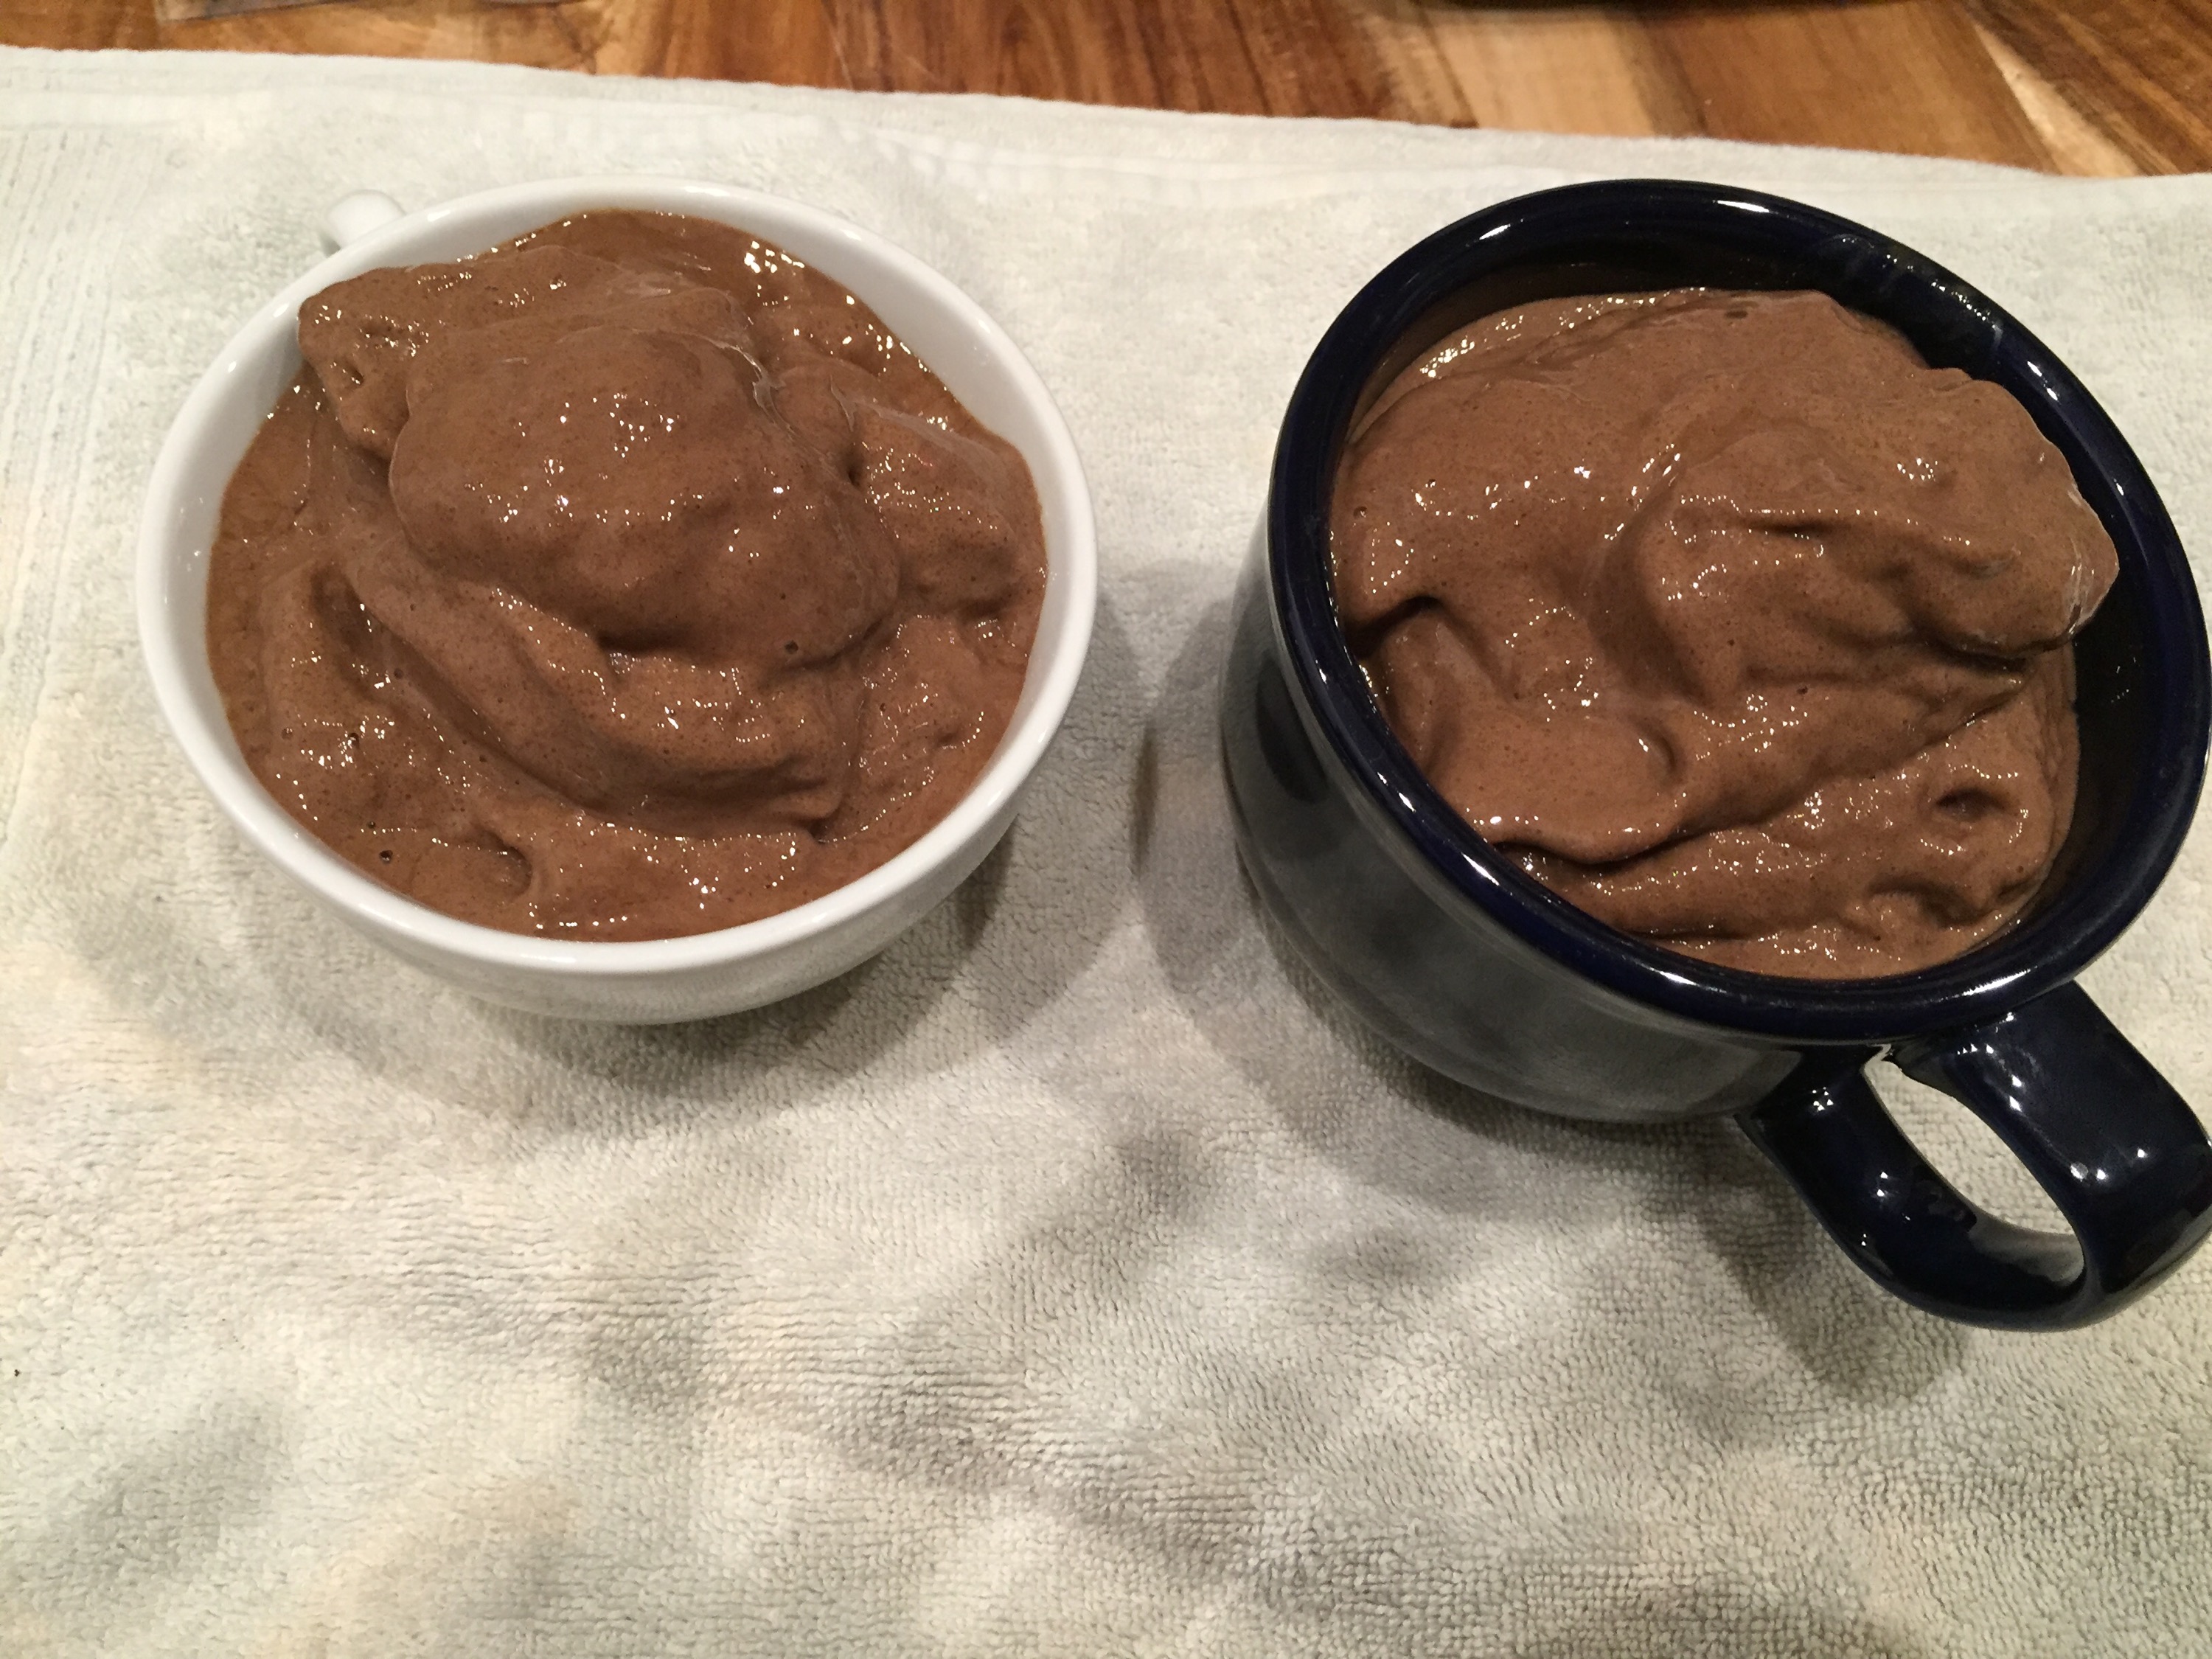
   

This recipe makes 2 large mugs, or 4 cups total (hand shown for size comparison) at 120 calories and 12 g protein! So delicious that I make this every day.

Before I bought a Vitamix, I went through a $50-75 blender every 6 months with my daily ice grinding. I have used my Vitamix every day for the past 10 years and it is still going strong!

Soft Serve Ice Cream Protein Shake

Thrive Seattle Raw Salads Review

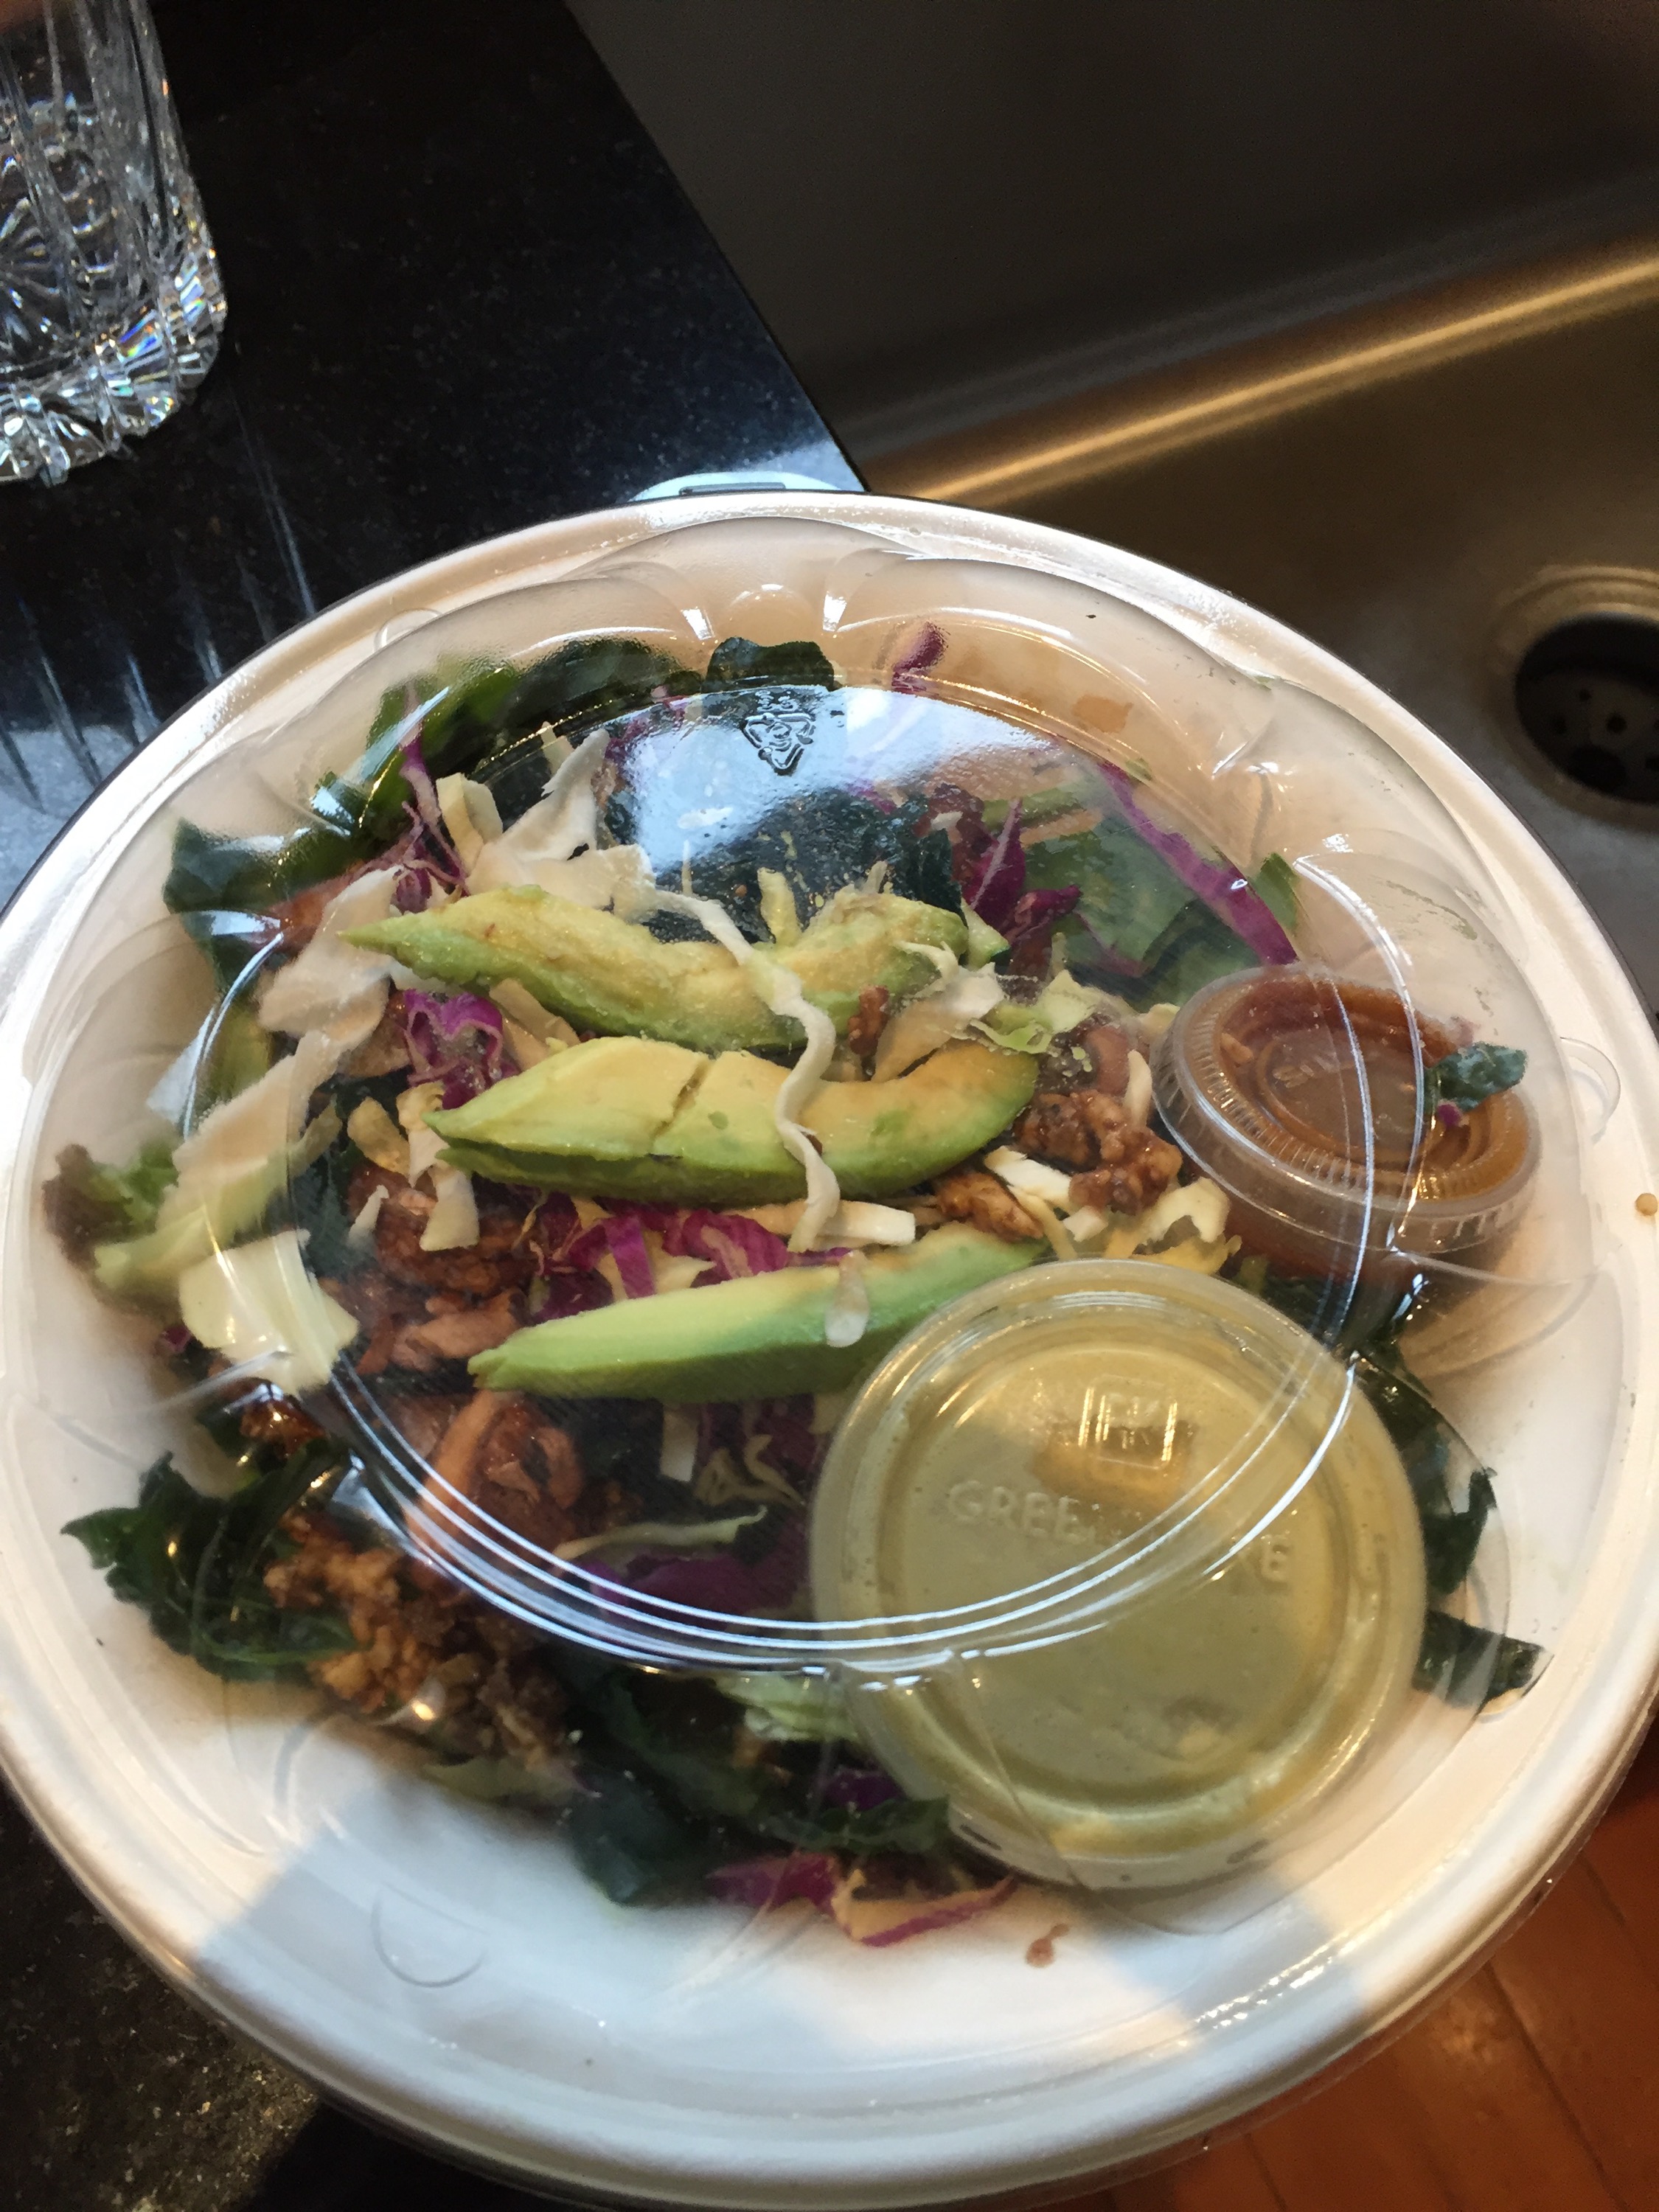
Going with the theme of the day; which is “no time to prepare food, but still needing to eat healthy food packed with nutrients”, I finally took the opportunity to try a restaurant I had been curious about for a long time. It is called Thrive, and specializes in a variety of salads, mixed grain bowls, and raw food entrées like a kelp noodle-based Thai veggie dish. Several meal delivery services in Seattle deliver food from Thrive, and I had mine delivered by Caviar. 


I tried the Juggernaut salad (with only quinoa, no red rice and the dressing on the side) and the Fresh Rolls. Each was big enough on its own for a small meal, but I ate the Fresh Rolls with Greek yogurt mixed with fruit to provide some protein.

This is what they actually looked like:   


As you see, they are very visually pretty and are both packed with lots of fresh veggies. As far as taste goes, I would definitely get the Juggernaut salad again, especially with my add-ins of extra shredded red cabbage, carrots and nutritional yeast. The fresh rolls looked great, but were almost entirely made up of shredded green cabbage, which is not the most flavorful vegetable, and one thin strip of carrot (though this does get extra points because it achieved the intended visual effect of looking like a piece of fish in an Asian fresh roll). Unfortunately the taste was a bit bland, and nutrition-wise, a variety of vegetables would have offered more benefit. I ended up having to use almost all of the included dressing, when I typically only need to use 1/3 to 1/2 of a sauce or dressing.

Next time I think I will try the Marinated Kale salad, with a couple of the high calorie toppings eliminated. My general rule of thumb to keep a salad from becoming too close to junk food is to choose 2-3 high calorie/delicious add-ins, such as dressing, cheese, dried fruit, nuts, avocado, fried toppings – and certainly maple coconut chips would fit in this category! Some of these ingredients are quite healthy (though not all of them are) but they are all high-calorie as well. I plan to order this with the walnuts, add avocado slices and maybe even use my own dressing. Lately I have been loving a quick dressing made by mixing my own lemon-garlic-tahini dressing with hummus, and that would be quite tasty on this dish!
Thrive Seattle Raw Salads Review

Cauliflower Rice


 Our first child was born last week, so the time to prepare healthy meals – and the time to eat them! – has been at a minimum.

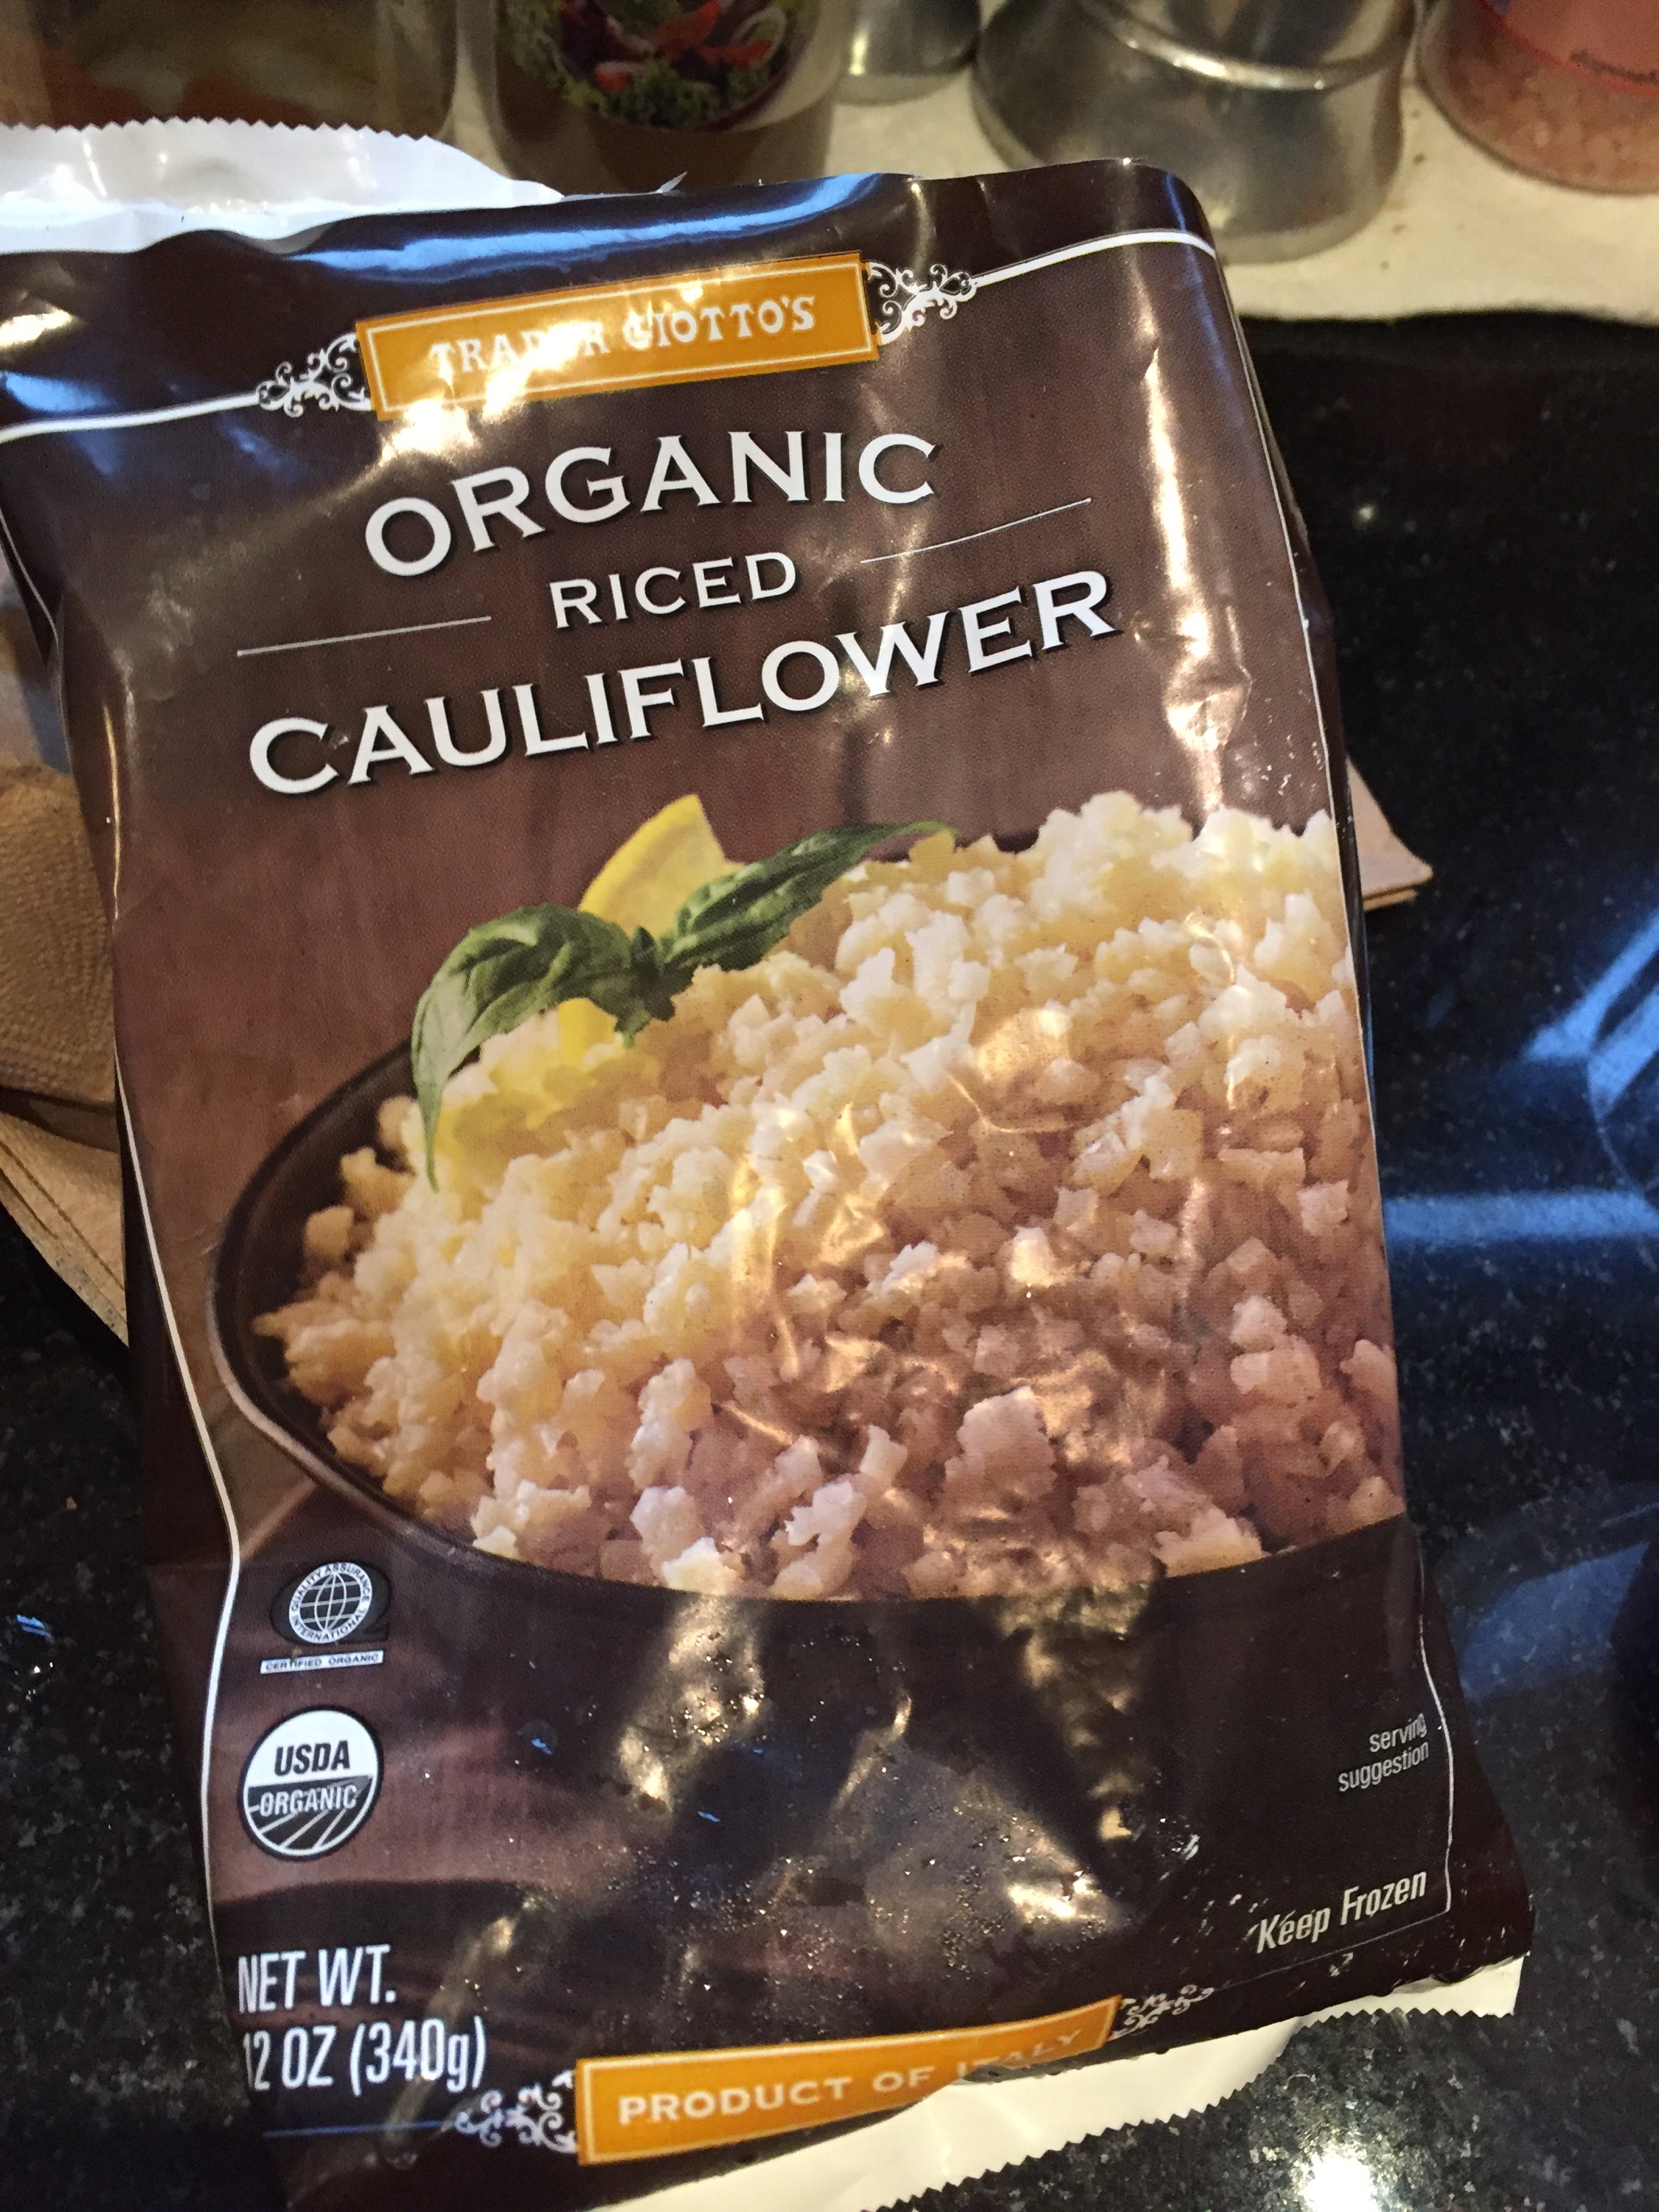
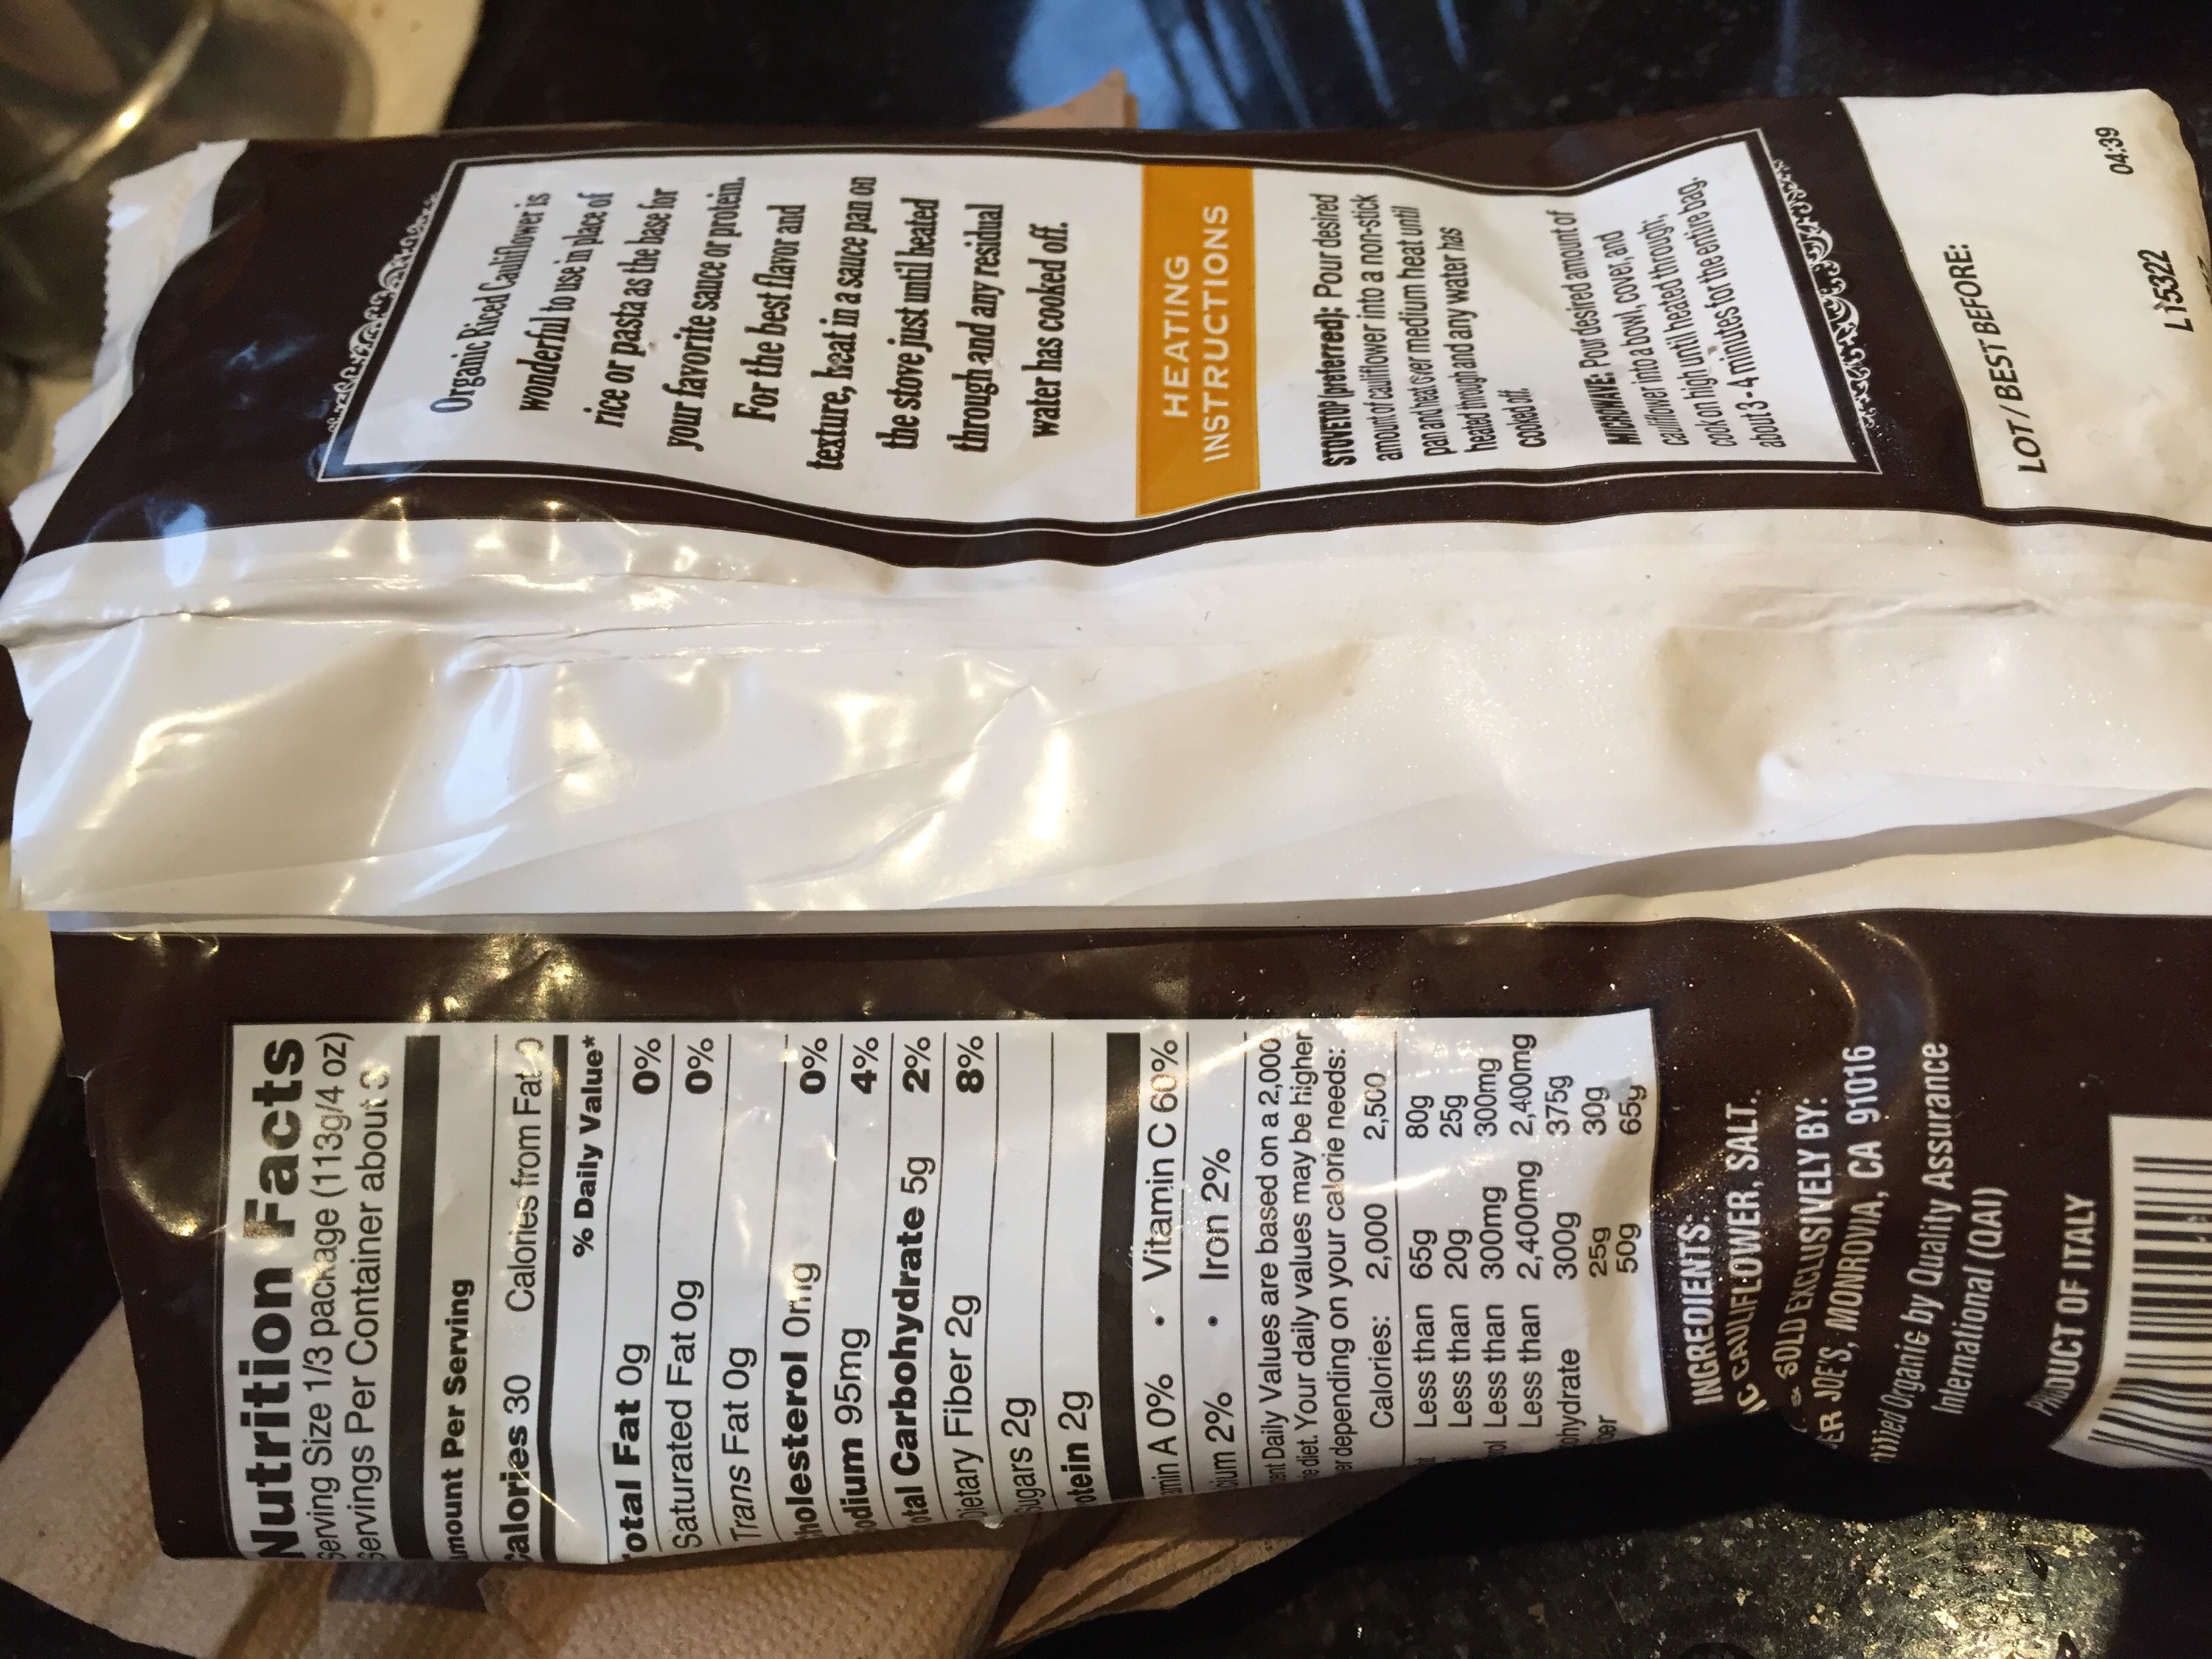
I had been interested to try cauliflower rice, AKA “riced” cauliflower, for quite awhile. It can be made at home using a head of cauliflower, finely grated, then steamed. However, with an infant feeding for 45 minutes out of every 2 hours, prep time is severely lacking. Luckily Trader Joe’s had these in stock, and I bought a few bags prior to welcoming our son.

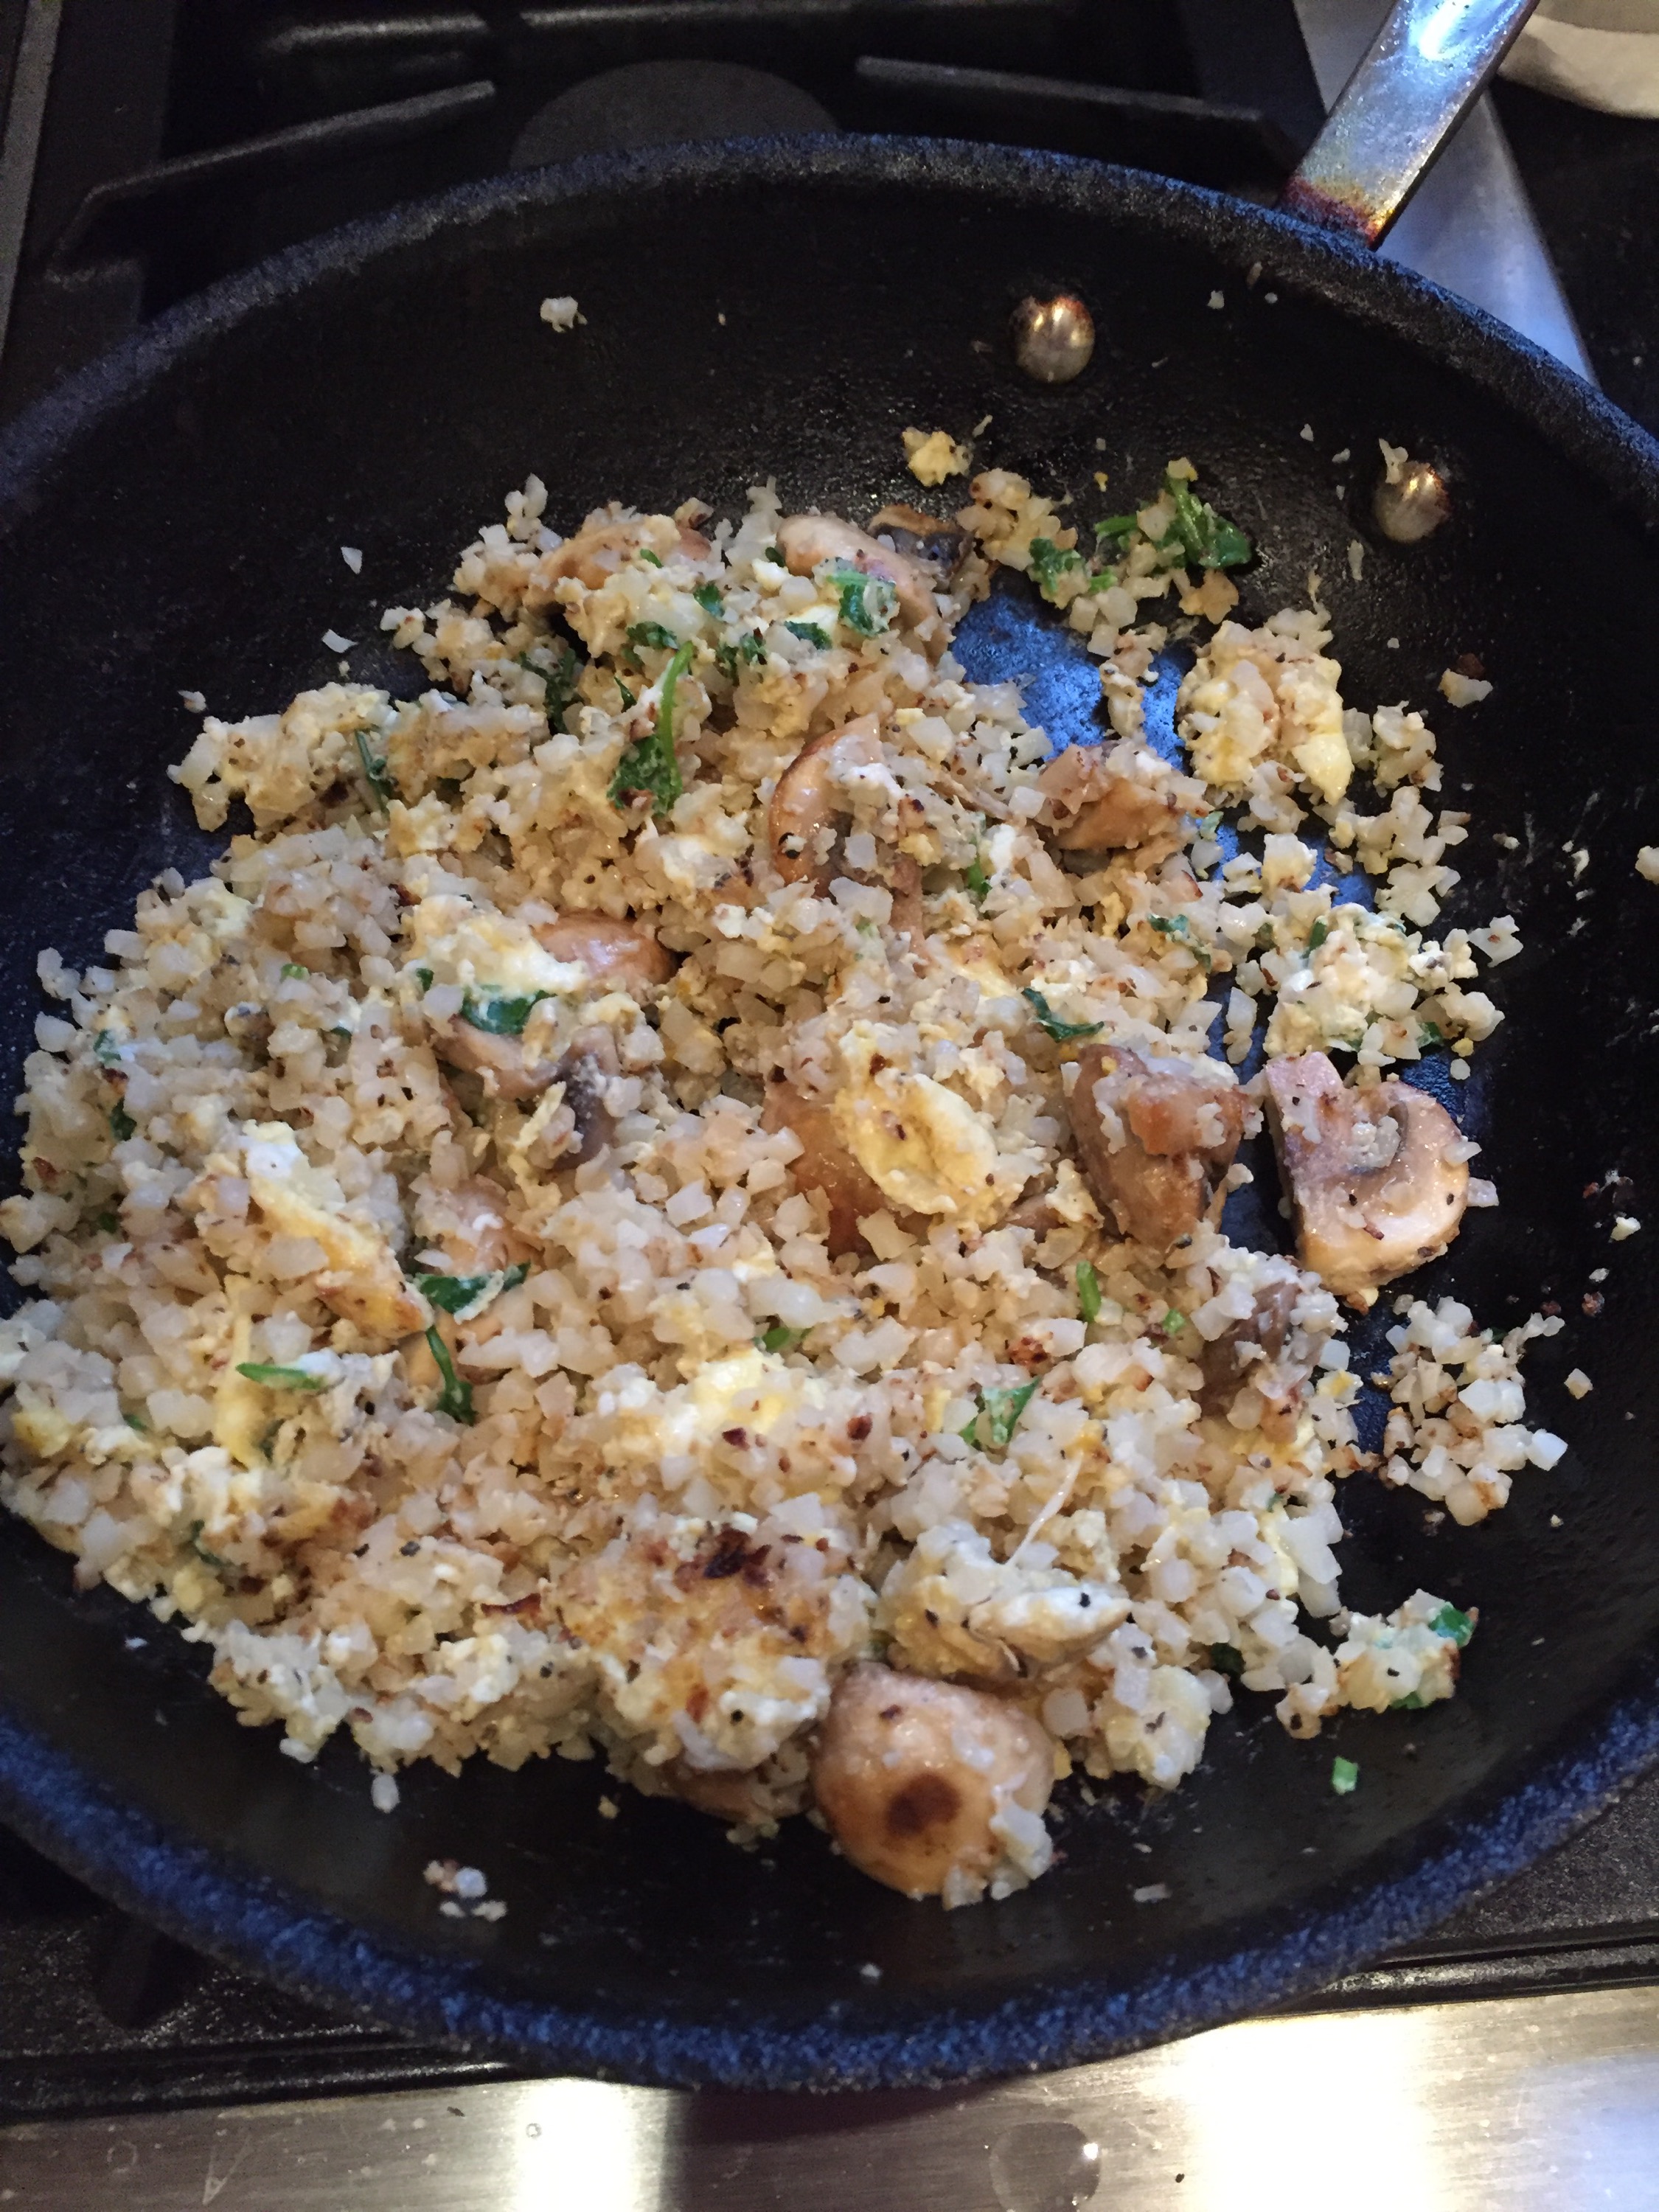
I simply sprayed a pan with Spectrum-brand high-heat canola oil cooking spray, added diced mushrooms and two thirds of a bag of cauliflower rice (the nutrition label lists three servings per package, and I would say those are generously-sized servings). I stirfried the mushrooms and cauliflower rice for a few minutes until slightly brown, then added one scrambled egg plus one scrambled egg white, stirred to make a “fried rice”-type dish, and topped with chopped cilantro and chives. The only seasoning it needed was a little bit of salt and pepper.


 Each serving of cauliflower rice alone provides 30 calories, 2 g of fiber and 2 g of protein. It turned out quite delicious and was very quick and easy to prepare.

In case you’re curious, here is baby Omar Luke.  

Cauliflower Rice

Easy Tip for Healthy Takeout

Family and friends love to order takeout, and while it is tasty, one dish from a Chinese or Indian restaurant can easily be a day’s worth of calories, fat, salt and added sugar. There must be a way to enjoy the taste and convenience of Ethnic takeout and delivery meals without throwing healthy eating out the window.

There is a way, and luckily it is easy, cheap and simple! Order a side of steamed or grilled vegetables to eat with a light topping of the decadent dish of your choice! These curries and saucy stir fries are full of flavor (and sugar, fat and salt) so a little bit will go a long way. No need for rice (or use rice as part of your 1/2 cup “tasty treat topping”) – use the steamed or grilled veggies in place of the rice – that is how you balance out the indulgence of the “tasty treat” portion of the meal. Remember that eating well is all about balance, not about absolutes or rigid rules.

Here are some of my favorite pairings:

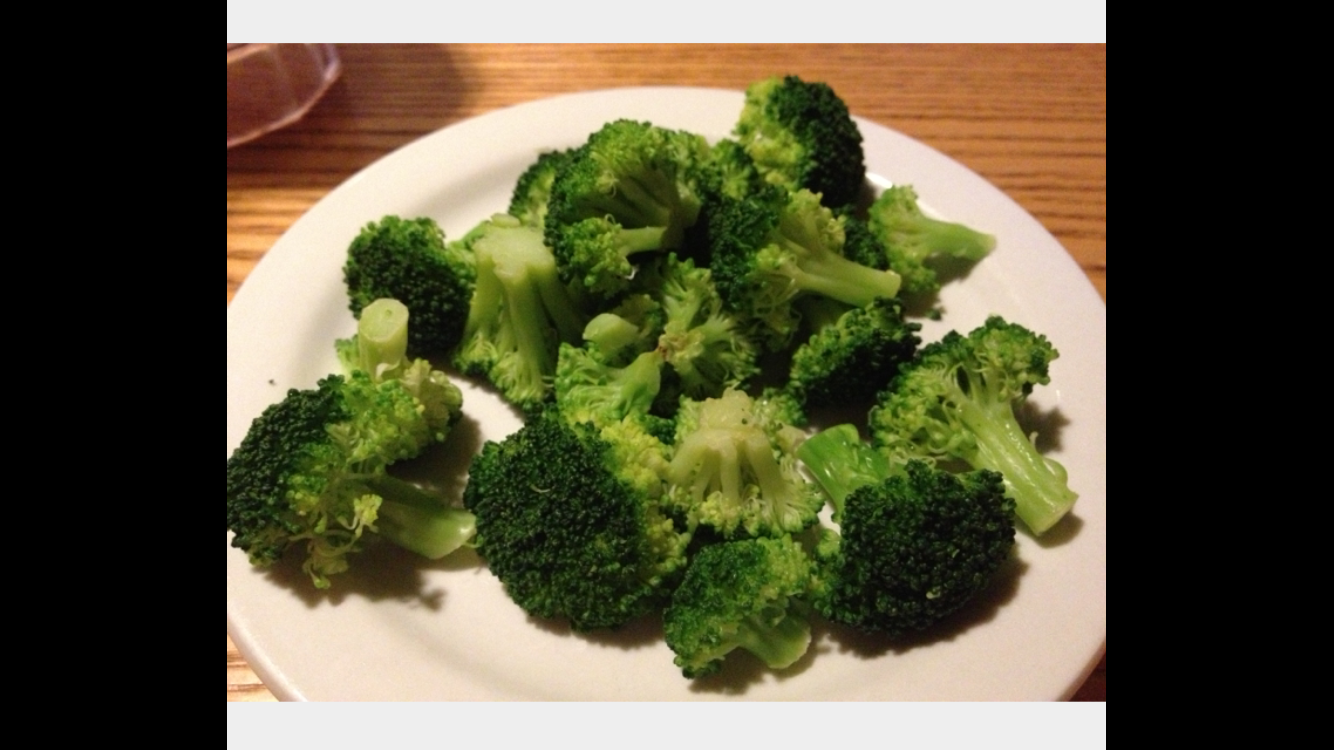
1/2 cup Thai curry or Chinese stir fry on a side of steamed broccoli. Eat the whole steamed veggies side dish and you will not be hungry for seconds and will get a very nutritious and tasty meal. 


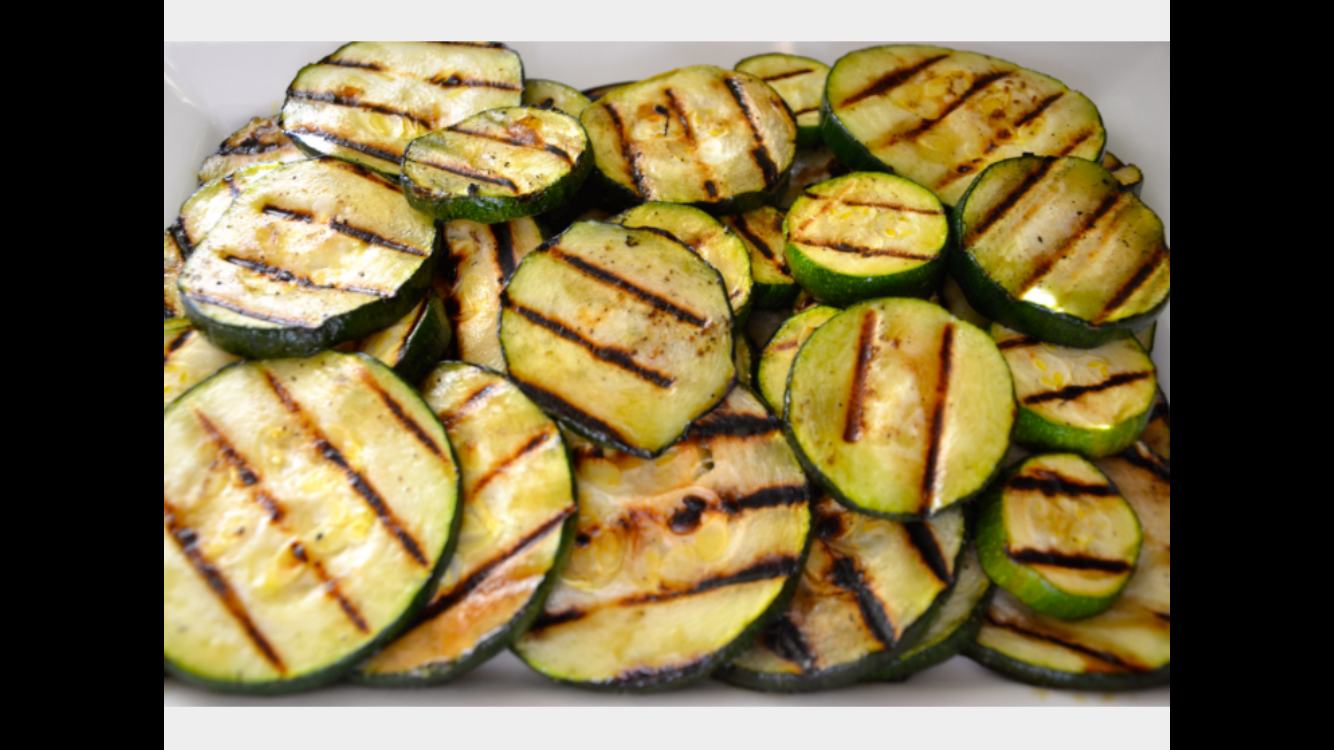
1/2 cup Indian curry, dal or saag dish on a side of grilled zucchini.    

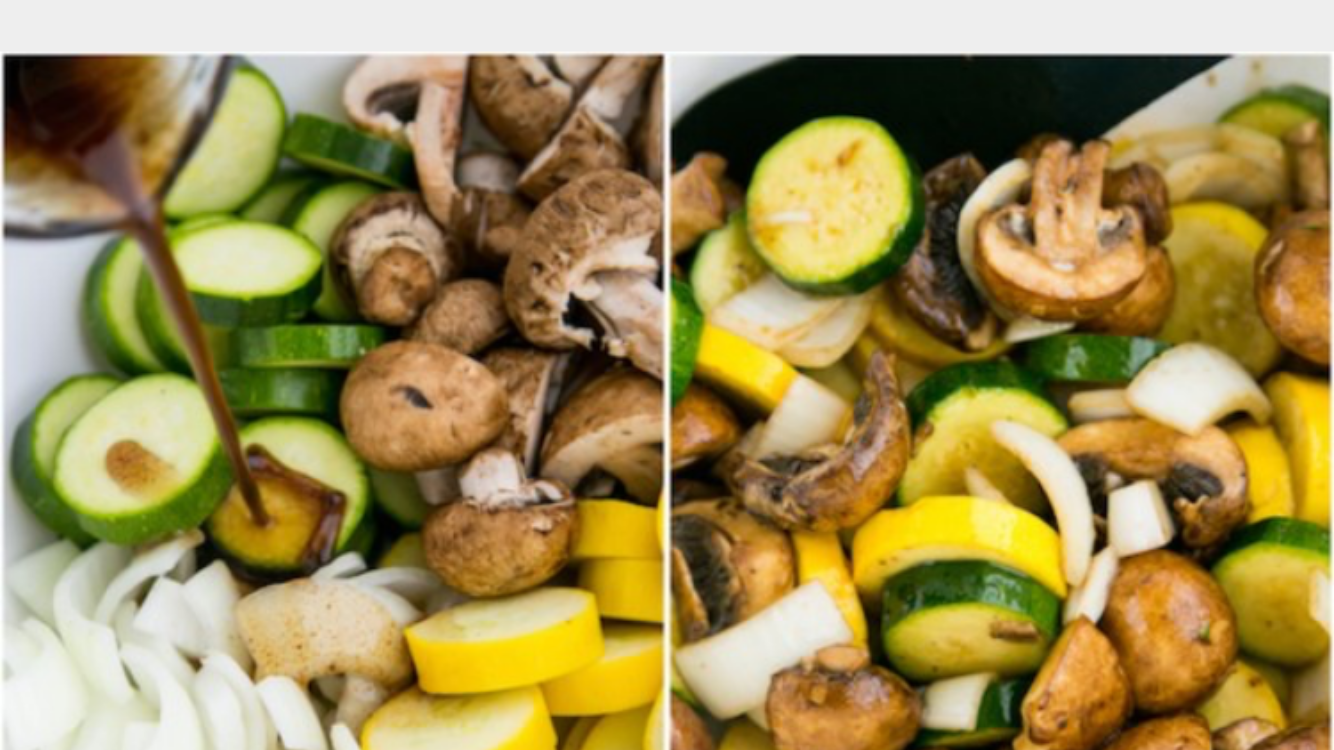
1/2 cup Mexican takeout on a side of grilled summer squash, onions and mushrooms.  

As a dietitian, it is easy for me to choose any menu item and make it 10 times healthier through a few modifications: “no bacon”, “sauce on the side”, “half the cheese” etc, but those complicated orders quickly get annoying to my dining companions. Enjoying vibrant health and high energy are certainly worth a few sidelong glances, but sometimes I just want to make things easier for others and not the one who makes ordering difficult!

Easy Tip for Healthy Takeout

Winter Weather Veggie Meal

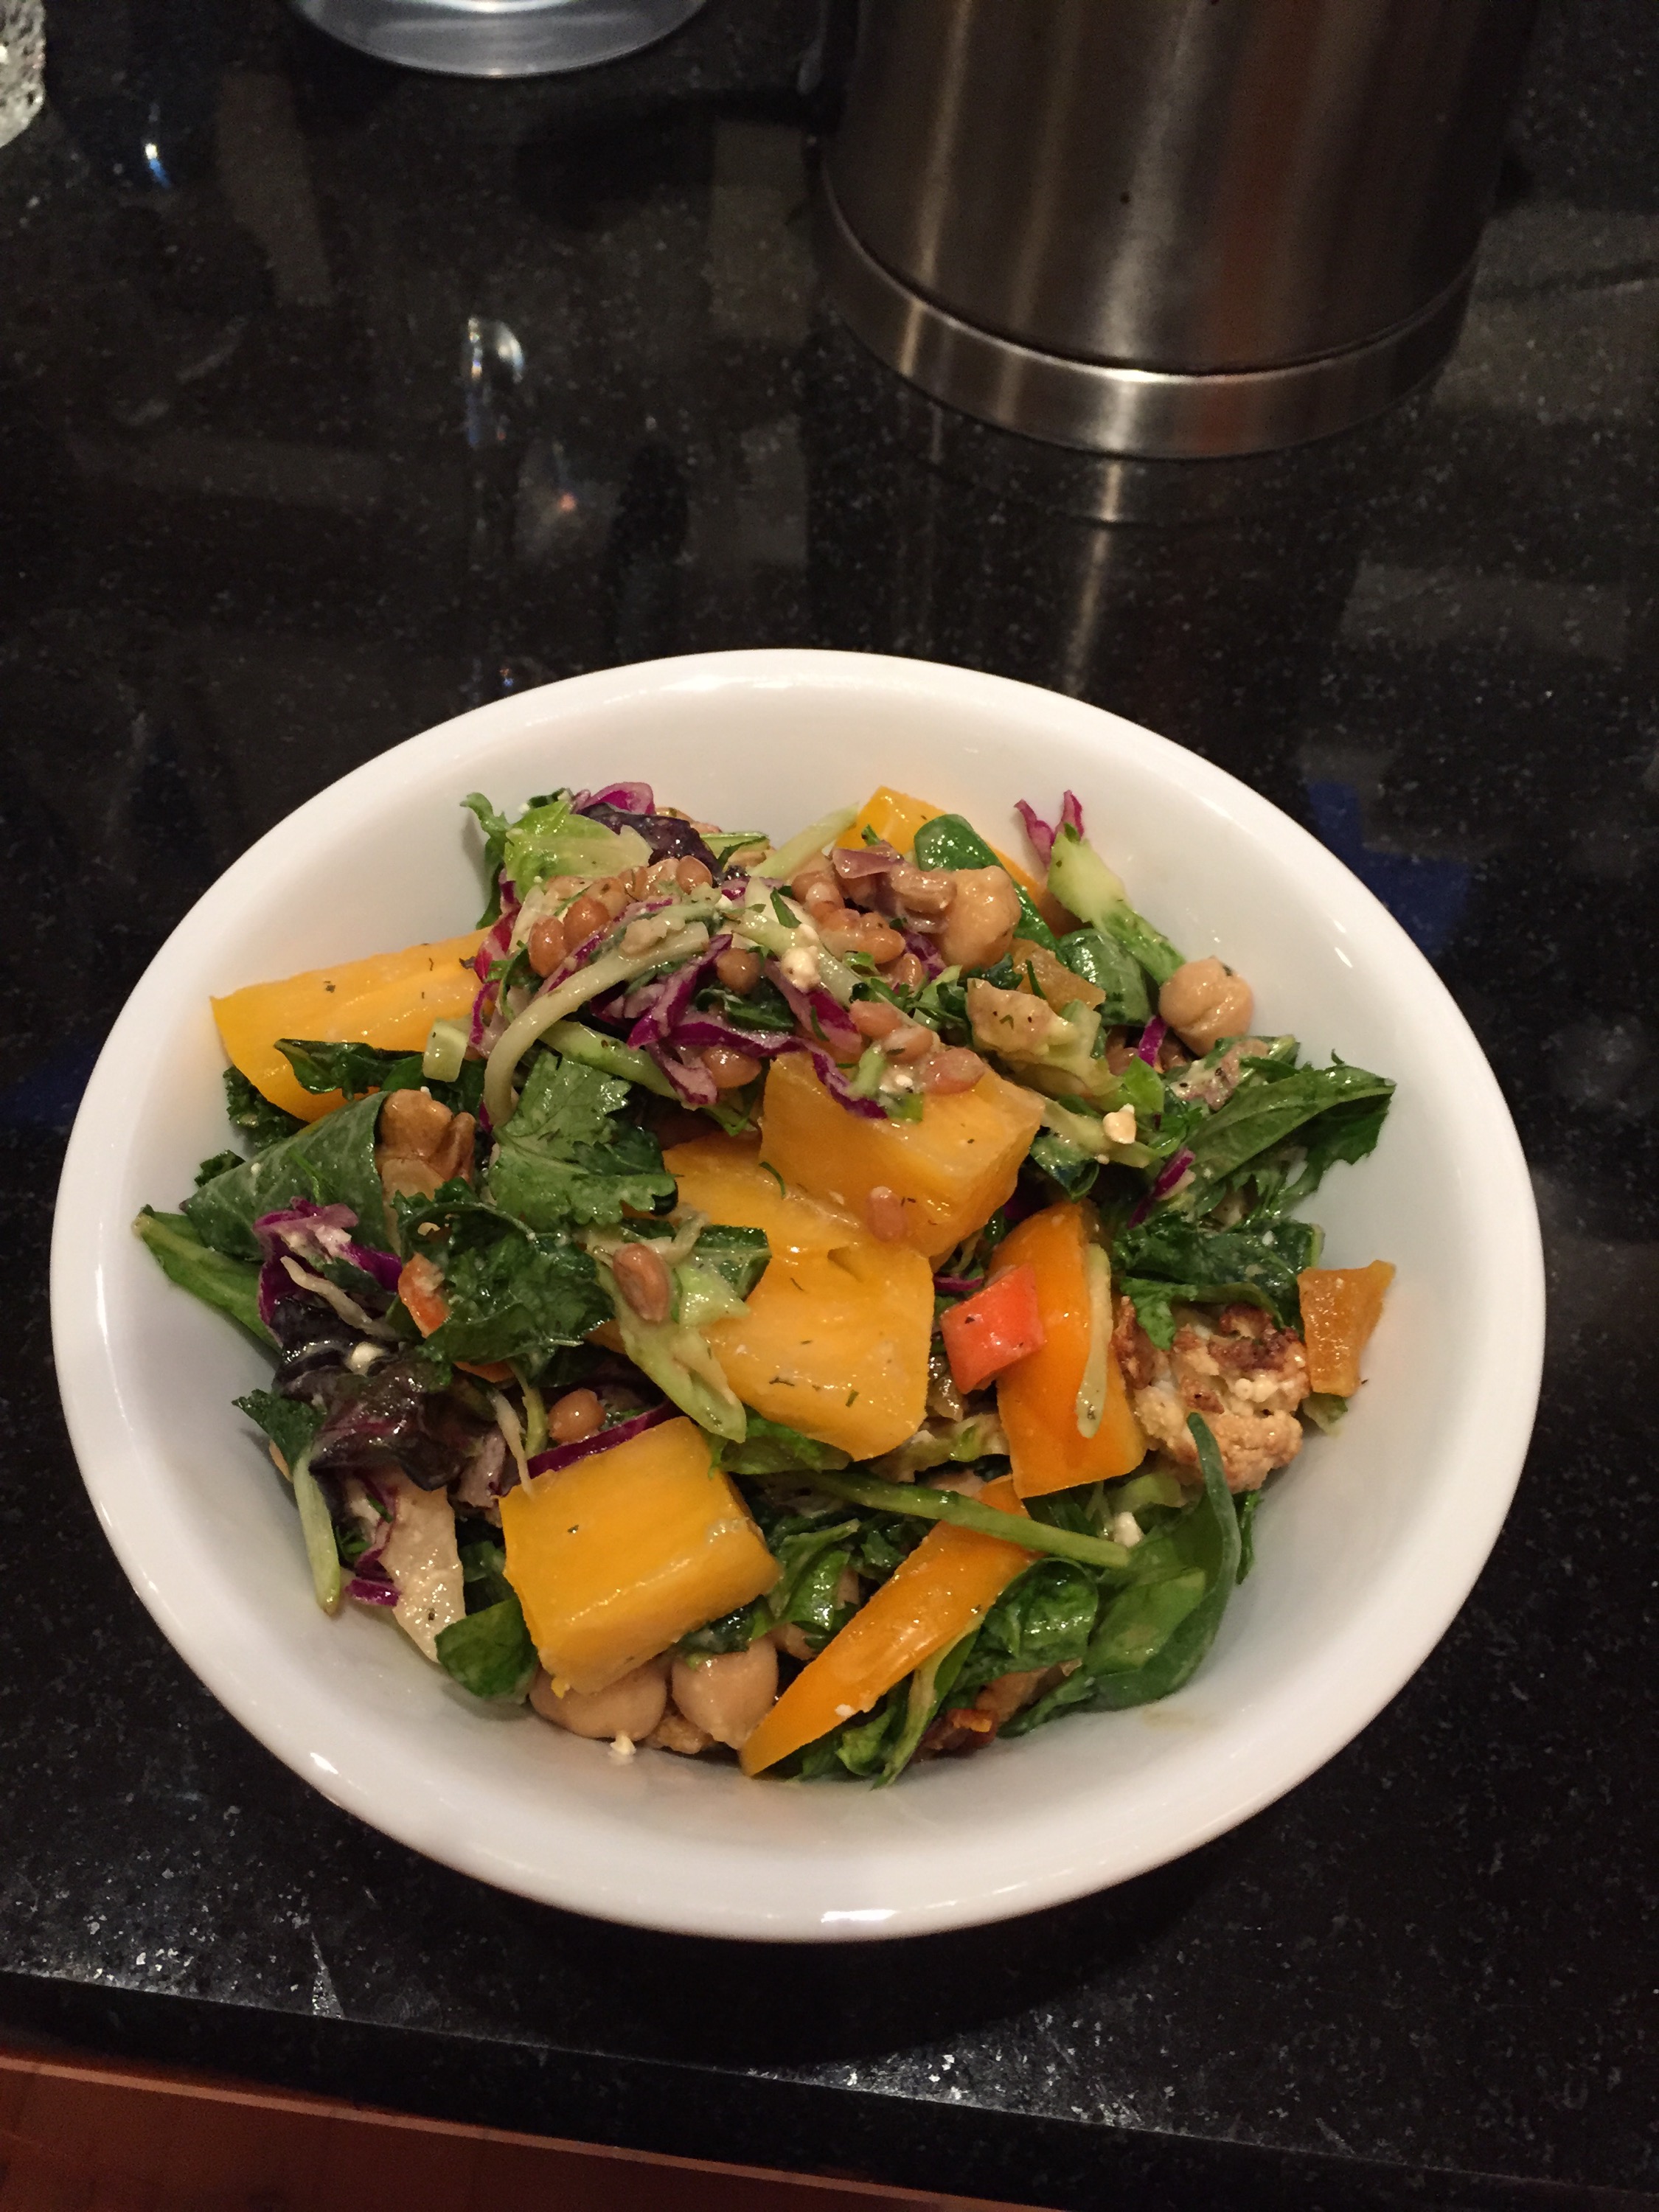
On a typical day, at least one of my meals is a big salad. I find a combination of textures, temperatures and tastes to be the most delicious and satisfying. It is also a good way to get in a wider variety of nutrients in one bowl.  

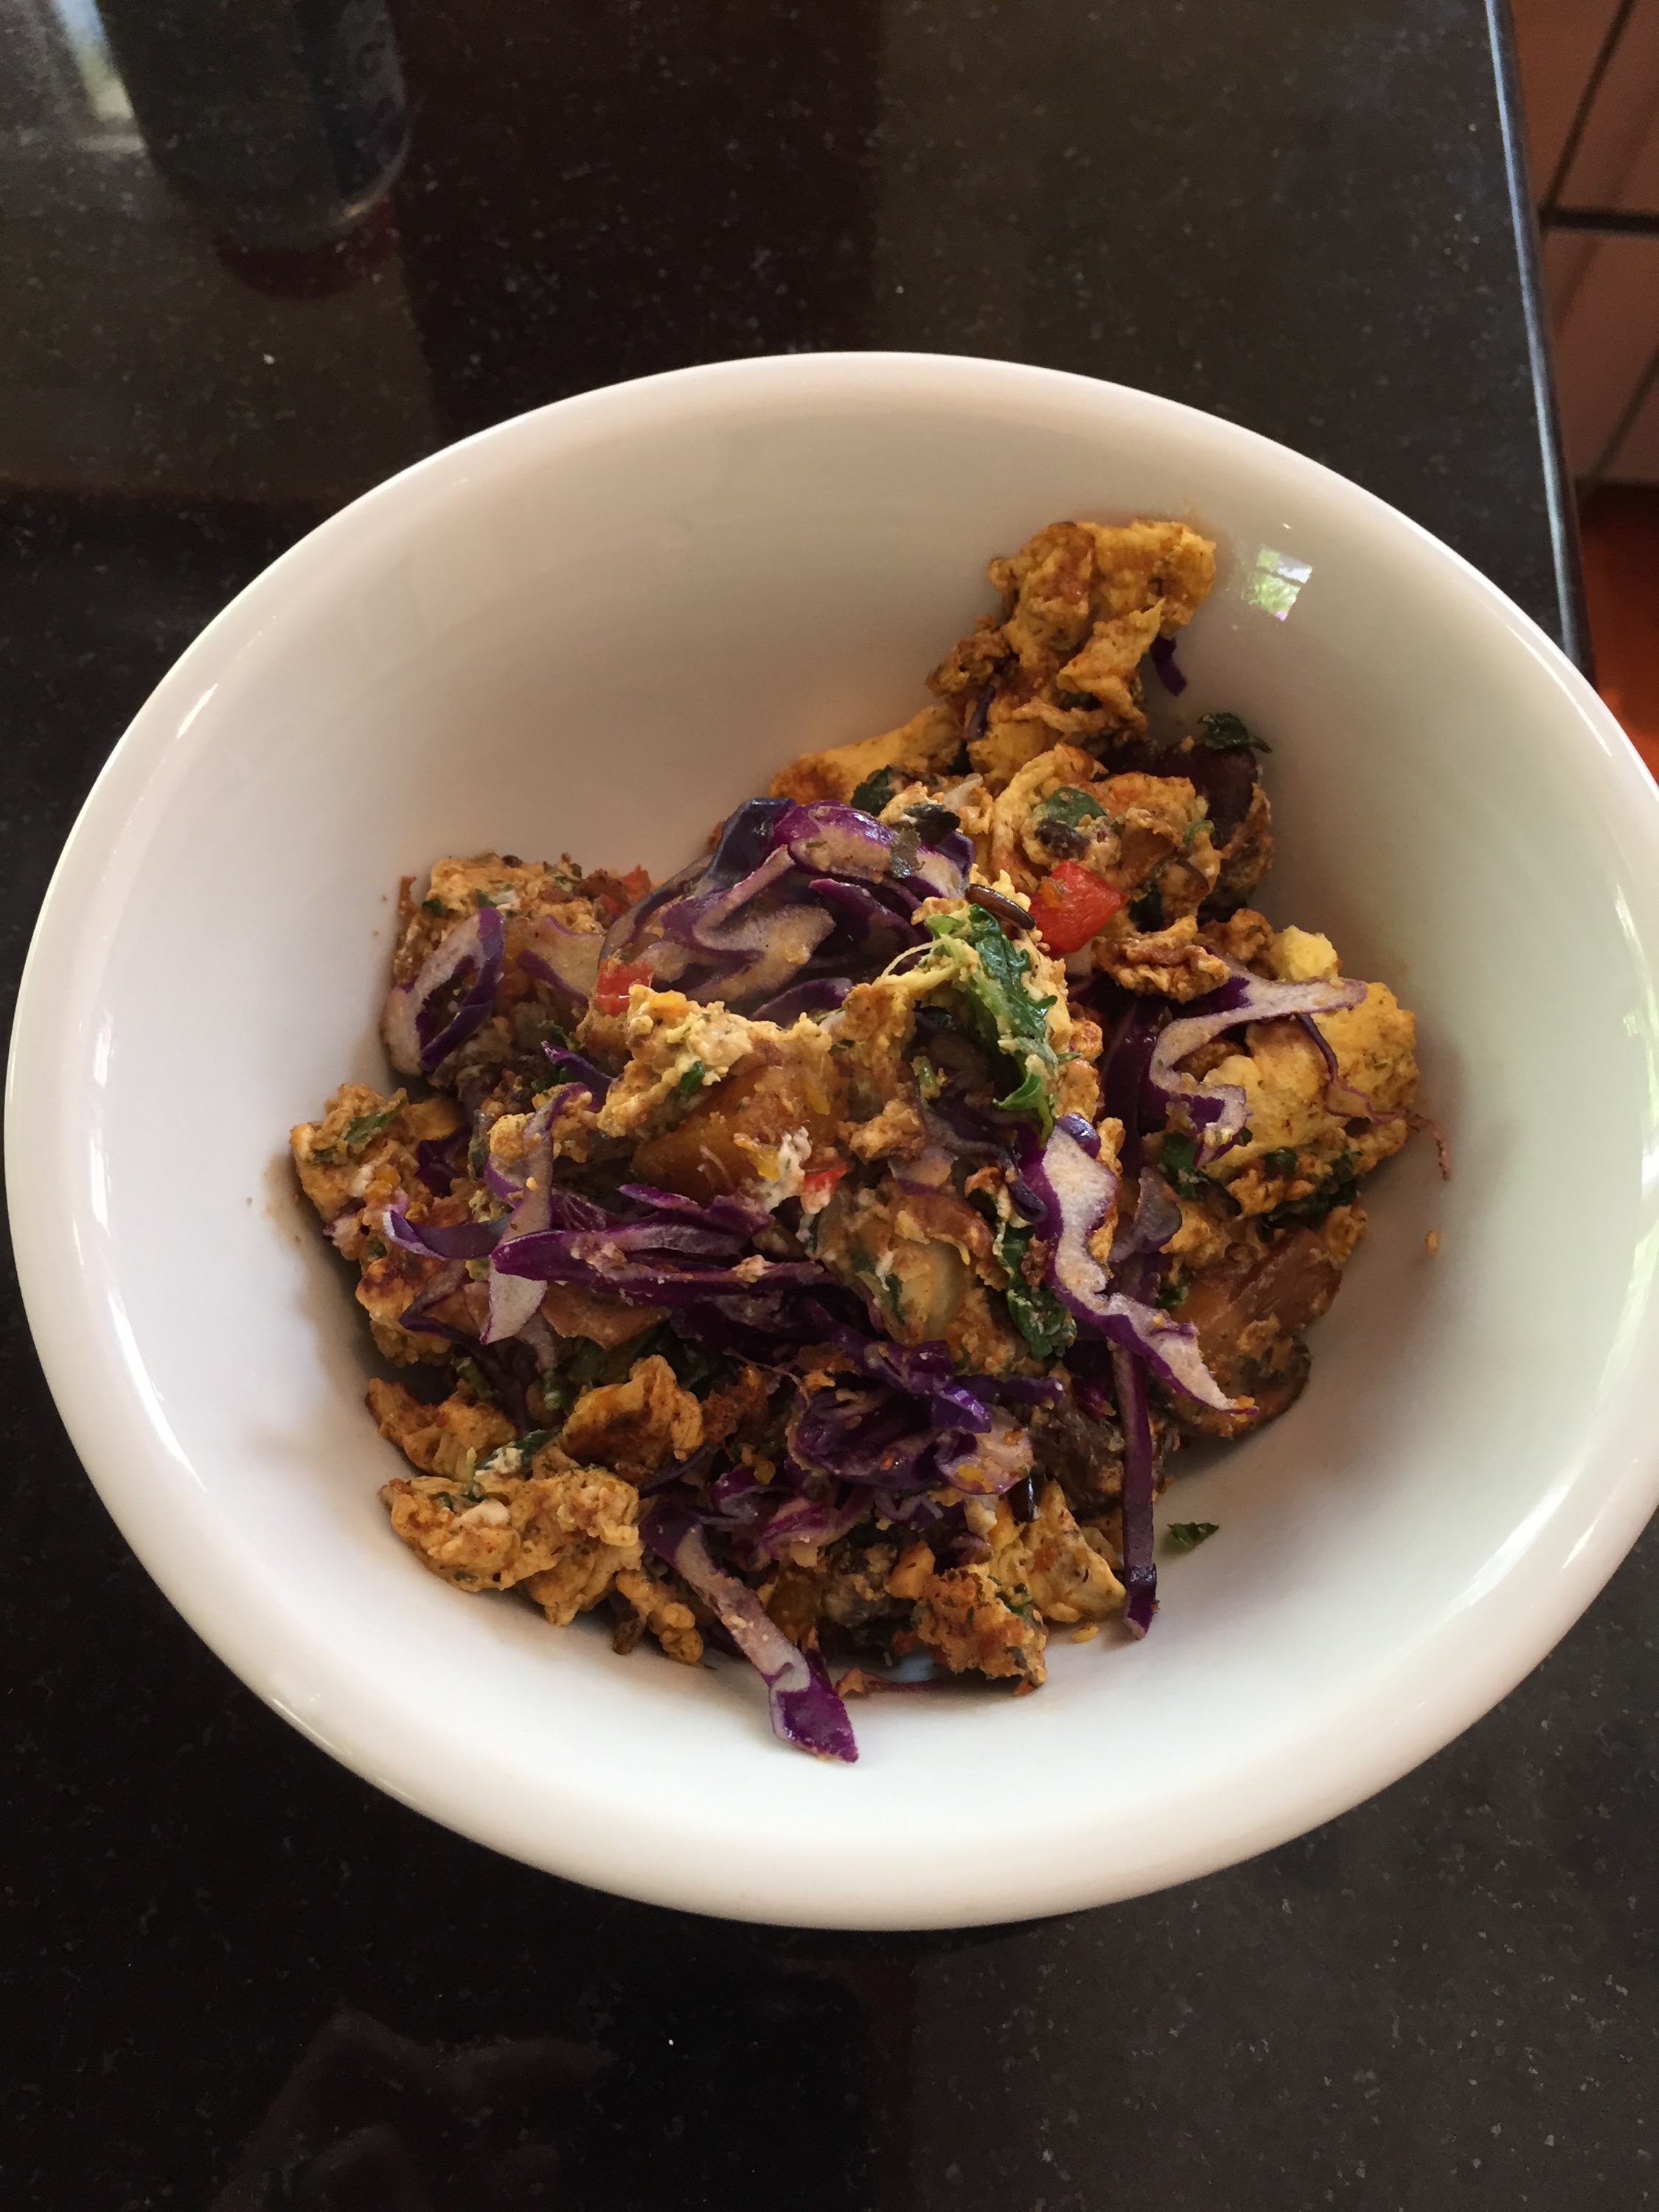
One of my favorite quick and healthy meals is to take greens and herbs, add a splash of dressing with healthy fats to improve taste and nutrient absorption, top with cut/sliced/shredded raw veggies and finish with the hot ingredients. On a busy weeknight this is often reheated leftover scrambles (some combination of oven roasted veggies, kabocha squash or yams, beans or lentils, high fiber starch like brown rice or wheat berries and perhaps an animal protein – chicken). If there is little protein in the leftovers I will usually add an egg or egg whites to the skillet while reheating the leftovers.     

(Leftover veggies and lentils that I scramble with an egg before adding to a raw veggie salad)

If I need a lighter or more cleansing meal, I will oven roast broccoli, carrots and mushrooms in olive oil and spices with a spoonful of olive oil-marinated garlic and use this tasty combination to top the salad.

If I want a little extra taste and staying power (usually), I will add a few of her following: nuts or seeds, avocado, extra brown rice/wheat berries/farro/quinoa, extra starchy/sweet veggies (beets, winter squash, sweet potatoes/yams, green peas), extra tahini, goat cheese or feta and dried fruits.

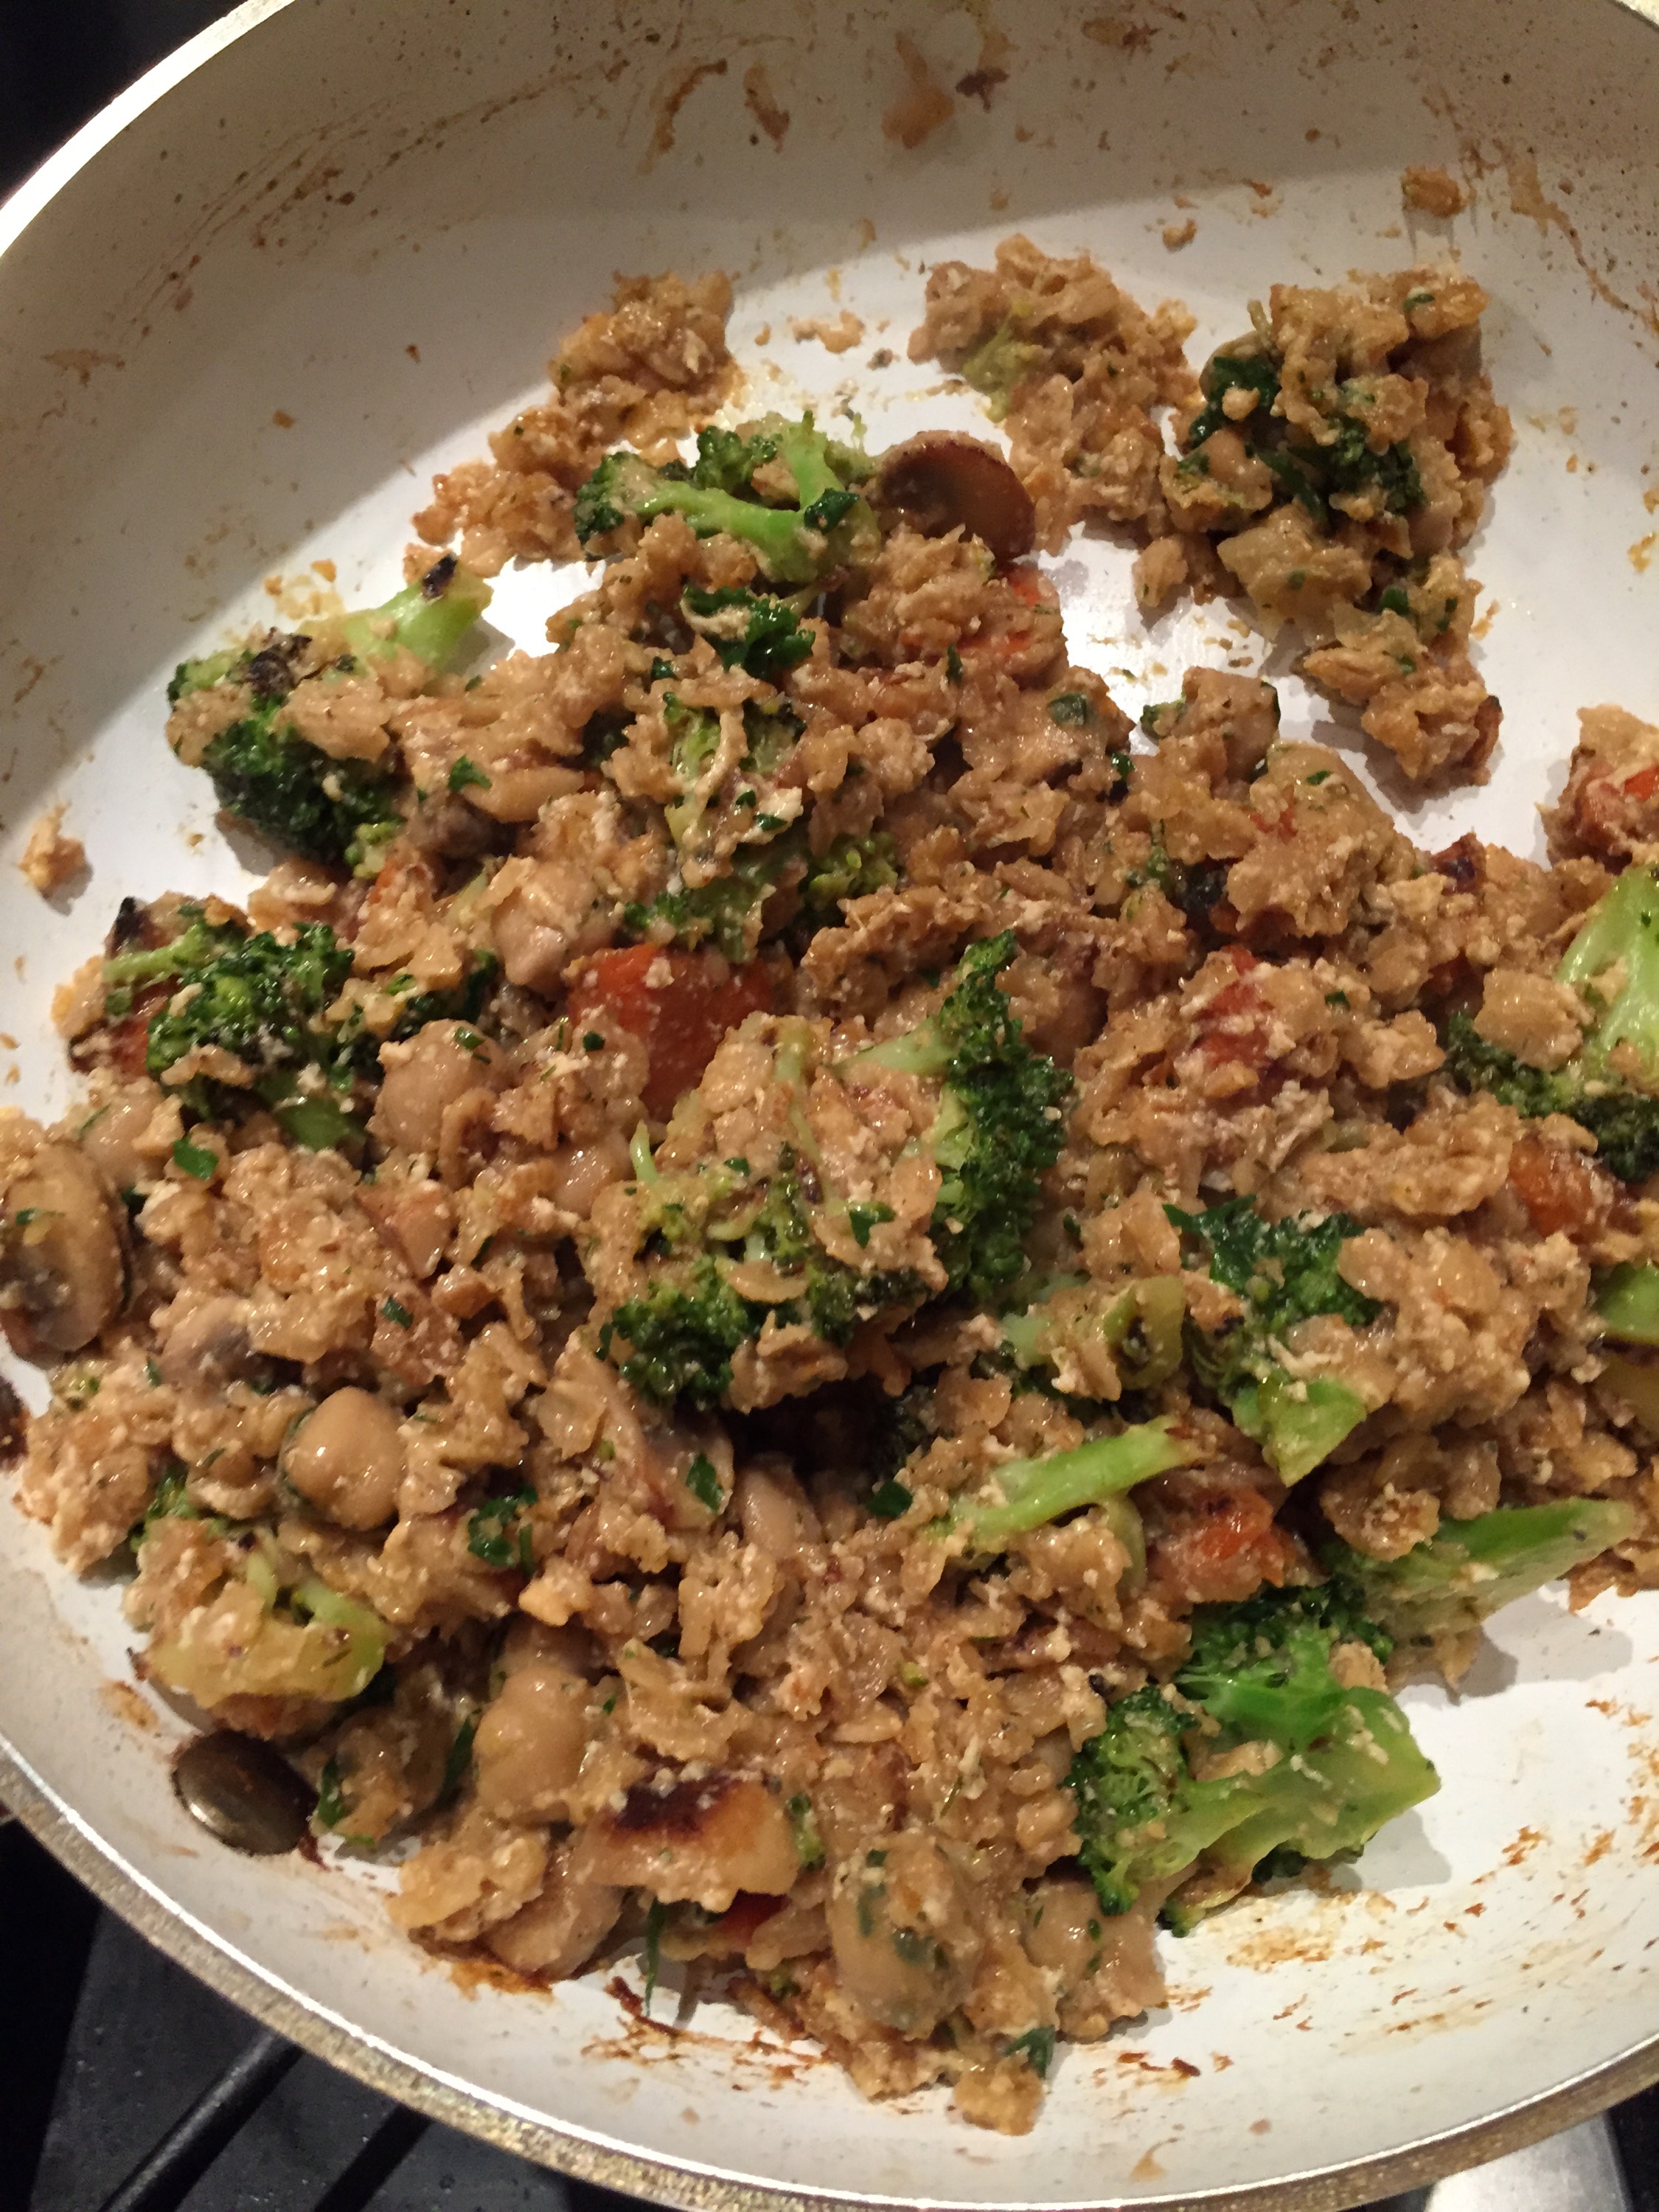
During winter months or cold days (like the last few rainy, cold days in Seattle), I find myself craving soups and hot comfort foods. My veggie packed meal has the same elements, but I omit the raw veggies and instead add broth to the skillet of sautéed veggies, then add rolled oats to thicken once the broth comes to a boil.  

  
Once the mixture has thickened, turn the heat to low. While stirring, quickly add the equivalent of one egg white to thicken even further and provide a protein boost.  

Here is the delicious finished product!   


Winter Weather Veggie Meal

Food Delivery Wars: Munchery versus Lish Part 2

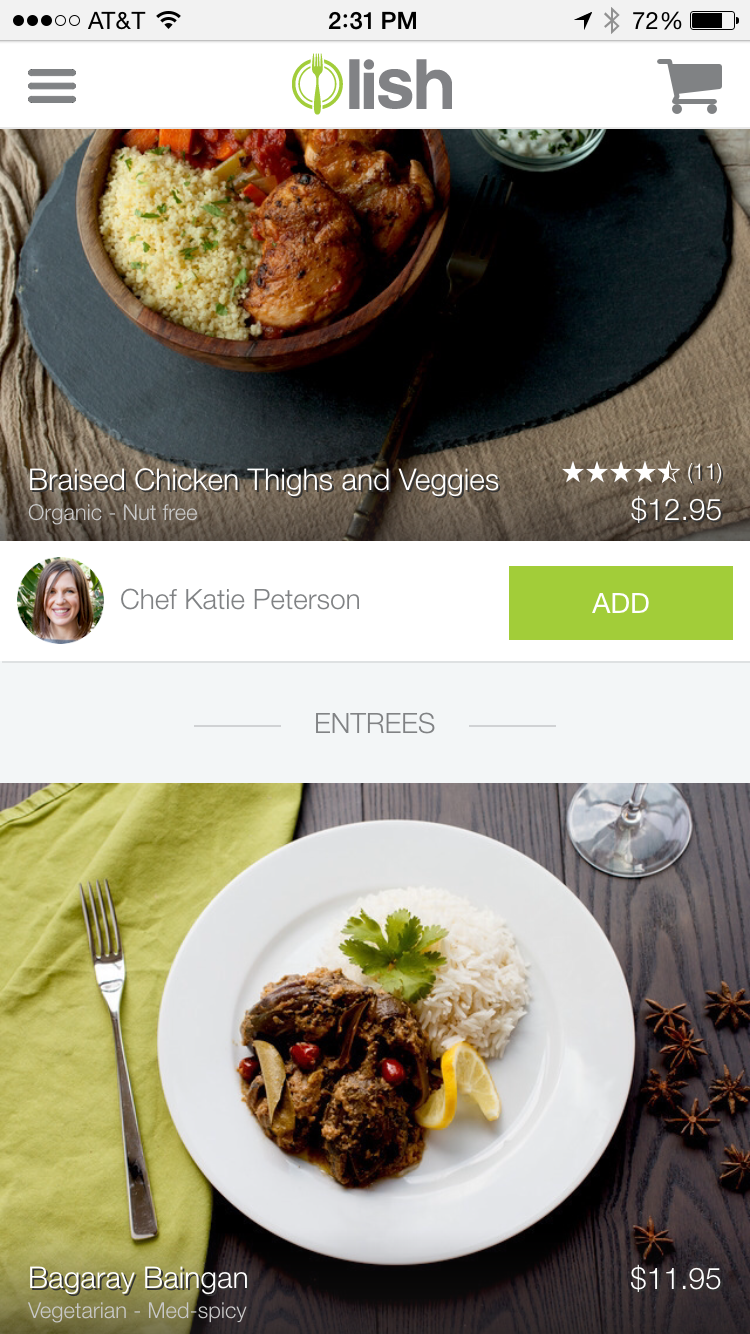
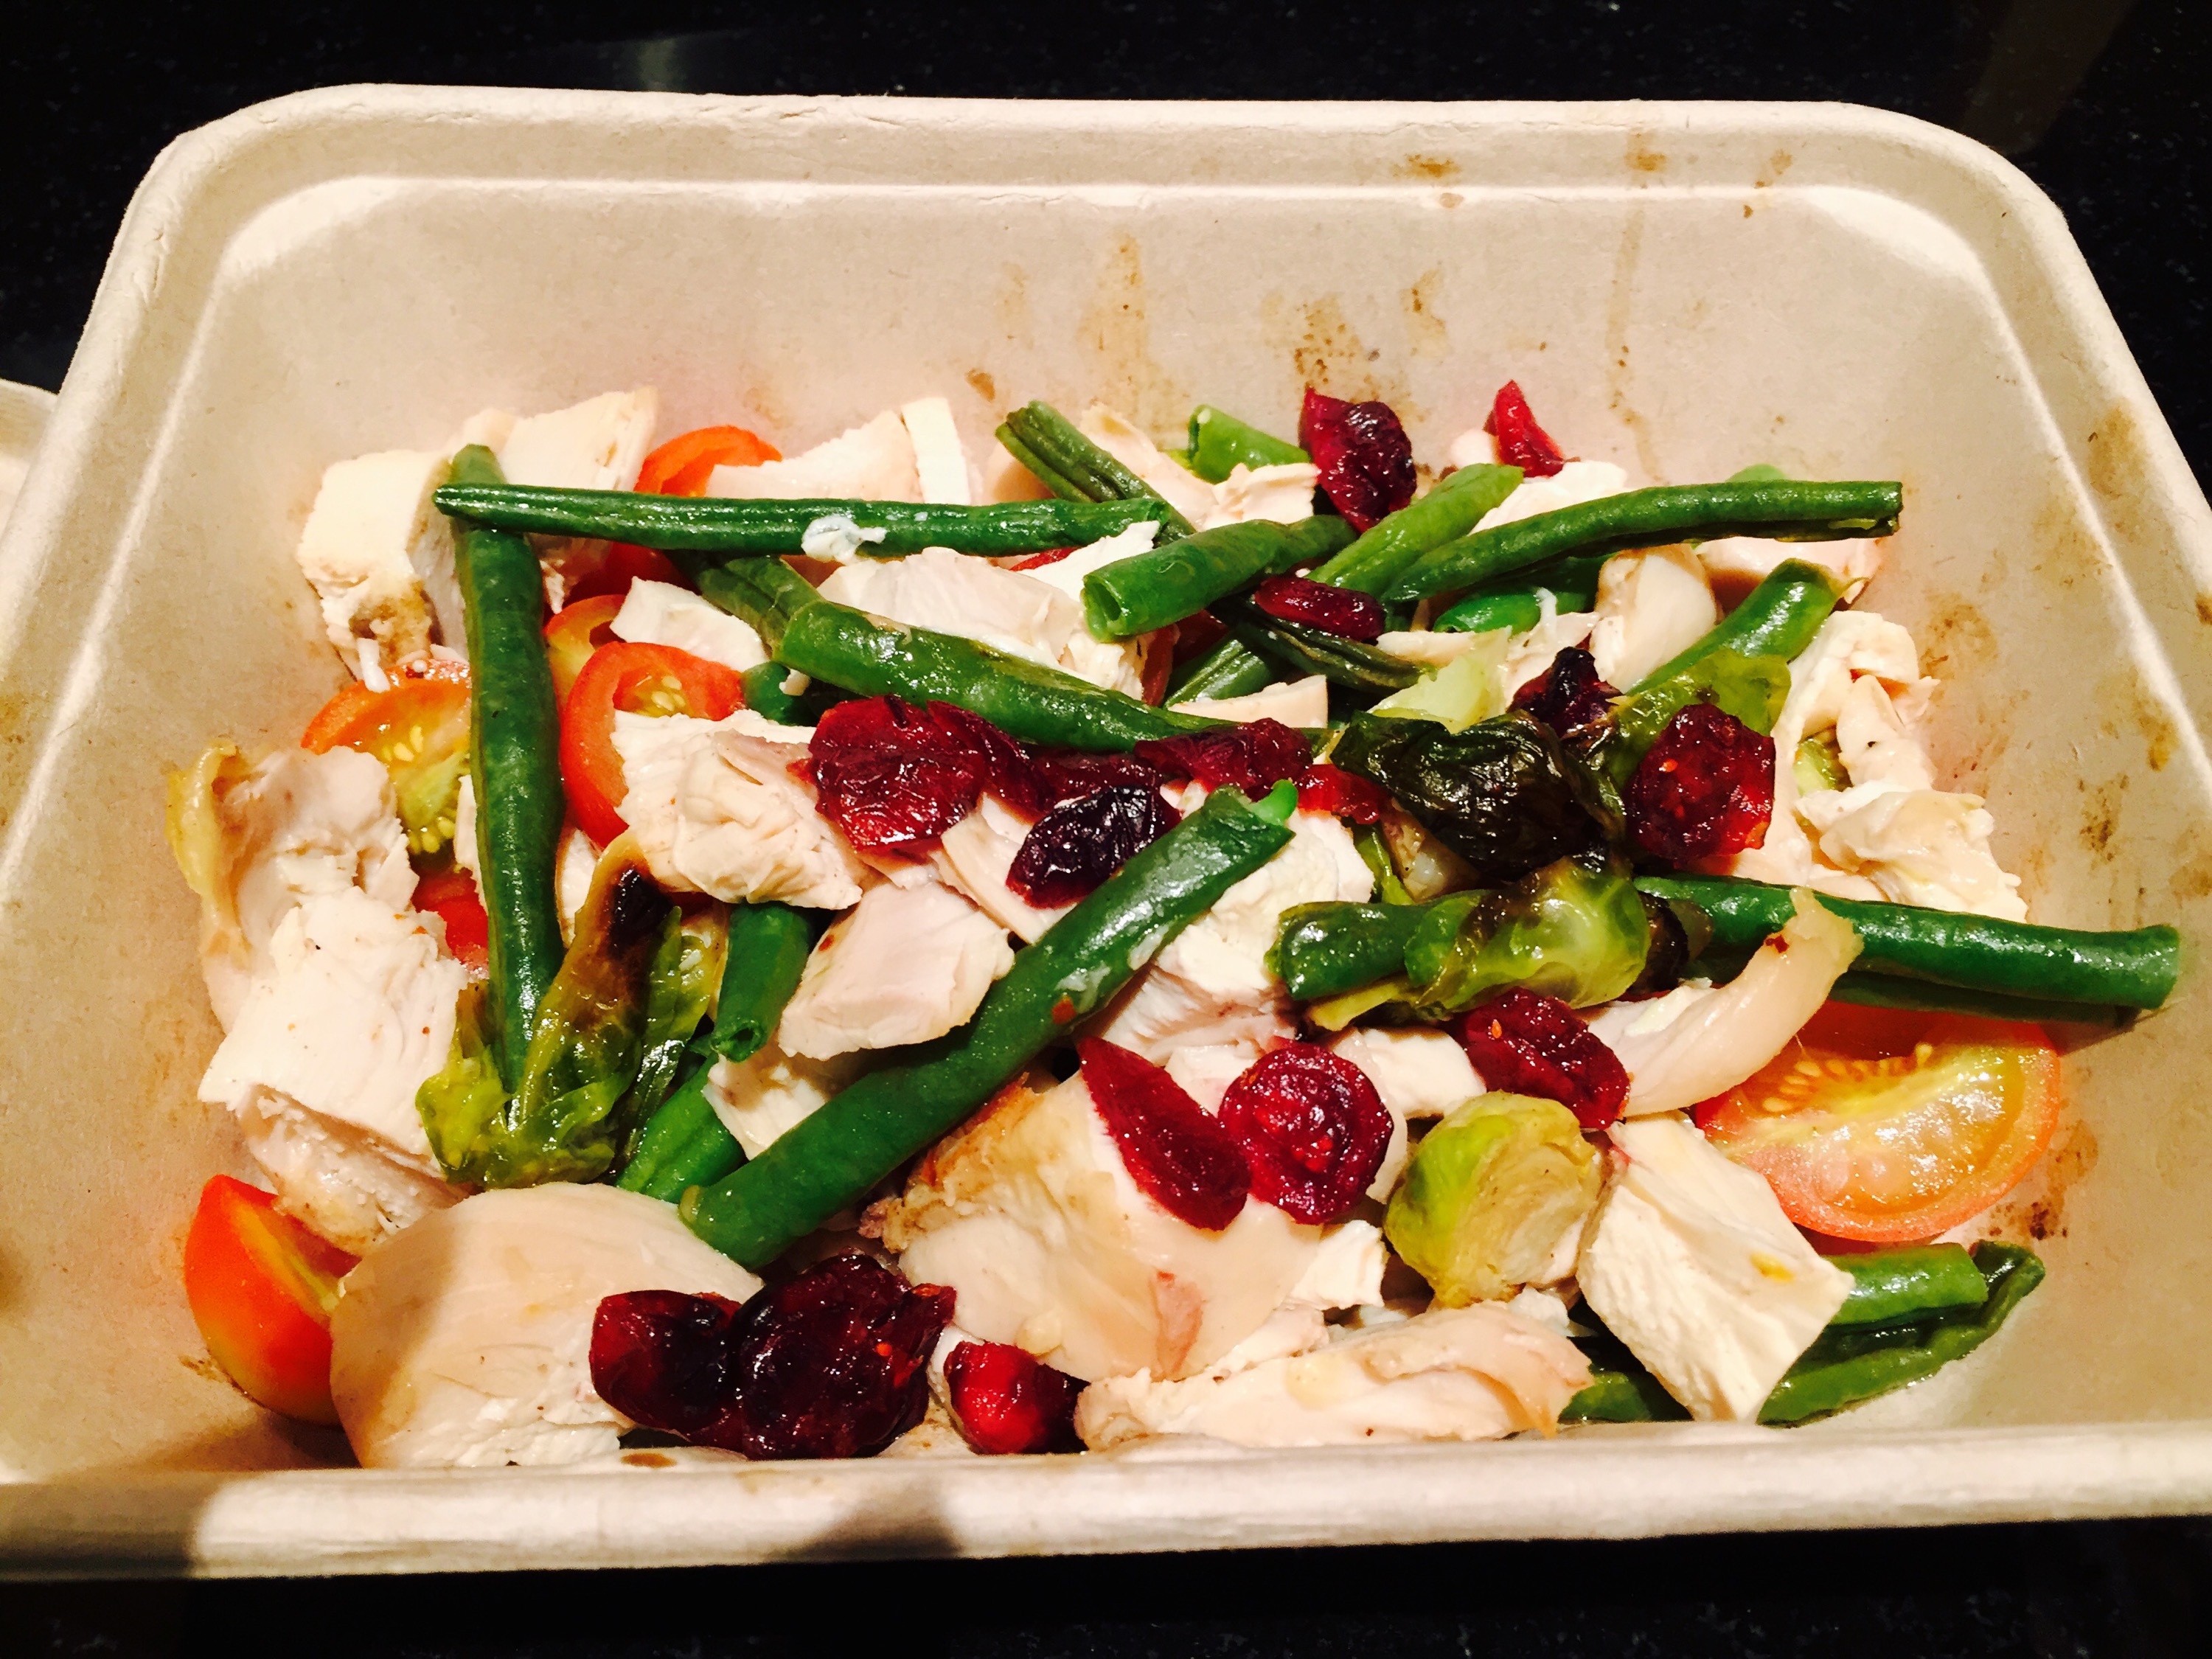
In a follow up to my previous post about the meal delivery service, Munchery, today I will review a competing service called Lish. Munchery is based in the San Francisco area, and has expanded to New York and Seattle. Lish a local business and is currently only offered in the Seattle area.

Part 2 – Lish:

Ordering – (3/5)

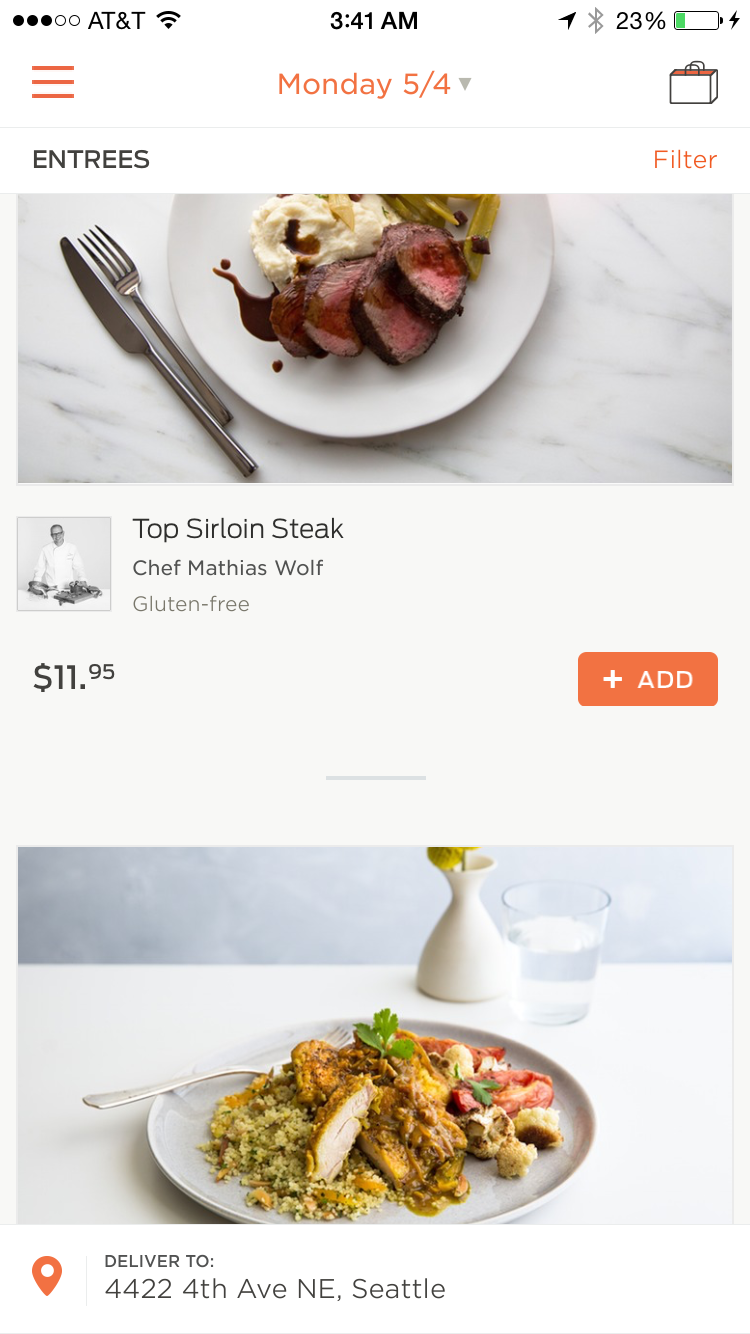
Easy to order using the website, but the app requires a Facebook login, and I refuse to get Facebook. There are good photos and an ingredients list, but no nutrition facts like Munchery provides. Few side dishes available.


Price – (4/5 points)

$10.95-13.95 per entree, slightly higher than Munchery. Few sides available on Lish, whereas Munchery offers many side dishes for about $4.99 which are fairly generous portions.

Delivery – (4/5 points)

Like Munchery, Lish delivery is always on time and send you text and email updates on the status of your delivery. They do not allow tips, and even if you try to offer cash they will refuse it. There is a mandatory $3.99 delivery fee built into the order (pretty cheap!). 


Packaging (4/5 points)

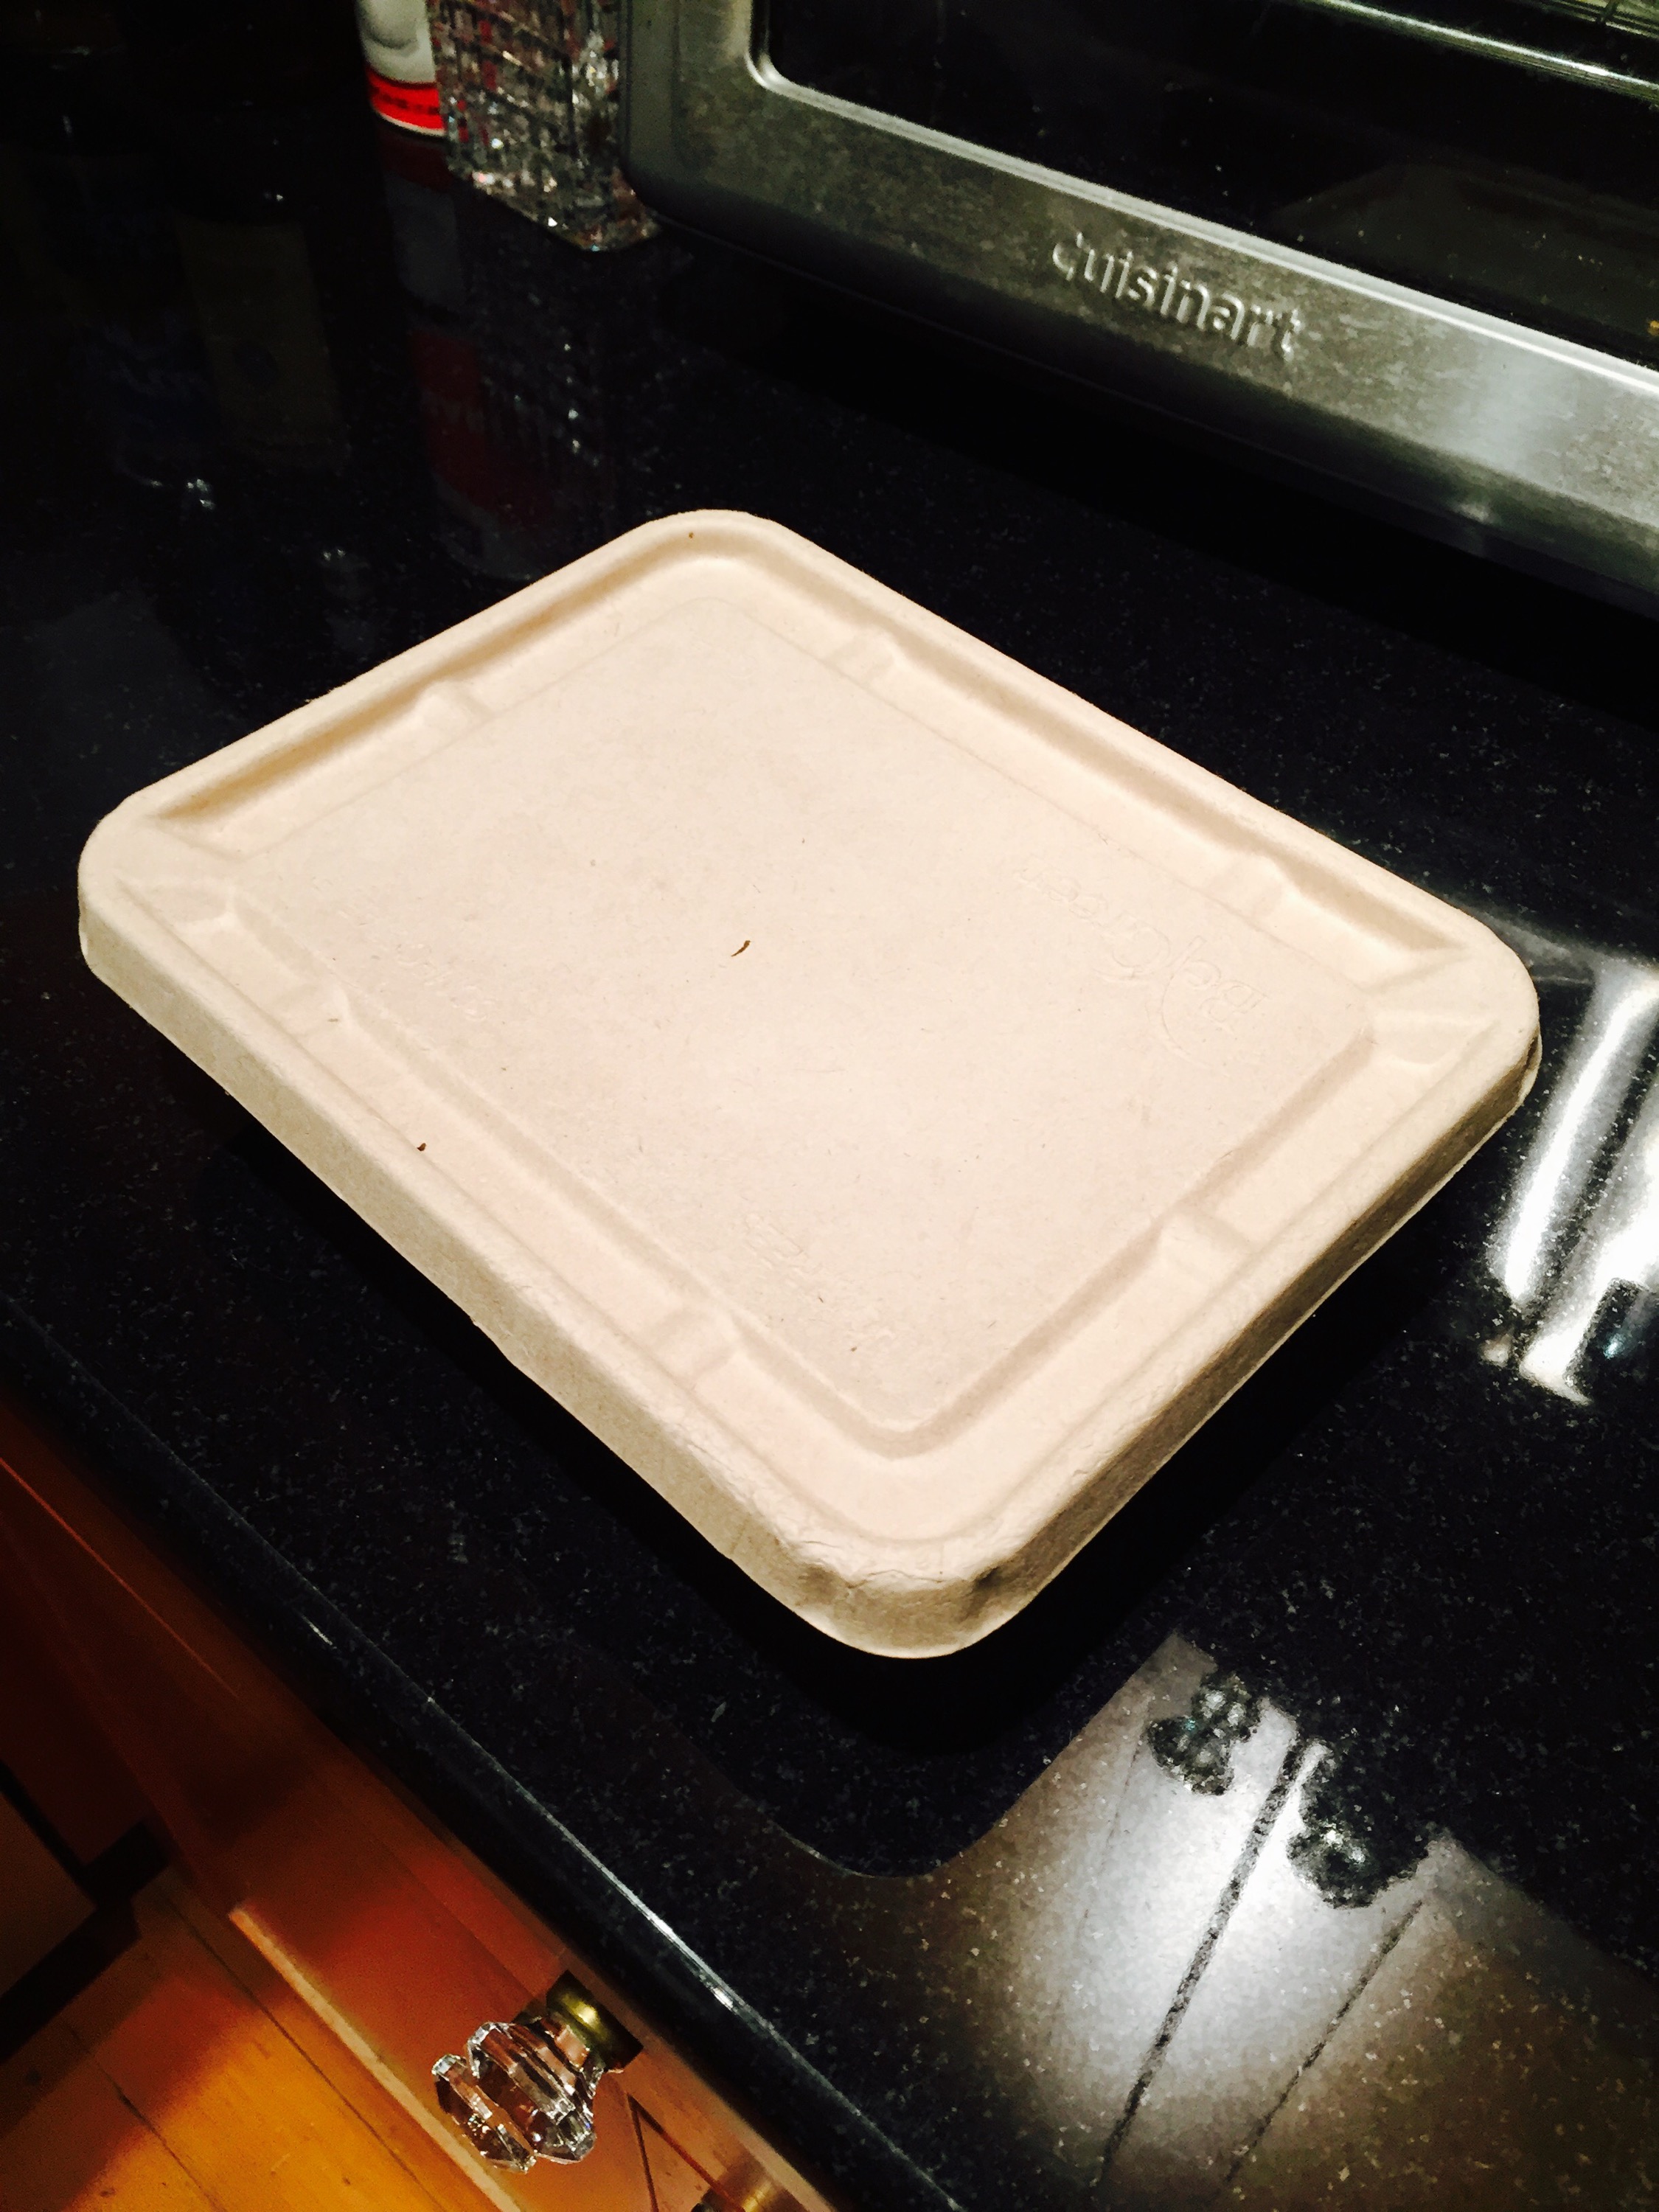
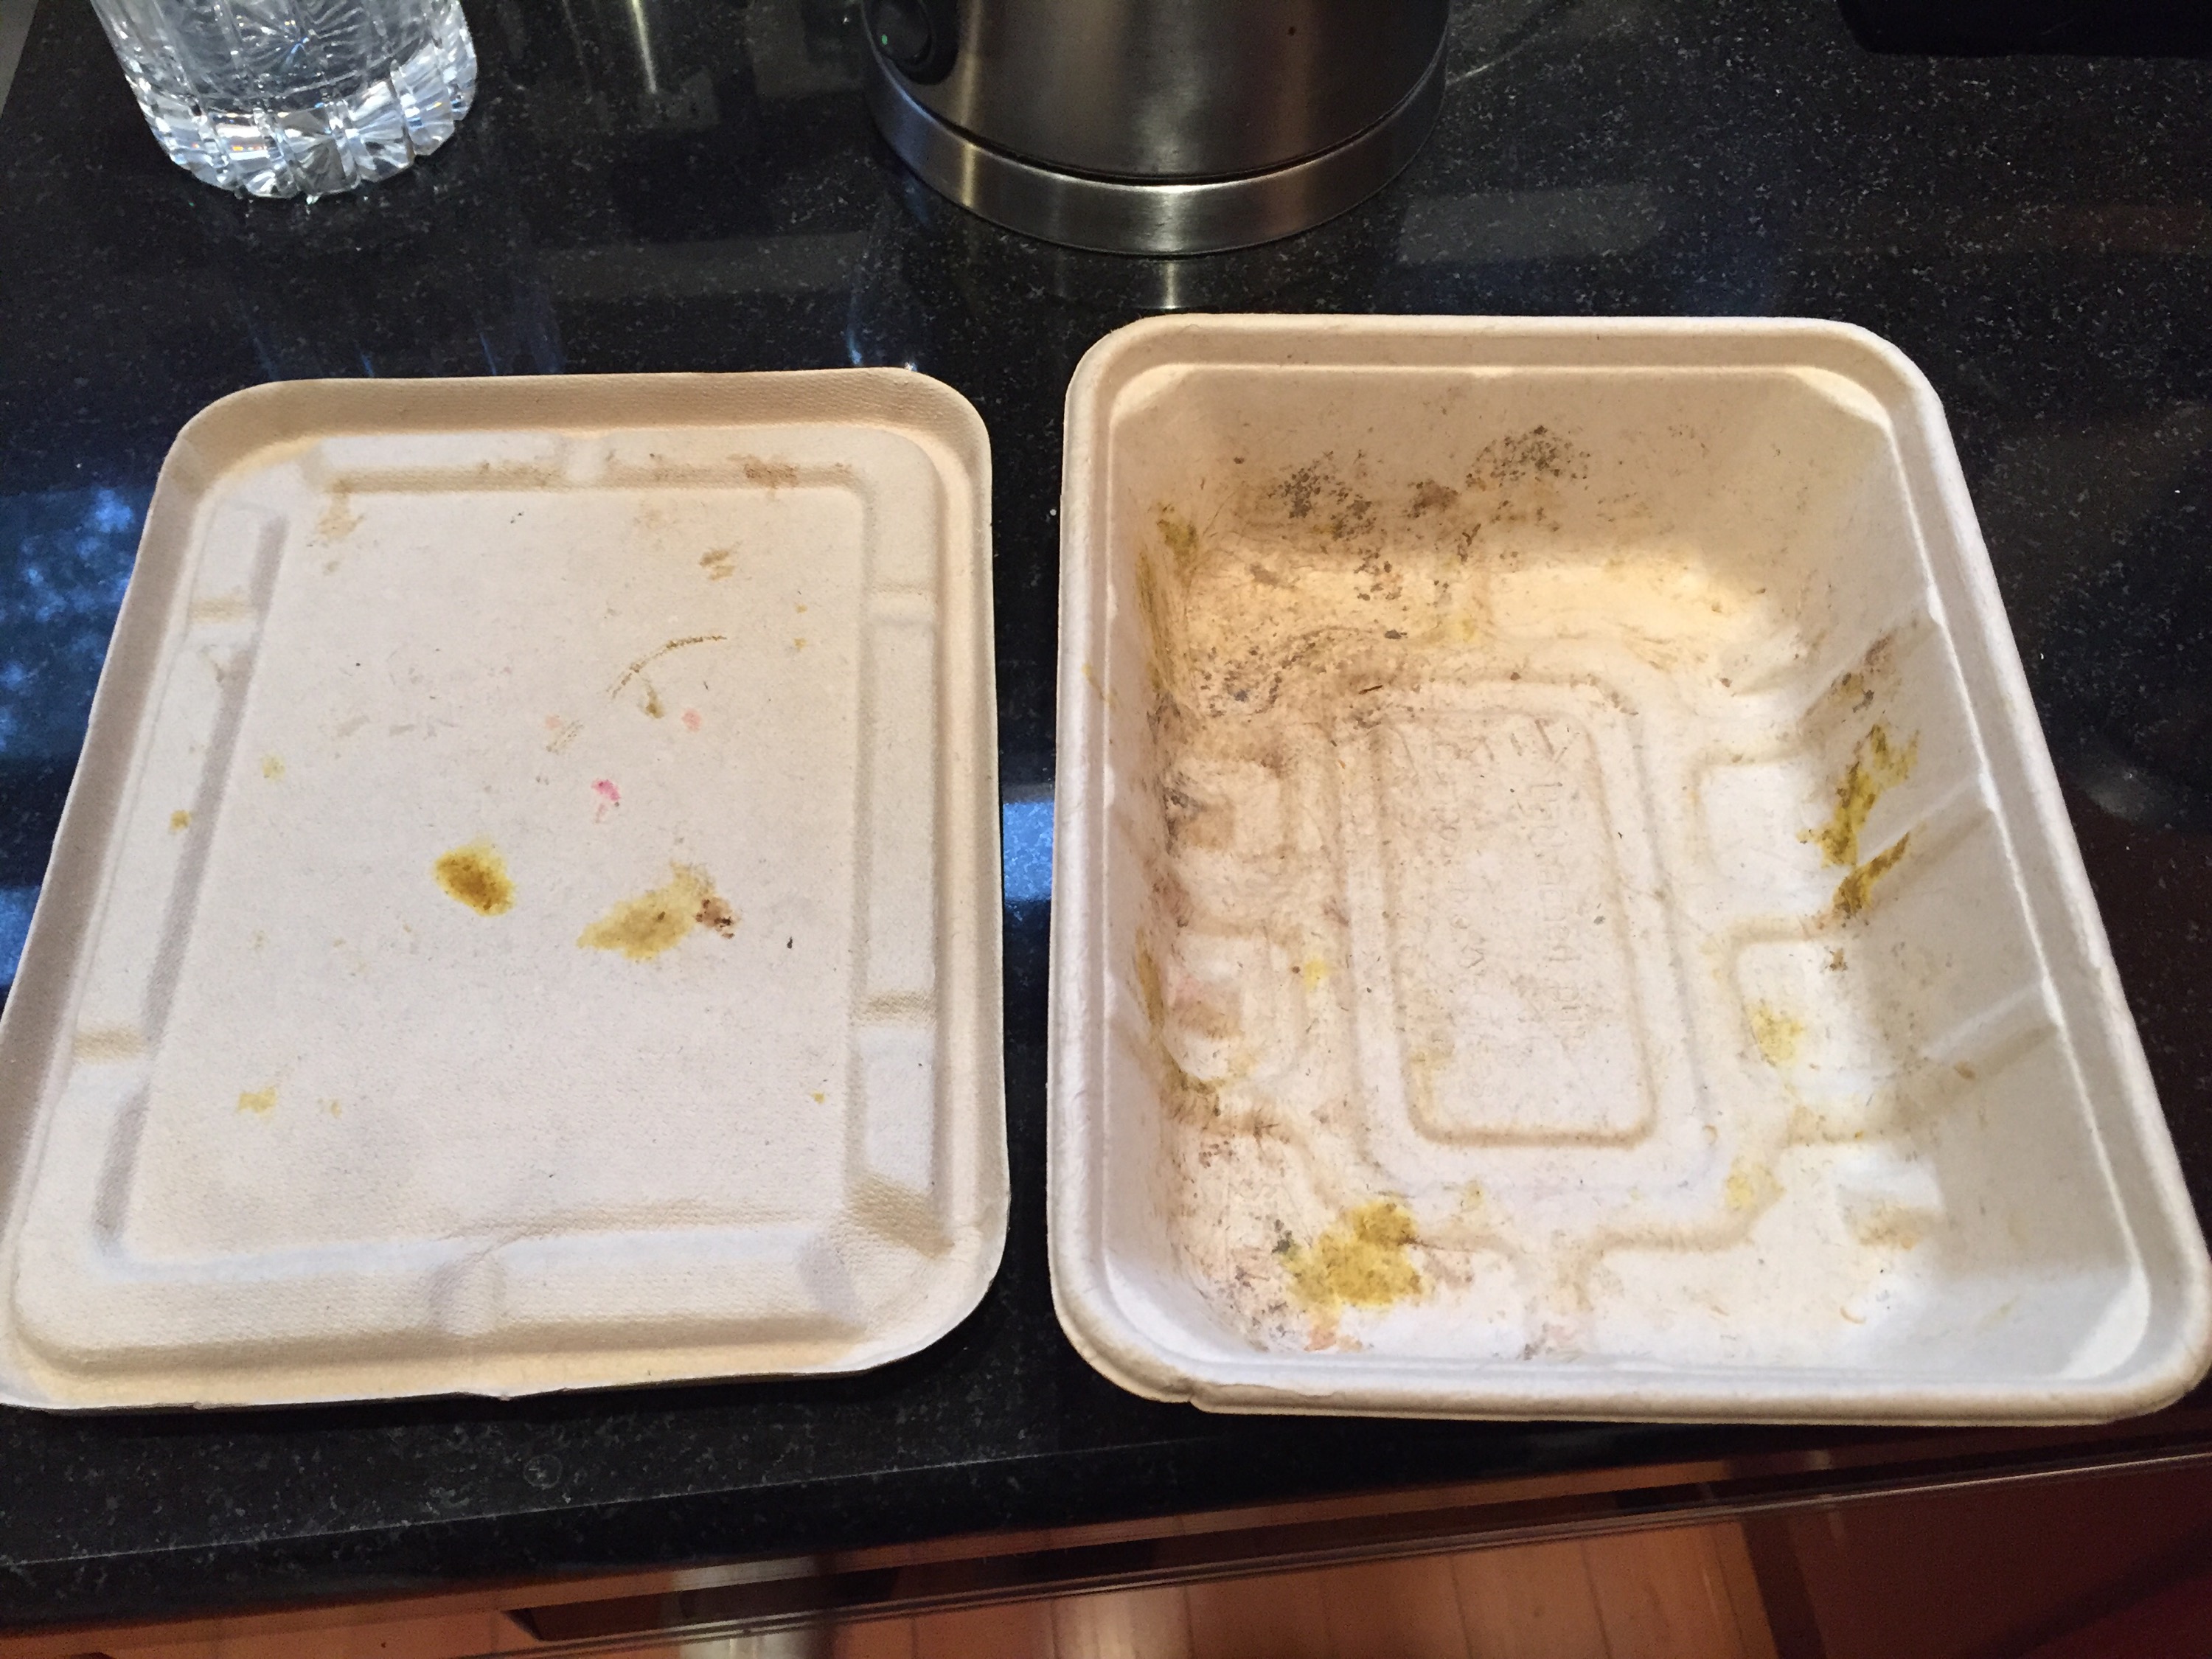
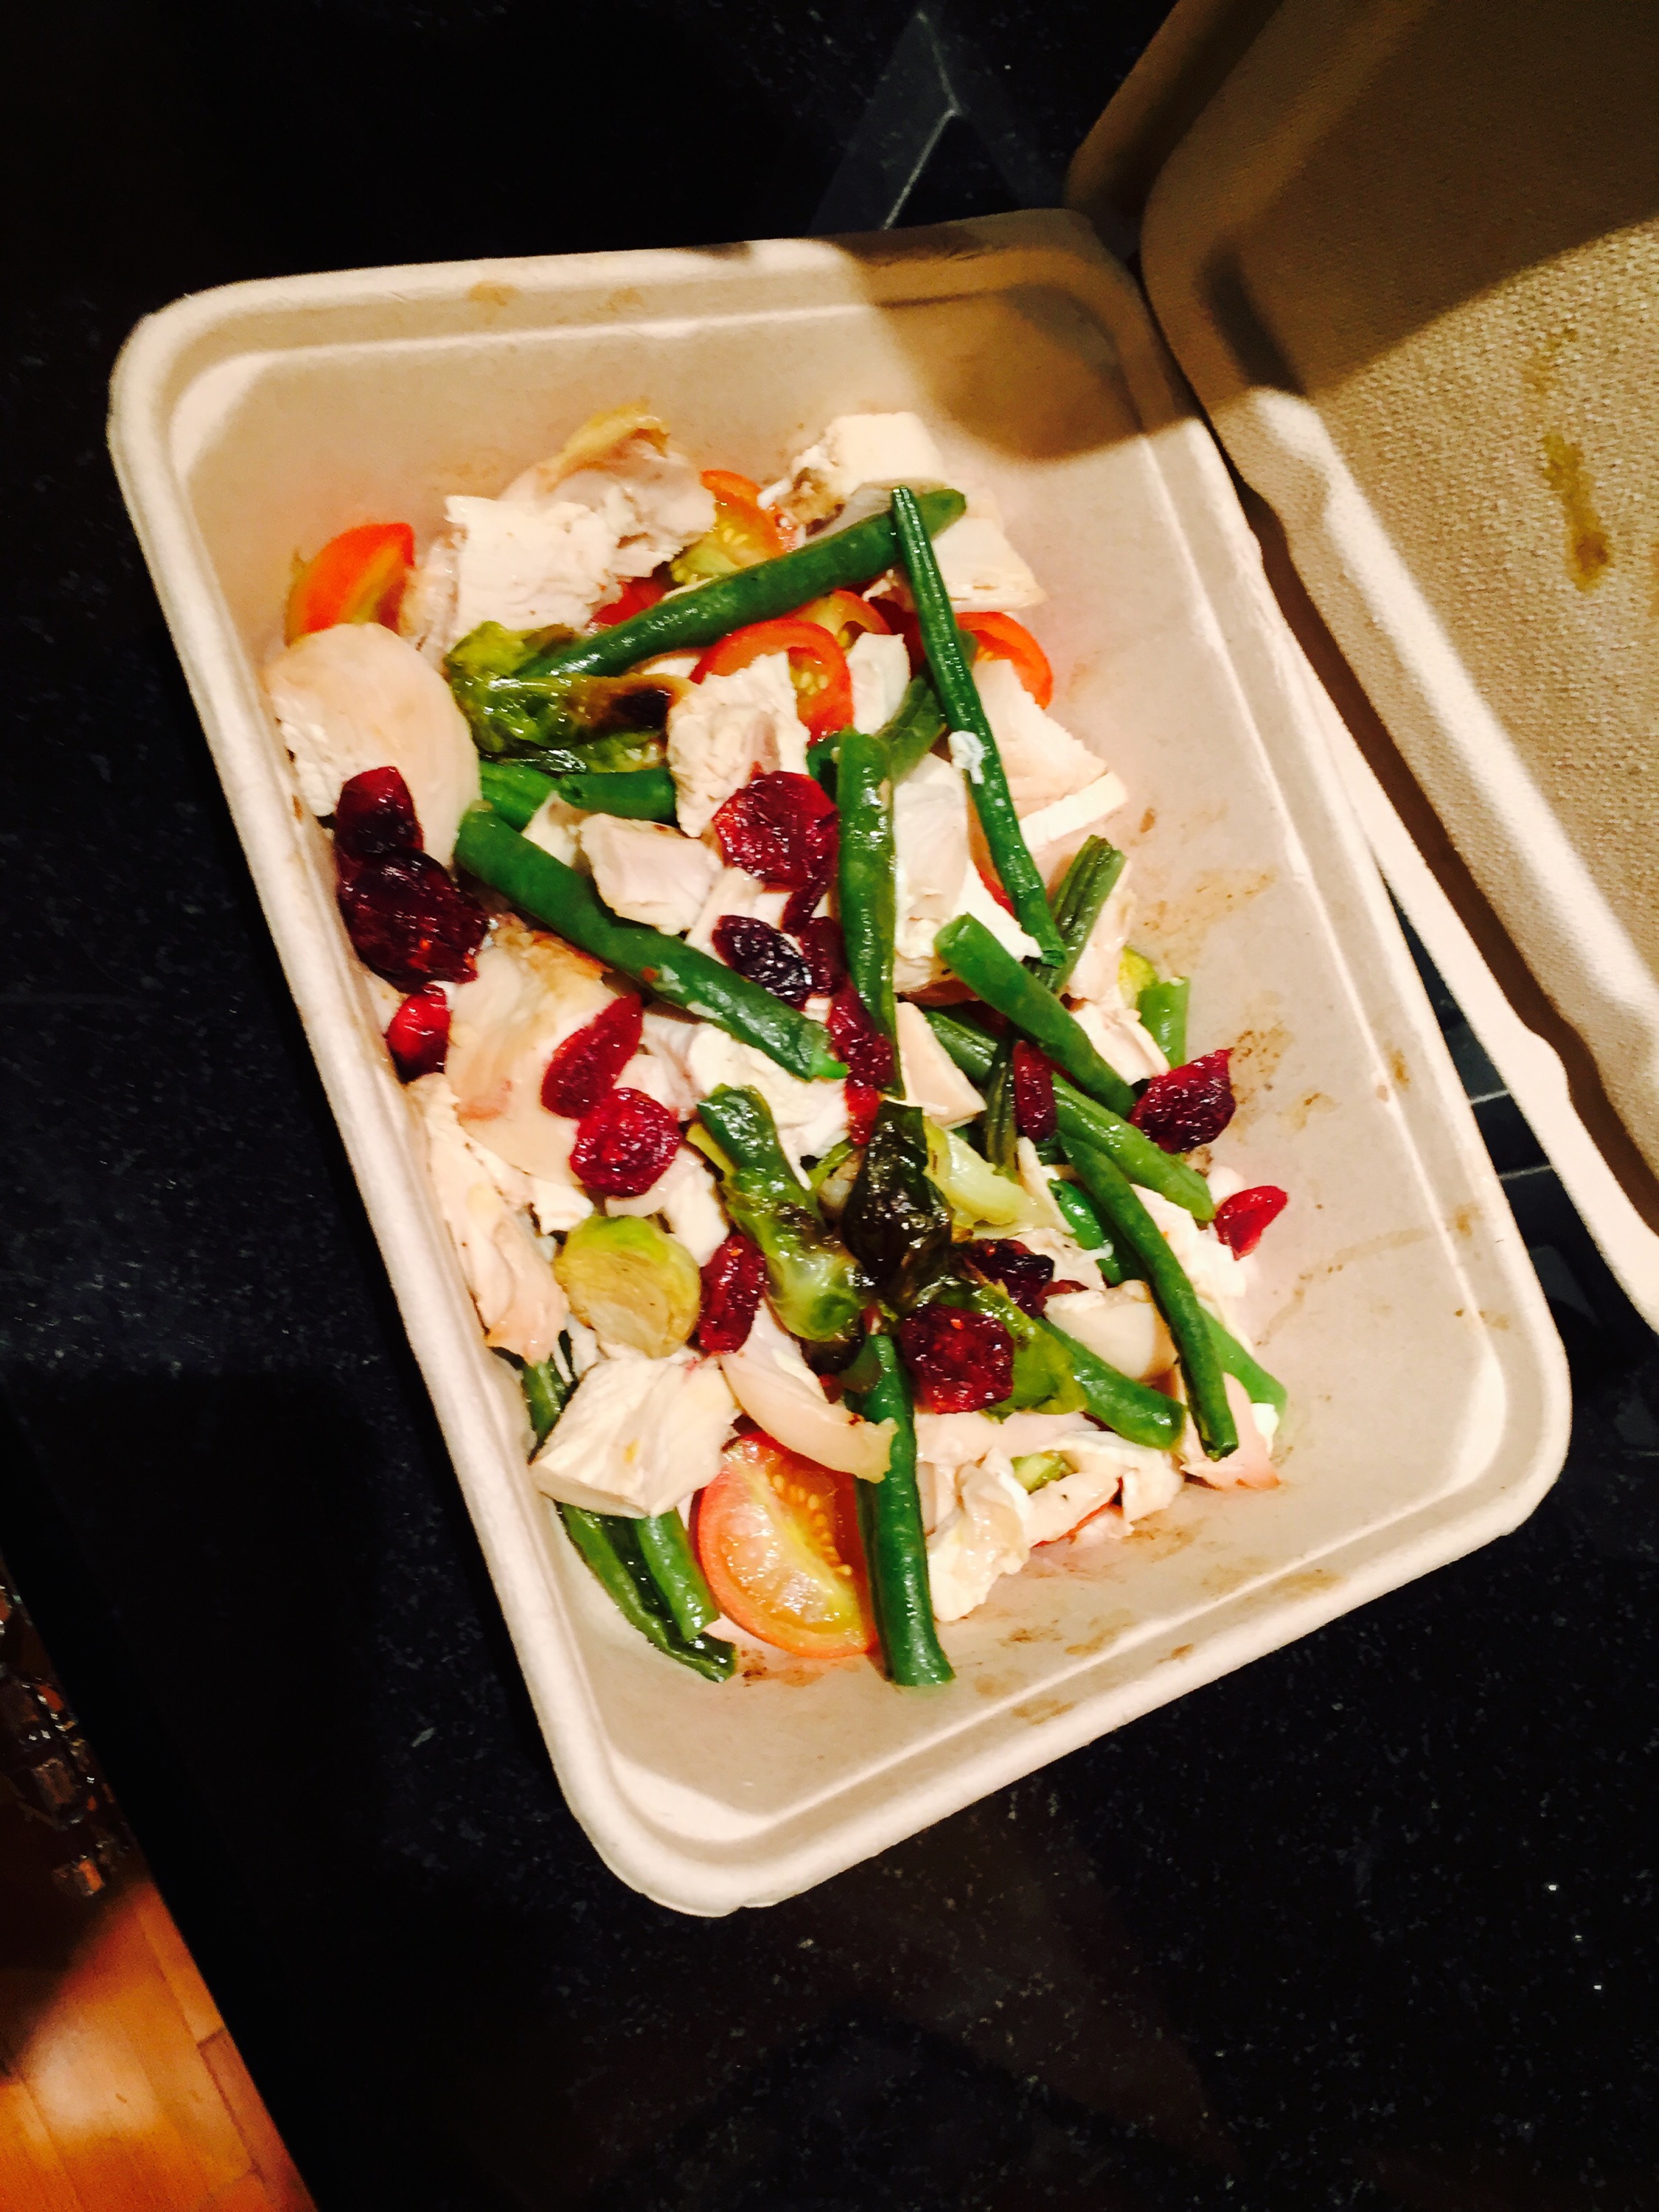
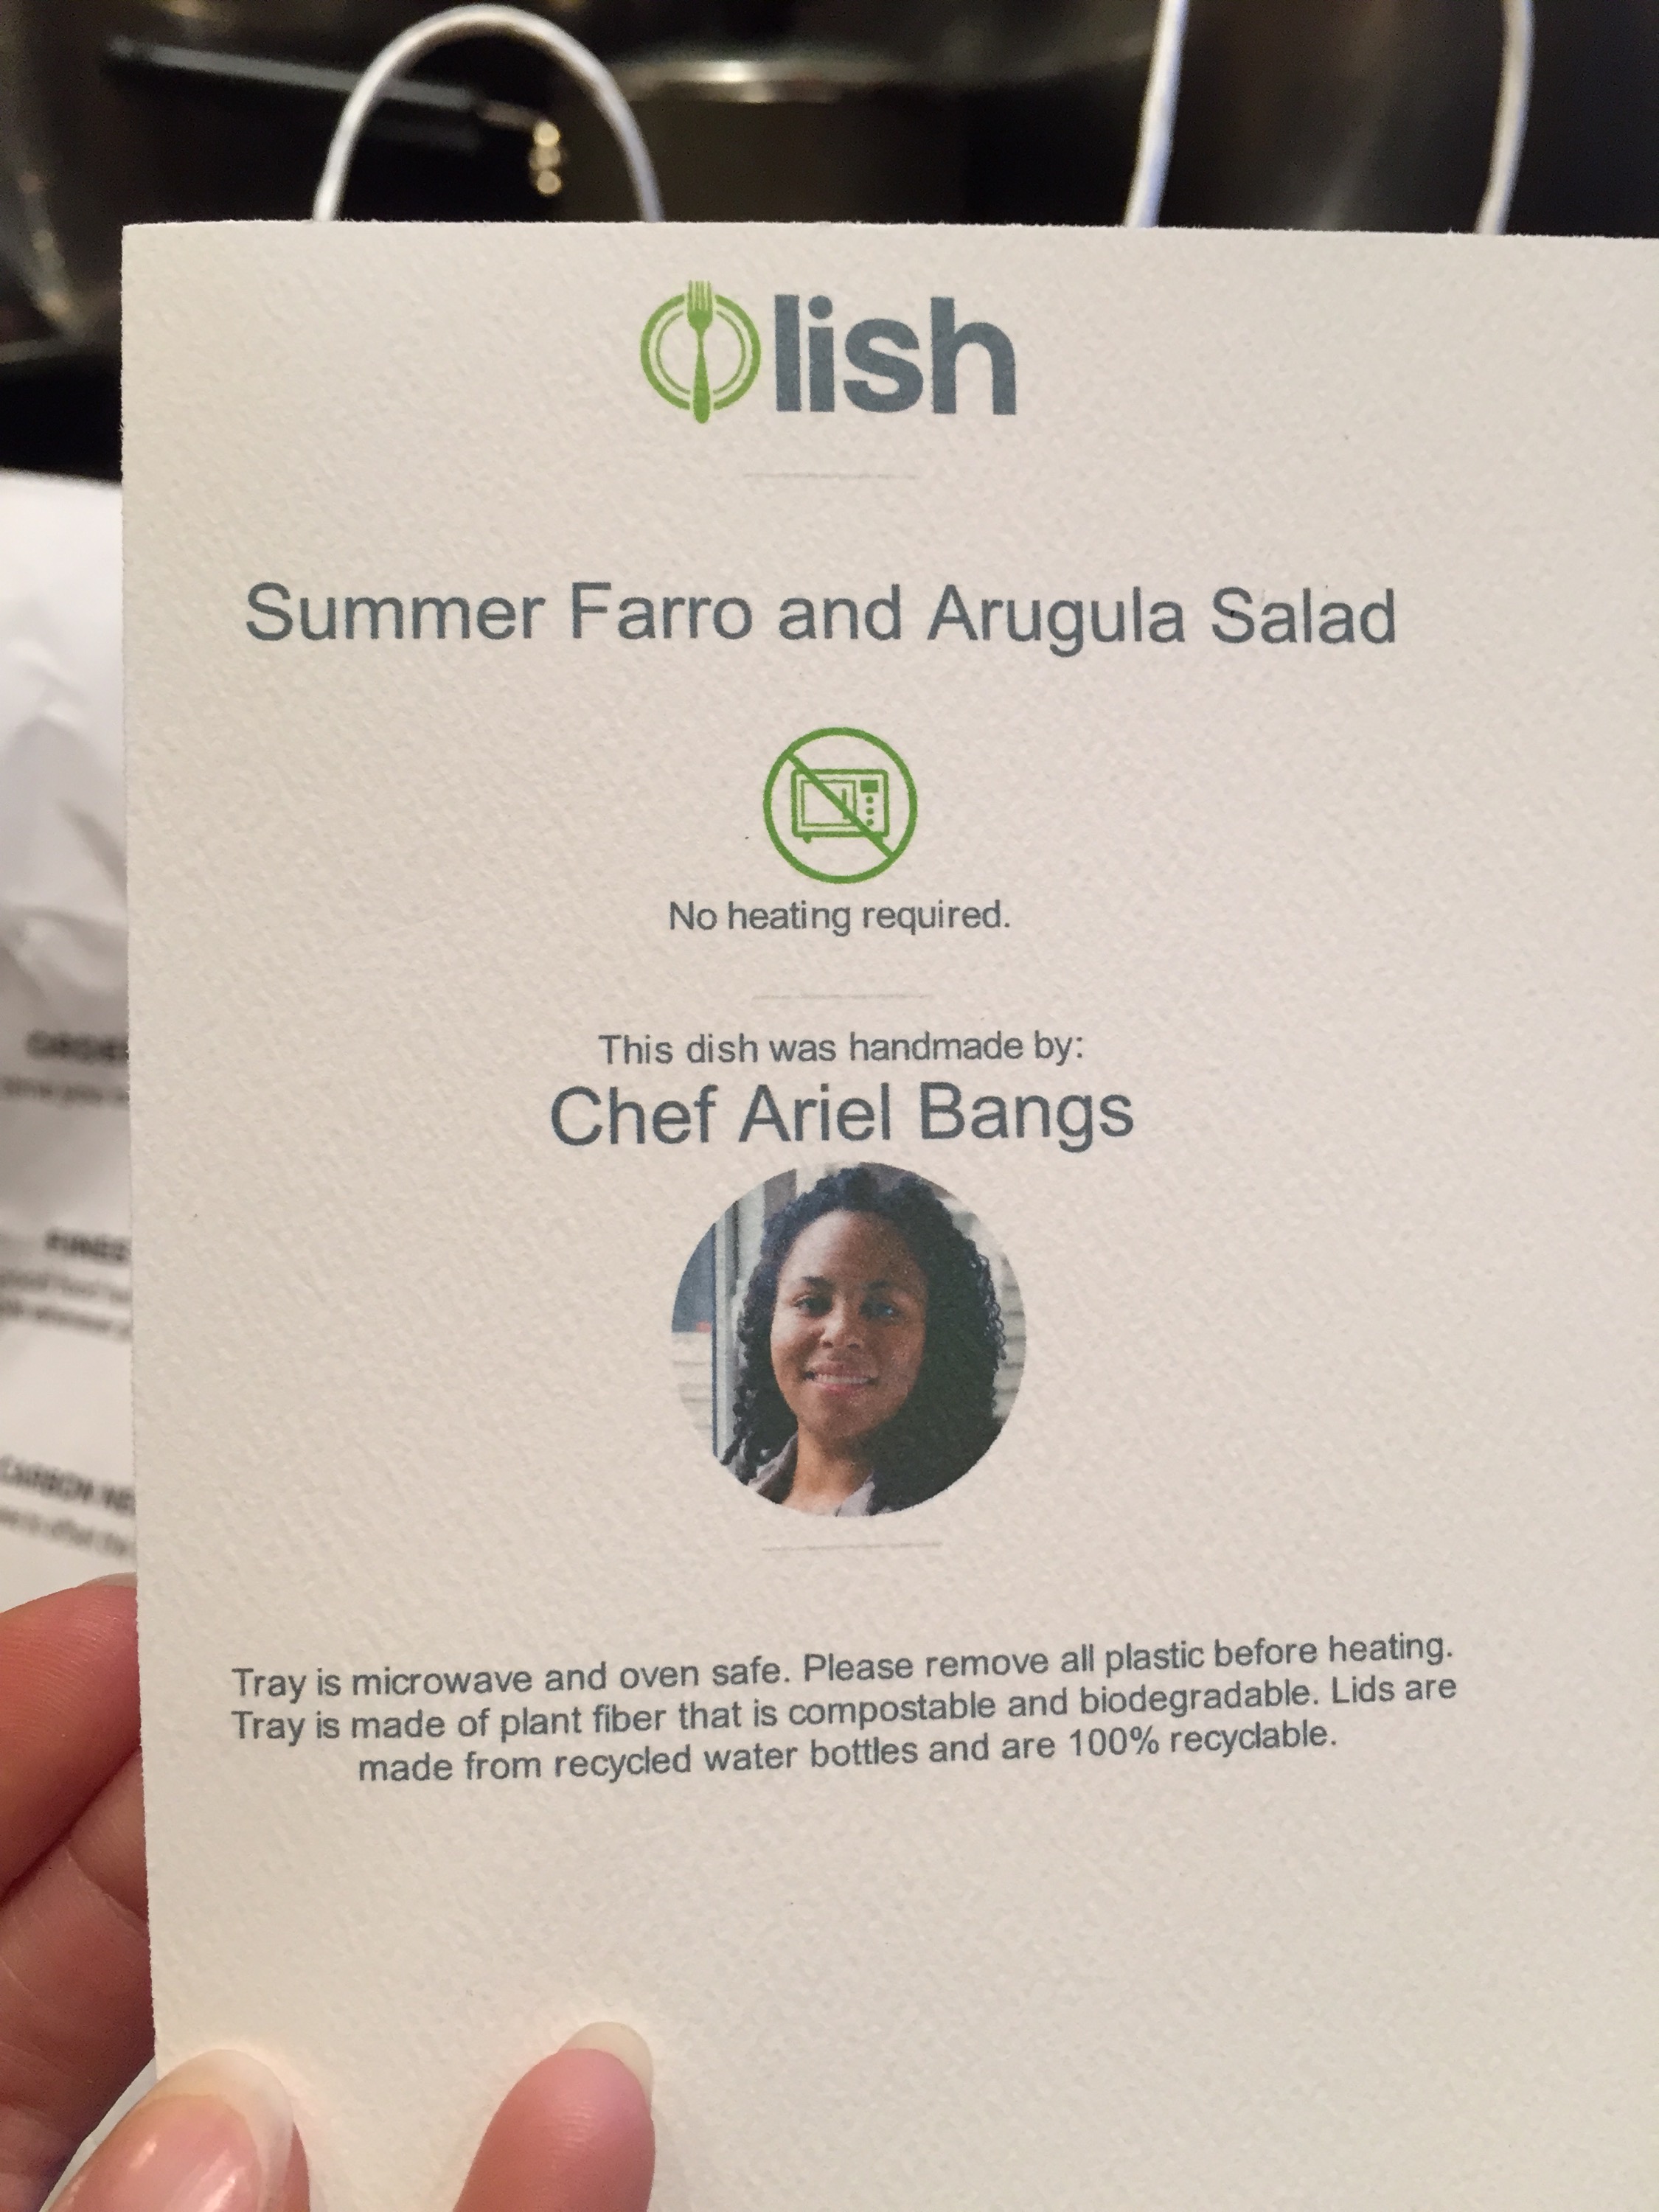
Like Munchery, the container is oven and microwave safe (and freezer safe), which is so convenient for clean up. The only downside is that Lish containers do not have a divider to keep entrees separate from sides, so they can get a little bit mixed up. This is not a big concern unless you are very picky about keeping items separate.

  
Ease of cooking (5/5 points)

Clear instructions on the package.

Taste (3/5 points for the “misses”, 100/5 points for the “hits”!)

Munchery is always consistent and good, and often delicious, but does not have many surprises as far as flavors go. It is meant for more of an American palate, it seems, though they do offer meals inspired by other cultures. Lish is much more diverse. It offers some very “upscale vegan hippie” choices (think PCC deli), some more authentic ethnic cuisine (think the Thai or Pakistani neighborhood restaurant that is sometimes a little greasy or too spicy for some). It is hit or miss, but the hits are sincerely some of the best meals I have ever eaten. I am a PCC deli kind of lady – so the opulent salads by Amanda Sue and Katie Peterson are always my first choice. I cannot recommend them highly enough!

Food Delivery Wars: Munchery versus Lish Part 2

Food Delivery Wars: Munchery versus Lish

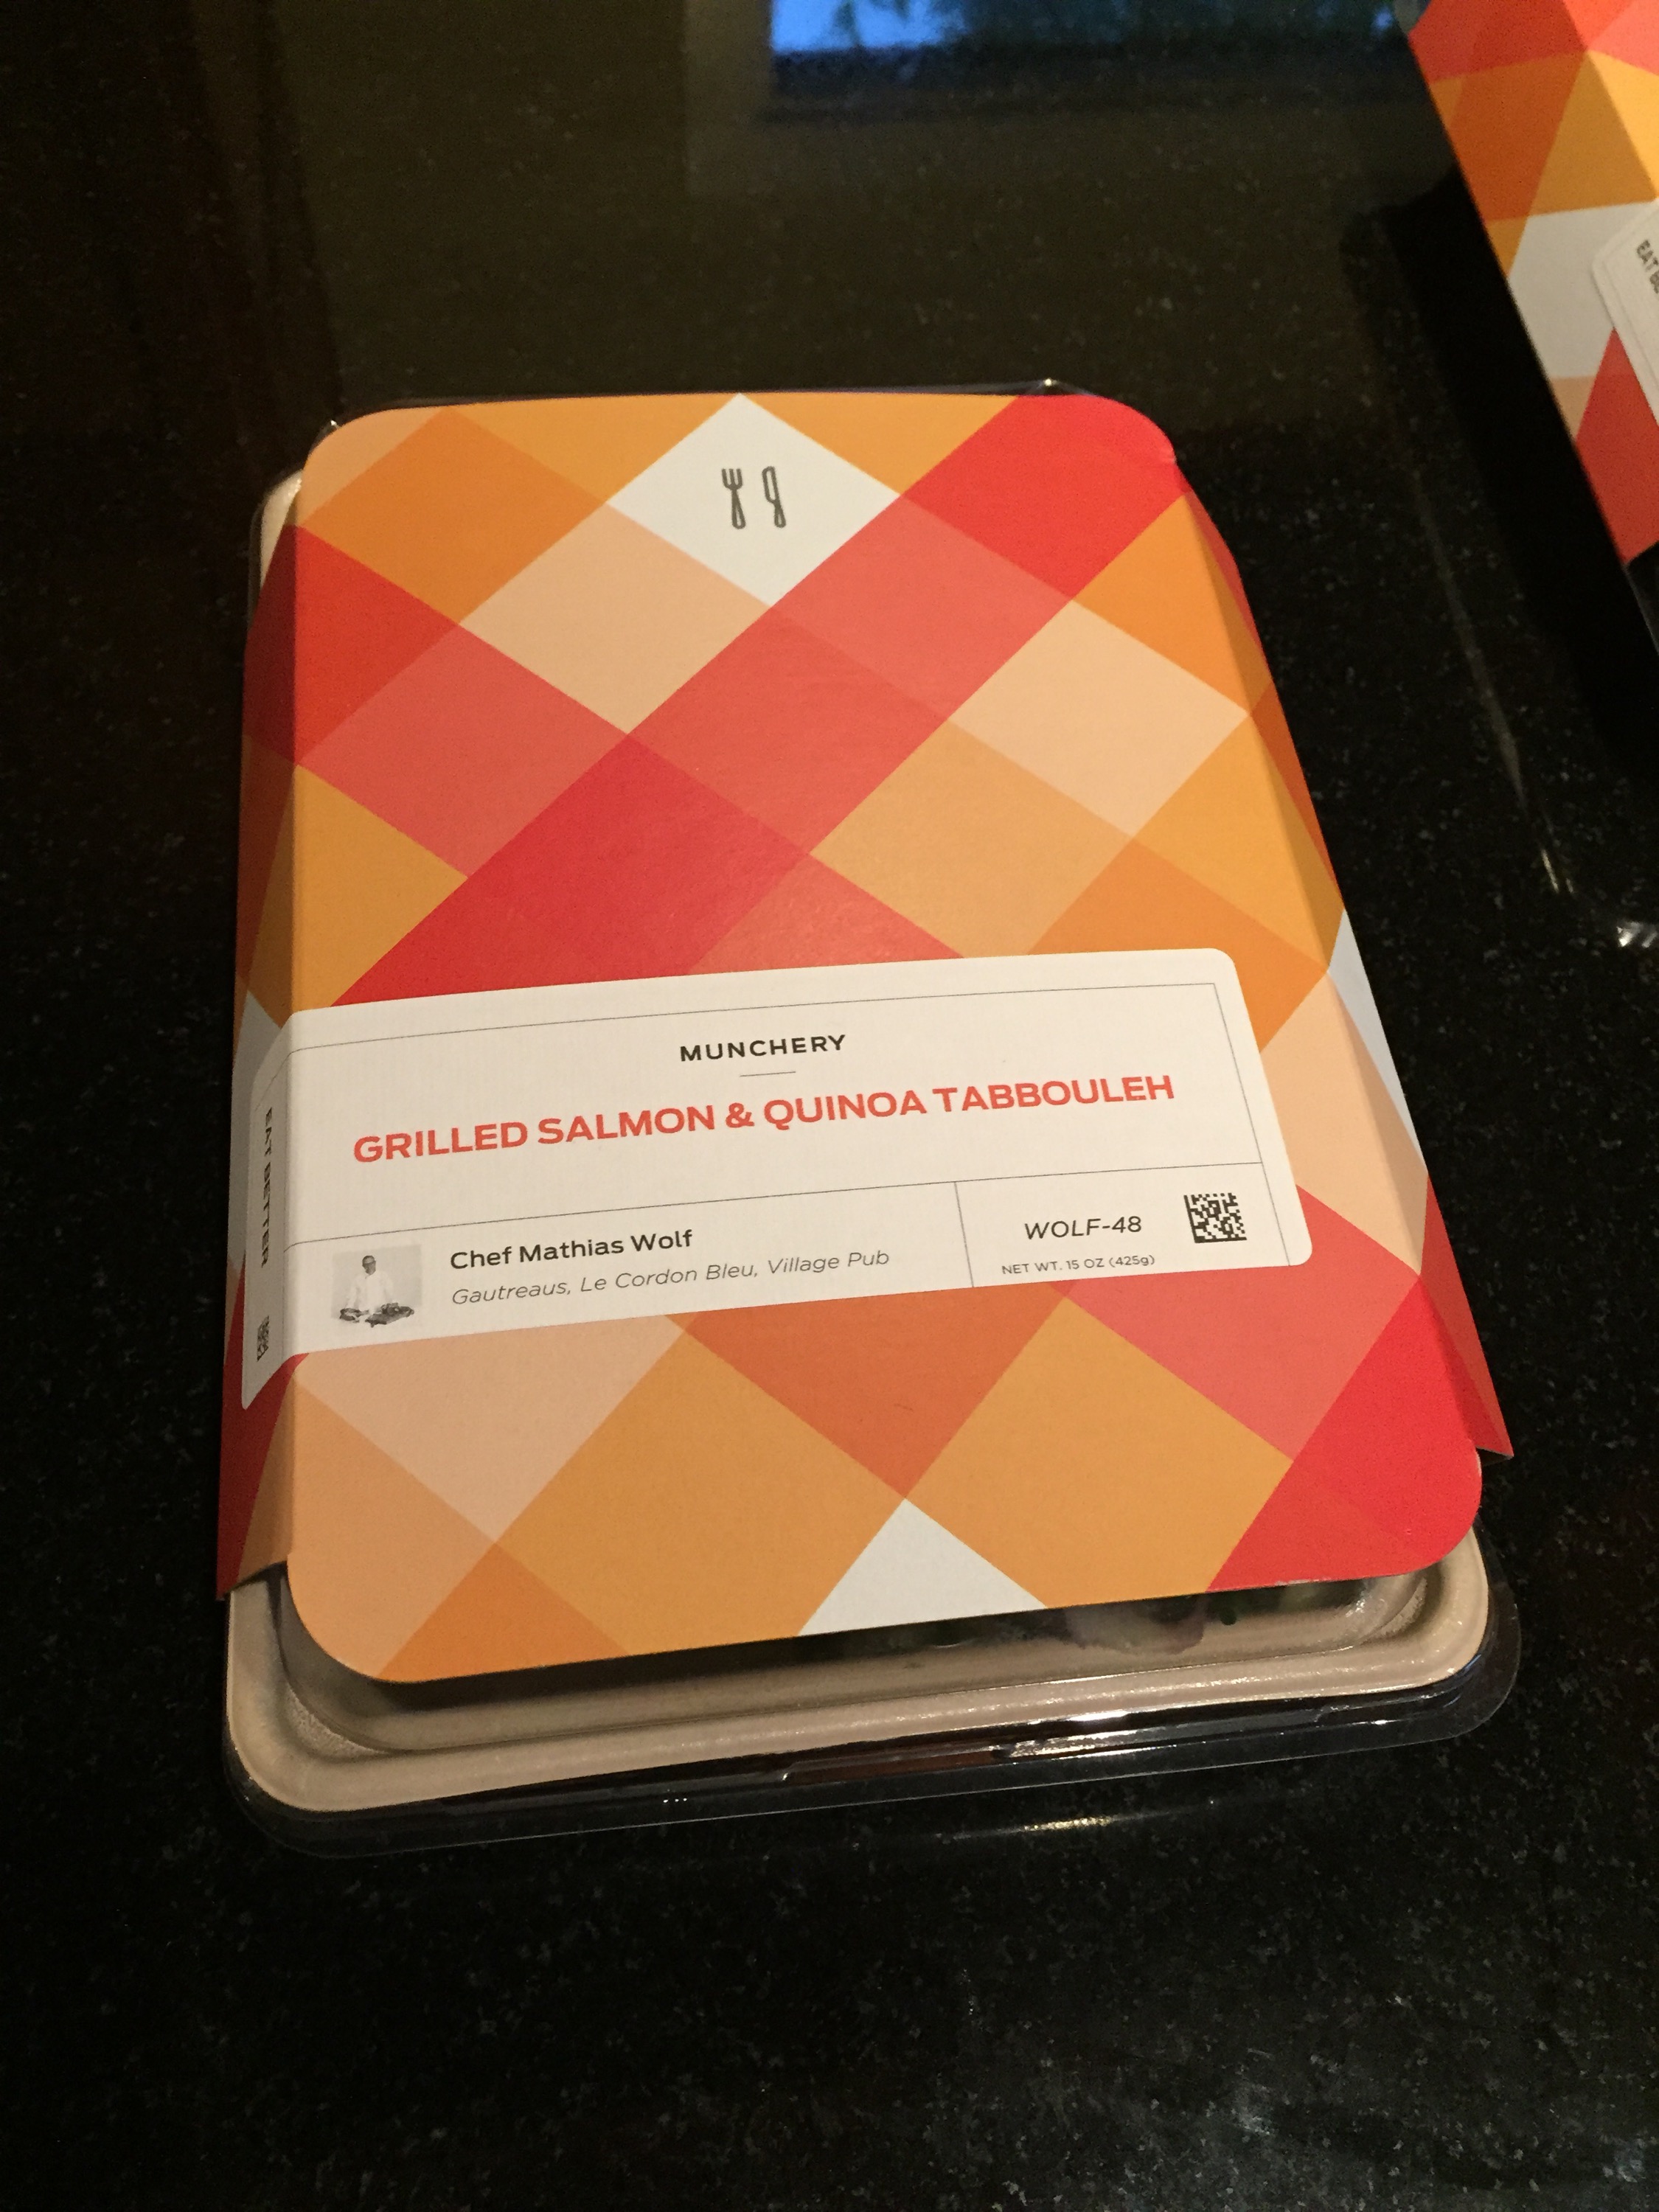
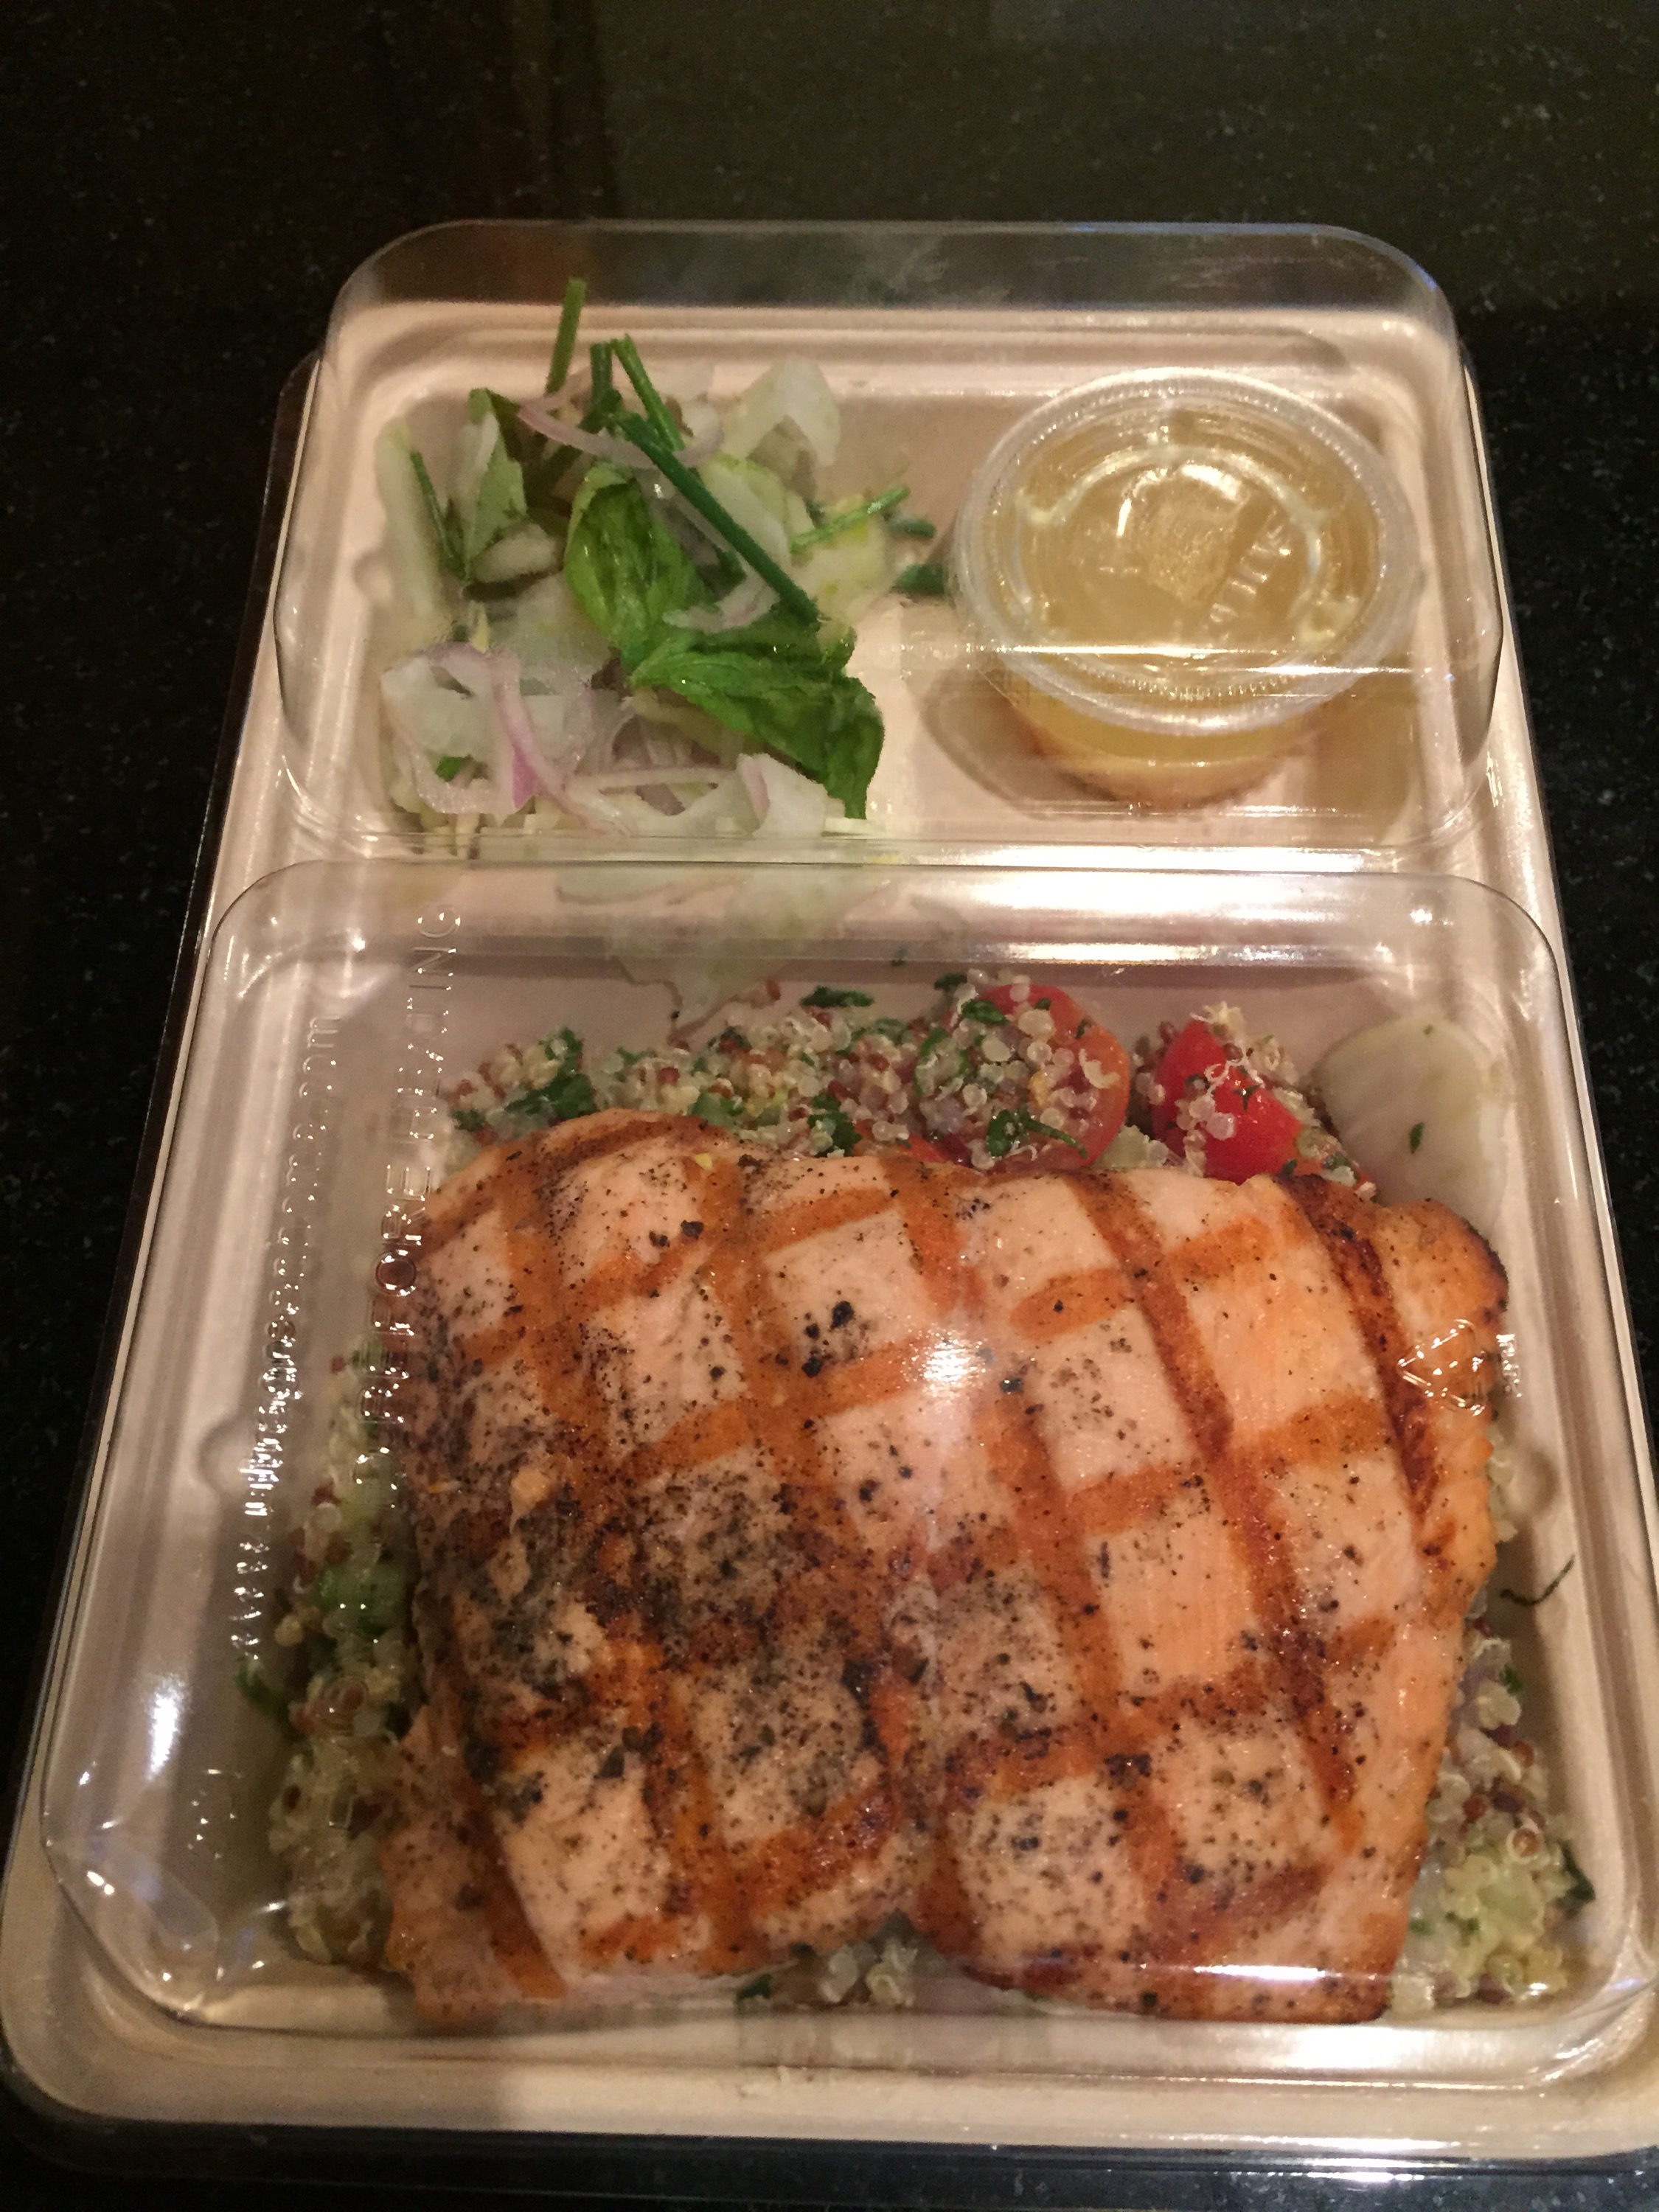
Munchery and Lish are two similar meal delivery options serving the Seattle area. They are different than take out delivery, or even services like Postmates, GrubHub or Eat24 in that they are single serving meals, individually packaged, and are meant to constitute one complete plated meal. Imagine a very upscale frozen dinner that is ordered on an app on your phone from 5-10 attractively photographed options, except that it is fresh (not frozen), ready to eat (though more delicious if warmed according to the package instructions) and delivered to your door within an hour of the time you specify.

  
Part 1 – Munchery:
Ordering- (5/5 points) 
Very easy to use app with nice pictures, tabs for ingredients, preparation instructions and nutrition facts.
Price – (5/5 points)
$8.99 to $13.99 per meal (entree plus 2 sides) or $4.99 for most sides (a side salad or vegetable side). Basically the same or less than most restaurant quality take out delivery options in Seattle.
Delivery (4/5 points)
They are always on time and email and text you updates and reminders, which you can respond to. The only downside is that they do allow tips (Lish does not allow tips, and they will not accept your too even if you beg them!). Tipping is great, but I always tip the delivery person using the option on the app, but when someone is standing on my doorstep I feel bad not offering them some gratitude cash. This is inconvenient, however, because it means I have to go to the bank every now and then to have cash in the first place.


Packaging (5/5 points)
Visually appealing, and the separate compartments for the entree and sides helps to keep sauces from running together or moving around too much during delivery. Perfect for the 6 year old child in you who doesn’t want their foods to touch!
  
Ease of cooking (5/5 points)
Clear instructions, including microwave and oven methods (I usually choose the oven method – ~10 minutes at 375 degrees).
Taste (4/5 points)
Reliable, high quality (sit-down, cloth-napkins-restaurant quality), nutritionally balanced meals, taste has always been good to great , but never life changing. 
Lish, on the other hand, is either hit or miss, they are more creative, with more ethnic and eclectic options but though I’ve had some disappointing dishes from them, I have also had 3 of the best meals I have ever eaten in my life. In the end, I think I prefer Lish. I will take my chances with the hope for sublimity, and if it is an off night for my Lish meal, there is always my homemade butternut squash, beet, walnut, sundried tomato kale pesto salad…never a bad back up plan!
Food Delivery Wars: Munchery versus Lish